Iron Stamper winner

As promised, I have drawn a winner from all the comments on my Iron Stamper series. There were a total of 17 comments so I went over to Random.org and the lucky winner is …

#3 on my list was … NANCY … with the comment Lovely! I really like the doily stamp and the crochet flower :)”

Congratulations Nancy! Please email me (alisonday at eastlink dot ca) with your mailing address so I can get some goodies off to you!!

I’ll be back tomorrow with something new to share. Have a great night!
Posted in contests, Iron Stamper | Comments Off on Iron Stamper winner

Project 12 Layout for March 2012

Here is my latest installment in my Project 12 album – a bit later than I had originally planned to post it but I blame Catching Fire. If you haven’t read the Hunger Games series … be warned. Once you get sucked in, all else gets put on the back burner! Now I really need to get book #3 back!! Monday’s another holiday after all!
But, back to the business at hand … if you’re interested in seeing my P12 layouts from January and February please click on the links. This month I am using this sketch from Pagemaps March 2012 sketches.

Sometimes I use the sketch literally and sometimes it is more of a spring board for my own inspiration. Here is where this sketch took me this month.

I have a little problem with wanting to use more photos than a sketch calls for .. I’m sure there are therapy groups for it! 
This month I am using Beyond The Garden Designer Series Paper. (I am working on another little project using this DSP which I hope to have ready to post soon. It’s super cute – you don’t want to miss it!) You really need to click on the link and check out all the fun patterns and colours in this line. I decided that the blue and yellow complimented the colours from my pictures and then accented with pops of Melon Mambo.
And now for the close ups, starting with the left hand page.

And then the right hand side. 
And finally the embellishments.

I created the flowers using my Blossom Punch, 1-3/8″ Circle Punch and 1″ Circle Punch plus some buttons from the Neutrals Collection. Underneath are some different coloured doilies. I cut these out using my Paper Doily Sizzlet Die in shades of Whisper White, Daffodil Delight and Melon Mambo for my other project which only required the centre portions so I used the outer portion to embellish this layout. Pays to be a pack rat at times!

The title uses more of my Alphabet Soup On Board letters which I inked up with Melon Mambo. It’s a bit hard to see but I used my Calendar Alphabet & Numbers stamp set to stamp the year.

Under this flower I used a small piece of 1/2″ Scallop Dots ribbon in Melon Mambo. I also used it to add a knot detail (see below.)

The extra doilies came in handy to accent this picture of Marley’s latest lost tooth.

Hope you enjoy it. Have a great Easter Weekend everyone!

Posted in layout, Project 12 | 3 Comments

Up, Up & Away Cards for All Ages

I’ve mentioned my Birthday Cards for All Ages class and if you’ve visited my Events Page or Event Brite site you may have seen a sneak peak of the type of cards we will be making. Here’s a closer look at the stamp set we’ll be using.

I have really tried to think outside the box, as well as come up with some fun cards that use the images in a more traditional fashion. Here’s what you can make next Friday April 13th (I know, I know, Friday the 13th …)
Make any 3 of these cards for $10.00 – additional card kits can be purchased for $3.00 each. Please visit either of the links above to register. Hope to see you there!

Posted in Cards, Classes | Comments Off on Up, Up & Away Cards for All Ages

Happy Birthday Christine!

It is Greg’s sister Christine’s birthday today. Her 40th! Now don’t tell her, but we are meeting up later for dinner!! Here’s what I have for her.

The colour scheme was inspired by this Stampin’ Royalty challenge picture. I translated the colours into Calypso Coral, Daffodil Delight, Lucky Limeade and a little bit of Always Artichoke. I used a card base of Very Vanilla and made a frame using my Labels Collection Framelits. All edges were inked with Soft Suede to give a slight vintage look.

The rolled flowers came about because of this post on Scrapbook & Cards Today and I am really happy with them. I’ve attempted them before but never been happy with how they looked. For whatever reason, this time they turned out! Here’s a closer look at them. 

Clearly, this is not a card you can put into the mail so it’s a good thing we will be seeing her in person!
The sentiment is from Create a Cupcake and I had a bit of fun with Christine on the inside. My pictures didn’t turn out but inside I used the candle image 41 times (one for luck, you know!) and the sentiment “It’s not about how many candles you blow out but how many cupcakes you get!”
Thanks for stopping by. Have a great long weekend everyone!
Posted in Cards | 5 Comments

Sweet Shop, Buttons and Balloons

As promised, here is the card I made for my husband’s “graduating” soccer player. Yesterday I showed you the one I made for her Mom (see it here.) 
As this card was for a 6 year old girl, I knew I wanted it to be fun. What’s more fun than candy? The Sweet Shop DSP in the Occasions Mini is perfect for making fun cards. Here’s what I came up with.
The card base is Whisper White card stock onto which I’ve layered pieces of  Lucky Limeade and Wisteria Wonder card stock and then two different patterns from the Sweet Shop Specialty Designer Series Paper. I stamped images from Button, Button in Island Indigo, Calypso Coral and Pool Party then used a matching brad from the Printed 2011 In Color Designer Brad collection to jazz it up a bit. The last little bit of detail is the Lucky Limeade 3/8″ Ruffled ribbon I attached to each side of the button strip.

Here’s a close up of that ribbon and the stamped button strip.

Inside the card I wanted a sentiment that reflected Greg’s feelings of “wishing her well in her future endeavors”. Since I didn’t have anything  that said that specifically, I went with this sentiment and some images from Up, Up & Away.
My Birthday Cards for All Ages class on April 13th will be featuring this stamp set and I have been having fun creating all sorts of examples. Please head on over to my Events page to get more details on the class and to RSVP. Use your coupon – if you got one! If you want to be in the running to get future coupons take a moment now to put your email address into the box on your right and get my monthly newsletter. You’ll get  tips, sneak peaks and first dibs on all my classes so sign up today!

Posted in Cards | 2 Comments

Mixed Bunch Cased Card

Today I want to show you how you can take a card that someone else has made and make it your own.

We’ve all been there. You need a card but the inspiration well is dry. Staring at all your beautiful products just seems to make it worse. Where to begin?

This was the situation I faced this past Saturday. My husband had invited the families of our two oldest girls’ soccer teams over for an End of Season BBQ (in the pouring rain … but I digress). He’s coached our girls since Marley started playing 3 years ago and this year he is saying good bye to one particular player who he has coached for 2 years – first with Marley’s team and then with Paige’s team. Her mother has also been an integral part of the team, as Assistant Coach and General All-around Go-to Person, so he asked me to make a Thank You card for her. Two hours before the party started! Now, I am a BIG proponent of the Quick Card but pulling off 3 cards (one for her, one for her daughter and then another for the Team Manager of the other team) in that amount of time while still finishing the prep for the party was a bit much.

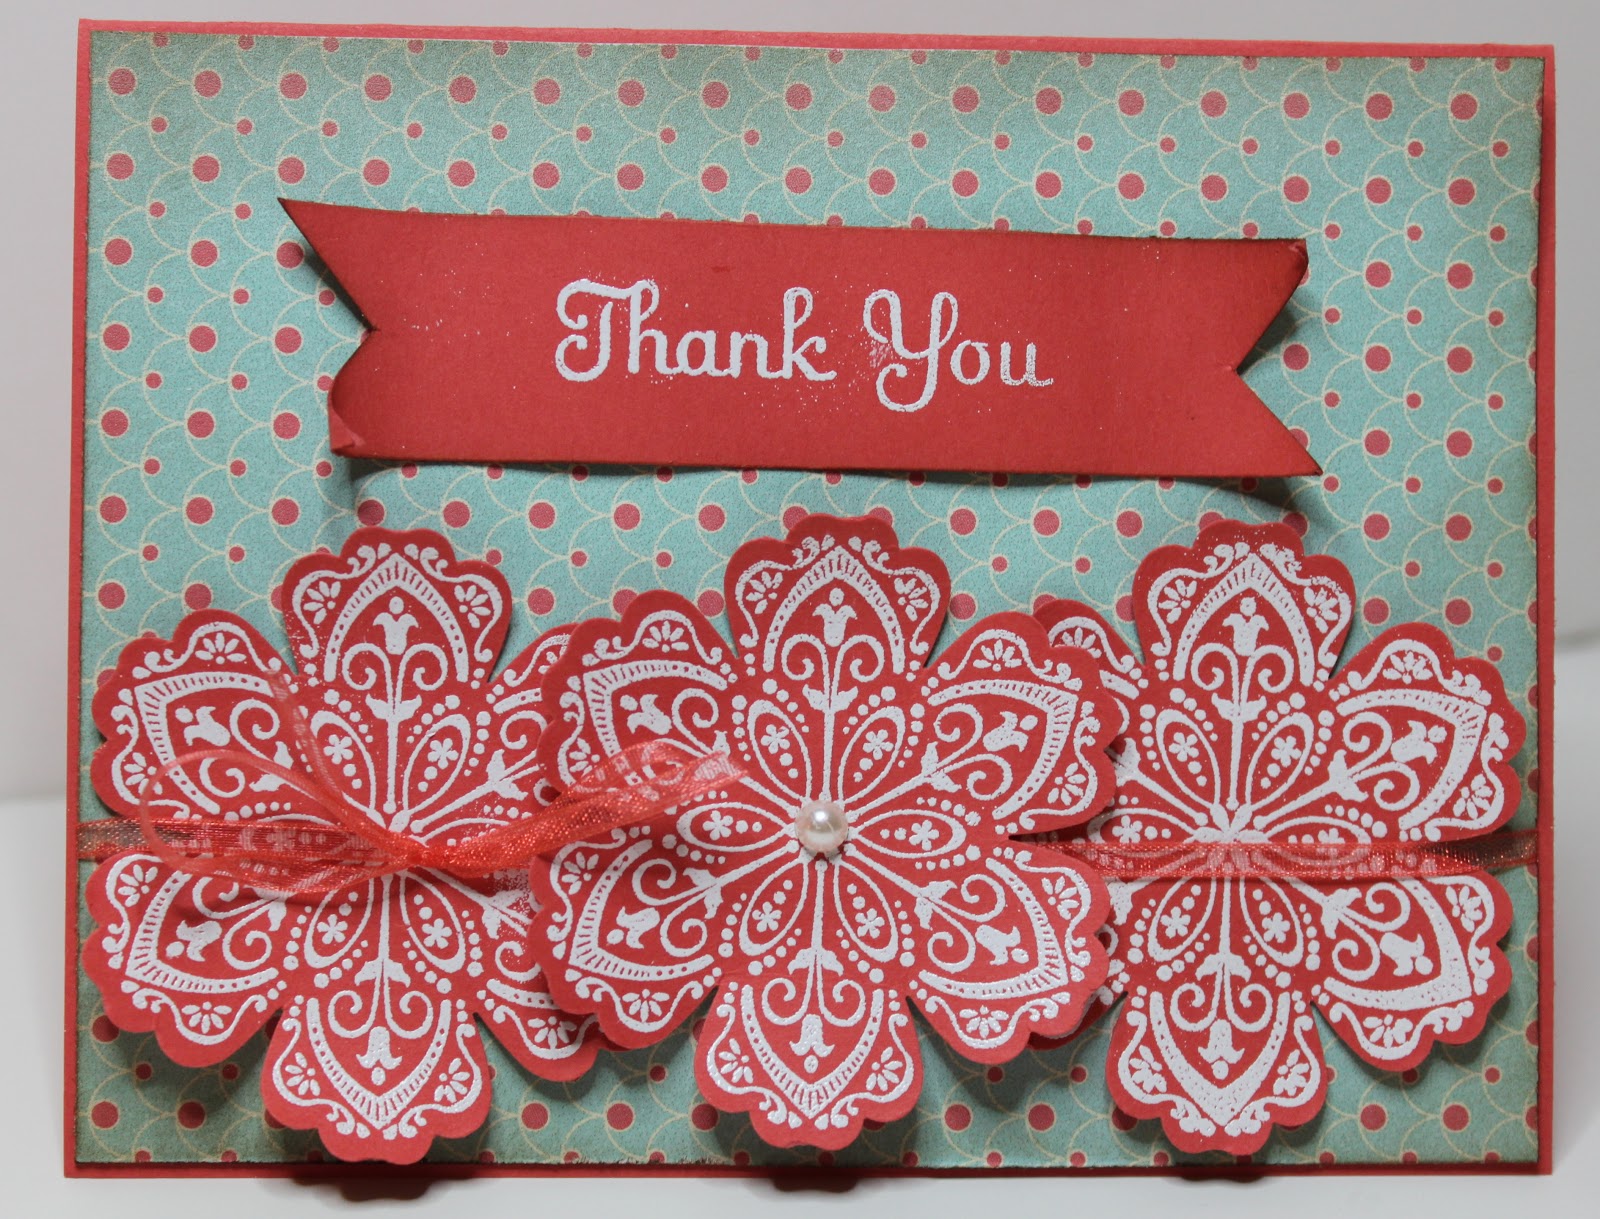
My fellow Stampin’ Up! Demonstrators to the rescue! We regularly meet and swap cards so I just looked at my Swaps Board, picked one then went hunting for similar products. This one is by Maureen Pollock (I looked to see if she had a site you could check out but can’t find one – sorry.)

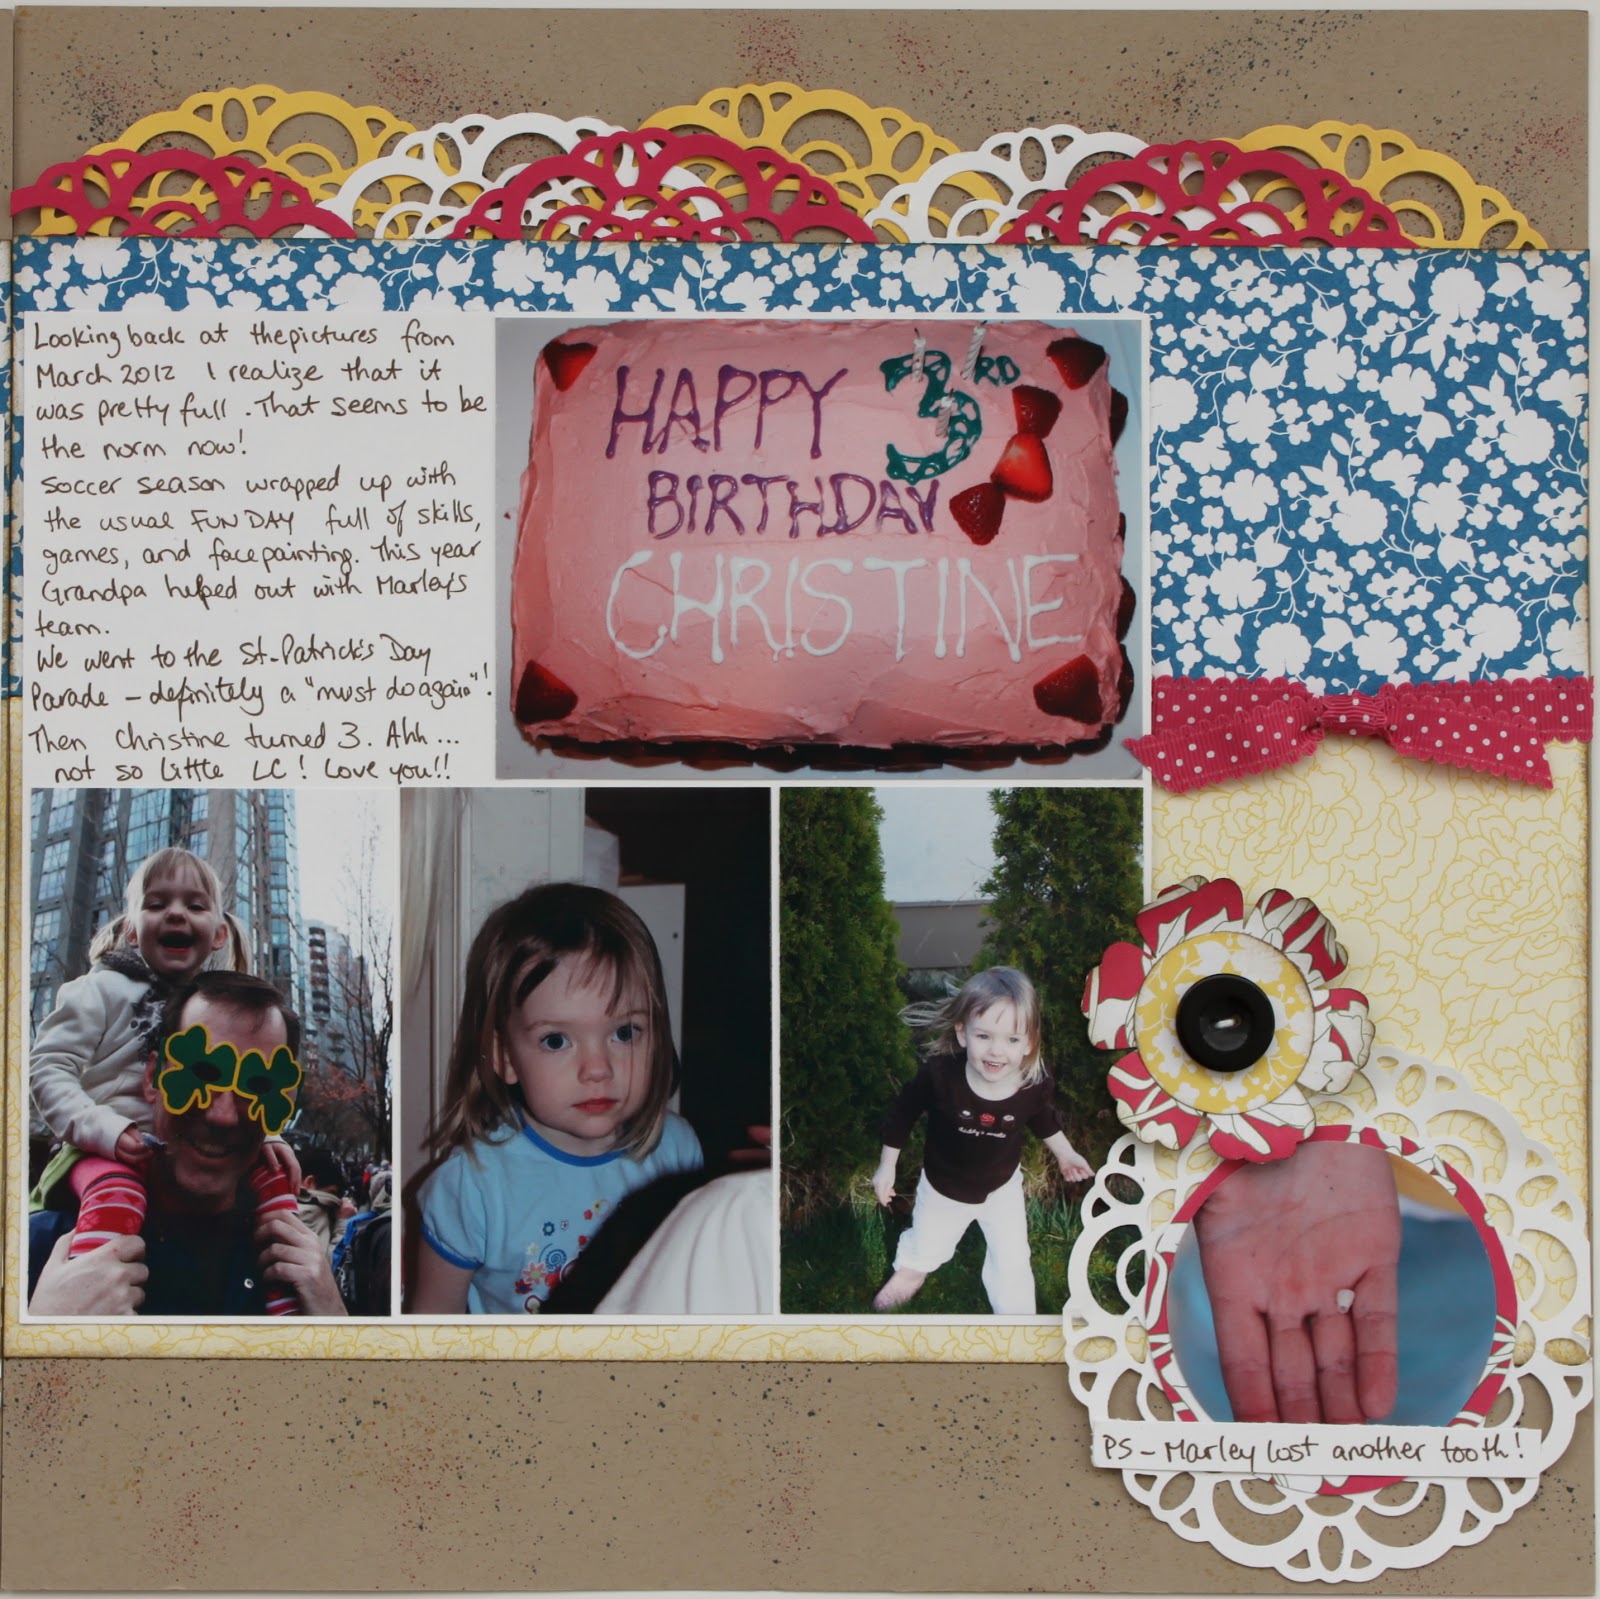
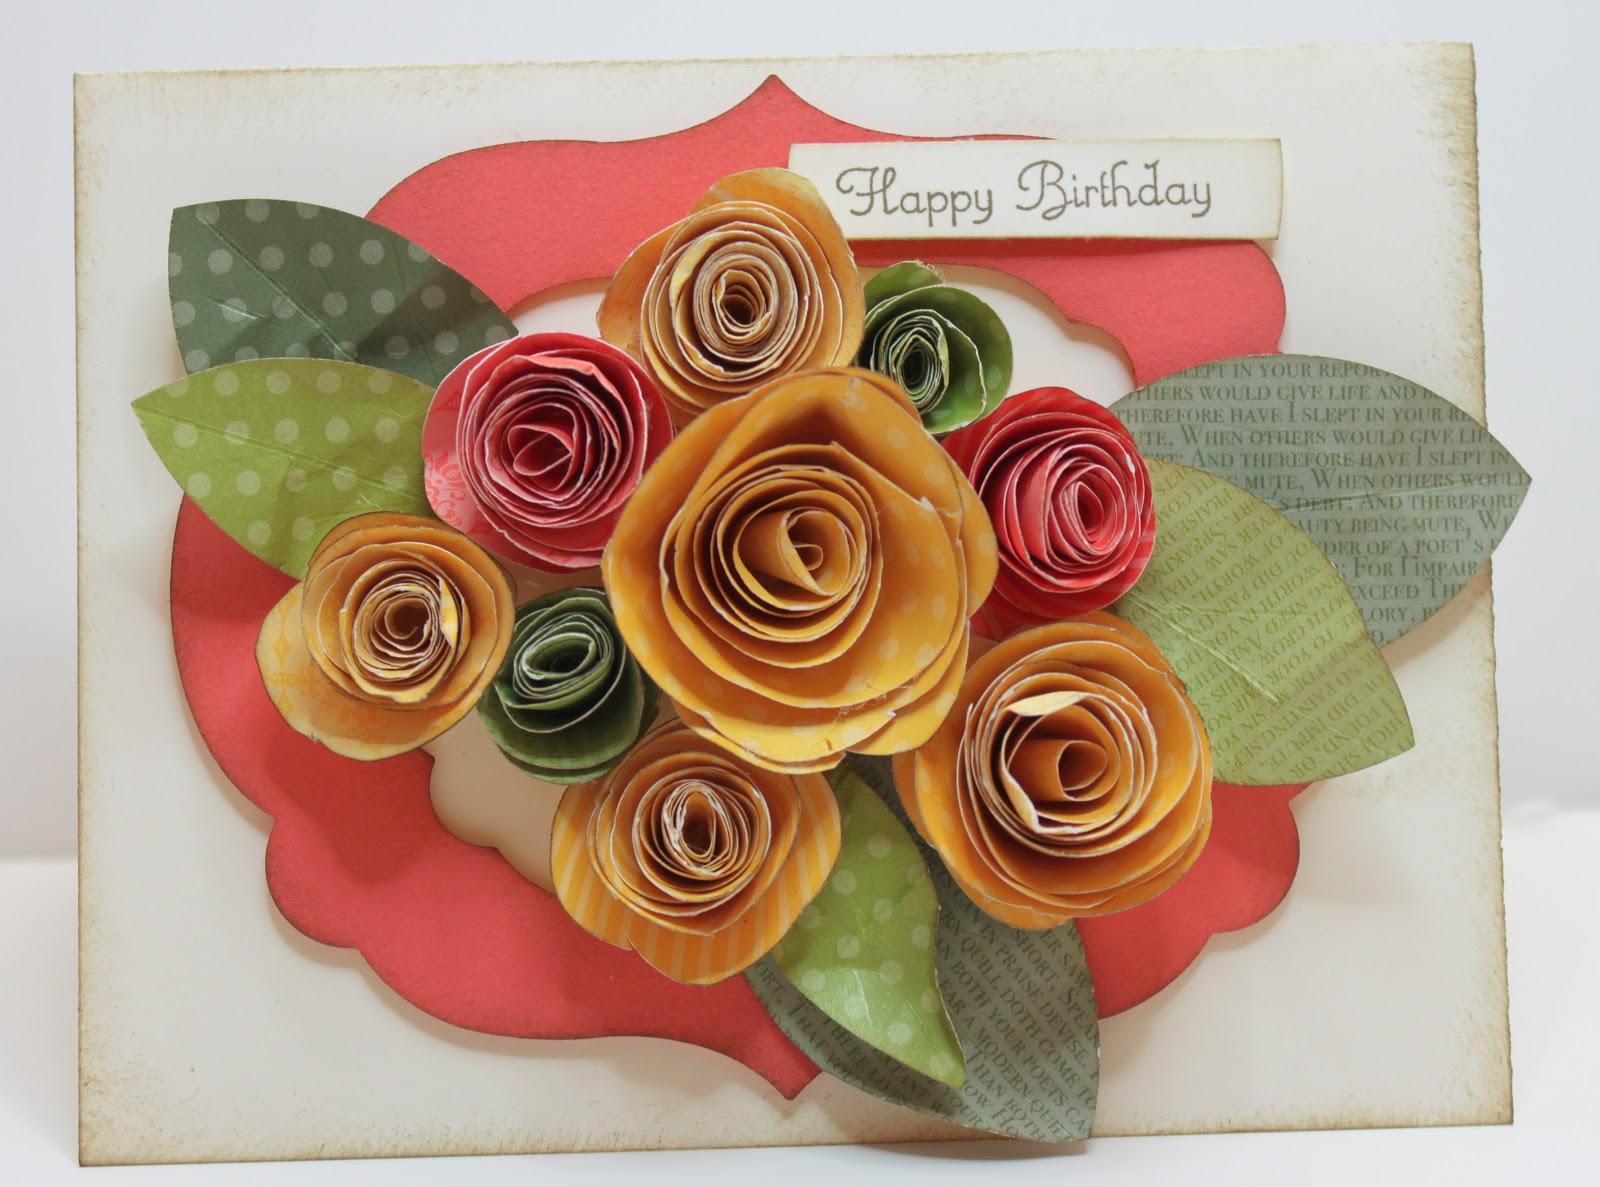
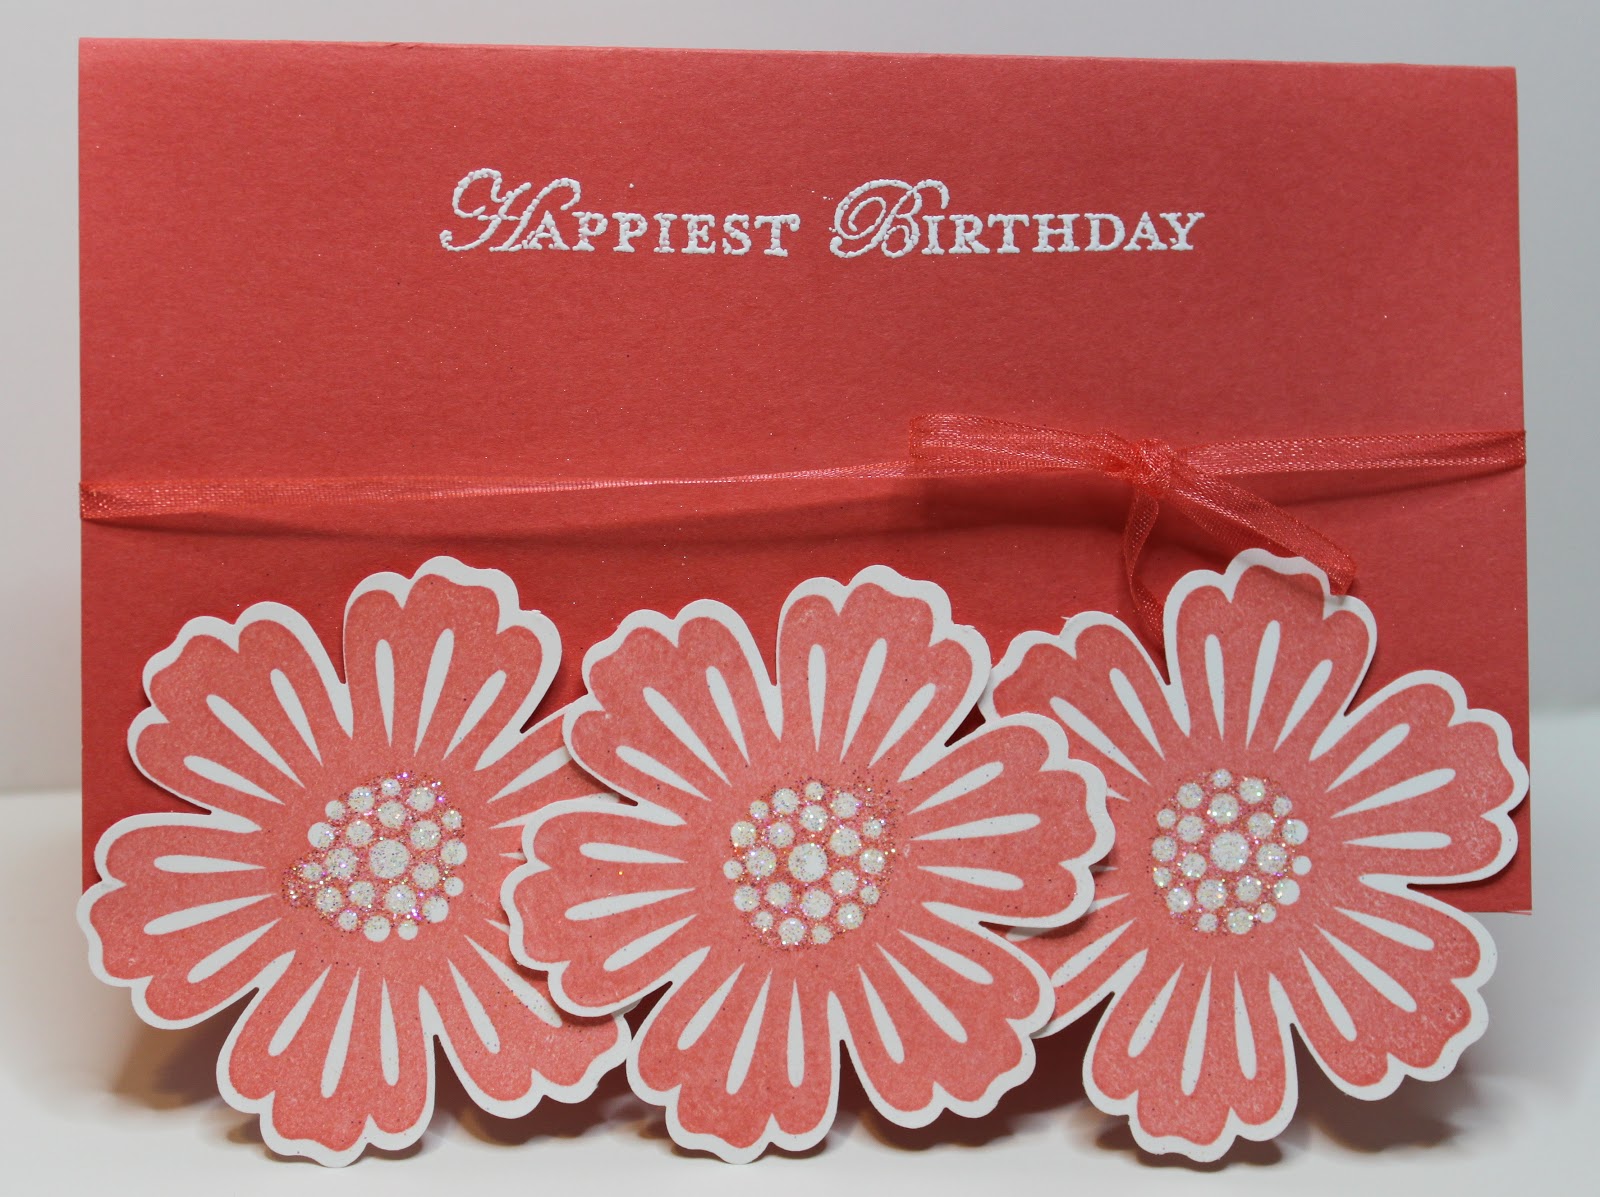
And this was what I came up with.

I started with a piece of Calypso Coral card stock and layered a piece from the Everyday Enchantment DSP pack from the Sale-a-Bration promotion. (I know that’s all over with now but I’ve still got some and it was really nice stuff so it’s just going to creep into the odd project or two!) I embossed an image from Mixed Bunch with White Embossing powder and then used my Blossom punch to create the 3 flowers. The sentiment is from Thank You Kindly and is also embossed in white.

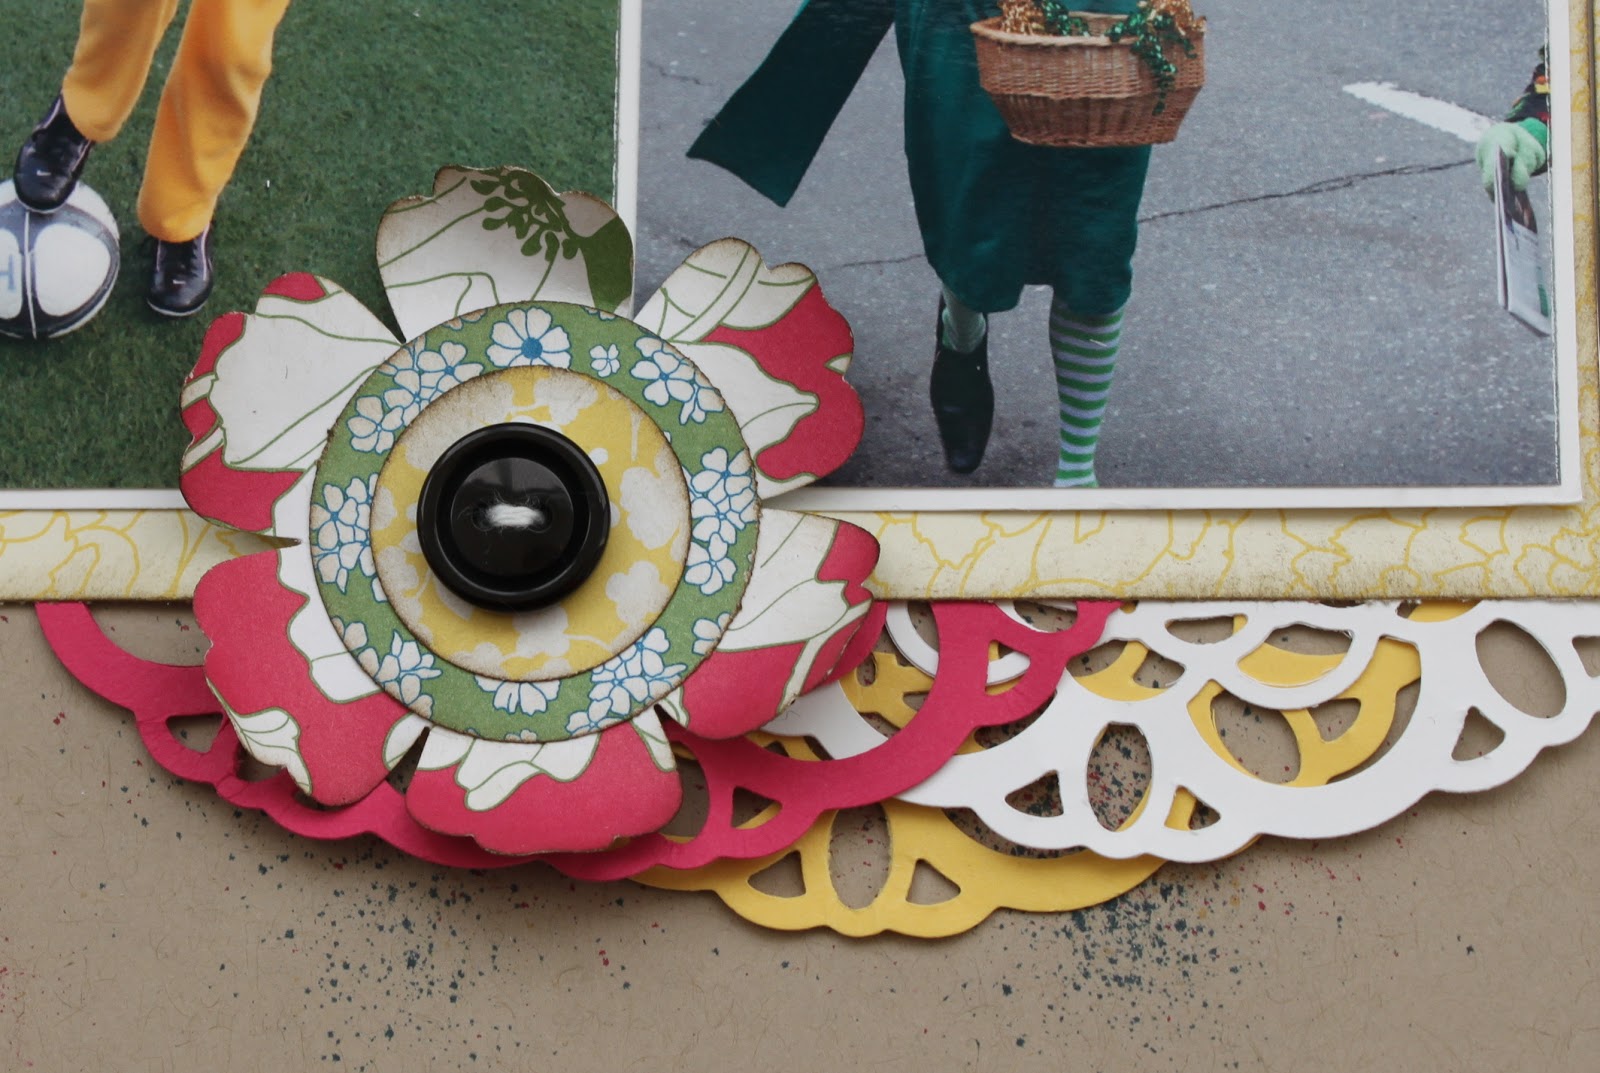
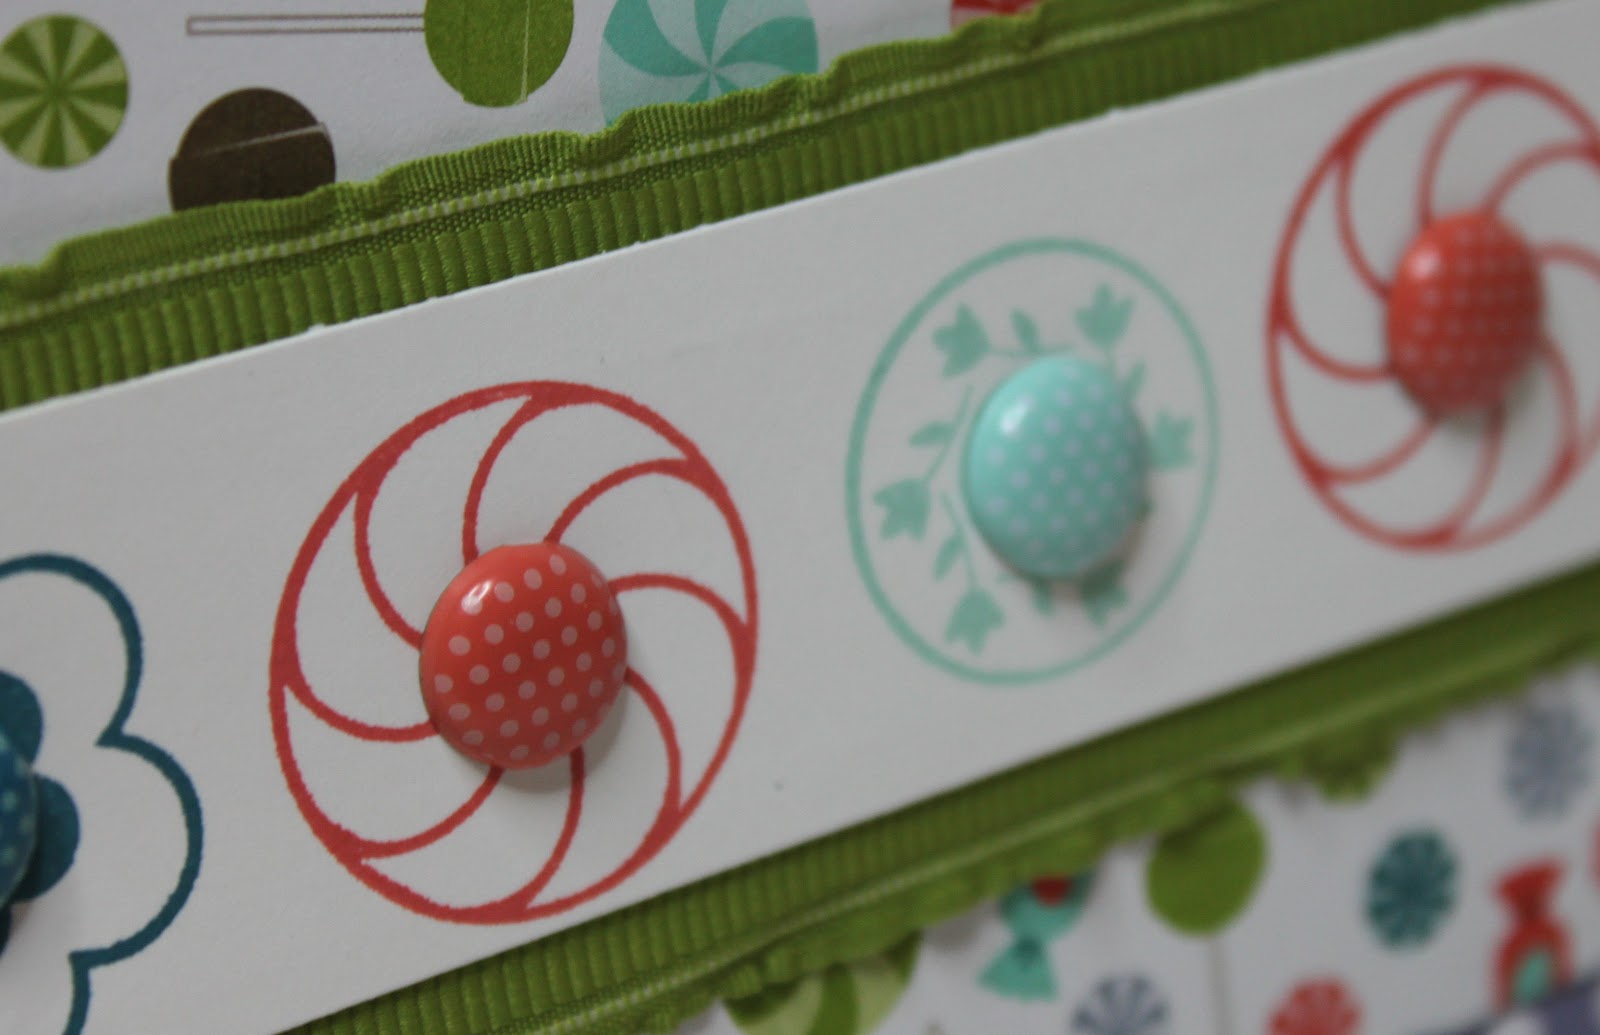
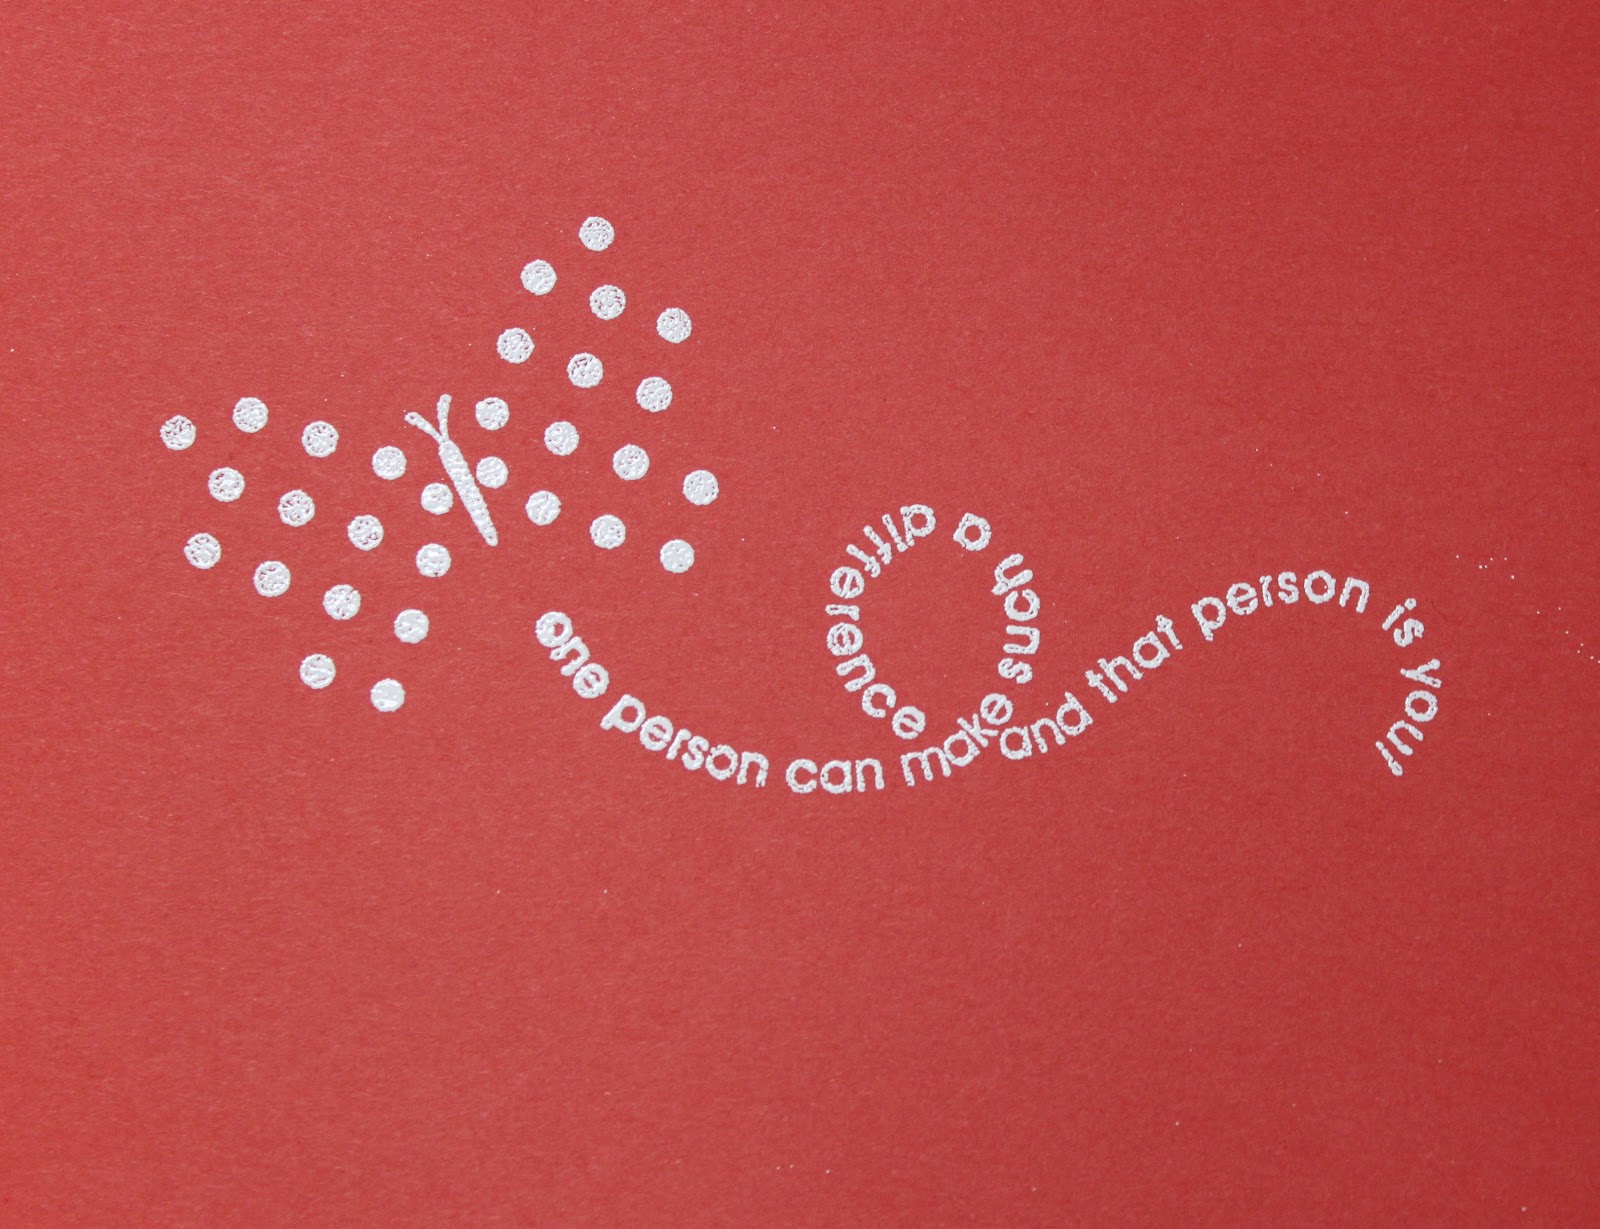
Here’s a close up of the embossed flowers. I added a Large Pearl jewel accent to the middle of the middle flower and tied a piece of (now no longer available) Calypso Coral 1/8″ Organdy Ribbon around the whole grouping.

Inside I embossed a couple images from Flight of the Butterfly.
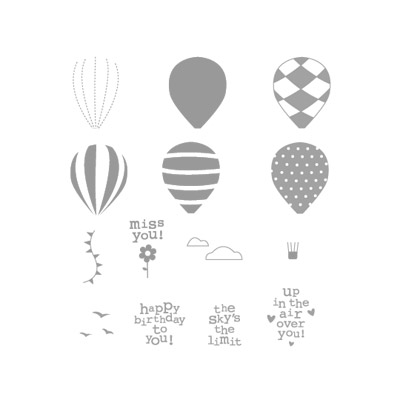
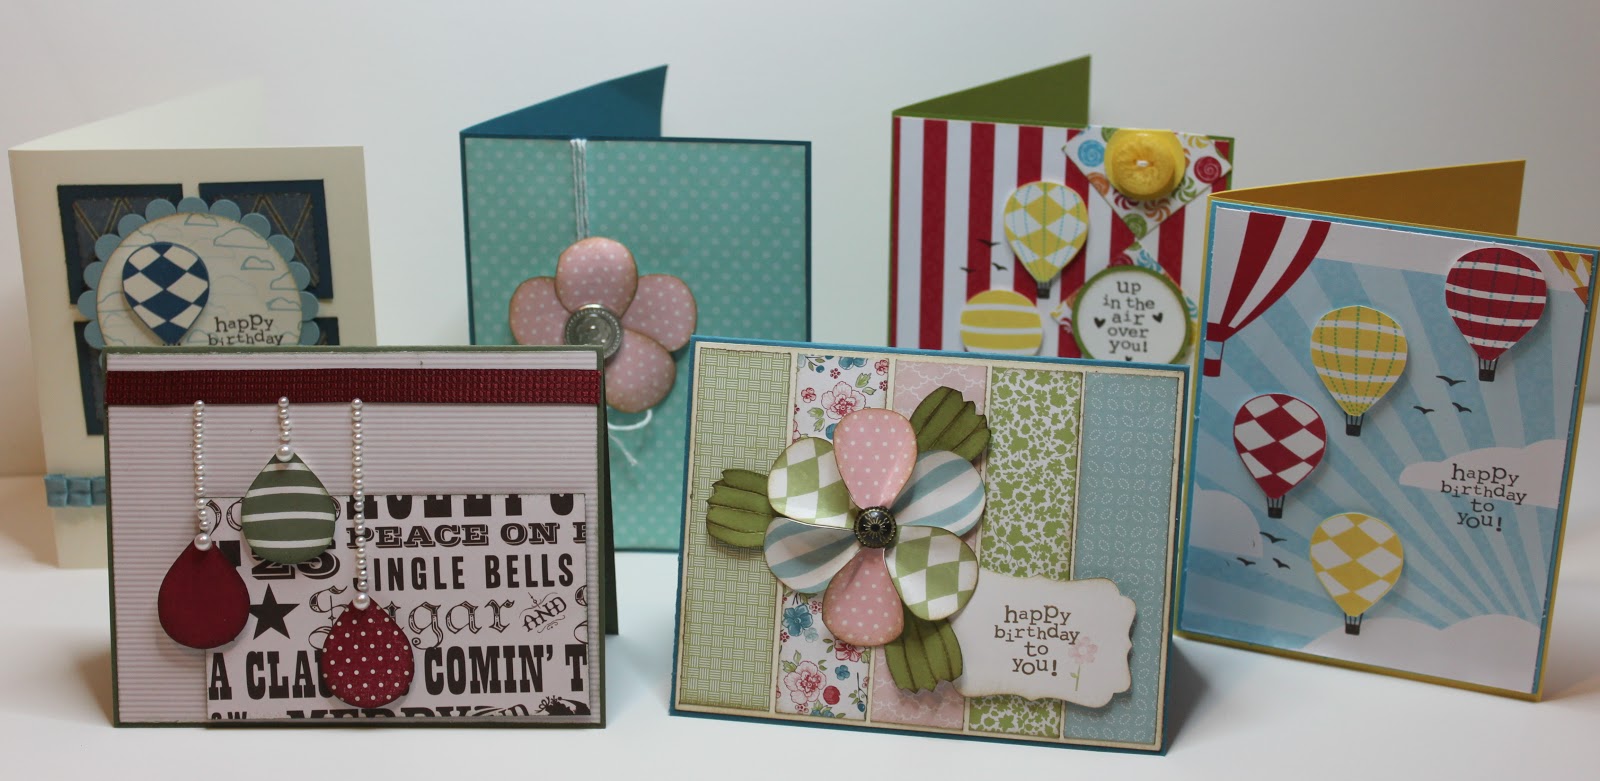
Tomorrow I’ll show you the one I made for her daughter. It features the stamp set I’ll be high lighting in my Birthday Cards for All Ages class on the 13th – more details tomorrow.
Hope you’re having a great Tuesday. I’ve now got to organize a birthday party and find a babysitter for Thursday night! Gack!!

Posted in Cards | 2 Comments

New Class – Mother’s Day Gift Box Set

Come on out and create this gorgeous gift box display for your Mom.


As a Mother myself I know how much we do for our families and am always in awe of all MY Mum did for me. I lost her at the age of 14 and gained a new Mom who is equally dedicated, loving and supportive. I do have problems coming up with what to give her each year though. As a recipient now of many a hand made item, and as an avid Crafter myself (shocking, I know), I turn to what I know and love to inspire me. This year, Ina will be receiving these little boxes filled with her favourite goodies (Licorice All Sorts!).


How about  you? Wouldn’t YOUR Mom appreciate receiving these from you this year? 

Cost – $15.00
Includes: all supplies necessary to make the boxes in the picture above.
Does NOT include: goodies to go inside the boxes!!
Please bring your own scissors, bone folder and adhesives. 

IMPORTANT: RSVP by April 11, 2012 otherwise I can not guarantee I will have enough product to go around! You can RSVP on my website if you plan to pay by cheque or cash or use my Eventbrite site if you’d like to pay by credit card. I will ONLY be ordering enough product for those registered so be sure to sign up early to avoid disappointment!


No matter how old we are we still need to show our love and appreciation for all our Mom’s do and have done for us over the years. This box set can be used as Home Decor to remind your Mom how much you love her after the goodies you fill it up with are long gone. These boxes are food safe so fill them up with your Mom’s favourite chocolates, cookies, candies or anything else she would love.

Hope to see you there!

PS – If you can’t make it but would still like to make this gift set, you can purchase the supplies to make it yourself along with my Step-by-Step instructions for $10.00. This will NOT include the stamped or embossed images though. I encourage you to use your own supplies of stamps and punches to make it your own or order what you need from me.

Posted in Classes, Gift Boxes, Mother's Day | 1 Comment