Iron Stamper – Saving the Best for Last?

Well, I’m not sure if it’s the best of all the projects I made for the competition but it’s pretty unique. Take a look  and judge for yourself.

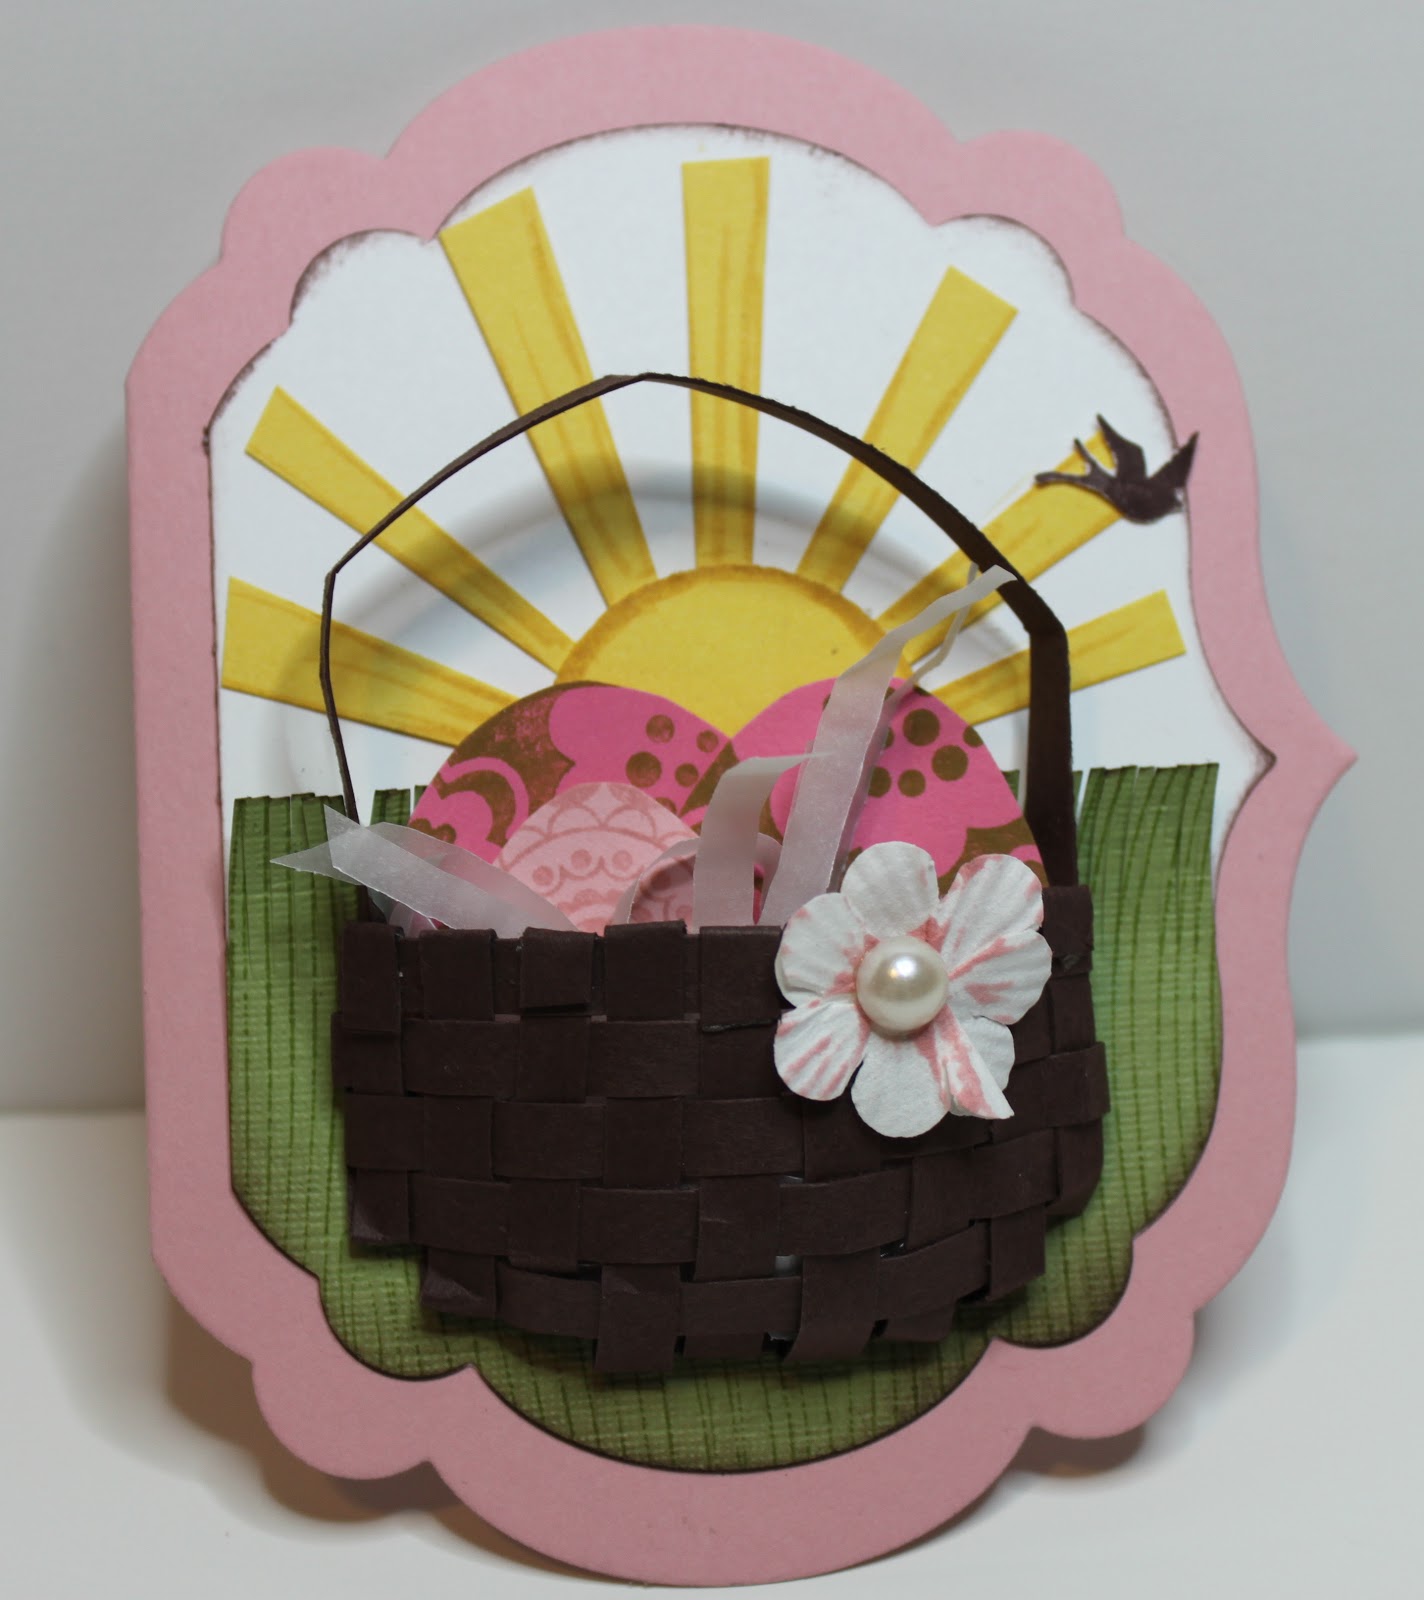
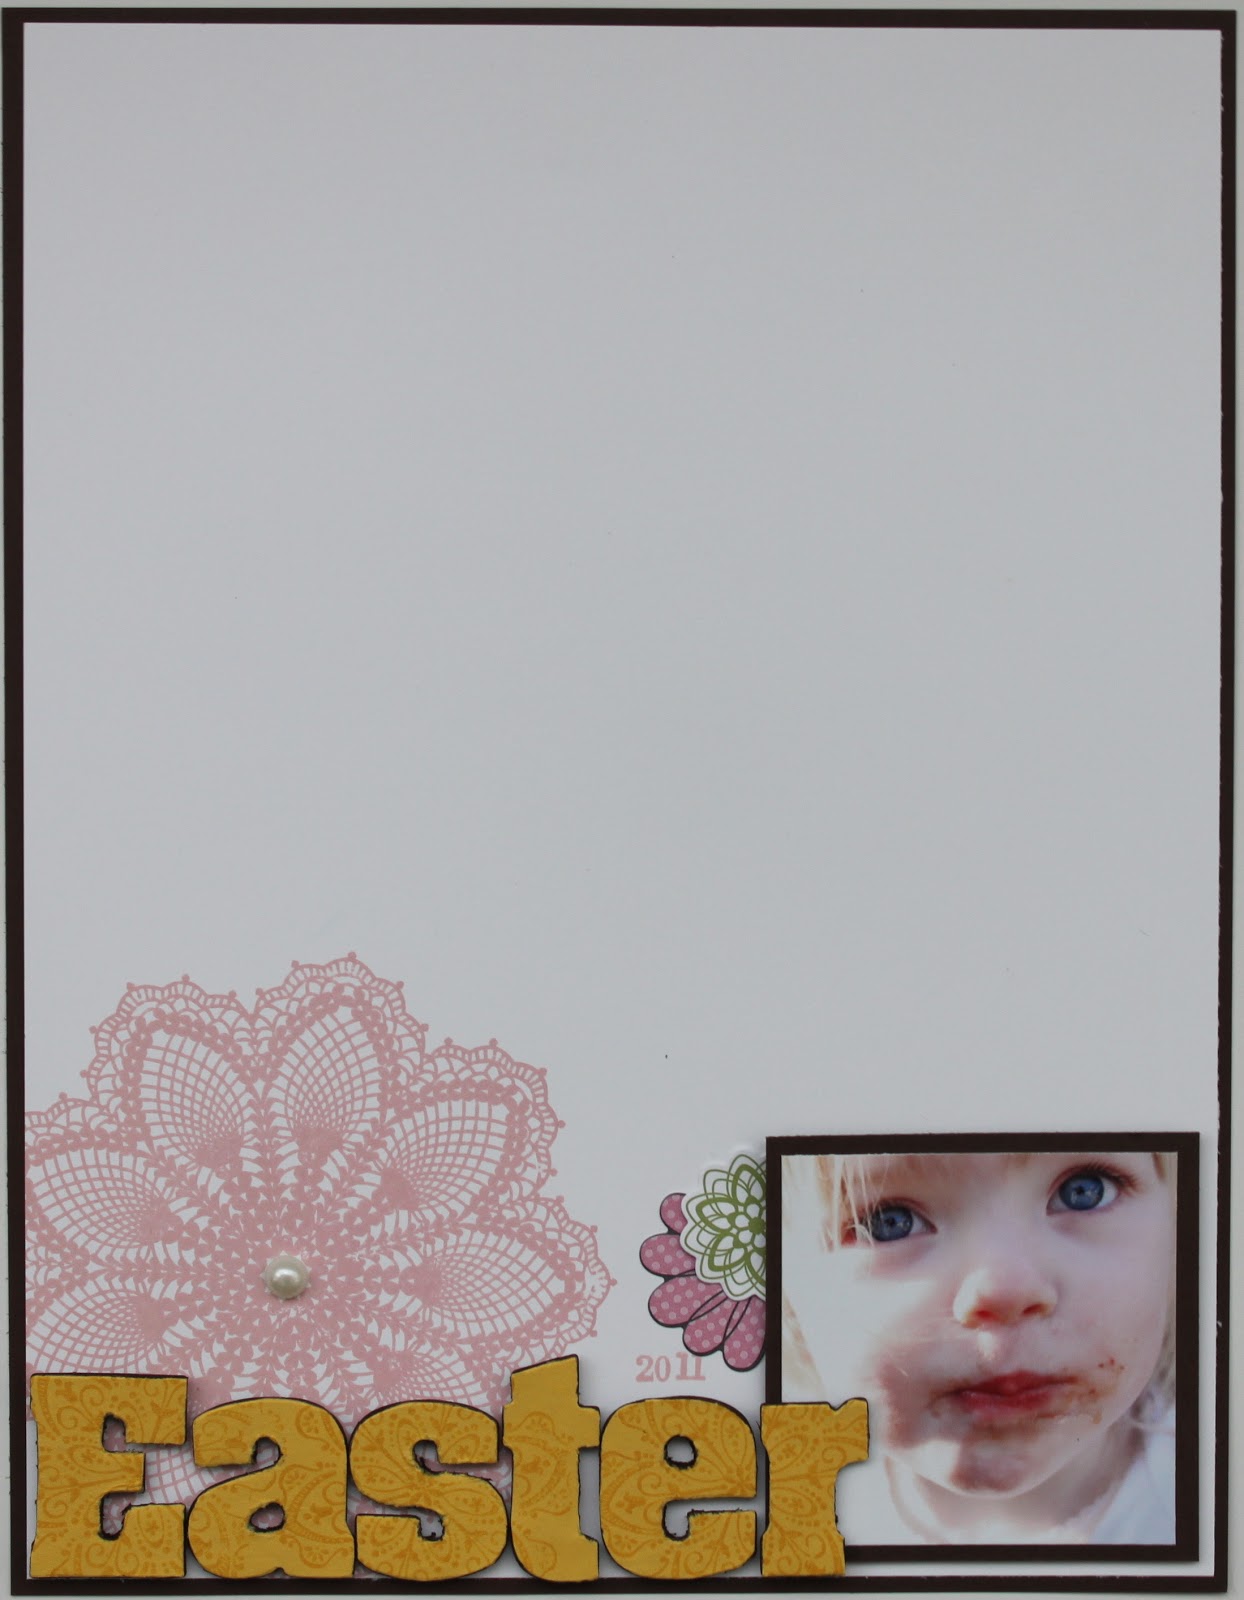
I really wanted to make an Easter card but have no Easter stamp sets so I had to think outside the box. In yesterday’s post I extolled the virtues of the simple card – giving something is better than spending so much time making a card than you end up not giving because you’ve missed the event! I still firmly believe that but to make this card I had to throw out that mentality and GO BIG! I will say that if you are going to go to this much effort with each and every card, you’d better be planning WELL in advance. Something I am not always so good at!

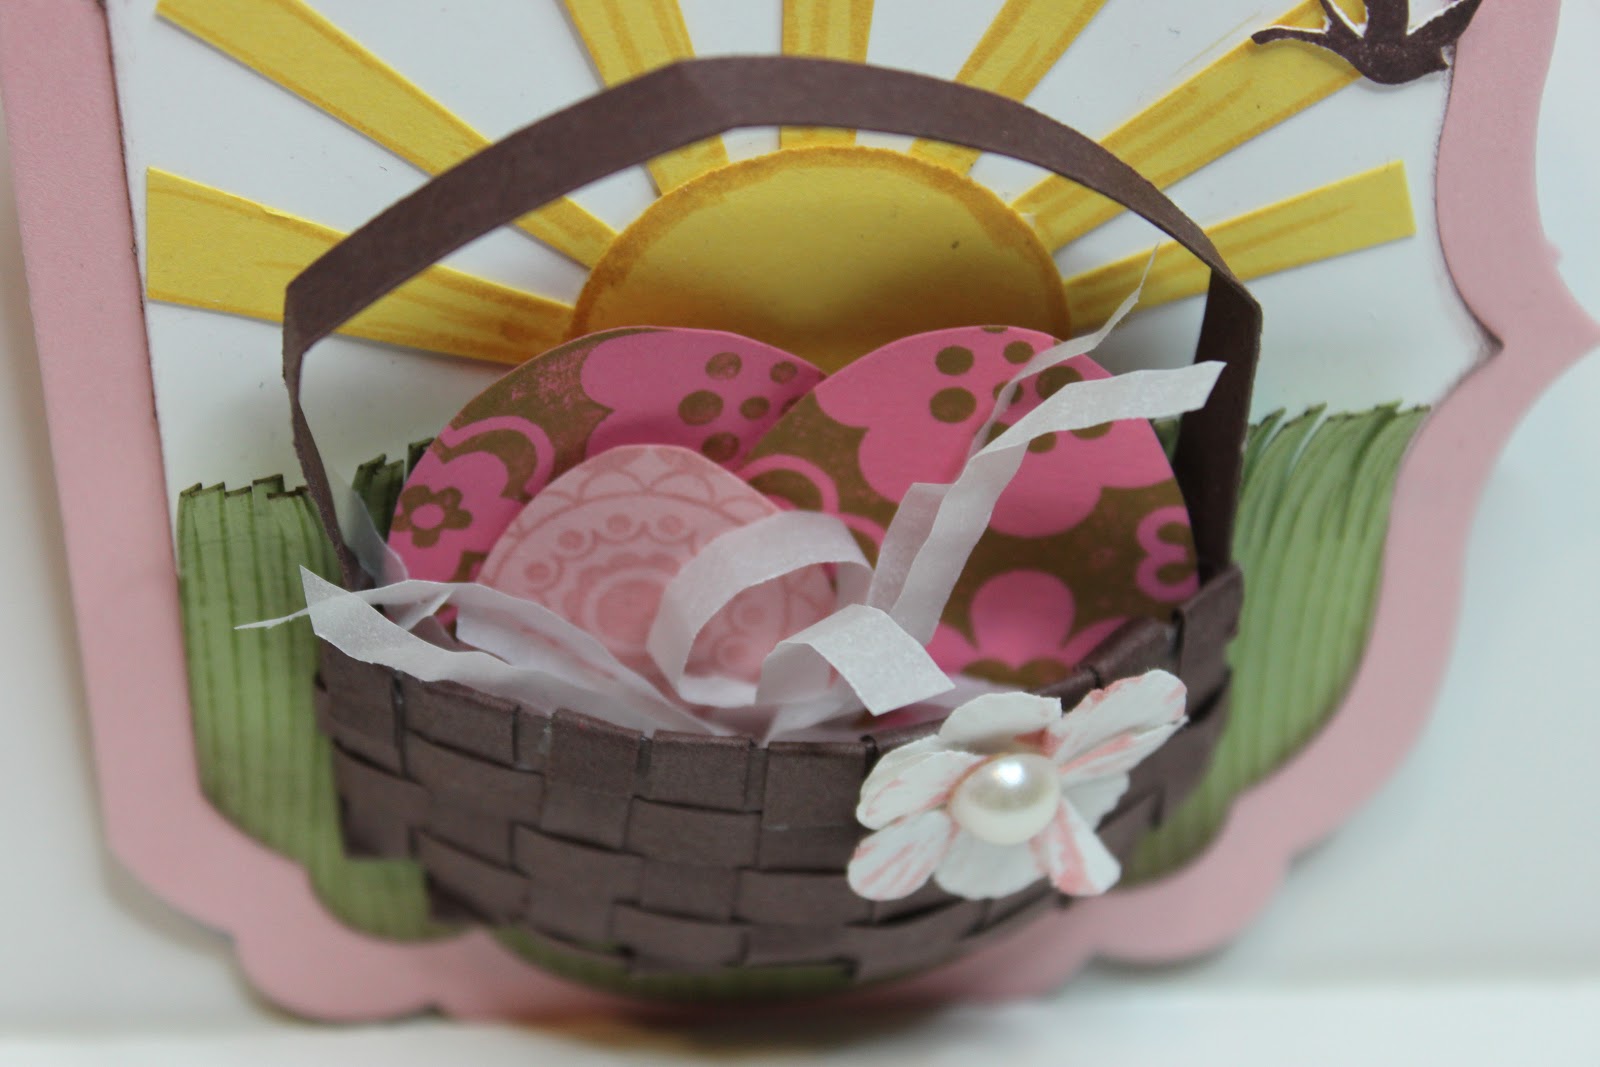
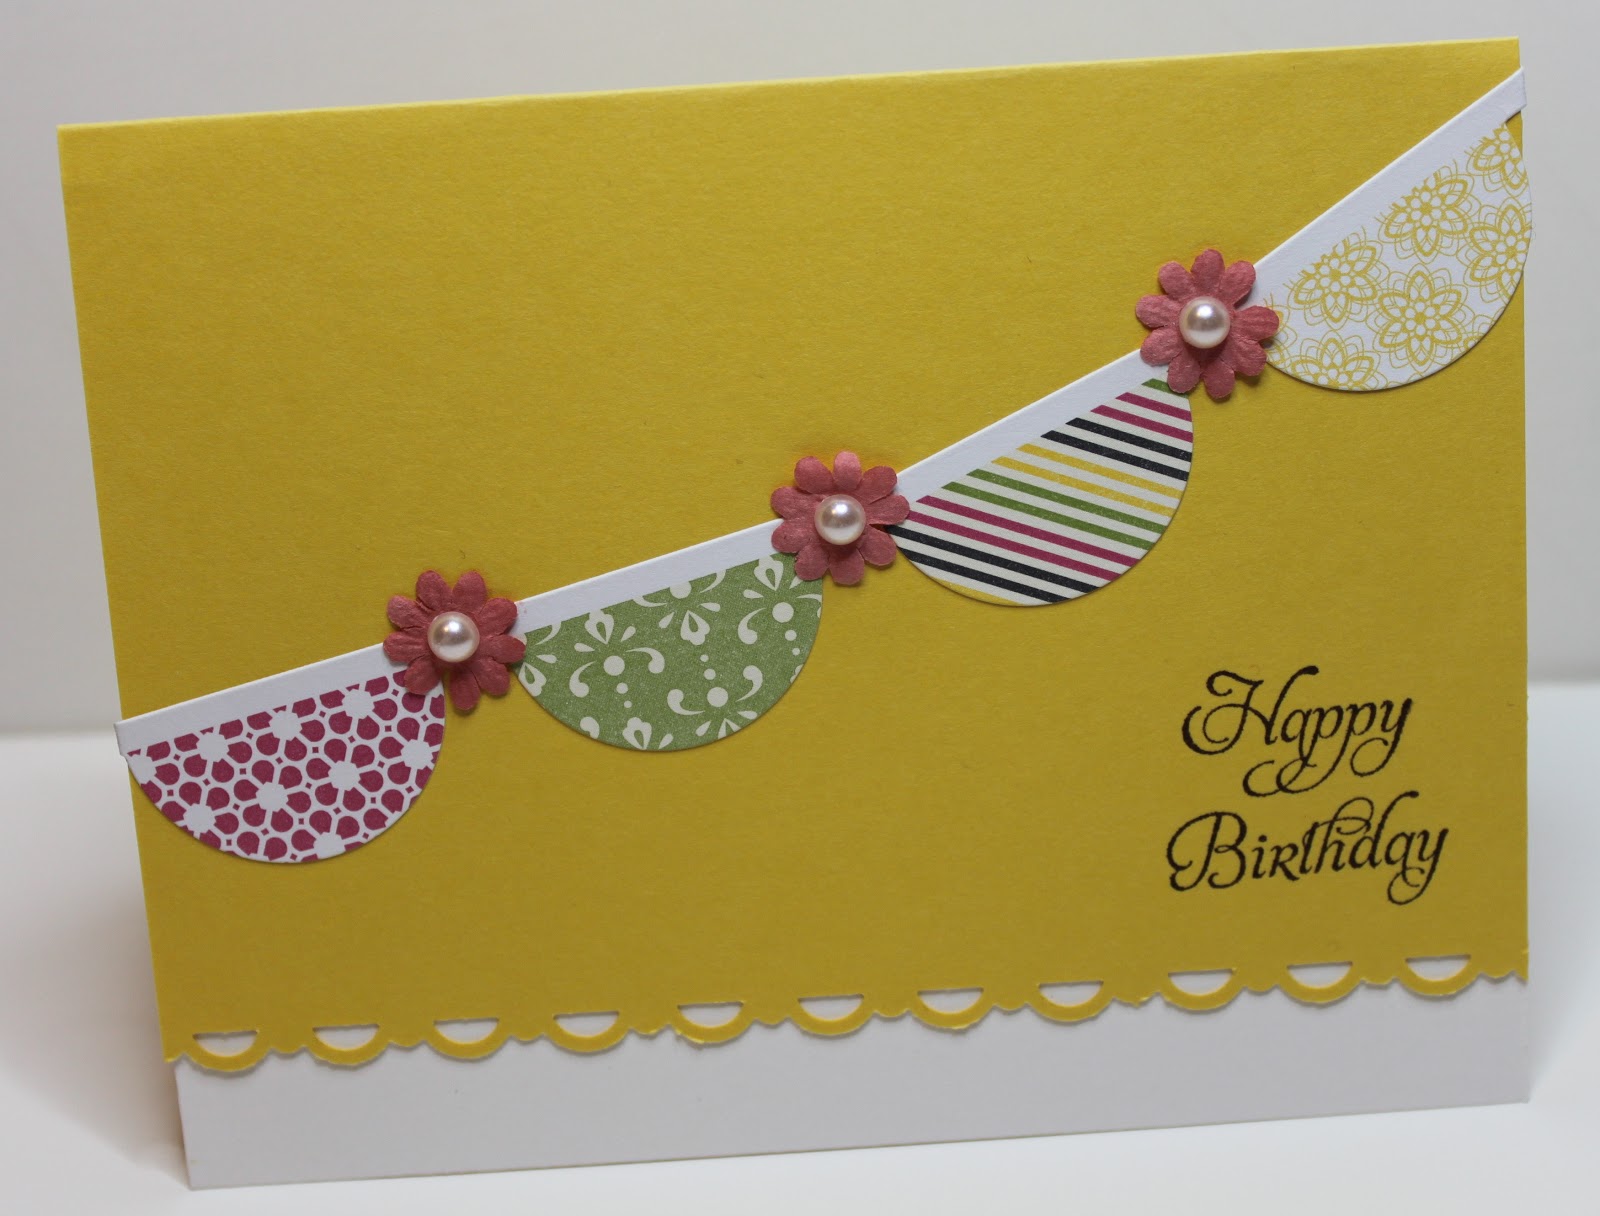
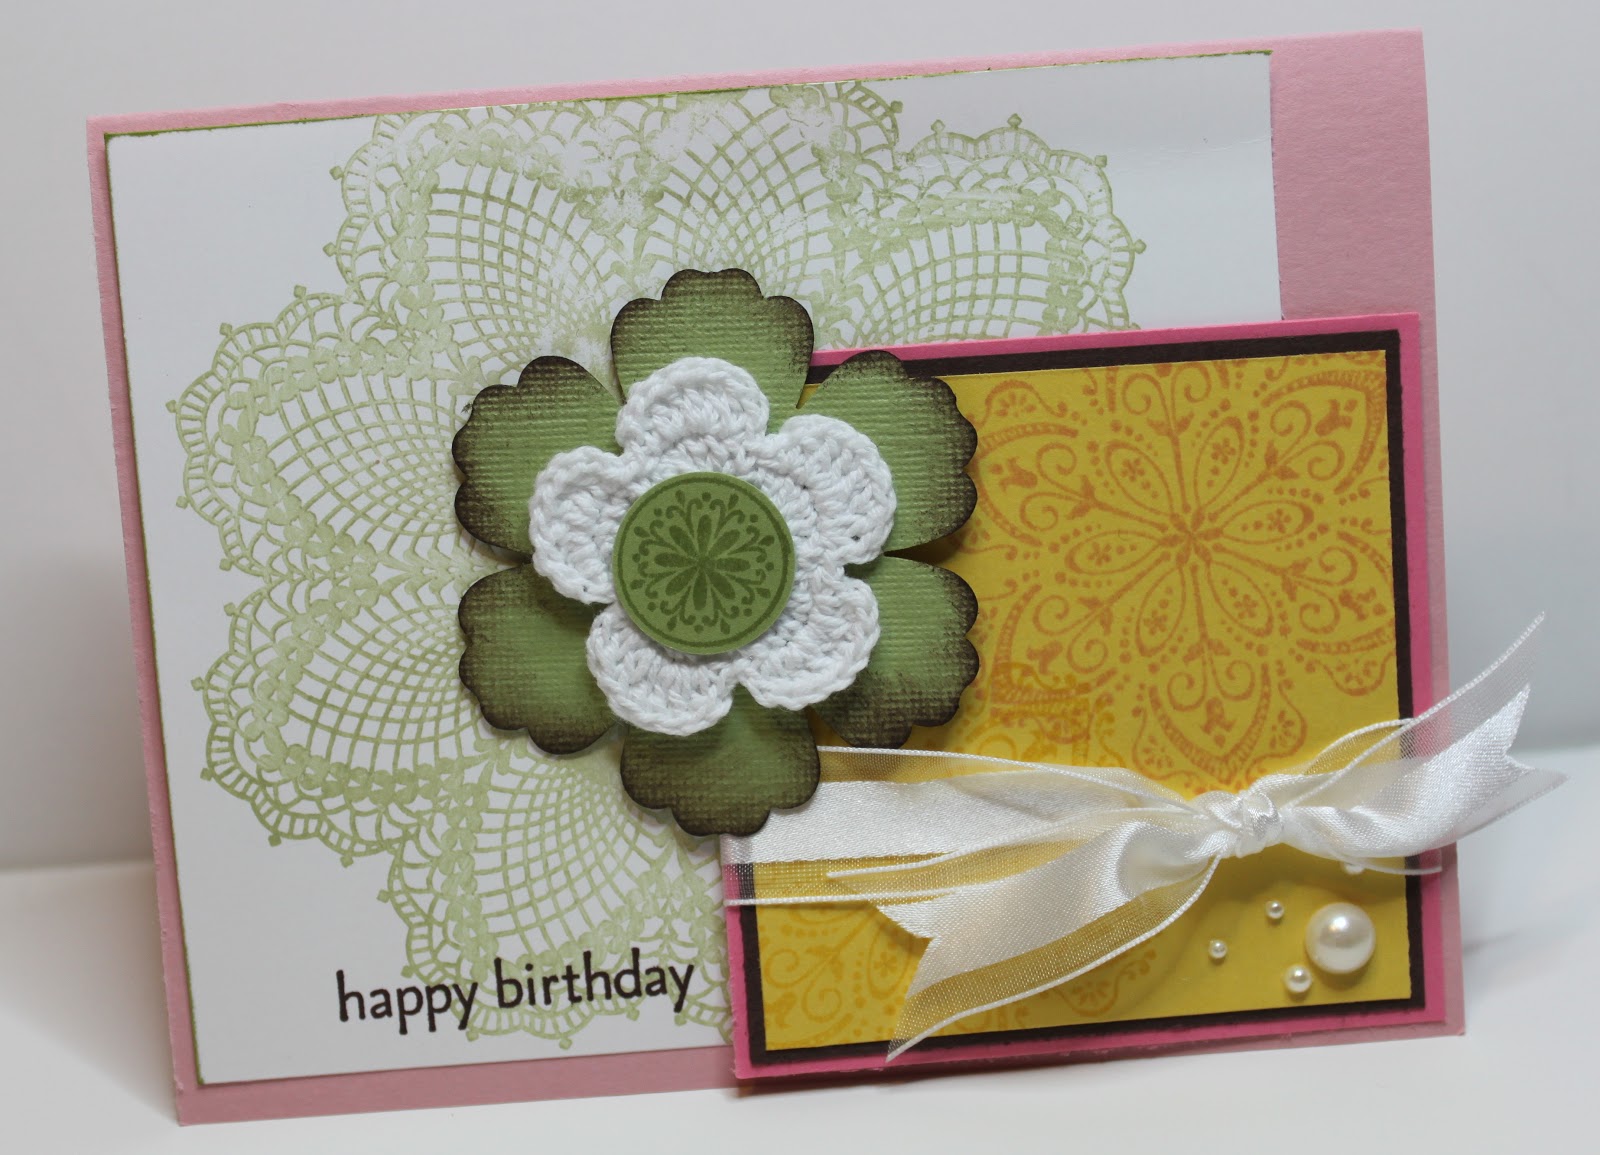
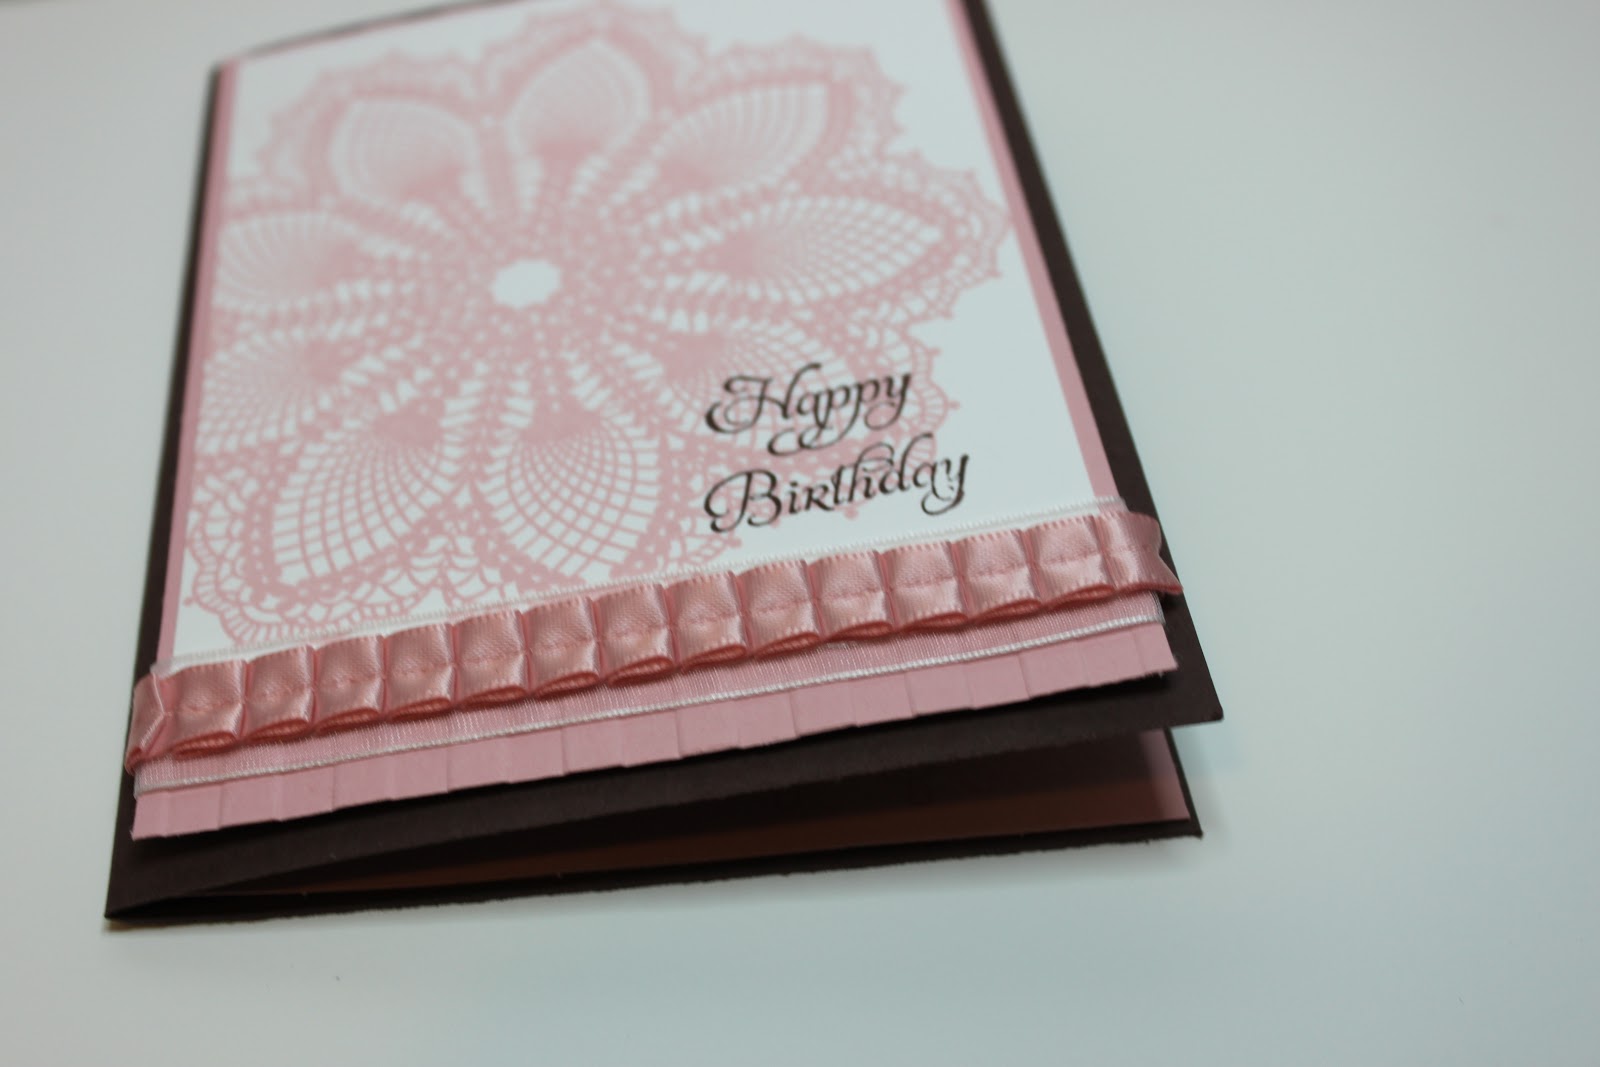
How I made this card: I started with a card base (regular size of 4-1/4″ x 5-1/2″) of Blushing Bride which I ran through my Big Shot using the Labels Collections Framelits Dies being careful to make sure the card still had a folded edge. I then ran a piece of Whisper White card stock through the Big Shot using the next smaller size Labels Framelits and inked the edges. To create the grass I first used my Woodgrain Background stamp on a piece of Lucky Limeade Textured card stock and then cut it out with the same size Framelit I just used for the Whisper White. I figured out where I wanted it to be on my card and trimmed it to size before using my snips to cut the “grass” fringe. I love these scissors for making super precise, super sharp cuts!
Next was the sun. Quite simply I used my 1-3/8″ Circle punch and then cut random “rays” from the same piece of Daffodil Delight card stock. Once I’d adhered them I felt it needed some dimension so I used my Stampin’ Write markers to add life to the sun. Next time I would do this step ahead of time because in the process I made a boo-boo on the white back ground. But, since there are no mistakes in paper crafting only “opportunities for embellishment” I stamped out a little bird from the (now gone forever – so sad!) Elementary Elegance stamp set, cut it out and covered up my mistake.

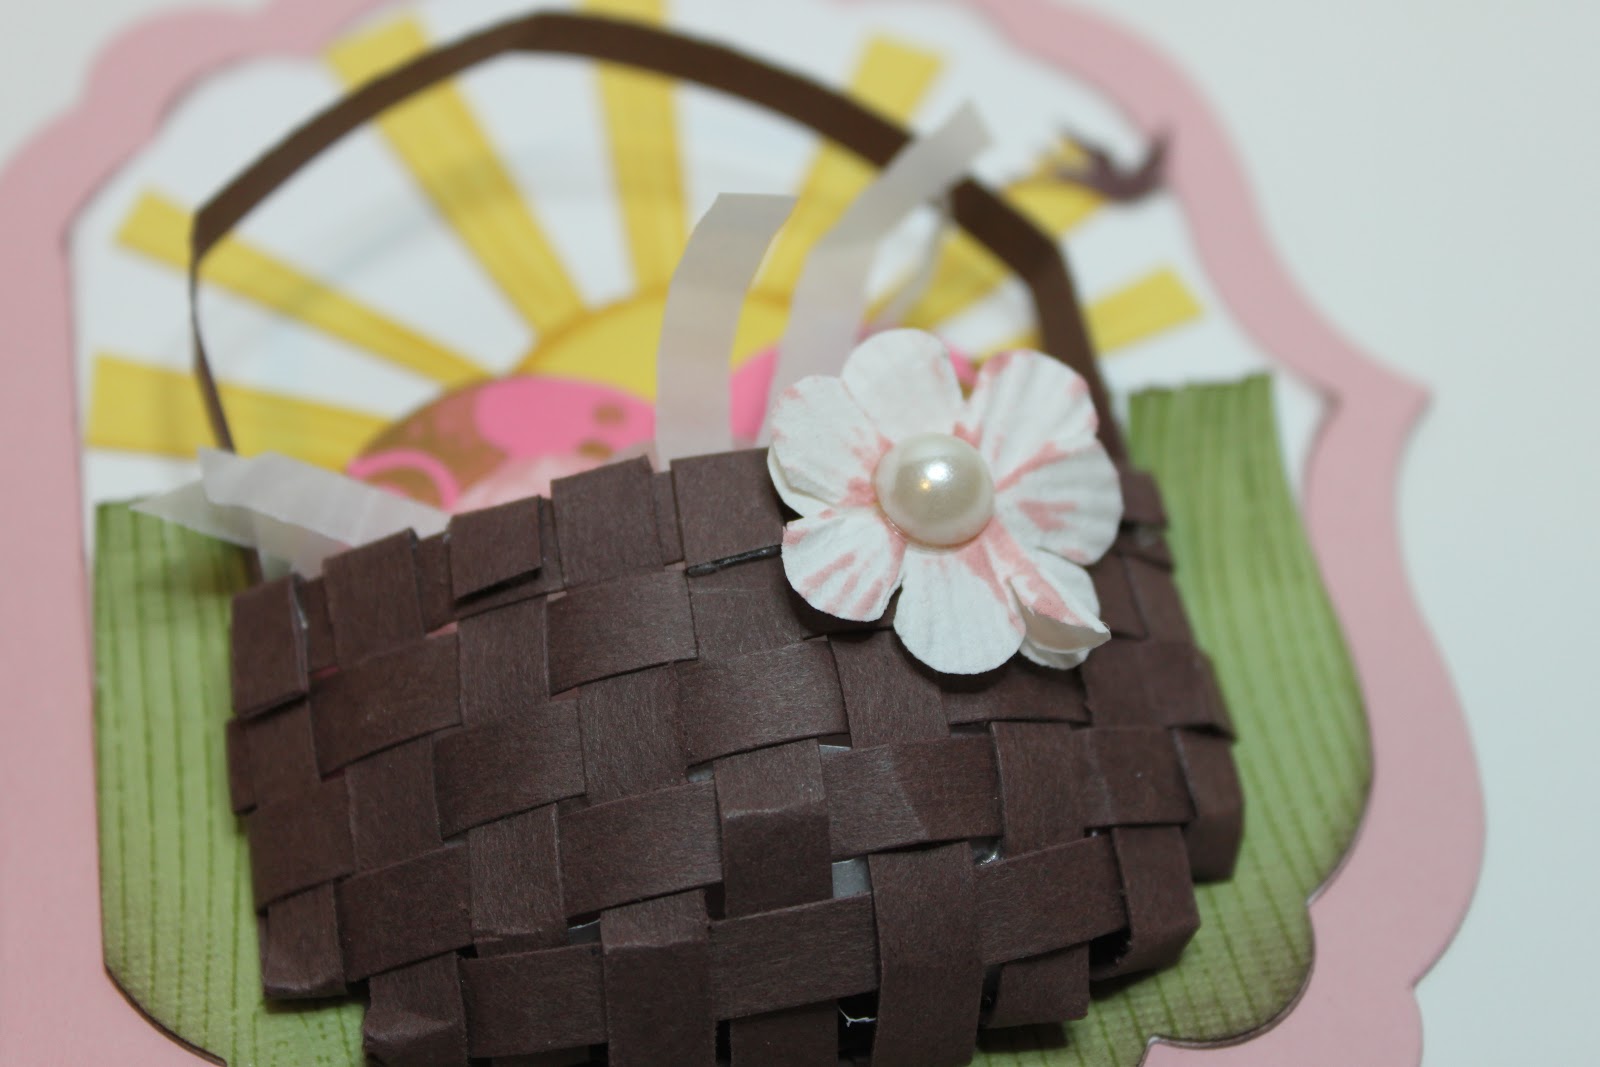
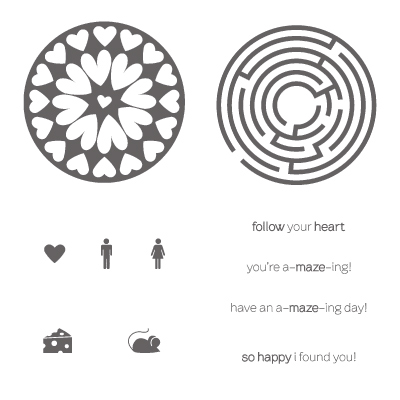
Then I tackled my basket. I will not bore you with the details of how to make this basket (maybe I’ll save it for a class or something) but needless to say it was actually pretty easy. 1/4″ strips of Chocolate Chip card stock, some patience and a good strong adhesive and Voila! The eggs were another challenge. I don’t have an oval shaped punch (now on my wish list!) so I had to cut them free hand. I used my Circle Circus stamp set to create the back grounds and then just cut away. One is adhered directly to the back of the basket and the rest are popped up with Dimensionals. The stuffing is simply some Vellum paper which I ran trough my Crimper and then cut into 1/4″ strips. 
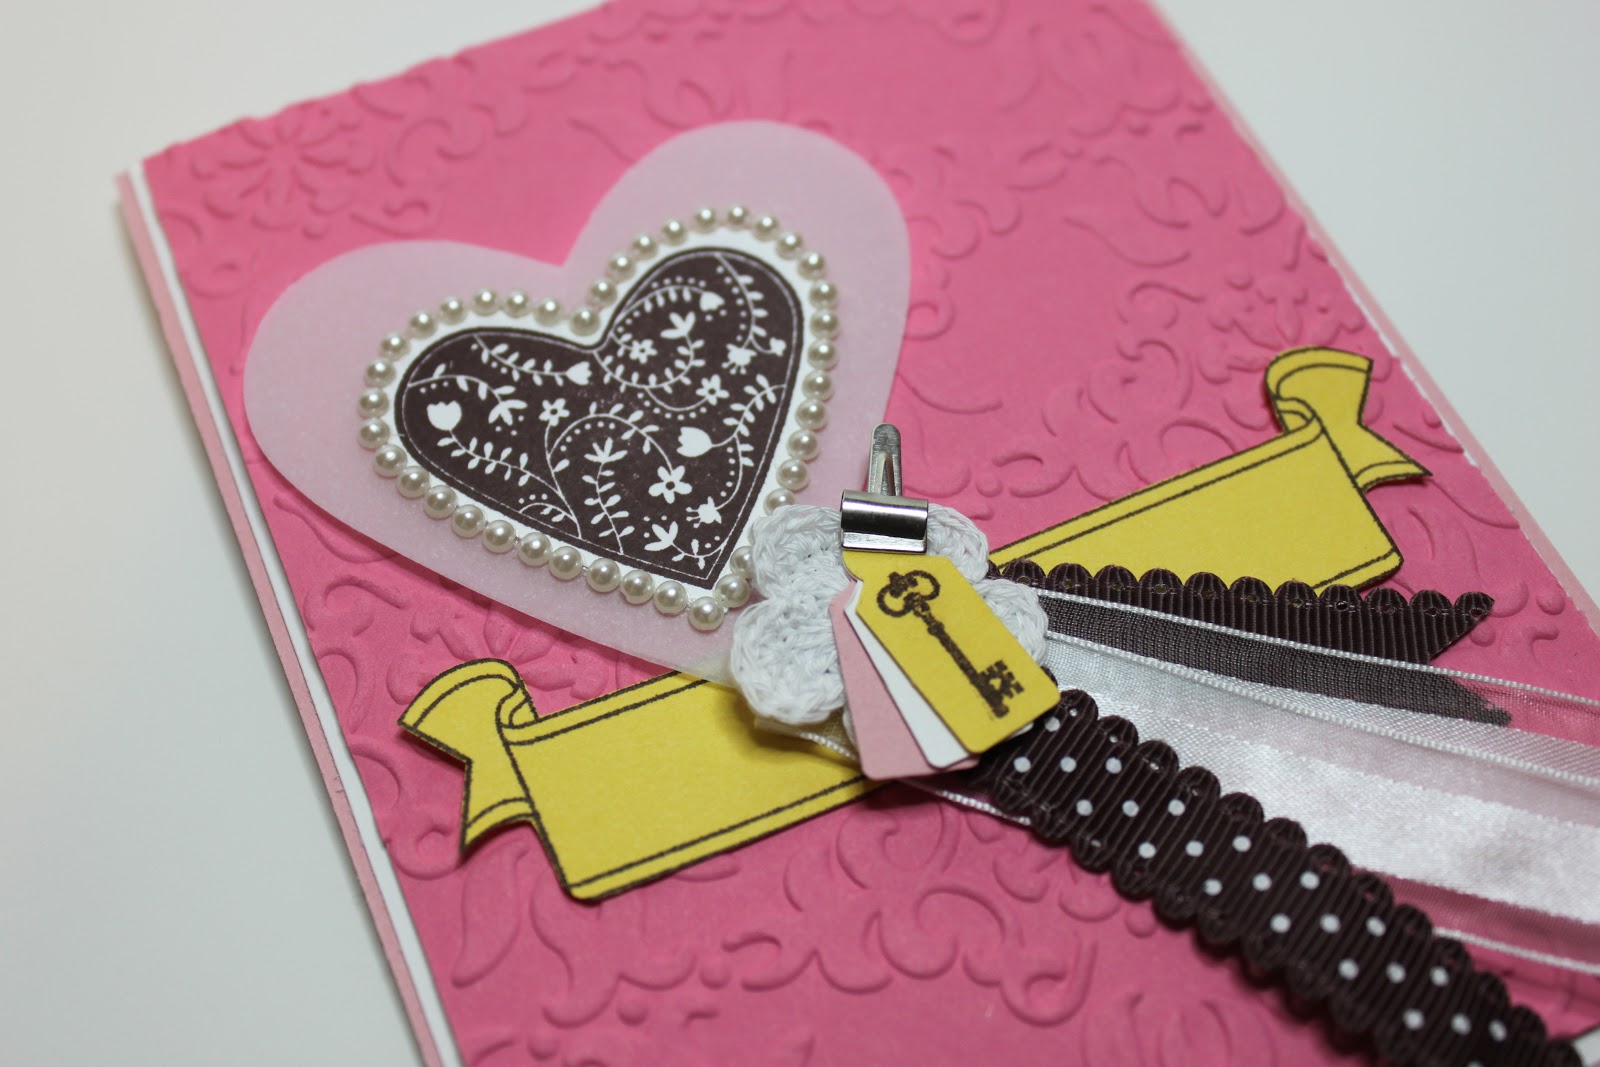
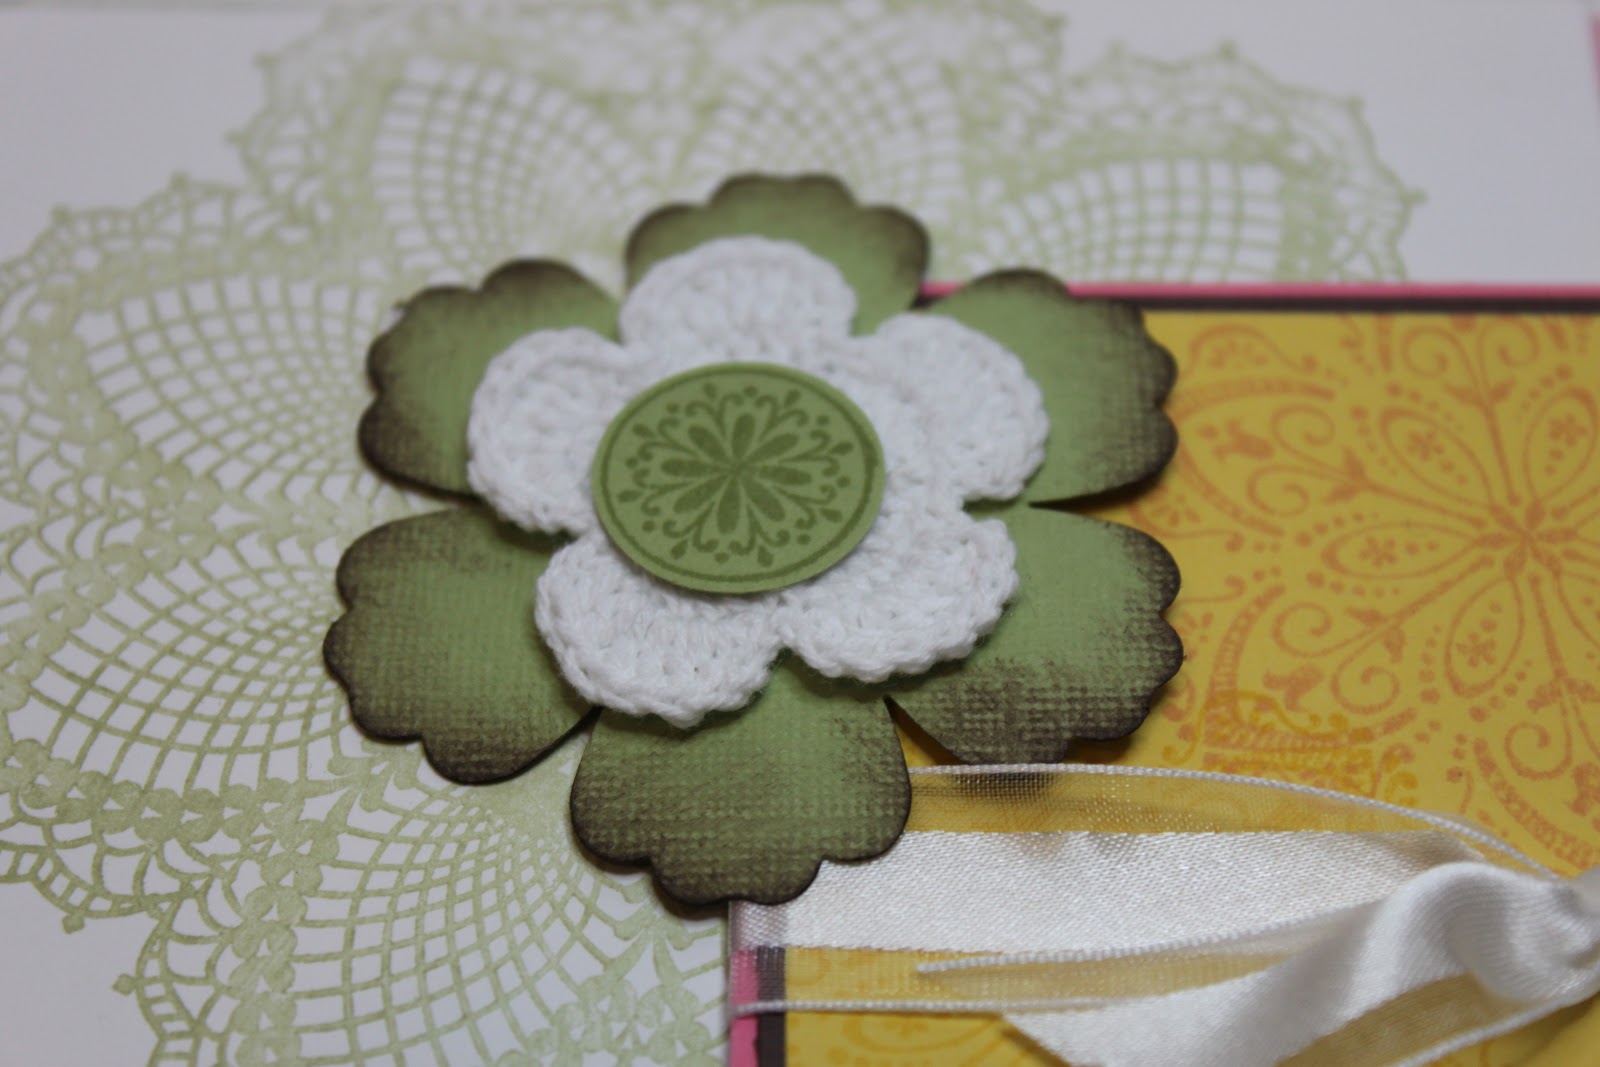
I felt the basket needed one last embellishment so I took one of the medium sized Paper Daisies, lightly dipped it in my Blushing Bride ink and then scrunched it up a bit to make it smaller and more layered. To finish it I added one of the Large Pearls.
Phew! That was a lot of talk about a single card!!
This is the last post in my Iron Stamper series. I do hope you’ve enjoyed it. Do you like seeing a series of projects using the same group of products? Please leave me a comment and perhaps I’ll do more of this in the future. Suggestions of product lines or stamp sets would be appreciated. Remember, all comments left on this series will enter you into the draw for a prize. I’ll give you all a week to make comments and draw a winner on next Sunday (Easter Sunday!!)
For those of you who received my newsletter today I look forward to seeing you when you cash in your coupon! Enjoy the rest of your weekend everyone!

Posted in Cards, Easter, Iron Stamper | 2 Comments

Iron Stamper – Two Quick Cards Today!

Tomorrow will be my last post in this series and will feature an Easter card that will knock your socks off! Be sure to check back!!

Before I get started I just want to remind you that SALE-A-BRATION ENDS TODAY AT 10:59PM PST!!! Get your orders in to me for your last chance to earn free products this year. Check out the brochure to see all the great products you can earn for free by clicking the ad on the side bar to your right. To see what is available in the Occasions Mini or the 2011-2012 Idea Book and Catalogue click on the links – remember a $60 order (pre-tax etc) earns you ONE FREE PRODUCT from the Sale-a-Bration brochure.

Okay, on to today’s cards. These are SUPER simple cards featuring the Spring Fever Simply Scrappin’ kit in the Occasions Mini.

What did I tell you? Super simple, right? But fun and something I’d be happy to receive. What about you?
I started with my Daffodil Delight card base. I trimmed about a 1/2″ off one side and then used my Scallop Trim Border punch on that shortened side. I then backed it with a piece of Whisper White. The banner is one of the border stickers from the kit – cut down to fit. I dressed it up with some of the smallest sized Paper Daisies and a Basic Pearl Jewel accent. To colour the paper daisies (they come in white only) I simply placed them on my ink pad (I think I used Blushing Bride but I can’t remember now – oops!) and used my tweezers to push them into the pad until they were saturated with colour. Allow them to dry thoroughly before trying to glue them to the card OR the pearls to them!!
A simple sentiment (this one is from my absolute favourite stamp set from Sale-a-Bration – Elementary Elegance) stamped in Chocolate chip and your card is finished.
Next up, an Easter inspired card. 

I started with a base of Daffodil Delight again but this time I made a 5″ square card. I layered a piece of the patterned paper from the Spring Fever Simply Scrappin’ kit over top. Then a 3″ circle of the Melon Mambo textured card stock from the kit which I cut out using my 3″ Circle Originals Die and my Big Shot. The rest of the card is made up of various stickers from the kit simply layered on top of each other in a pleasing manner.

The middle one I popped up with Dimensionals for some added interest.
There you are. Two cards which took me probably 15 minutes to make … total!! Sometimes it’s not so much the level of detail or the amount of product you put onto the card but the act of actually sending or giving a card that matters. So having an arsenal of quick and easy cards to pull out when the occasion calls for it is priceless!
Thanks for stopping by. Remember to leave a comment on this or any of the posts in this series to be entered to win a little prize (go here to start at the beginning). Bonus entries if you become a follower or sign up to receive my newsletter. It will be winging it’s way electronically tomorrow and contains a valuable coupon and information about upcoming classes. You don’t want to miss it so enter your email address in the box in my side bar right now!! 🙂
Have a great weekend everyone!

Posted in Quick Cards | 1 Comment

Iron Stamper – Vellum Heart Card

Welcome to my Iron Stamper Series! If you are new to my blog and want to see what Iron Stamper is all about and look at my projects from the beginning, please start with this post.

Today I am show casing a card I ruthlessly cased from the Extraodinarily Talented Kimberly Van Deipen. She used an acrylic heart but I don’t have any of the Window Sheets. What I DO have that I haven’t played with nearly enough, is the 8-1/2×11″ Vellum Paper, so I  made a few changes and came up with this card.

It starts with a card base of Blushing Bride onto which I layered a piece of Whisper White card stock and then a piece of Regal Rose that I’d run through my Big Shot using the Vintage Wallpaper Textured Impressions folder. To Create the heart I first stamped the image from Take It To Heart using Chocolate Chip ink onto Whisper White card stock. I cut it out using the Hearts Collection Framelits dies which I also used to cut out two larger vellum hearts. I layered them all together then surrounded the heart with Basic Pearls Jewel Accents. The packet has a variety of sizes including these small ones that are all glued together in a line. It makes it super easy to create borders like this or swirls and other flourishes.

The rest of the card came together pretty easily. I stamped the banner image from Take It To Heart in Chocolate Chip onto Daffodil Delight and then created my ribbon “tail” with a piece of Chocolate Chip 1/2″ Scallop Dots ribbon and a piece of 5/8″ Whisper White Organza Ribbon. To keep it all together I used a Fleurettes II Accents and Elements and a Mini Library Clip. The three mini tags were made with my Jewelry  Tag punch and Blushing Bride, Whisper White and Daffodil Delight card stock. The key image is from the Sale-a-Bration stamp set Elementary Elegance. This set will go away FOREVER tomorrow!! Place your orders of $60 to receive ONE FREE SALE-A-BRATION ITEM today!

Thanks again for tuning into this series. I really appreciate it!
Remember to leave a comment to be entered to win a prize at the end of the series and become a follower so you don’t miss out on any of my fun projects. As I said above, Sale-a-Bration ends tomorrow so place your orders with me or through my on-line store today to receive FREE ITEMS with every $60 you spend. I’m not sure if I’ve mentioned it yet or not, but if you have ever thought about becoming a Stampin’ Up! Demonstrator and sharing YOUR love of stamping and paper crafting with your friends, the Starter Kit is on sale during Sale-a-Bration. It’s only $150 right now (valued at over $450 that’s like getting $300 worth of FREE PRODUCT!!) and you also get a free pack of Designer Series Paper OR a free Digital Download EVERY MONTH FOR A YEAR!  That is some serious savings!! For more details click here or email me and I’ll help you get started.
Have a great Friday everyone!

Posted in Cards, Iron Stamper | 3 Comments

Iron Stamper – You’re A-Maze-ing Card

Hi there. Thanks for continuing to check out my Iron Stamper submissions. If you’re new to this series and want to start at the beginning please go here.

Today I am showing you the card I made using the Maze Game piece from the Occasions Mini.

I’ll admit to being totally stumped when I saw the Maze in our Iron Stamper kit. There is a coordinating stamp set which is really cute – mouse, cheese, … let me show you.
Now, I don’t own this stamp set but I really wanted the image so … I took the catalogue, colour photocopied it, cut it out and voila! My card was born! I know, I know, this is technically cheating but … I prefer to think of it as being resourceful!! 🙂

My card base is a piece of Daffodil Delight card stock. I then took a piece of Whisper White card stock, ran it through my Big Shot with the Perfect Polka Dots Textured Impressions folder and layered it onto a piece of Regal Rose card stock. The hole is made with my 2-1/2″ Circle Punch. It was a bit tricky punching through all the layers but with a little effort I was able to. The Stampin’ Up! punches are super durable!!
I dressed up the front of the card with layers of Chocolate Chip, Daffodil Delight and Regal Rose card stock punched using my Scallop Edge Border Punch and a piece of the 3/8″ Pleated Satin Ribbon in Blushing Bride for some textural variety and a bit a sheen.
The sentiment was cut out of the photo copy I made earlier and layered onto Blushing Bride and then a Chocolate Chip banner I made using the Take It To Heart stamp set from the Occasions Mini.

Here’s a close up of the Maze Game peaking through the card front. I added some Regal Rose and Daffodil Delight hearts made with my Fashionable Hearts Embosslits  Die.
Thanks again for stopping. Please leave a comment so I know you were here and to get you into the running for a little prize I’ve decided to hand out at the end of this series. If you liked what you saw and don’t want to miss the rest of the series please become a follower!
I also wanted to remind you that time is rapidly running out to get FREE SALE-A-BRATION ITEMS WITH PURCHASES OF $60.  Sale-a-Bration ends on Saturday March 31st so there are only a few days left!! 
And finally, sign up to receive my newsletter by entering your email address in the box in the side bar and you will receive a FREE COUPON with April’s newsletter.

Posted in Cards, Iron Stamper | 1 Comment

Iron Stamper – Class-Style Card

Welcome back! Are you enjoying this series? Please leave a comment and at the end of the series I will draw a name and send them a little goody bag!

Today we are taking a look at a Class-Style Card. This is the type of card that had more layers and uses more techniques so it generally doesn’t get done during workshops purely due to time constraints. This one takes the general premise of my 5-Minute Card from yesterday and adds to it. 

As you can see, I’ve started with the Hello, Doily stamp on the base piece of Whisper White card stock. This time though I’ve stamped it in Lucky Limeade. Then I created the embellishments. 
First up is the layered square. I started with a piece of Daffodil Delight card stock which I stamped with an image from Mixed Bunch in both Daffodil Delight and Blushing Bride. I layered it onto a piece of Chocolate Chip and then a piece of Regal Rose. I wrapped the whole thing with the 5/8″ Whisper White Organza Ribbon, tied a knot, added some Basic Pearls and a Large Pearl and called it done!

Here’s a close up of the pearl accents, ribbon etc.

Once I attached the square embellishment I knew I wanted to add another embellishment into the middle of the doily image. I punched out a Blossom, inked the edges with Chocolate Chip then layered on a Fleurettes II Accents and Elements and a stamped Lucky Limeade circle (image taken from Mixed Bunch).
There you go. Hopefully I’ve shown you how you can take a simple card and jazz it up to make it whatever you want it to be.
Reminders: this is the FINAL WEEK to earn FREE Sale-A-Bration products with every order. Purchases of $60 get you one free item!
Sign up for my newsletter in the side bar to receive a FREE COUPON with April’s newsletter.
Leave a comment to win a prize at the end of this series – become a follower so you don’t miss out on any of the series!

Posted in Cards, Iron Stamper | 2 Comments

Iron Stamper – 5 Minute Card

Now we’ve covered the big projects, it’s time to turn our attention to the cards I made to fill my little suitcase card keeper. First up is the 5-minute card.

Can I just take a minute to gush about this stamp? It’s the Hello, Doily stamp and every time I use it I fall back in love with it. I really hope it doesn’t get discontinued at the end of May!!
Anyway, back to the card. I started with a base of Chocolate Chip card stock then added a layer of Blushing Bride card stock that I’d run through my Bog Shot with the Stripes Textured Impressions folder. The doily image was stamped in Blushing Bride onto Whisper White card stock – slightly off the edge. The sentiment is from the Sale-A-Bration Elementary Elegance stamp set (LAST WEEK TO GET FREE PRODUCTS LIKE THIS WITH YOUR PURCHASES!) and is stamped in Chocolate Chip.

Along the bottom of the image I layered a piece of 3/8″ Pleated Satin Ribbon in Blushing Bride over a piece of 5/8″ Whisper White Organza Ribbon. These are wrapped slightly around the edge of the Blushing Bride layer and then the whole thing is popped up with Dimensionals. 
Just one two last notes: after I took this picture I decided to add a Large Pearl to the centre of the doily image. Also, the inside of the card has a piece of Blushing Bride card stock stamped with an image from Delicate Doilies (also in Blushing Bride – for a barely there subtle look).
Thanks for stopping by! Remember to follow my blog to get all the upcoming posts in this series and if you’re interested in my monthly newsletter full of news from Stampin’ Up!, my classes and fun tips, please add your email address into the box on my side bar. April’s newsletter will contain a valuable coupon that you won’t want to miss!!
See  you tomorrow!!

Posted in Cards, Iron Stamper, Quick Cards | 2 Comments

Iron Stamper – Progressive Layout

Welcome back! Next up in my Iron Stamper series is my layout. This is called a Progressive layout as you start with a small sized layout (in my case an 8×8 layout) which you mount onto increasingly larger sizes until you finally have a 12×12 layout.

Here’s the finished layout.

Isn’t she gorgeous? That’s my youngest, Christine, taken last Easter on an egg hunt. Just love the close up of her chocolate covered face!!

Here is my 8×8 page. 
I started with an 8×8 piece of Blushing Bride card stock to which I added a strip of one of the patterned papers from the Spring Fever Simply Scrappin’ kit and a punched border strip of Chocolate Chip. The photo is mounted onto a piece of 5×7 Whisper White card stock. Across the bottom I stamped and embossed my favourite image from the Mixed Bunch stamp set. I used my Jayne’s Type Alphabet stamps for the ‘C’ which I mounted behind the 1-1/2×2″ Beveled Window Pane (also in my Iron Stamper kit but I forgot to mention it before – oops!) I threaded the 5/8″ Whisper White Organza Ribbon through the Window Pane and, to help it pop, mounted it onto a Lucky Limeade Blossom over a sticker from the Simply Scrappin’ kit.
Next I created this 8-1/2×11″ page.

I used my Hello Doily stamp to stamp a Blushing Bride doily slightly off the page and embellished it with a Large Pearl. I then mounted this piece of Whisper White card stock onto an 8-1/2×11″ piece of Chocolate Chip card stock. The title took me a bit of time to figure out. I started with my Alphabet Soup On Board letters to which I adhered some Daffodil Delight card stock. I inked the edges in Chocolate Chip but they still looked flat so I stamped them with the Mixed Bunch stamp that I’d used on the 8×8 page – in tone on tone Daffodil Delight. 
The little picture of Christine was mounted onto Chocolate Chip card stock and I used Dimensionals to pop it off the page even more. Behind the picture is a cluster of stickers from the Simply Scrappin’ kit.

And last but not least, my 12×12 base layer. I started with the vertical strip of patterned paper from the Simply Scrappin’ kit then added a strip of Daffodil Delight card stock that I’d edged with my Scallop Trim Border punch. On top of that is a border sticker from the Simply Scrappin’ kit and then finally 3 more pictures of my cutey mounted onto Melon Mambo card stock (from the SS kit).  

Across the top of the page I put some stickers from the SS kit and finally, in the corner another stamped, embossed and punched out Blossom with a Fluerettes II Accent and Embellishment and a Large Pearl layered on top. This whole flower sits on top of a tiny piece of 3/8″ Blushing Bride Pleated Ribbon.
Here’s a look at it coming together.
The starting 8×8 page.

Added onto the 8-1/2×11 page.
And finally, here’s another look at the finished 12×12 page. 
I will freely admit that this page took me awhile with lots of trial and error but the final result is (IMHO) stunning! I love all the layers! I would never have incorporated so many if I hadn’t been purposefully making this a progressive page but I think I will have to use this approach again.
Hope you enjoyed it. Stay tuned for my cards!

Posted in Iron Stamper | 2 Comments