
Welcome back! Next up in my Iron Stamper series is my layout. This is called a Progressive layout as you start with a small sized layout (in my case an 8×8 layout) which you mount onto increasingly larger sizes until you finally have a 12×12 layout.
Here’s the finished layout.

Isn’t she gorgeous? That’s my youngest, Christine, taken last Easter on an egg hunt. Just love the close up of her chocolate covered face!!

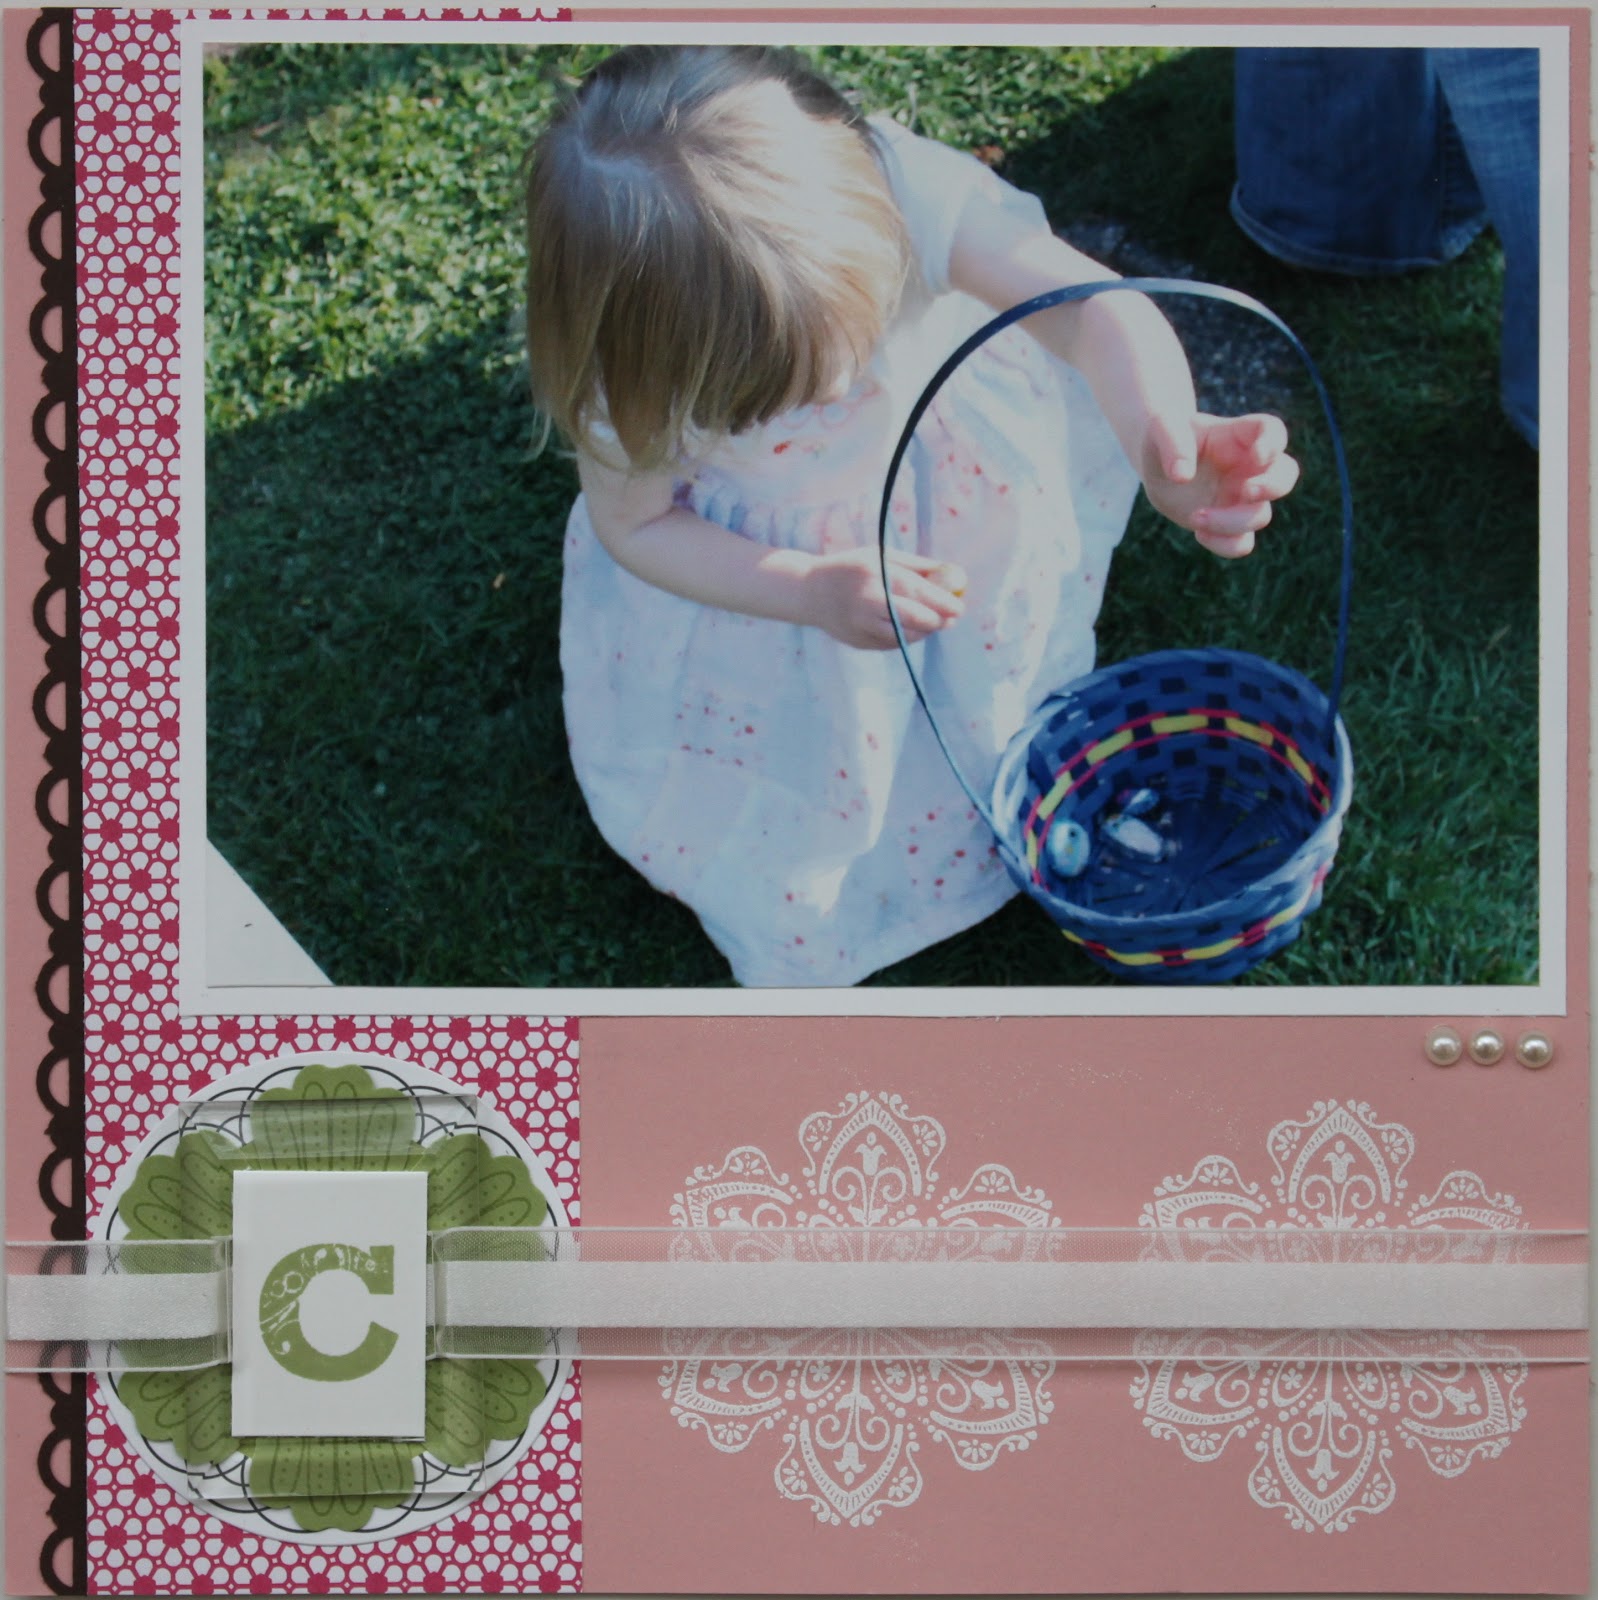
Here is my 8×8 page.
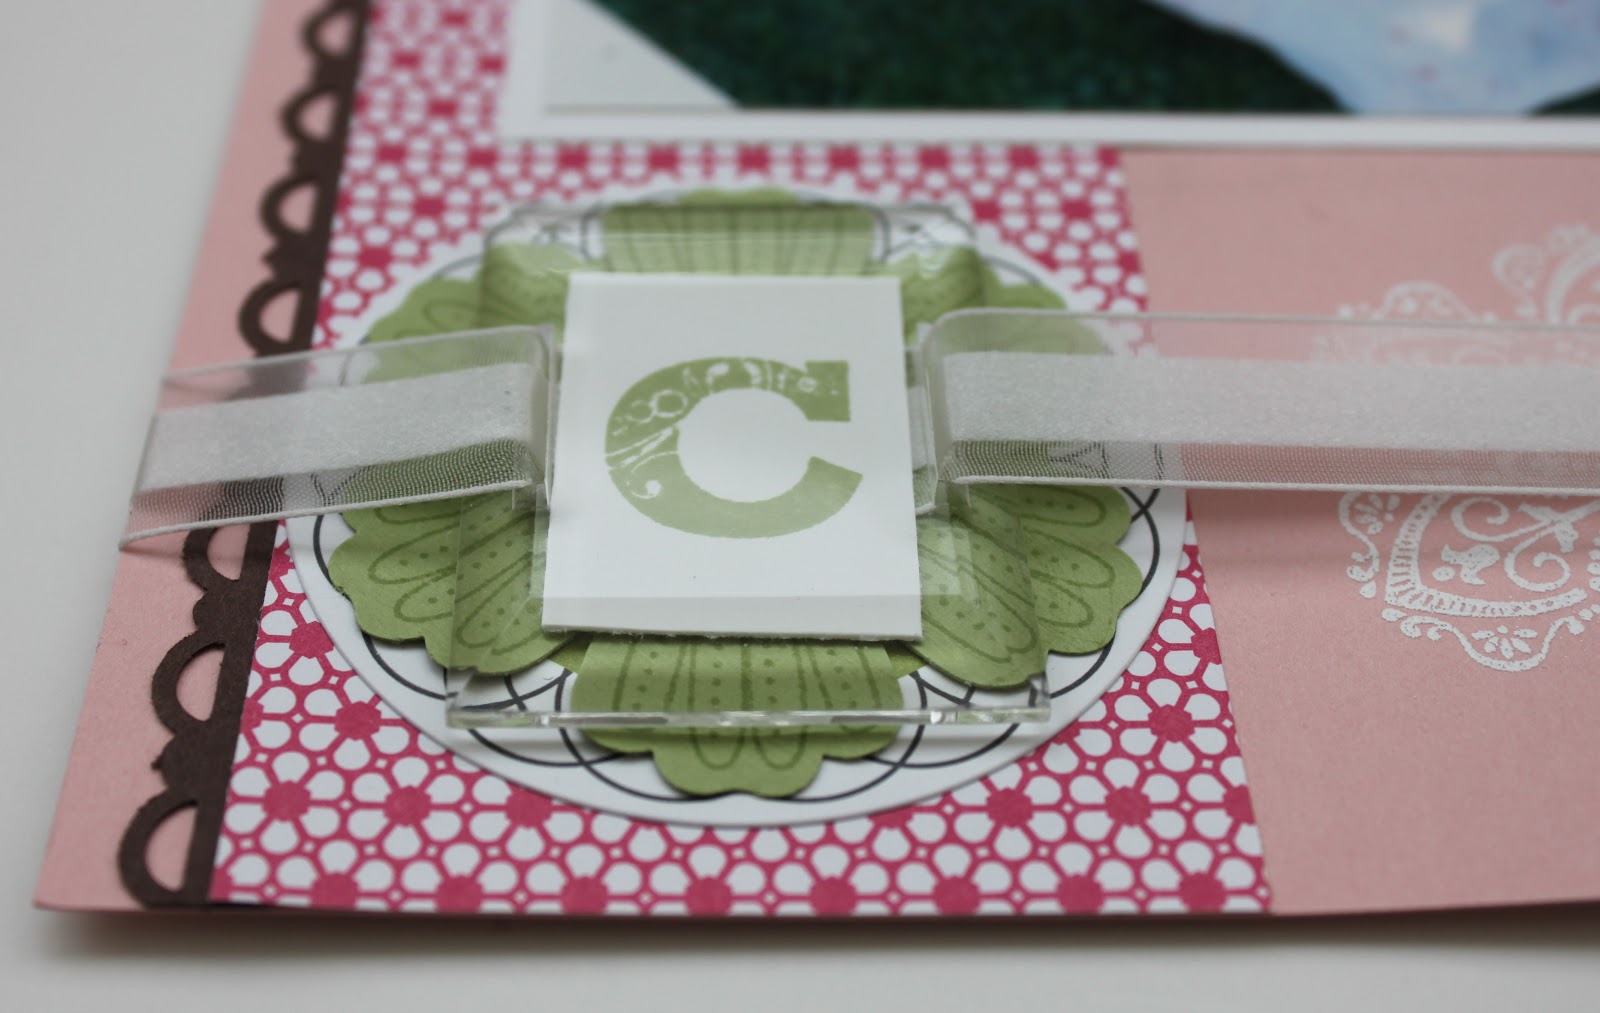
I started with an 8×8 piece of Blushing Bride card stock to which I added a strip of one of the patterned papers from the Spring Fever Simply Scrappin’ kit and a punched border strip of Chocolate Chip. The photo is mounted onto a piece of 5×7 Whisper White card stock. Across the bottom I stamped and embossed my favourite image from the Mixed Bunch stamp set. I used my Jayne’s Type Alphabet stamps for the ‘C’ which I mounted behind the 1-1/2×2″ Beveled Window Pane (also in my Iron Stamper kit but I forgot to mention it before – oops!) I threaded the 5/8″ Whisper White Organza Ribbon through the Window Pane and, to help it pop, mounted it onto a Lucky Limeade Blossom over a sticker from the Simply Scrappin’ kit.
Next I created this 8-1/2×11″ page.
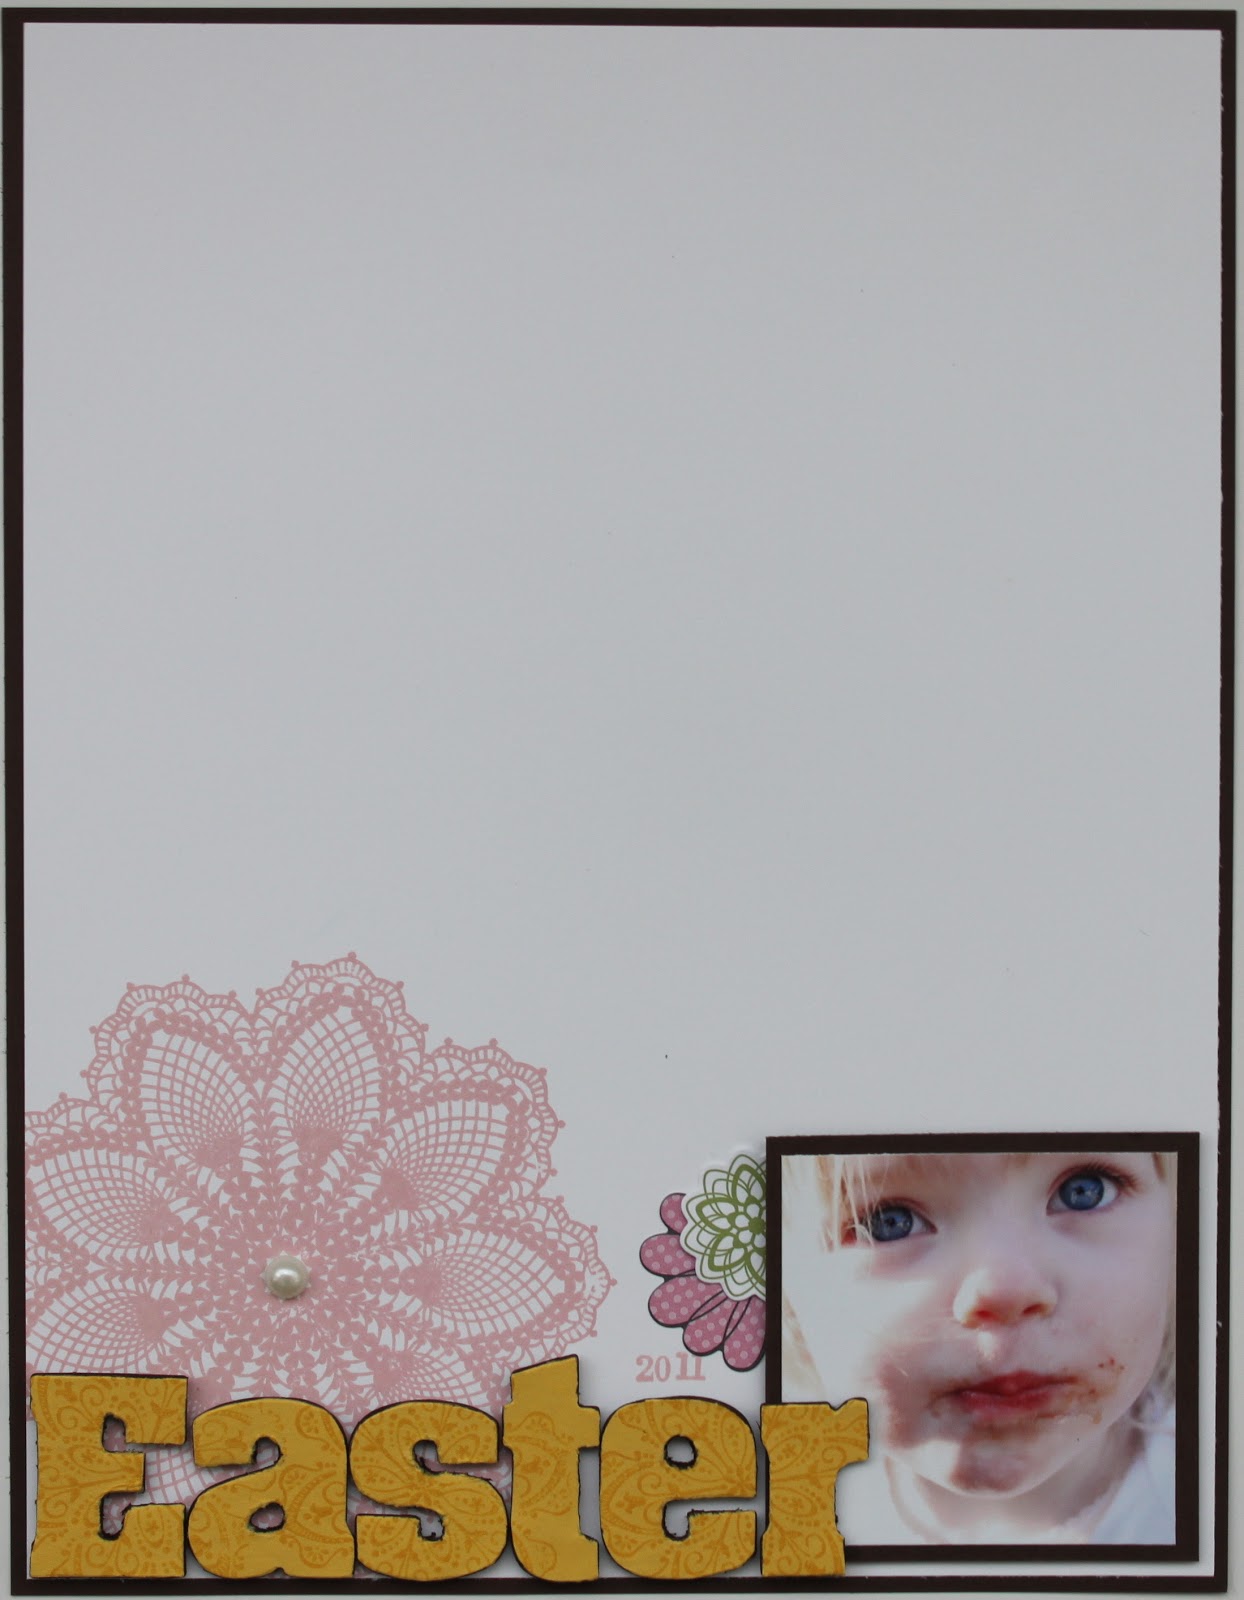
I used my Hello Doily stamp to stamp a Blushing Bride doily slightly off the page and embellished it with a Large Pearl. I then mounted this piece of Whisper White card stock onto an 8-1/2×11″ piece of Chocolate Chip card stock. The title took me a bit of time to figure out. I started with my Alphabet Soup On Board letters to which I adhered some Daffodil Delight card stock. I inked the edges in Chocolate Chip but they still looked flat so I stamped them with the Mixed Bunch stamp that I’d used on the 8×8 page – in tone on tone Daffodil Delight.
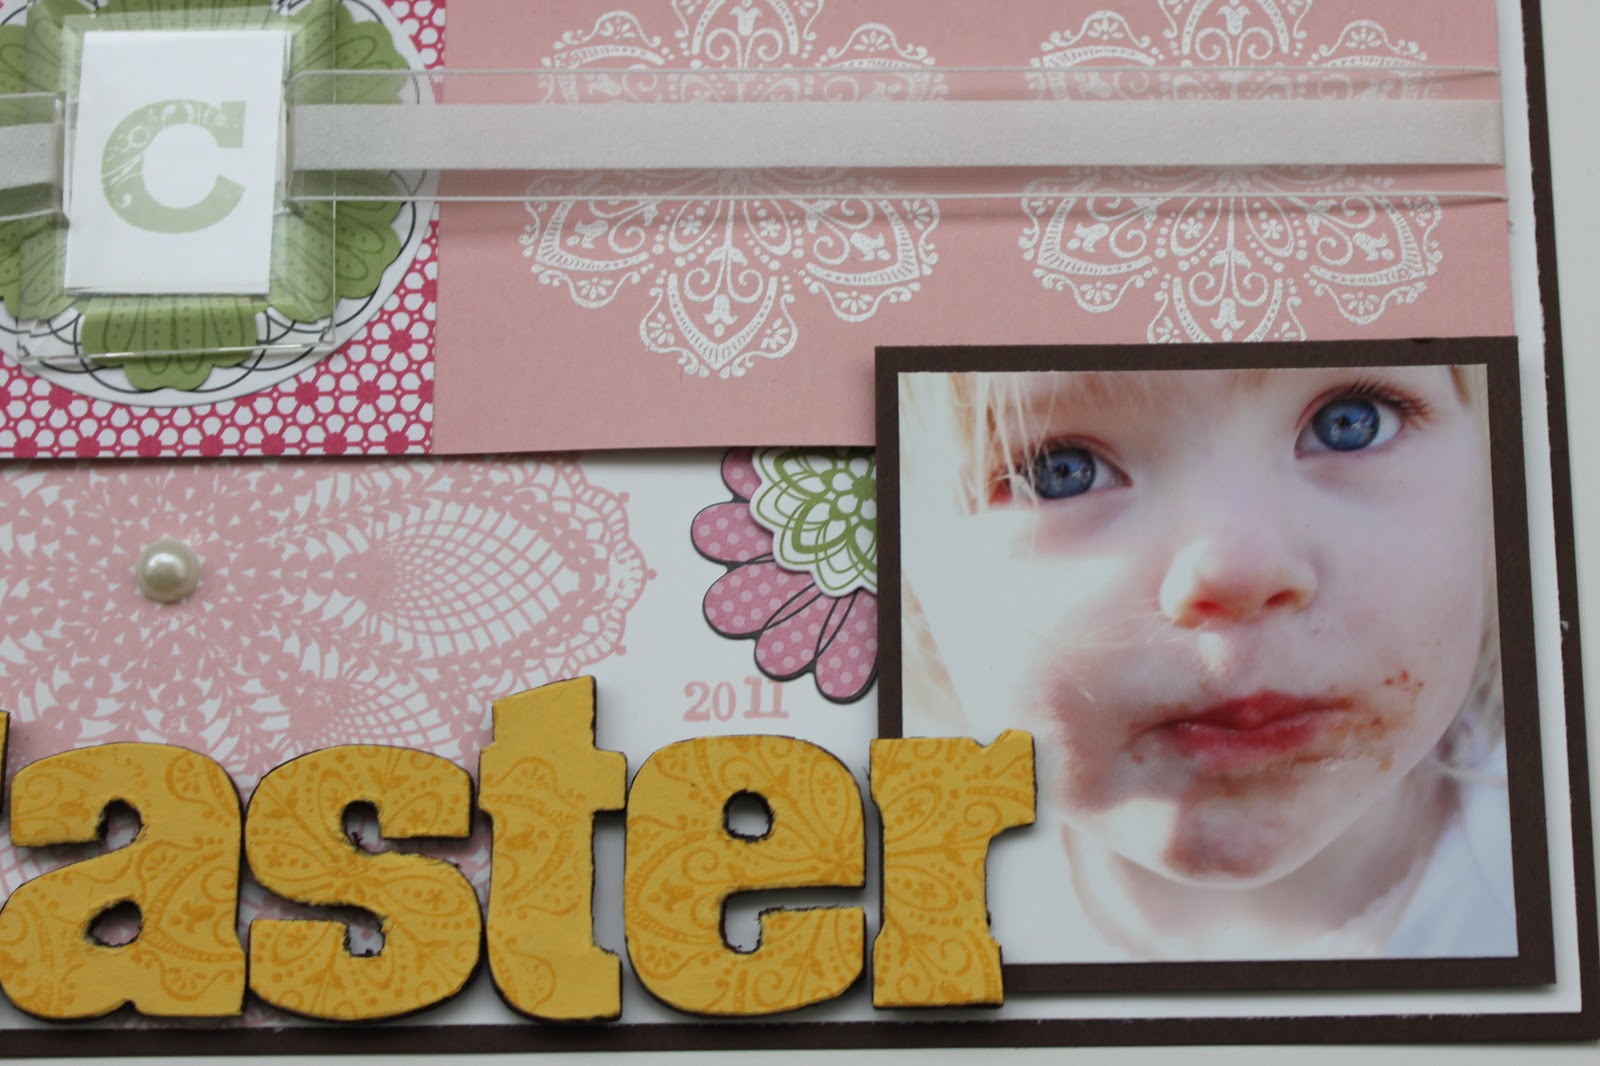
The little picture of Christine was mounted onto Chocolate Chip card stock and I used Dimensionals to pop it off the page even more. Behind the picture is a cluster of stickers from the Simply Scrappin’ kit.
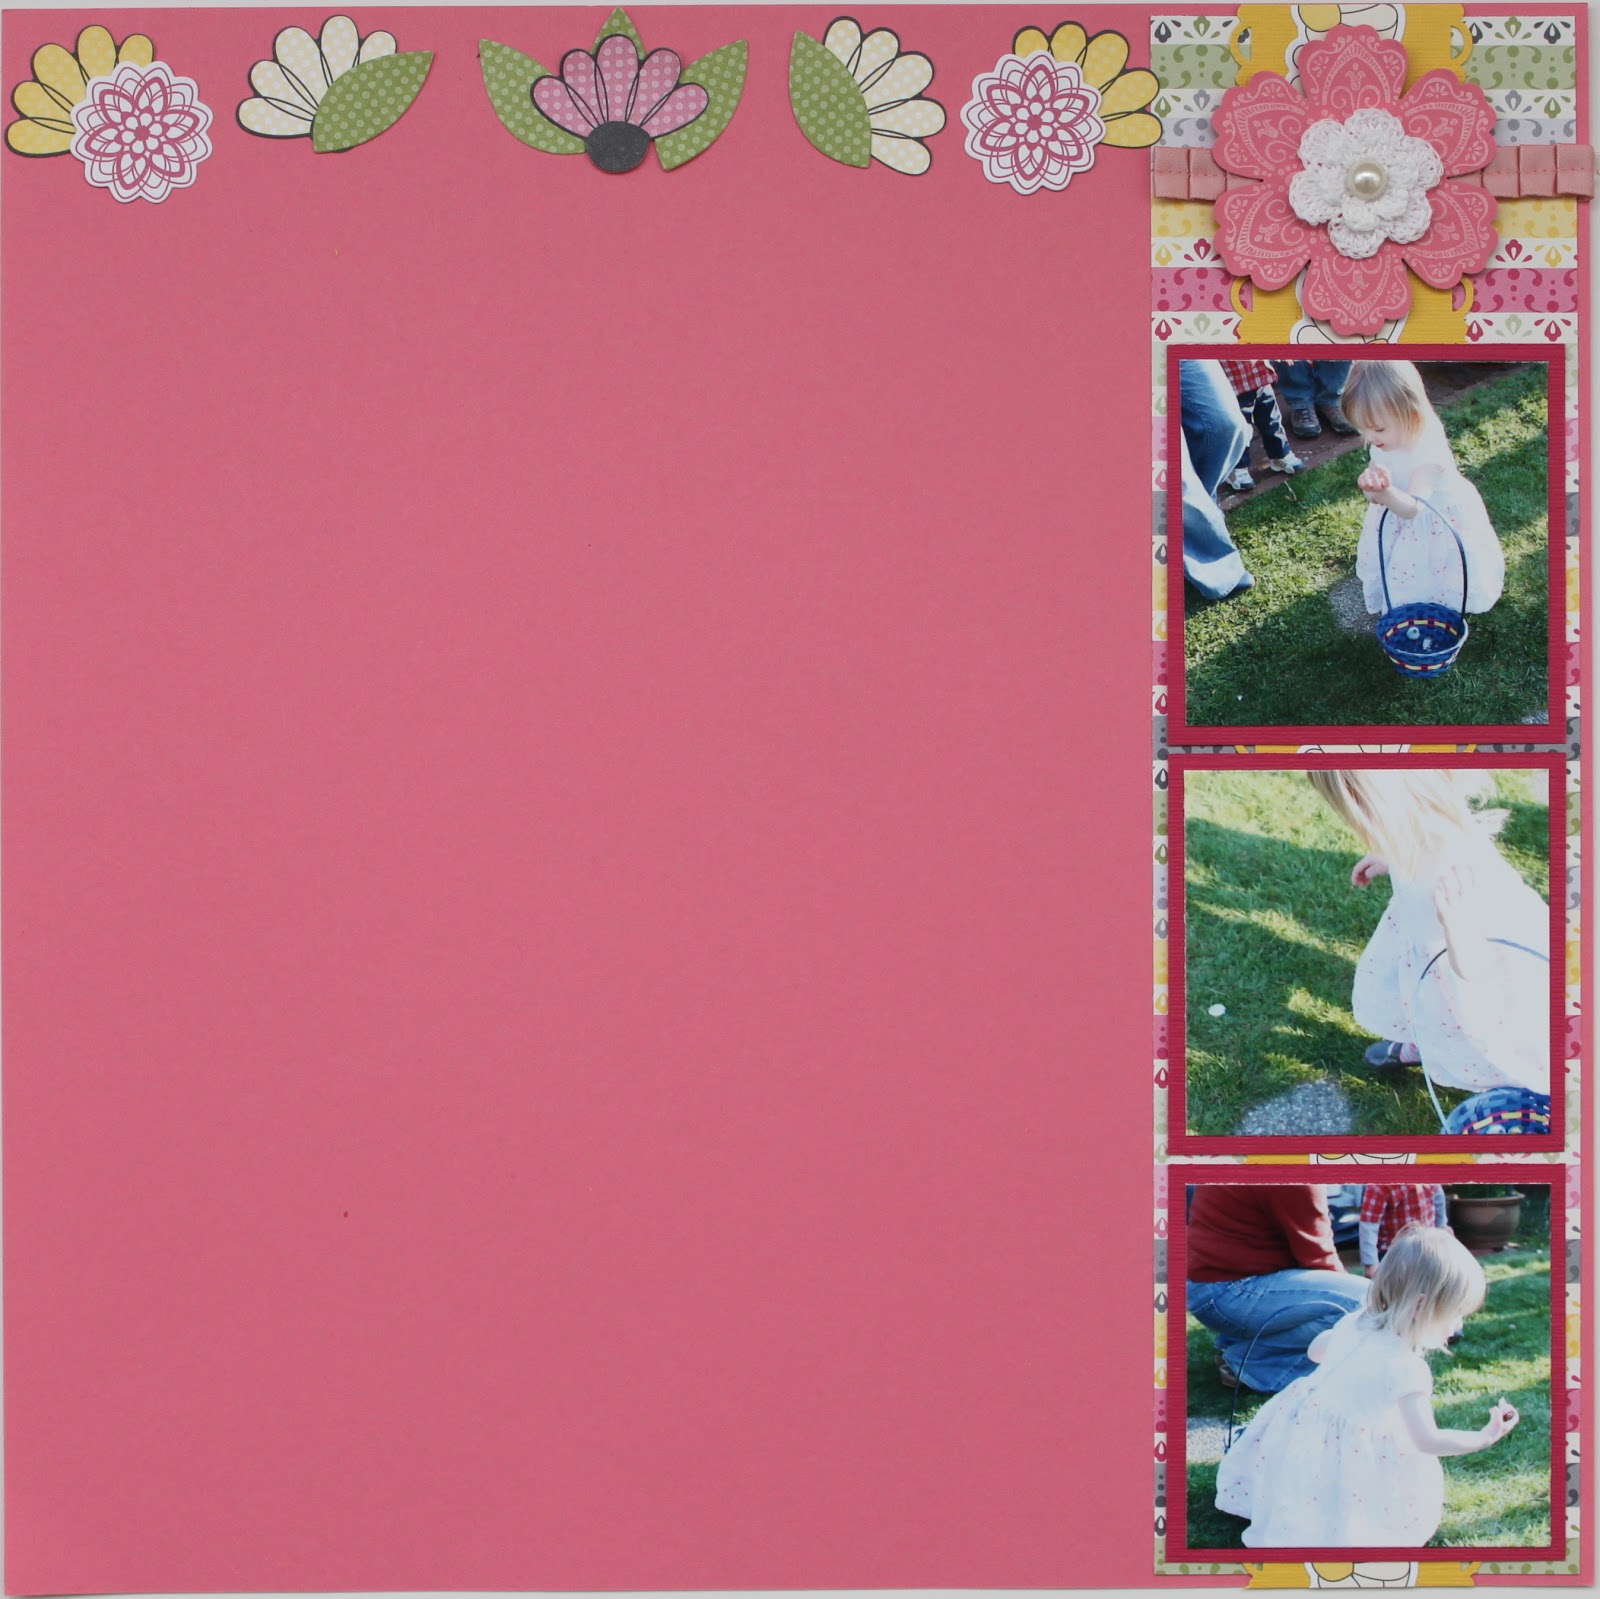
And last but not least, my 12×12 base layer. I started with the vertical strip of patterned paper from the Simply Scrappin’ kit then added a strip of Daffodil Delight card stock that I’d edged with my Scallop Trim Border punch. On top of that is a border sticker from the Simply Scrappin’ kit and then finally 3 more pictures of my cutey mounted onto Melon Mambo card stock (from the SS kit).
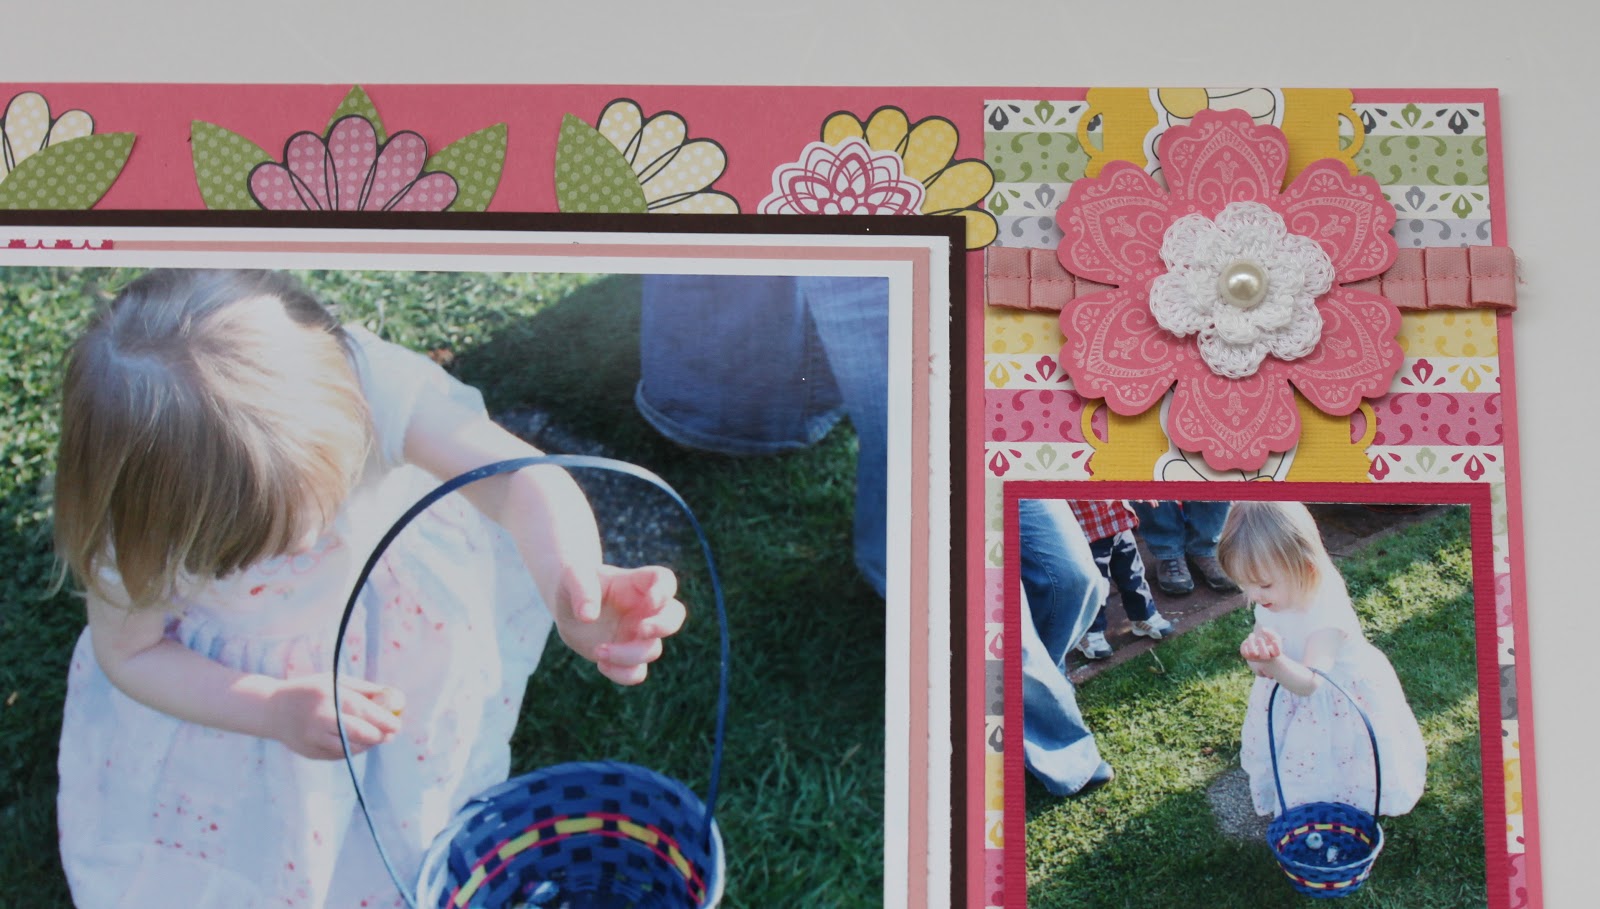
Across the top of the page I put some stickers from the SS kit and finally, in the corner another stamped, embossed and punched out Blossom with a Fluerettes II Accent and Embellishment and a Large Pearl layered on top. This whole flower sits on top of a tiny piece of 3/8″ Blushing Bride Pleated Ribbon.
Here’s a look at it coming together.
The starting 8×8 page.

Added onto the 8-1/2×11 page.
And finally, here’s another look at the finished 12×12 page.

I will freely admit that this page took me awhile with lots of trial and error but the final result is (IMHO) stunning! I love all the layers! I would never have incorporated so many if I hadn’t been purposefully making this a progressive page but I think I will have to use this approach again.
Hope you enjoyed it. Stay tuned for my cards!
If you liked this post, say thanks by sharing it with your friends.
 Follow

This is a very cool idea, I’ve never heard of it! But you’re right, the results are fantastic!!! This is a gorgeous layout, all the elements and finishing details are fabulous! Maybe you should frame it for easter? It’s really windy today and I need to take the puppy for a walk, grrrrr! So, bye for now, Rox.
What a great idea! Nice l/o and cute photos 🙂