Iron Stamper – Card Keeper

As promised, here is the first of my Iron Stamper posts.
First up, my 3-D item – the Birthday Card Keeper.

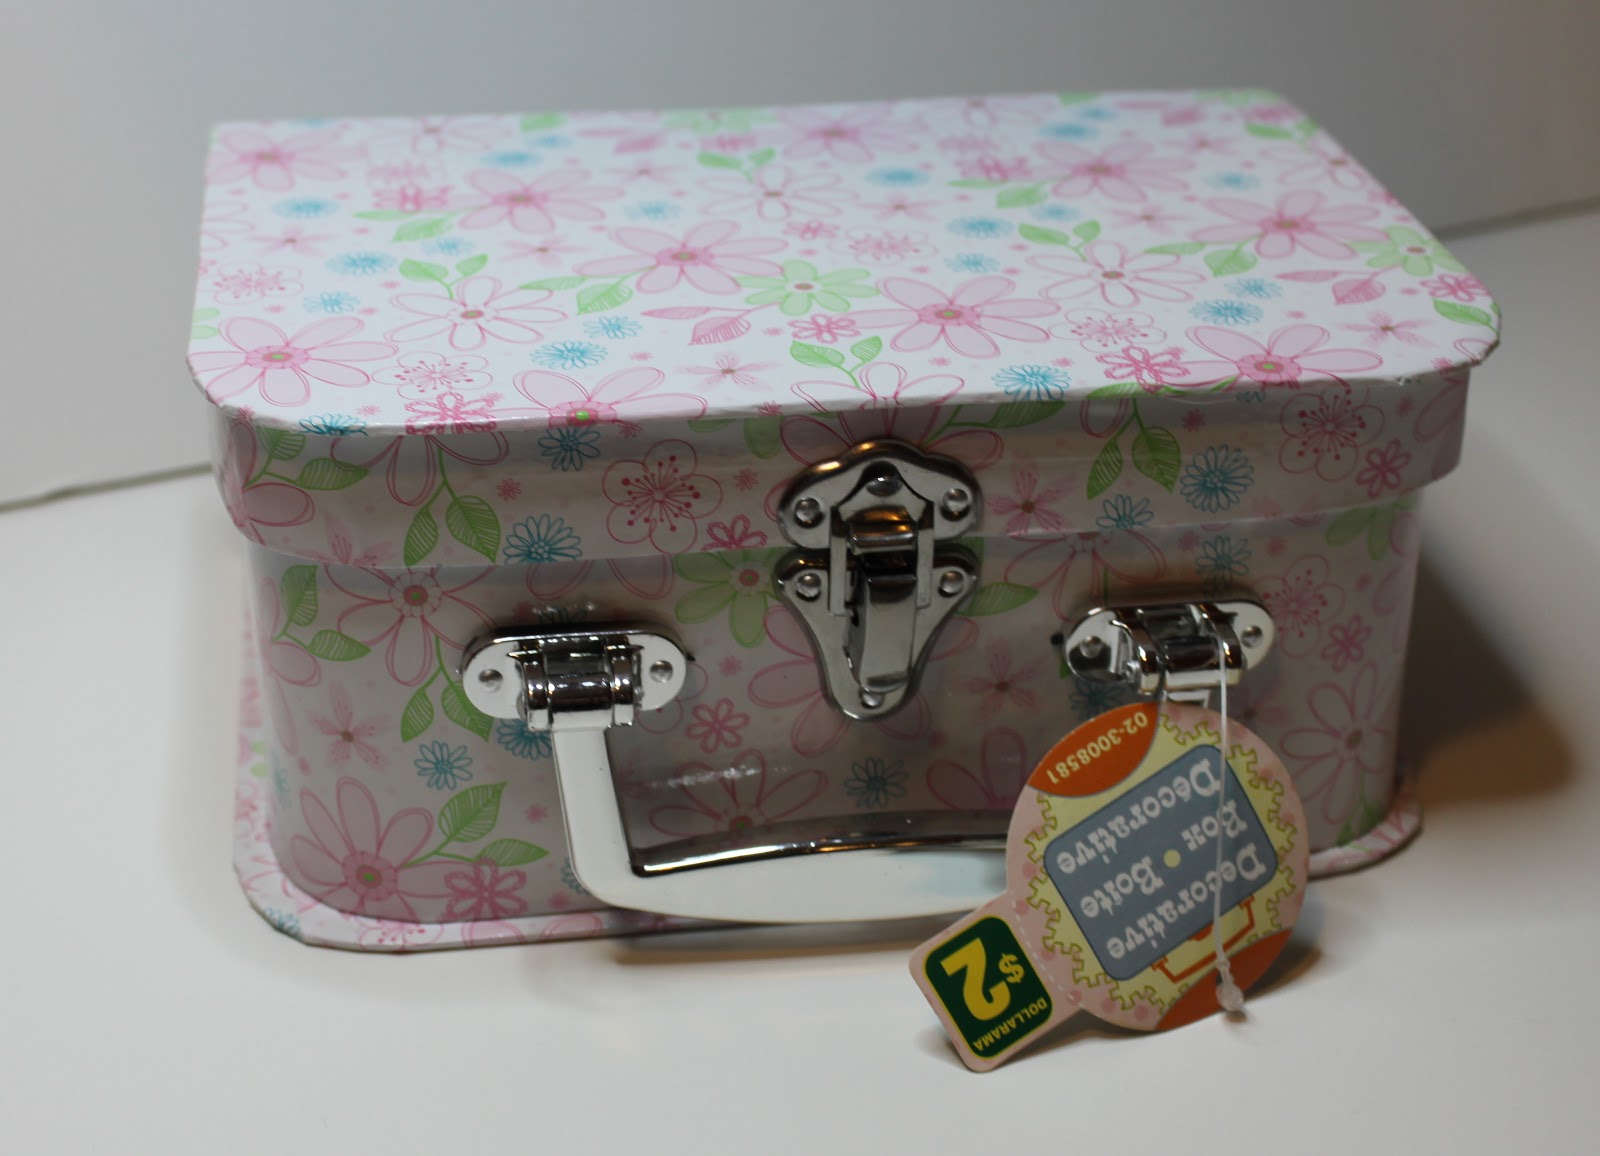
I started with this cute little $2 suitcase from Dollarama.
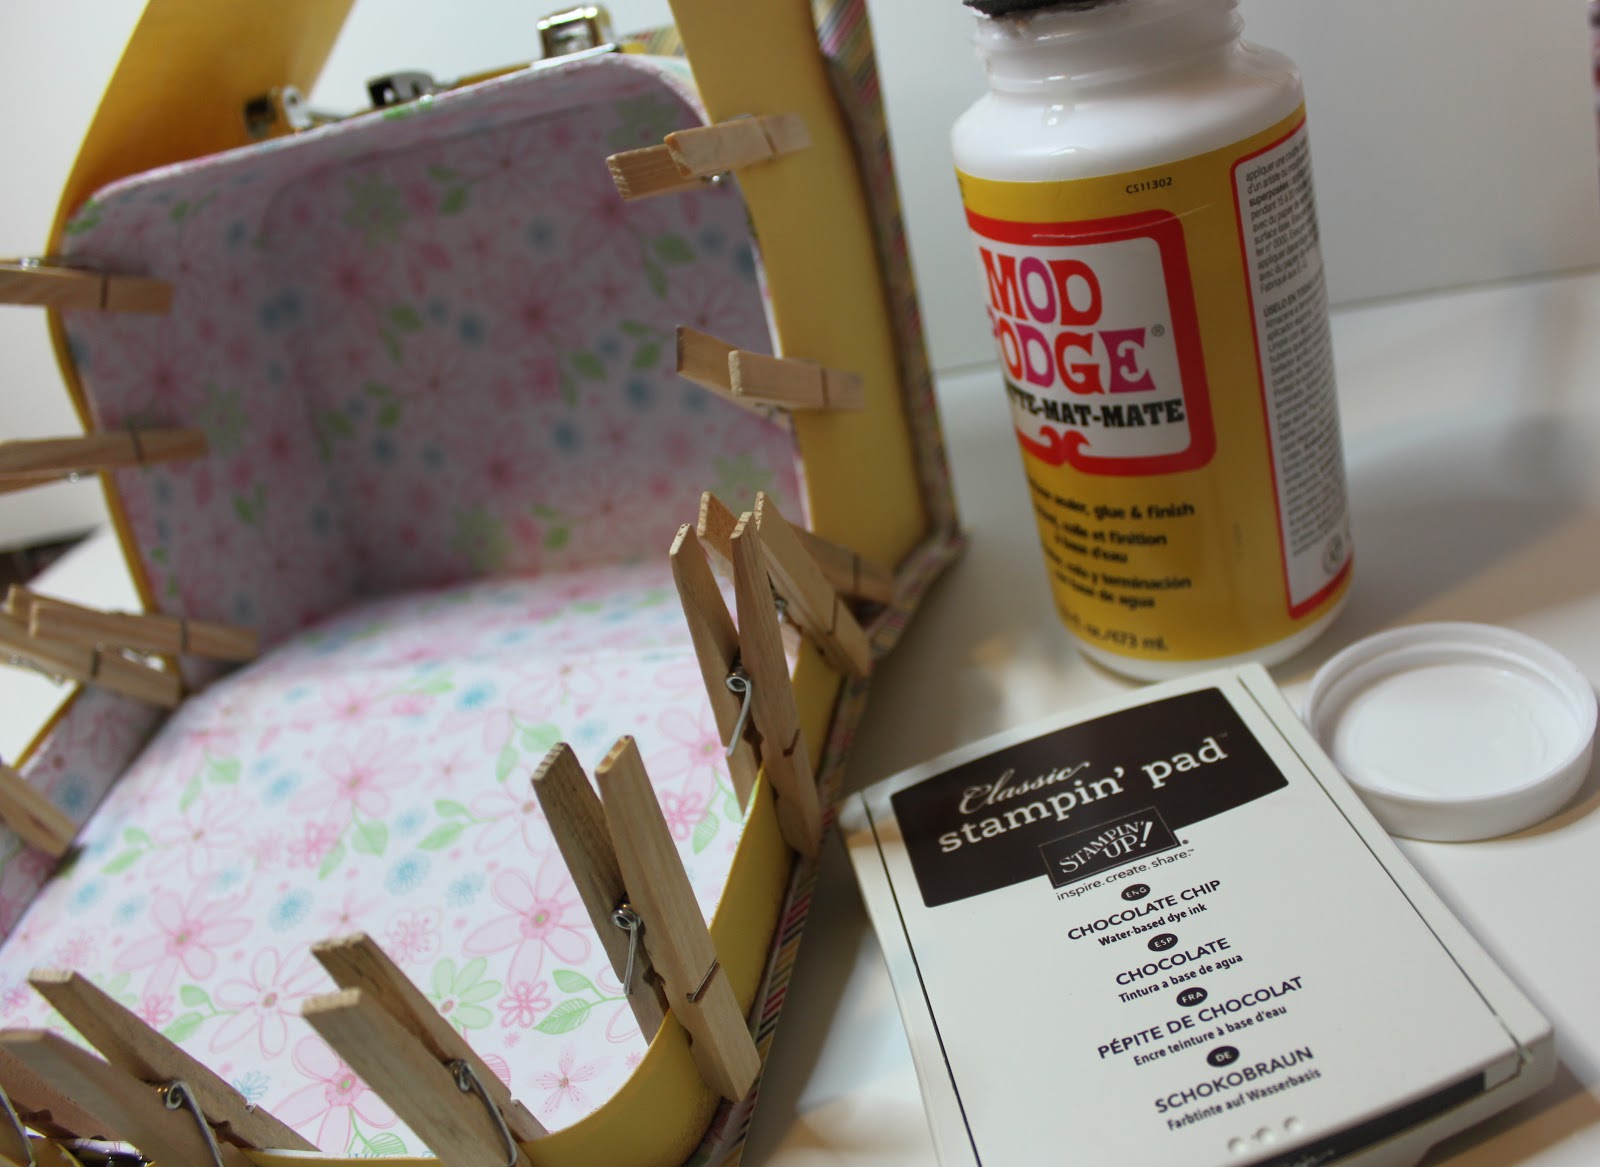
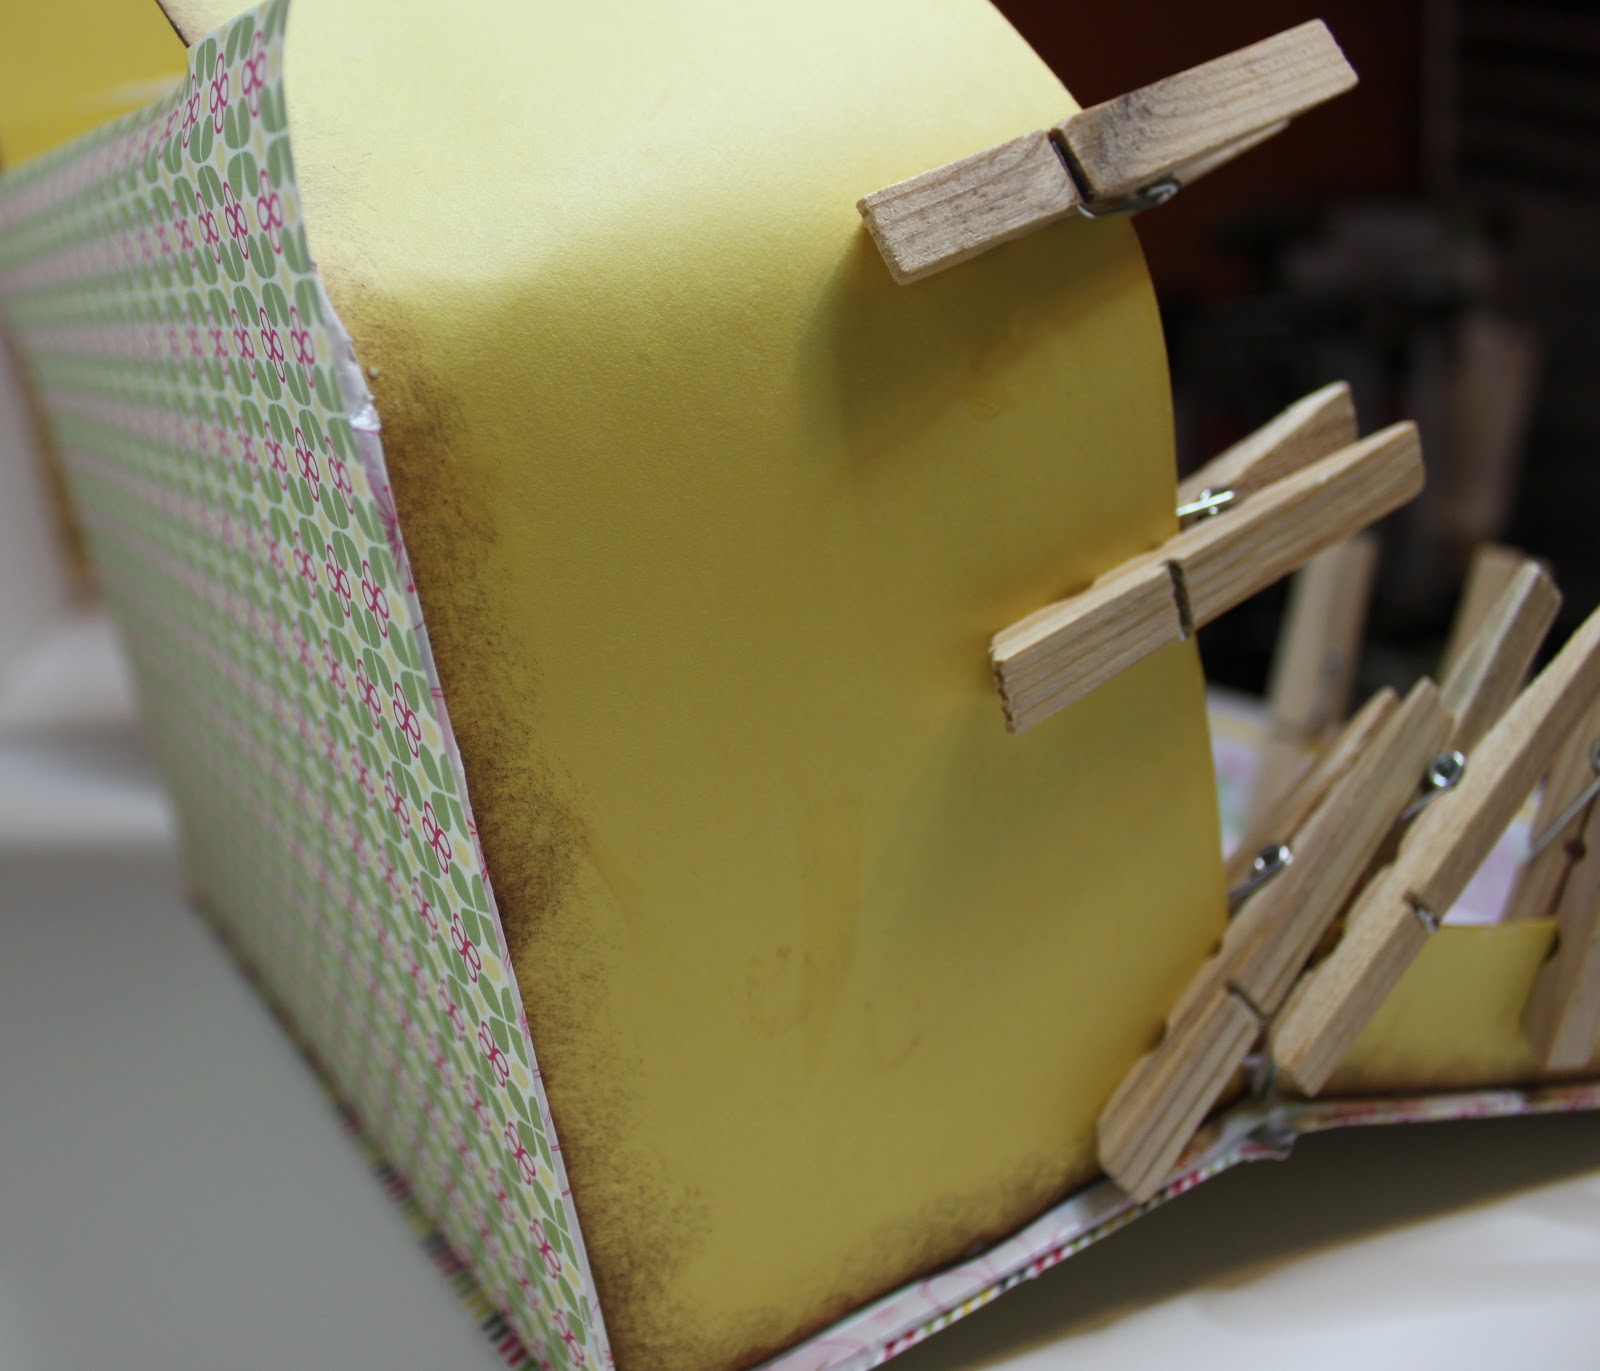
I cut, inked and pasted card stock to both the inside and outside … 

to eventually end up with this.
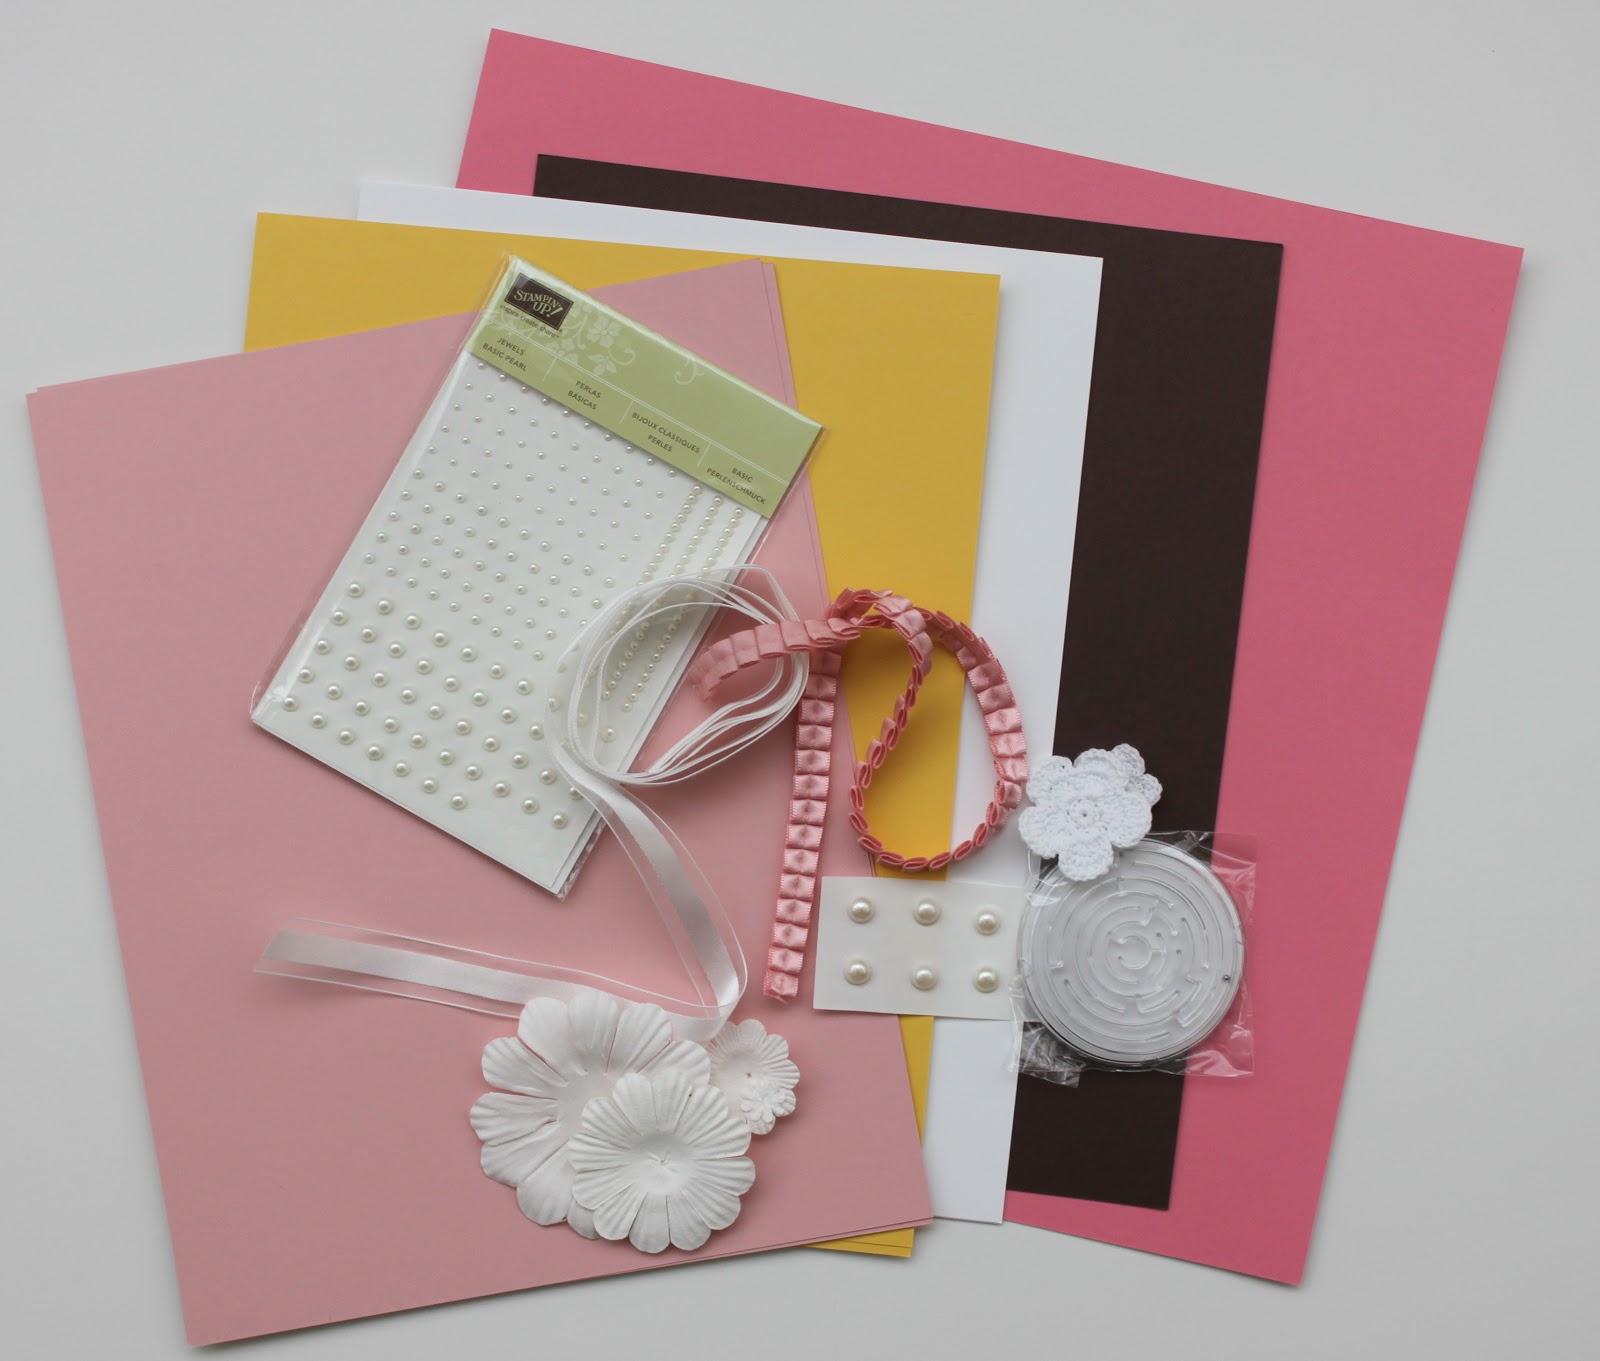
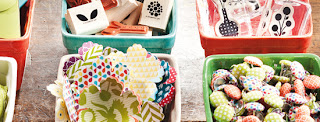
In my entire suite of products I decided to also feature the Spring Fever Simply Scrappin’ kit from the Occasions Mini so anytime you see any patterned paper or colours of card stock not in the original Iron Stamper Packet, it’s from this kit. 

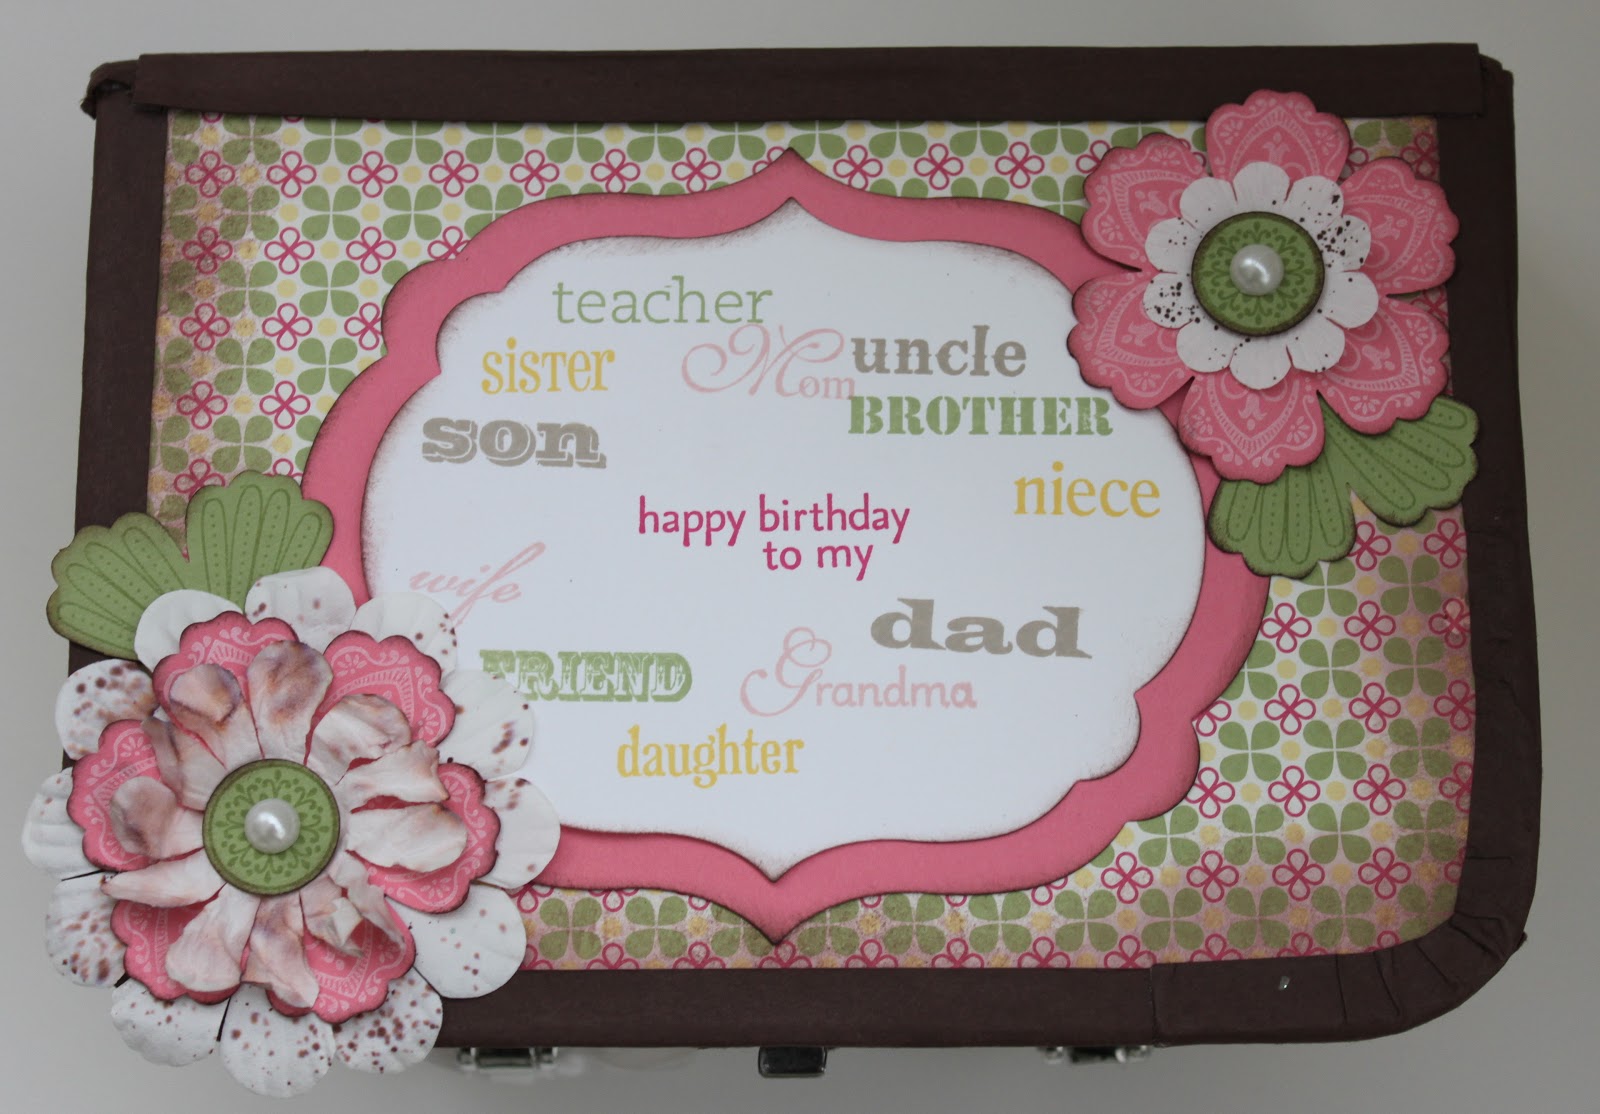
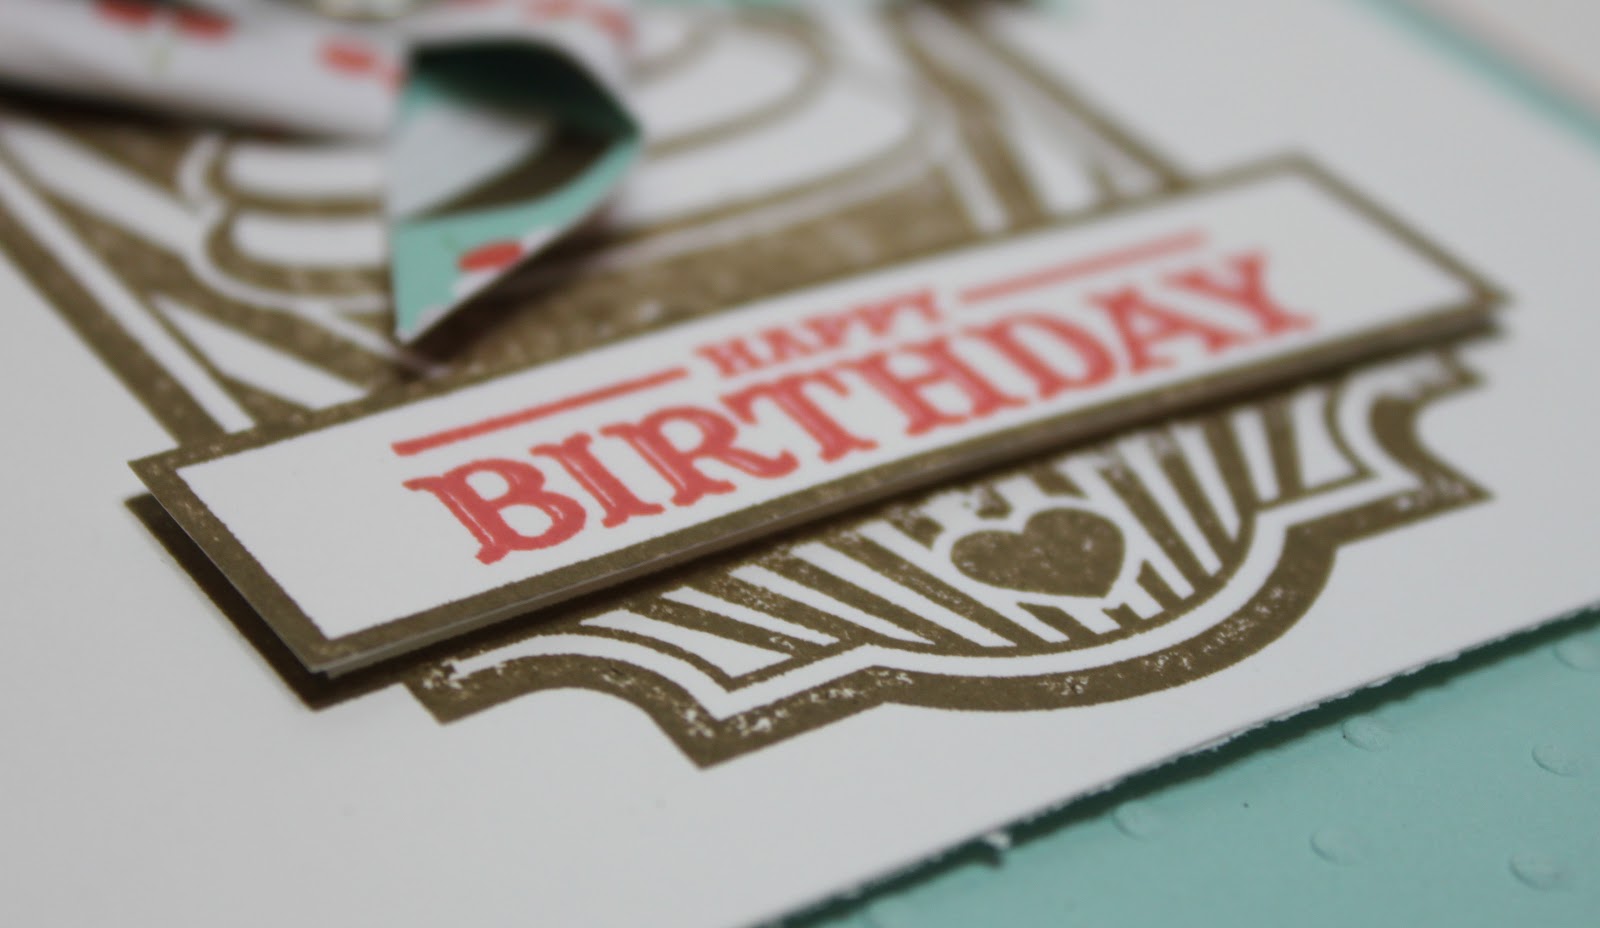
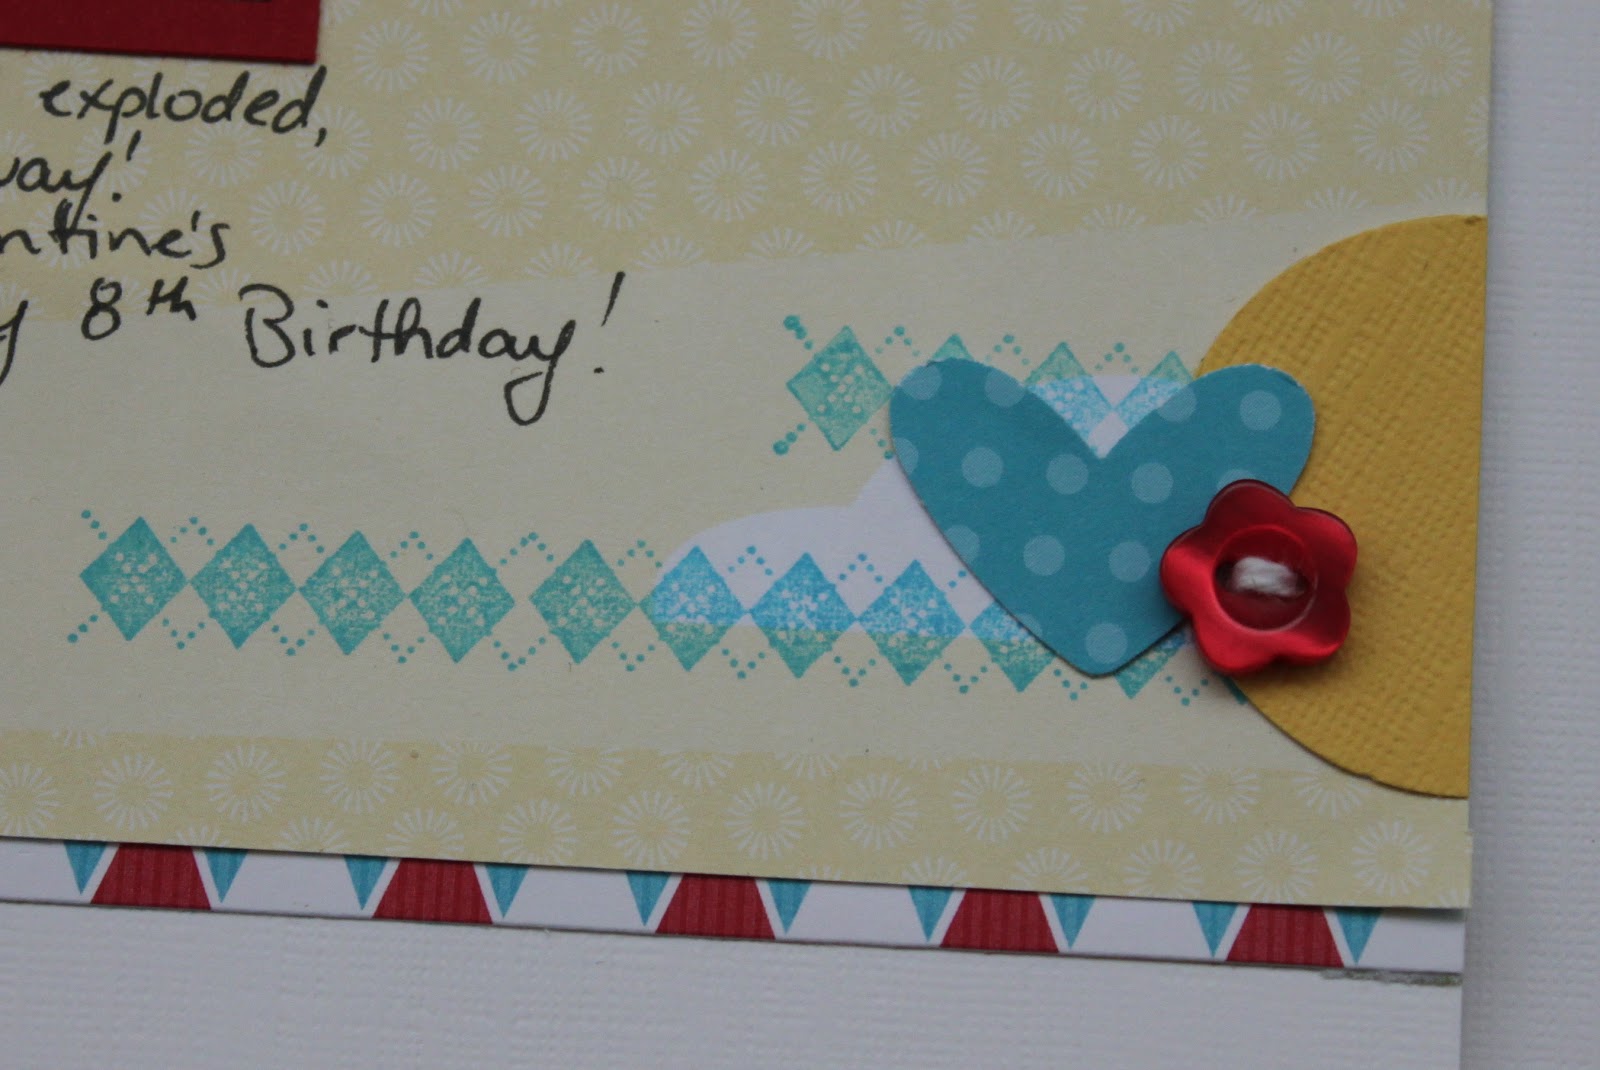
For the top of the lid I used my Labels Framelits Dies to create this layered frame – which is the perfect place to identify all those that might receive a card from you! The stamps are all from the Family Reunion stamp set – I love how this set covers everyone in your family!
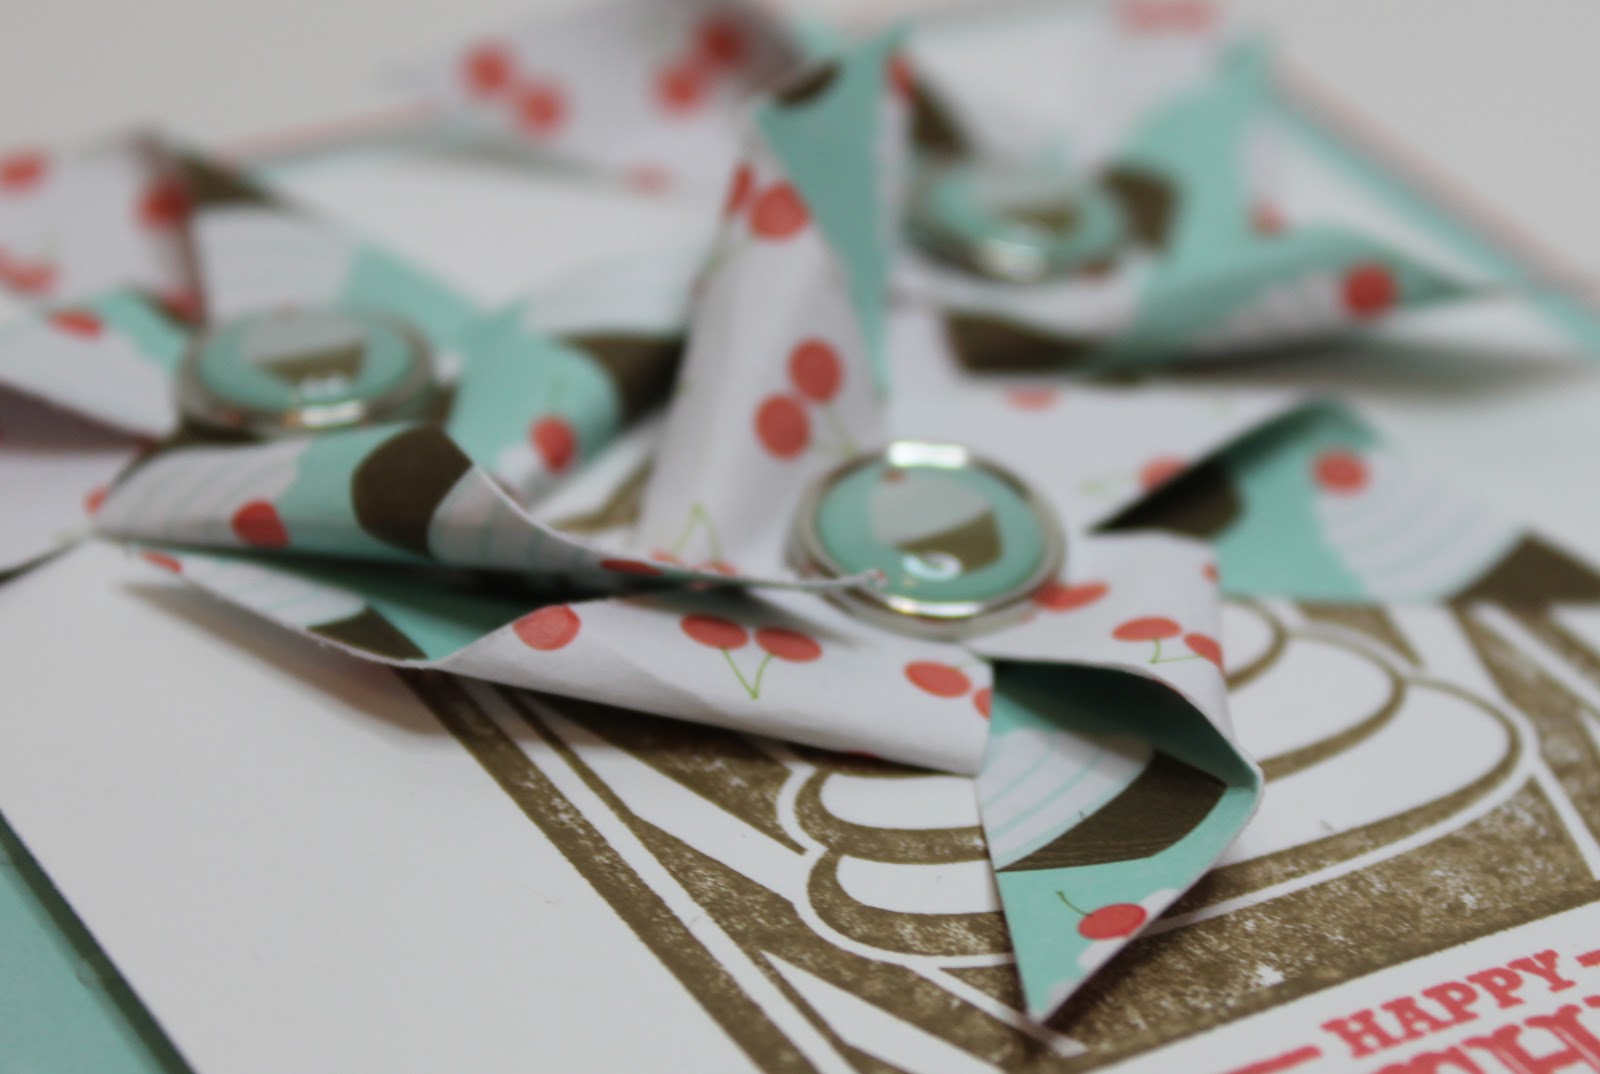
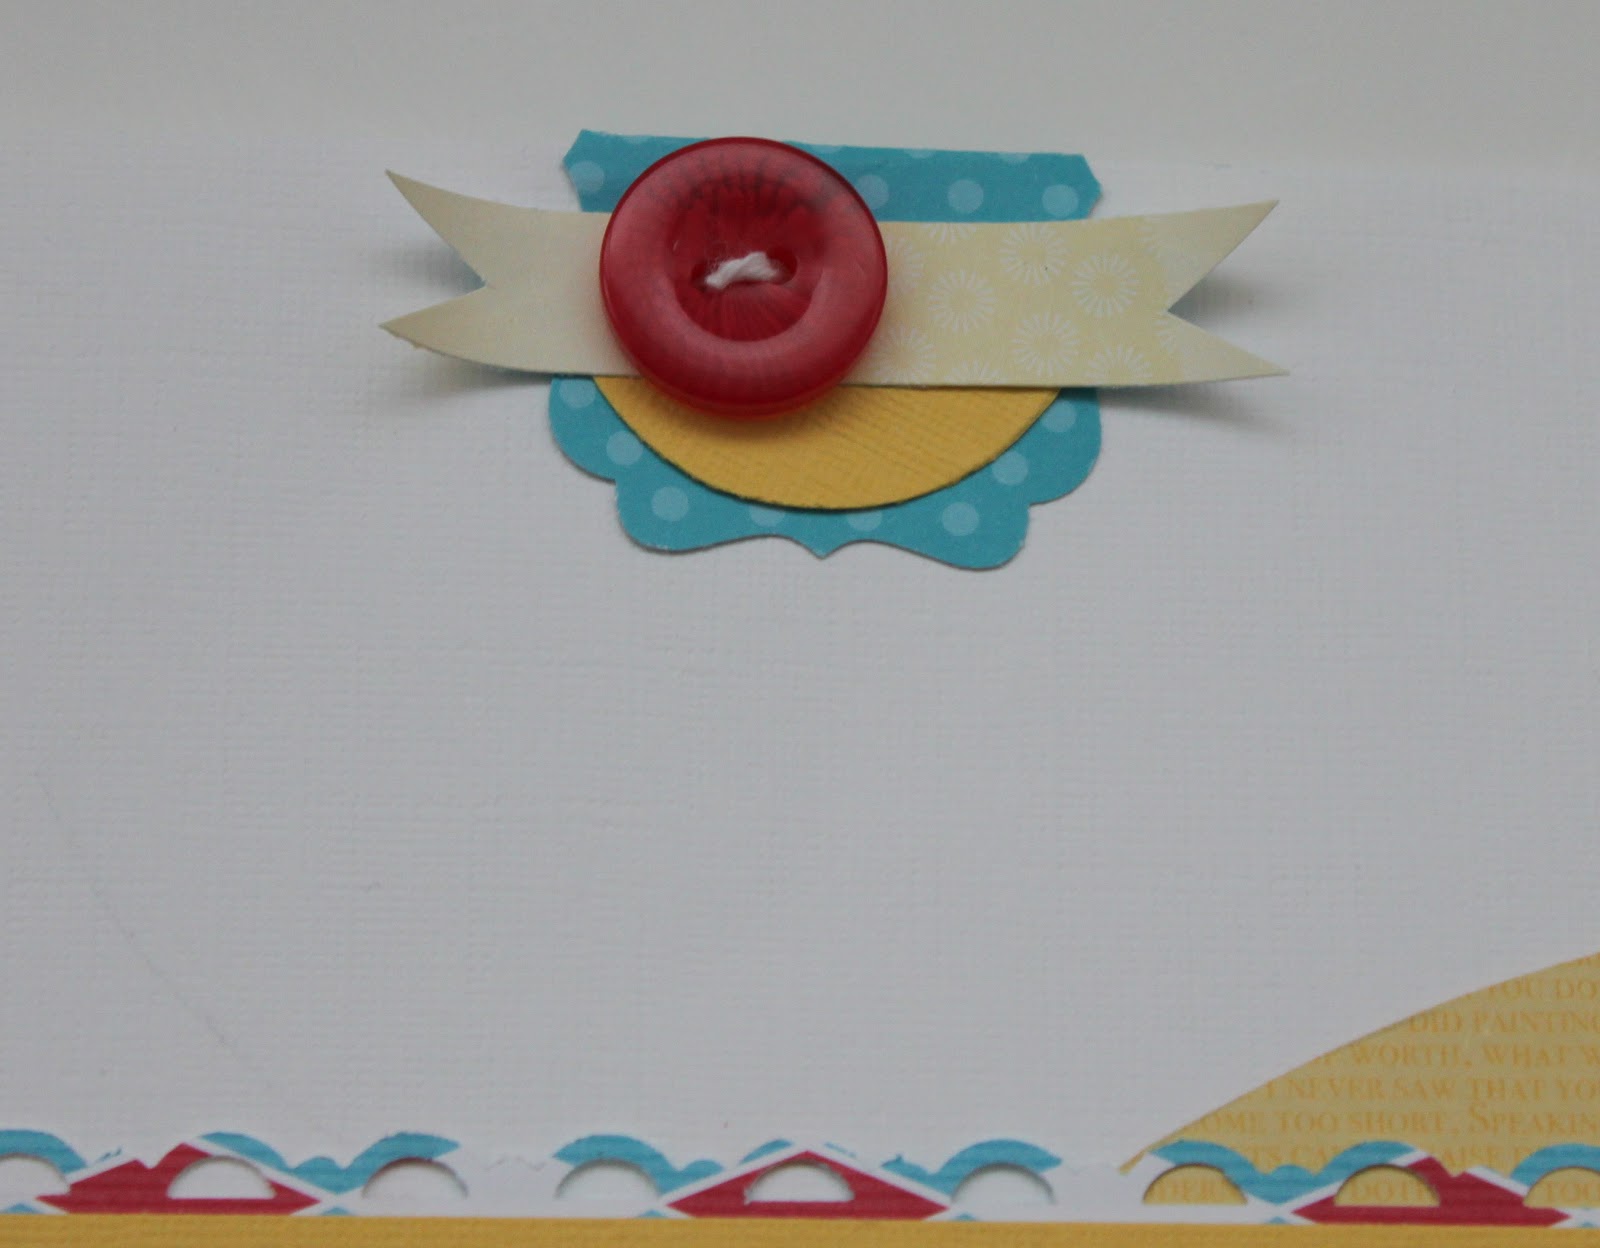
To dress up the lid I added a couple of flowers.  
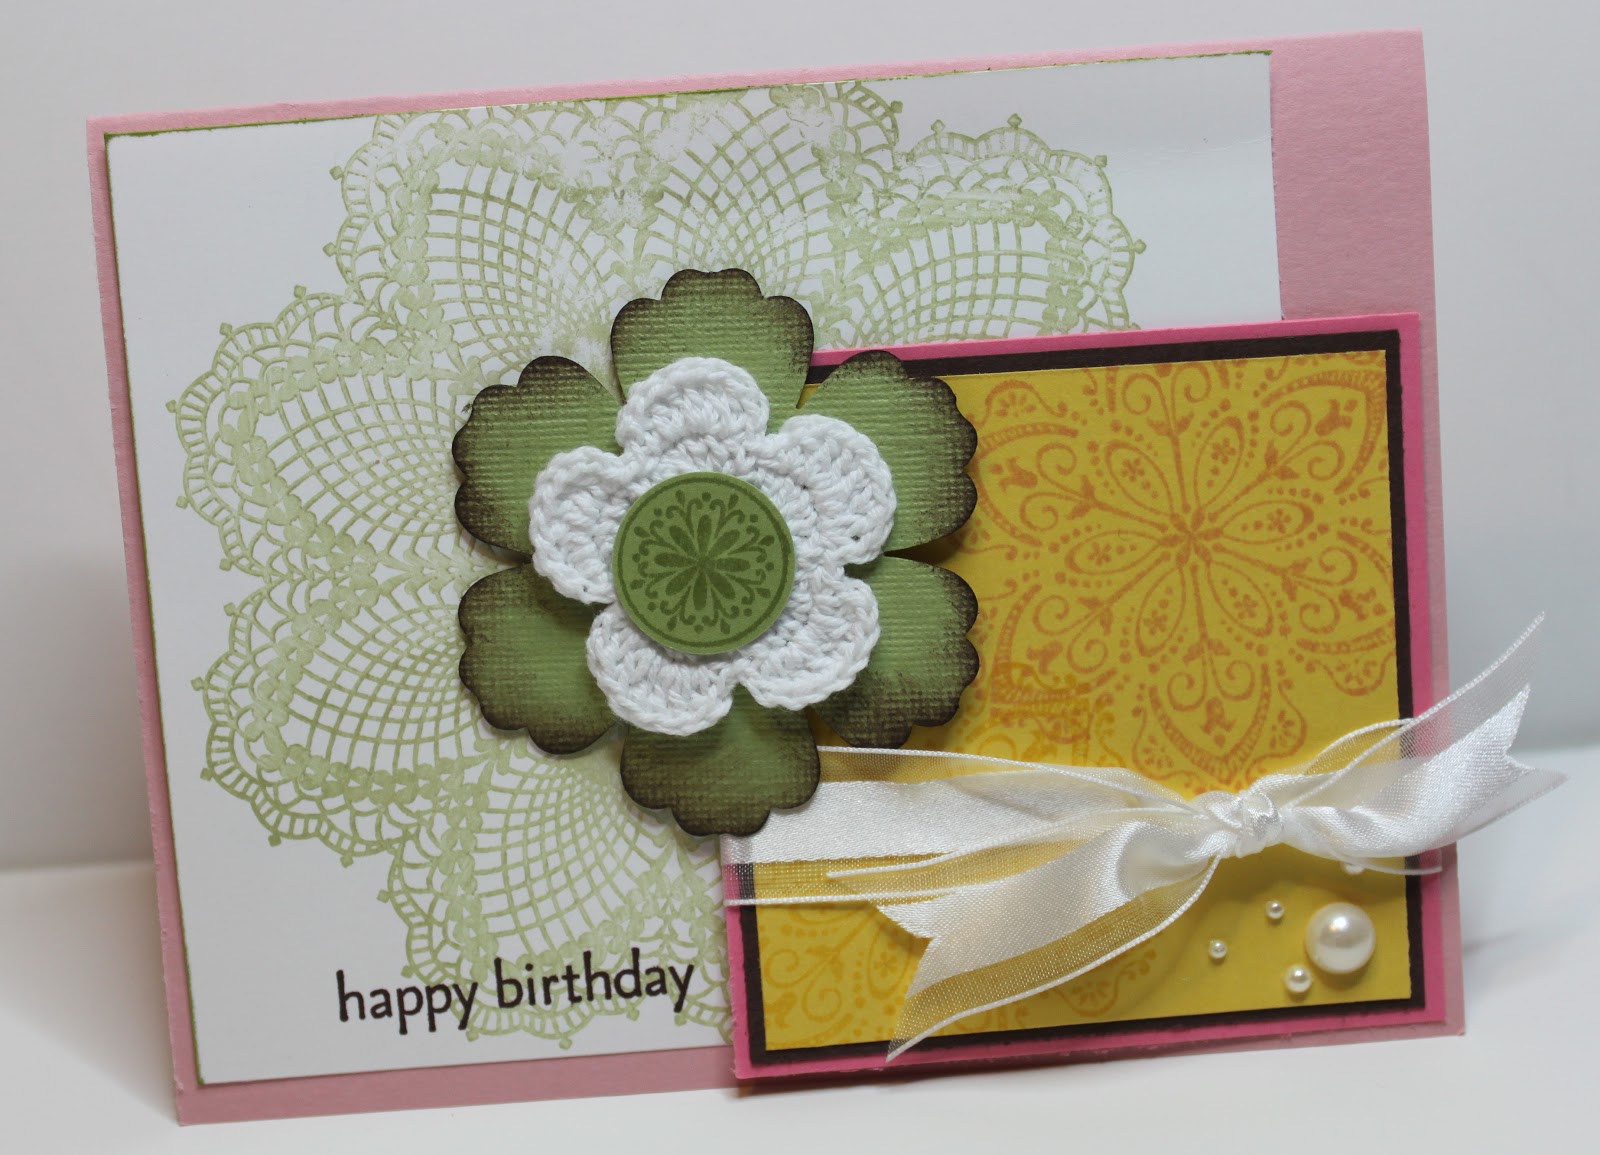
This one starts with the largest size of Paper Daisy which I had spritzed with Chocolate Chip ink using my Colour Spritzer Tool. On top of that is a stamped, embossed and punched out Regal Rose flower made by using the Mixed Bunch stamp set, white embossing powder and the Blossom punch. Then I added another, smaller, Paper Daisy (also spritzed), a stamped 3/4″ circle of Lucky Limeade and a Large Pearl. As a final step I sprayed the entire flower lightly with alcohol spray which made the Chocolate Chip on the top Paper Daisy run to create a cool water colour look. When that top Paper Daisy was wet I scrunched it up and didn’t un-scrunch it until it was dry! Oh, and the leaves were made by stamping another image from Mixed Bunch with Lucky Limeade, punching it out with the Blossom punch and then cutting the flower into thirds! 

The other flower on the lid is a simpler version of the one above only this time I didn’t spray the whole thing with Alcohol ink.
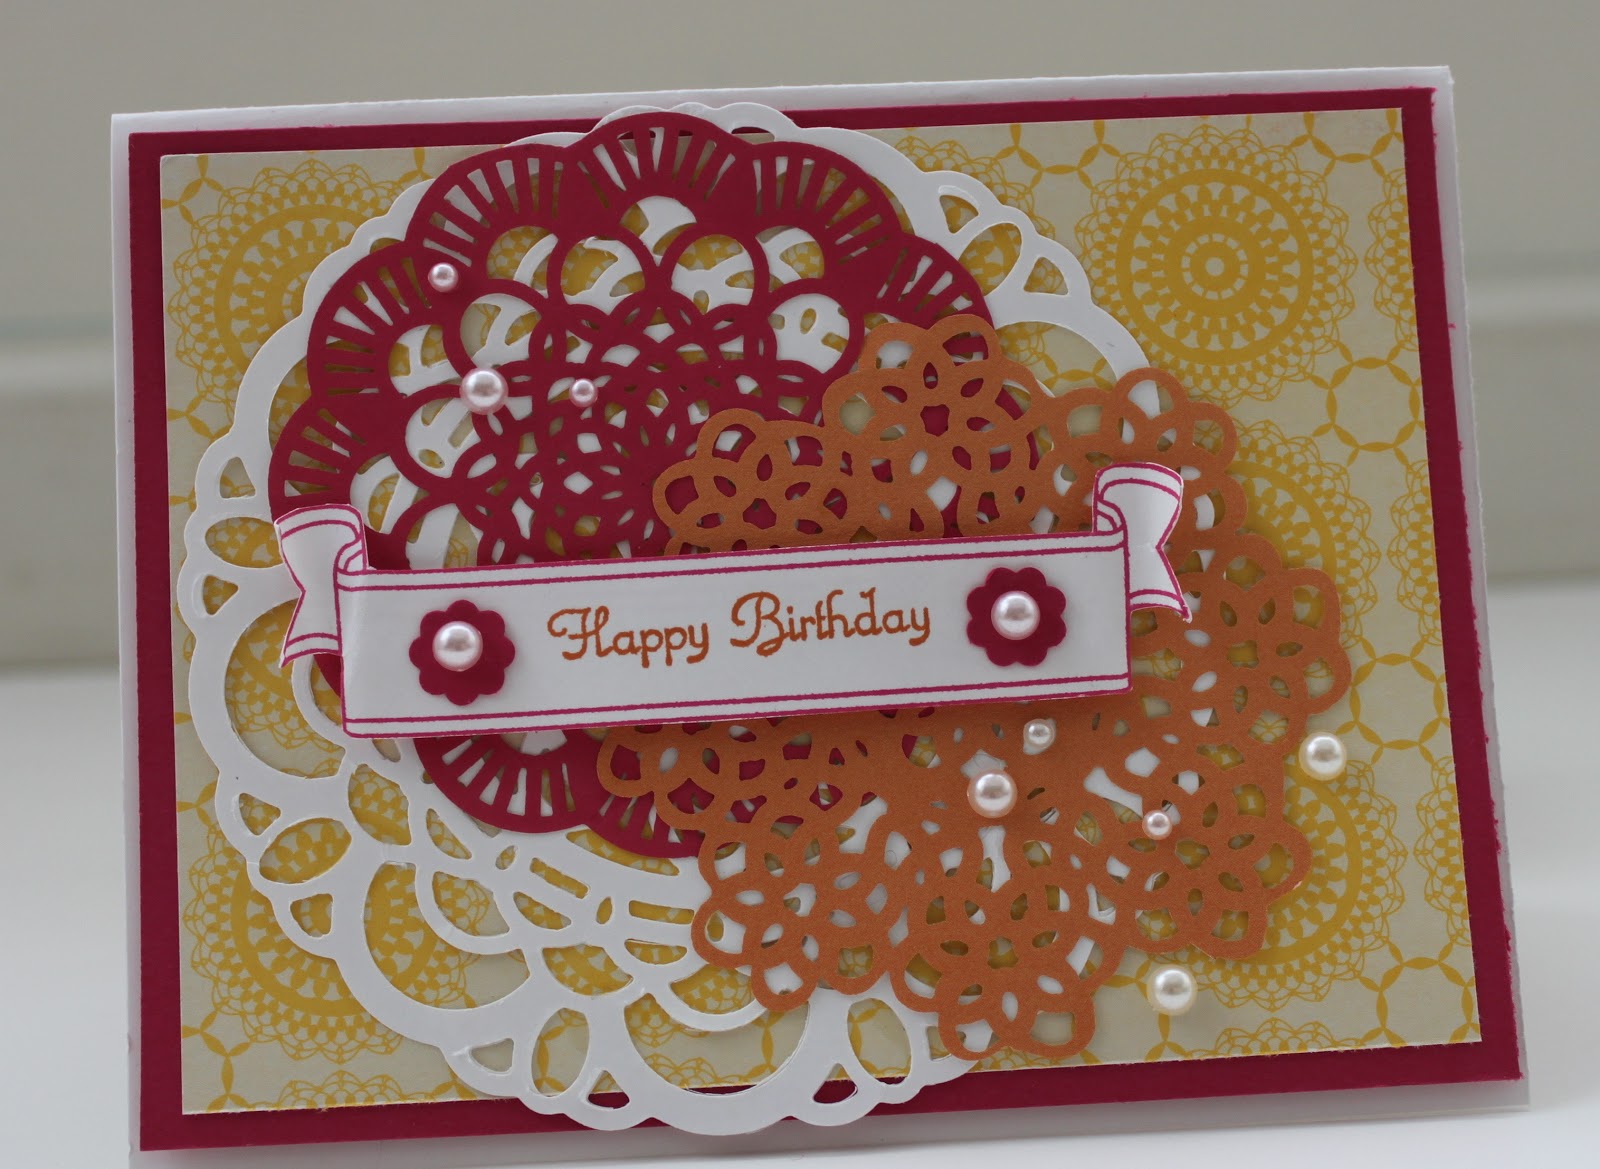
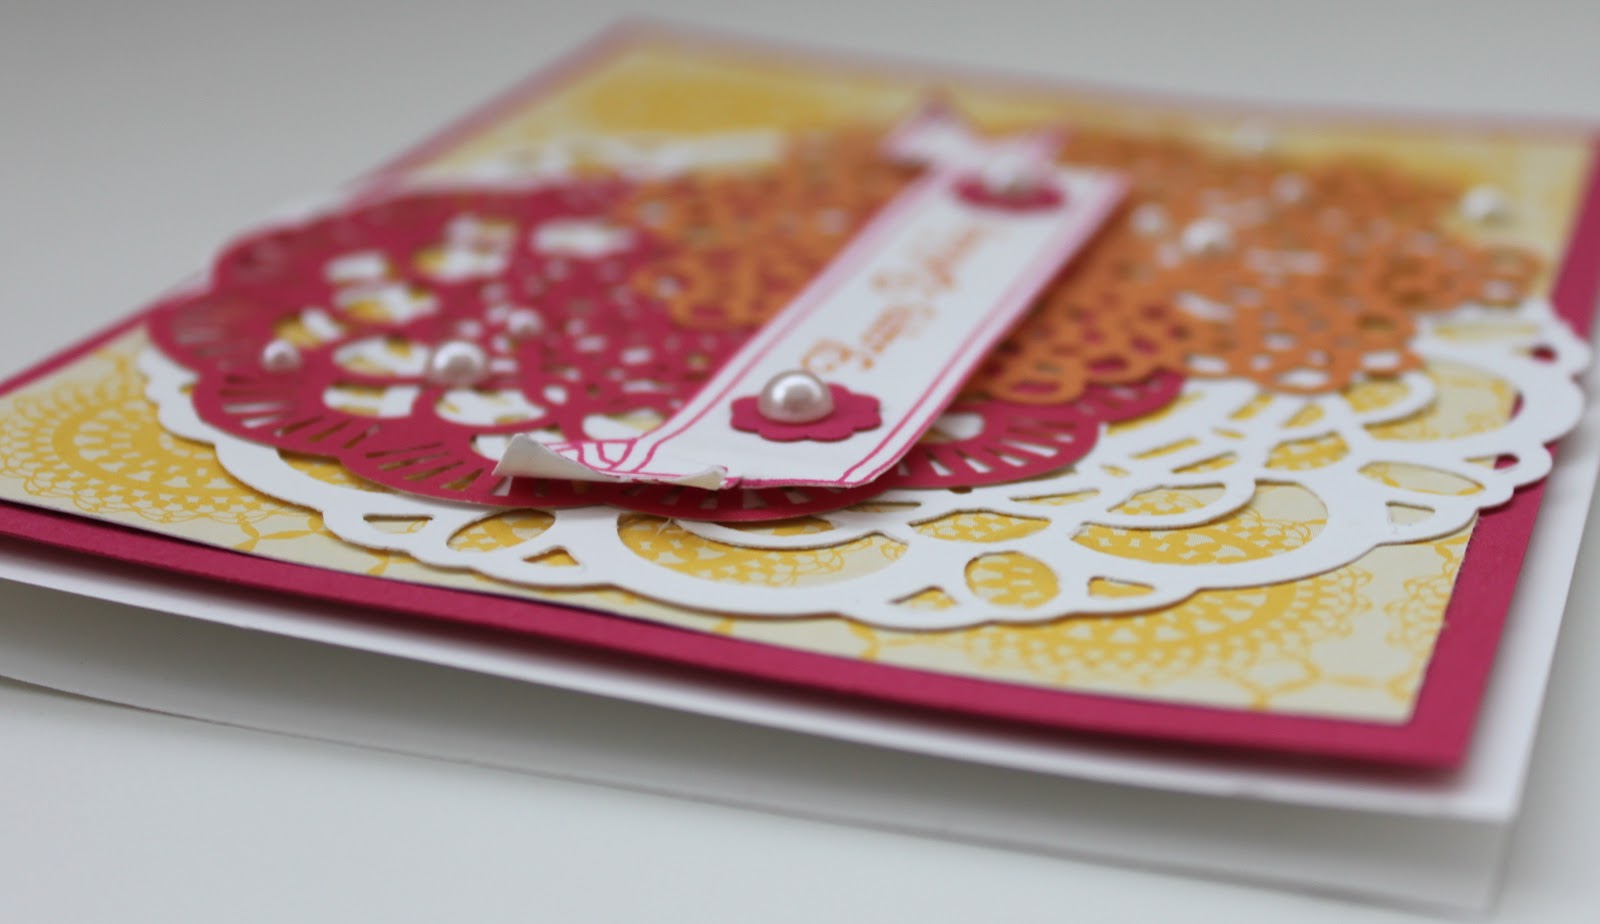
Here’s another look at the front again.
Around the handles (mostly to hide the horrible cut job!) I used more Blossom punched flowers cut to fit plus some of the DSP from the Spring Fever kit. I finished it off by tying a bow with the Whisper White 5/8″ Taffeta Ribbon. 
Here is a picture of it open and filled with cards.
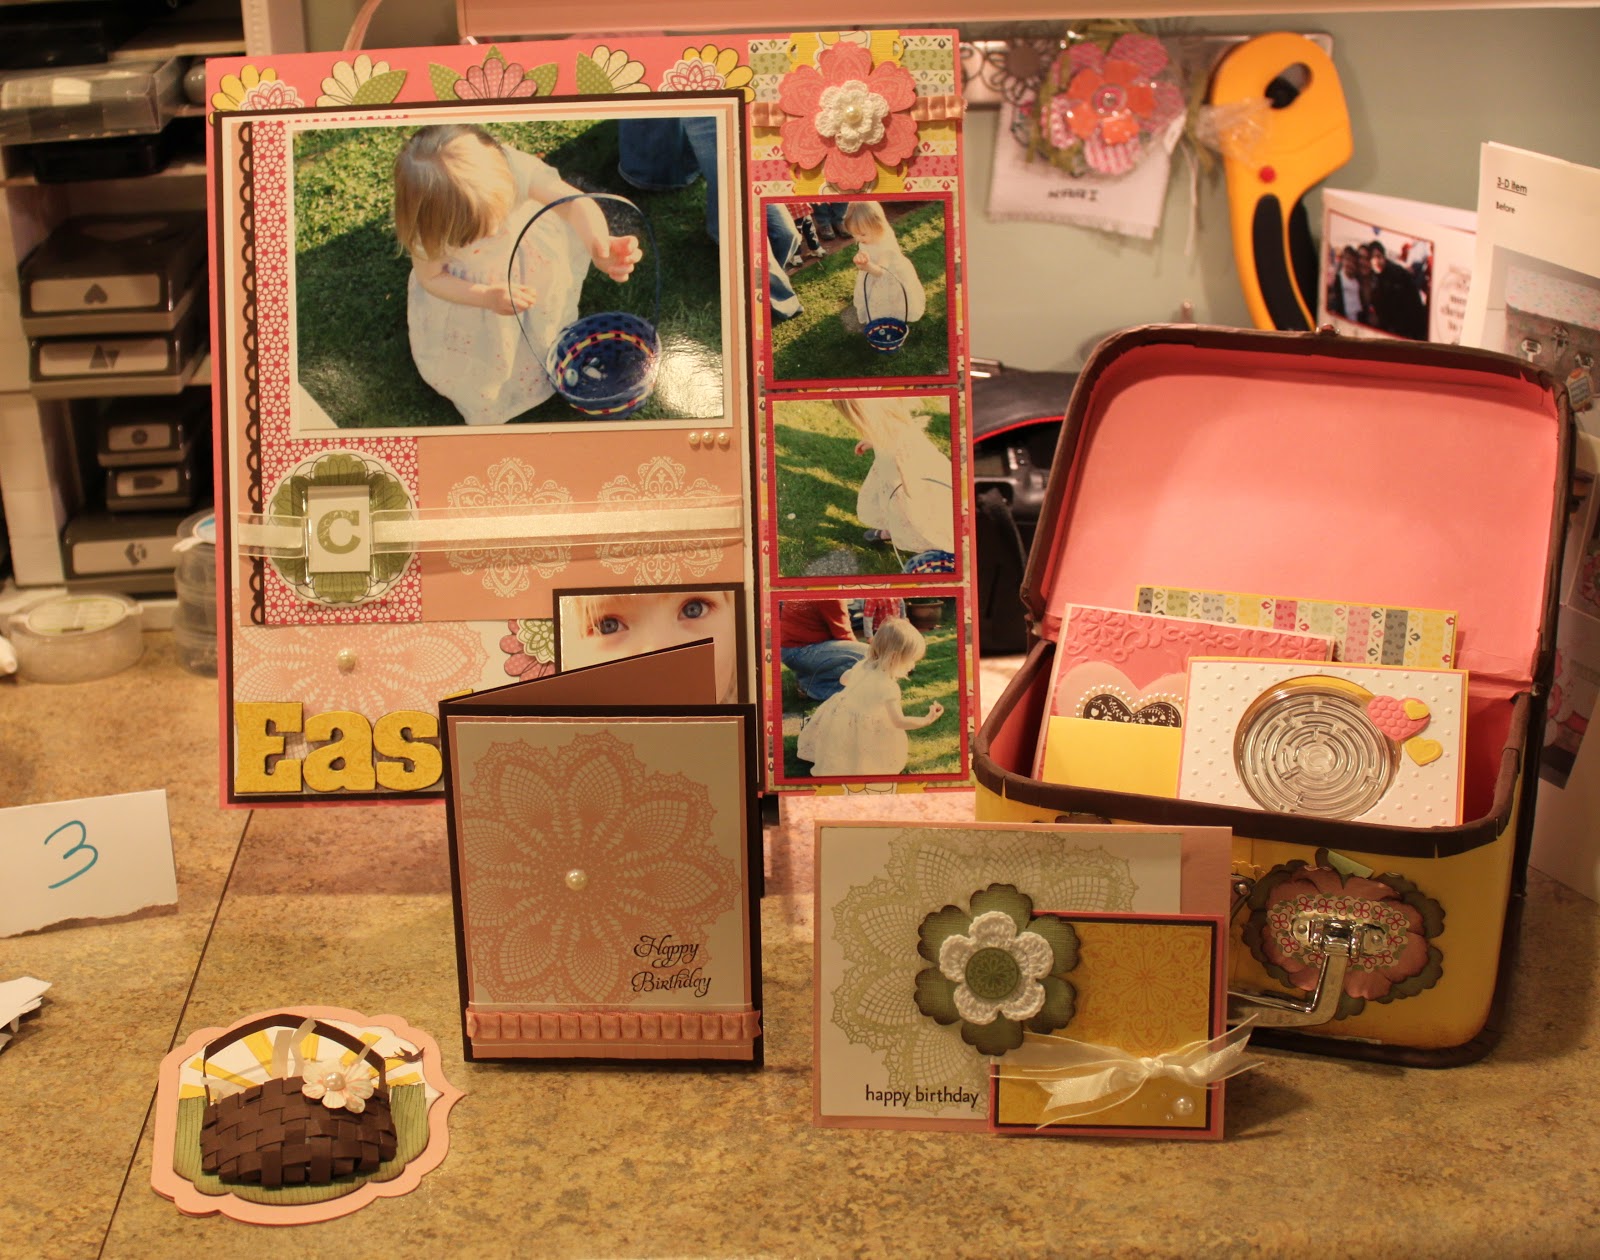
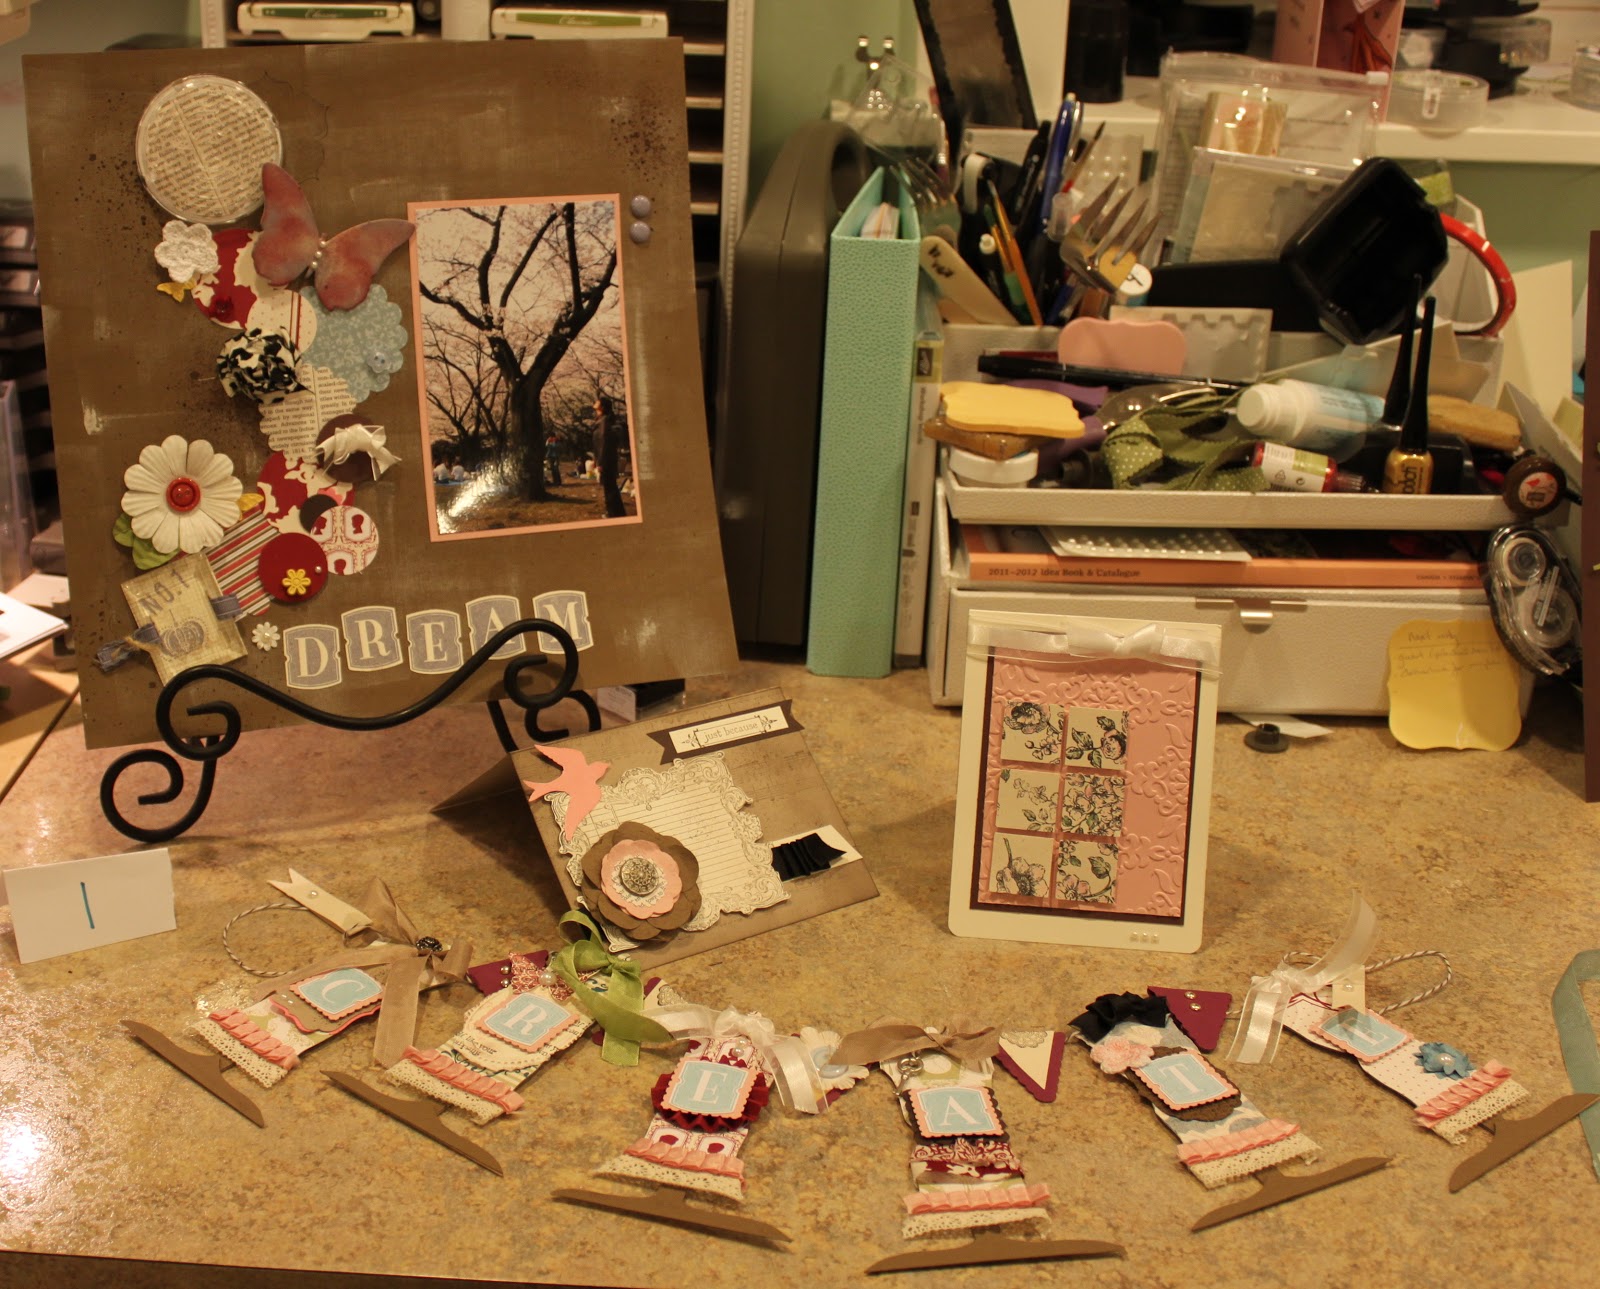
Thanks for checking me out! If you enjoy what you see please do leave a comment and make sure you’re a follower as I’ve got a whole week devoted to all the Iron Stamper items you see in this picture above. I wouldn’t want you to miss any of them!

Posted in Iron Stamper | 1 Comment

Iron Stamper Competition

As a Stampin’ Up! Demonstrator you are automatically made a member of various Up-line groups – made up of your sponsor and her other demos, her sponsor and her other demos, etc, etc, etc. We meet regularly to swap cards, ideas, learn new techniques, discuss business ideas and chat about life. It’s a really nice way to have a night out without feeling like you’re not doing something productive!

Anyway, at my Sea to Sky Stampers group meeting in January I was chosen to compete in a competition called Iron Stamper. What is that you ask? Here’s the low down …

What is an Iron Stamper? If you accept the challenge to be an ‘Iron Stamper’, you will be given a pakage of supplies that you will use to create a suite of products. Each project must use all of the products in your kit in some way, and you must create at least one of each of the following items:
– One 5 minute ‘quick’ card that would be approriate for a workshop setting (easy, not too many layers, but high ‘wow’ factor
– One class-style card – can be as difficult as you want, but should be several layers and/or techniques used. Any size is fine except for 3″ or mini cards.
– One 3-D item. You can make paper boxes, paper ‘photo albums’, fantasy boxes, etc., or decorate an item from a dollar store using our products.
– One Scrapbook Layout – progressive pages, 8″ square, 8-1/2×11″, 12″ square, but please no 6″ or smaller layouts.
You may choose to use other Stampin’ Up! products on your projects (and will likely need to do so.)
RULES:
– You have 2 months to create these projects.
– They are due in the meeting location 30 minutes before the start of then next official meeting.
– YOU MUST USE ALL SU!, CURRENT PRODUCTS! (with the exception of the items you are altering)
– Do not post any projects on your website or BLOG until after the competition (some sneaks are okay as teasers)
Without further ado here is a picture of the supplies we were given and what I made with them. I’ll have a string of posts over the next week or so showing them in more detail and talking about my processes – hope you join me for those!
This is what we were given – 12×12 Regal Rose card stock, 8-1/2×11 card stock in Daffodil Delight, Blushing Bride, Chocolate Chip and Whisper White, some Paper Daisies Accents, some Fluerettes II Accents and Elements, a Maze Game, some 3/8″ Pleated Satin Ribbon in Blushing Bride, some Whisper White 5/8″ Organza Ribbon, some Large Pearl Basic Jewels and some Basic Pearls Jewel Accents.
My first stop was Dollarama to see what I could find to alter – at $2, the price was most definitely right for this little suitcase. 

I turned it into this little birthday card keeper.

 Next up is my layout. I went for a Progressive Layout (all details will be in a future post!!) 

My Class-style card #1 is this one with a woven Easter basket on the front.

With this being my Class-style card #2 (a more complex version of the 5-minute card coming up.) 
My 5-minute card. 
And if you are wondering how I used that Maze Game …. 
Well, there you have it. I padded my display with more cards in my little suitcase – to show it as a card keeper! As I said earlier, I’ll be sharing more details on these projects over the coming days so I hope you check back!
In case you’re wondering, no, I did not win. sigh.


Posted in contests, Iron Stamper | 3 Comments

Sweet Shop Birthday card

Today is my youngest daughter, Christine’s 3rd birthday. She is such a darling little scamp so I decided to make a fun card for her. I think it was using the Big Top Birthday DSP last week that started an obsession with making pin wheels. For whatever reason, I can’t get them out of my mind and keep coming across them in my (too frequent) BLOG surfing sessions!  
What do you think? Fun, huh?
I started with a piece of Calypso Coral card stock then layered a piece of Pool Party card stock that I’d run through my Perfect Polka Dots Textured Impressions folder on my Big Shot. On top of that is a piece of Whisper White card stock stamped with the Sweet Cake stamp set and dressed up with my fun pinwheels (3 of them in honour of her 3rd birthday!)

The pinwheels themselves are made out of pieces of the Sweet Shop DSP and are held in place with a brad from the Sweet Shop Jelly Bean brads.

Here’s a fun tip to create some added interest on your cards. When you have an image like this one where the sentiment is added separately from the main image, stamp the sentiment onto a different piece of card stock and then use Dimensionals to pop it off the first stamped image.
Well, I’ve got a cake to finish and a house to clean for a family celebration later this weekend so I’d better run! One last thing though… the products featured on this card today (Sweet Shop Suite of products) are in the Occasions Mini Catalogue and will only be available until April 30th. Get them now!! Stampin’ Up! has changed their catalogue schedule so there will not be a Summer Mini this year. Instead we will be seeing the new 2012-2013 Idea Book and Catalogue as of June 1st (I’ll get a sneak peak starting May 1st). As a teaser they are releasing a look at their Summer Smooches Suite starting April 1st. Take a look …
To see a PDF flyer about the promotion, click on the link. Can you say YUMMY?!
Posted in Cards, Uncategorized | 1 Comment

Who should win Iron Stamper?

Recently (okay two months ago) I was awarded the opportunity to compete within my Stampin’ Up demonstrators group in their Iron Stamper competition. Have you heard of Iron Chef? Well, it’s kind of like that only with paper, inks, and fun embellishments! Here are the contents of the package of materials we were given to work with.

Before I show you the entries, here is what we were told as far as rules, expectations etc:
What is an Iron Stamper? If you accept the challenge to be an ‘Iron Stamper’, you will be given a pakage of supplies that you will use to create a suite of products. Each project must use all of the products in your kit in some way, and you must create at least one of each of the following items:
– One 5 minute ‘quick’ card that would be approriate for a workshop setting (easy, not too many layers, but high ‘wow’ factor
– One class-style card – can be as difficult as you want, but should be several layers and/or techniques used. Any size is fine except for 3″ or mini cards.
– One 3-D item. You can make paper boxes, paper ‘photo albums’, fantasy boxes, etc., or decorate an item from a dollar store using our products.
– One Scrapbook Layout – progressive pages, 8″ square, 8-1/2×11″, 12″ square, but please no 6″ or smaller layouts.
You may choose to use other Stampin’ Up! products on your projects (and will likely need to do so.)
RULES:
– You have 2 months to create these projects.
– They are due in the meeting location 30 minutes before the start of then next official meeting.
– YOU MUST USE ALL SU!, CURRENT PRODUCTS! (with the exception of the items you are altering)
– Do not post any projects on your website or BLOG until after the competition (some sneaks are okay as teasers)
So, now that you know all that … here are the entries. I will not say which is mine for a few days to allow you to impartially vote on who you think should win.

1. 

2.

3.
Thanks everyone, please post comments with your choice and/or opinions on the entries. I’m really curious to read what people think! I may even award a prize!! (bonus points if you can spot mine!!)

Posted in Iron Stamper | 1 Comment

Something Green for you

This morning – in anticipation of my Sale-a-Bration Celebration – I whipped up a little card. It’s not overtly “St Patrick’s-y” (mostly because I do not own any shamrock stamps!) but it is green!

 
I am filing this under a new category of ‘Quick Cards’. It literally took me 5 minutes to put together! I don’t know about you, but I love a card that I can whip up when I need it so I plan to share MY quick cards with you in the future. Spending hours on a card is great (and TONS of fun) if you have the time or are clever enough to plan ahead but I am usually a last minute card maker kind of gal. Look for Quick Cards to become a regular feature. Hope you like them!
Products used:
Whisper white and Pear Pizzazz card stock
Elementary Elegance stamp set (from Sale-a-Bration brochure)
Pear Pizzazz and Chocolate Chip Classic Stampin’ Pads

Posted in Quick Cards | 3 Comments

Project 12 – February 2012

Time for another Project 12 layout. I’ve decided to feature a different paper collection with each month/layout so this month I used Big Top Birthday. If you click the link you’ll see how fun this paper is!

Here’s my layout.

I used this sketch from the February 2012 PageMaps sketches.

In the interest of making this a quick post I’m not going to go into great detail about my process but here are some close up shots of the details. Hope you like them!

Left side

Right side

Stamping + paper covered On Board hearts + a button = cute collage!

On board letters that are inked and then covered in Crystal Effects.

Some stickers from the Big Top Birthday Quick Accents kit plus a couple punched circles and an On Board banner.

All that white card stock needed a little something something … if you know what I mean. Love these little embellishment clusters!

More stamping with my embellishments.

Products used:
Big Top Birthday DSP and Big Top Birthday Quick Accents Kit
12×12 Textured Card Stock in Whisper White from the Neutrals Collection
12×12 Textured Card Stock in Daffodil Delight from the Brights Collection
Real Red smooth card stock
Classic Stampin Pad in Tempting Turquoise
Patterned Party stamp set
On Board Alphabet Soup and Merry Medley
Crystal Effects
1″ and 21/2″ Circle punches
Decorative Label Punch
Heart-to-Heart Punch
Scallop Trim Border Punch
Designer Buttons – Brights Collection

Thanks for stopping by. Don’t forget about my Sale-a-Bration Celebration on Saturday. All the information is here – come by for some inspiration and the chance to win great prizes! I might even have some items for sale – if I get organized in time!!

Posted in Project 12 | 2 Comments

Flirtatious Birthday Card

Today is my sister-in-law Jonina’s birthday so I have another gorgeous (if I do say so myself) card to share.

I used my Flirtatious Specialty DSP this time. The bottom layer is Melon Mambo card stock then is a layer of one of the patterns from the Flirtatious line. On top of that is a doily I cut out in Whisper White card stock using my Paper Doily Sizzlits Die. Then are two doilies cut out from the laser cut sheets – one in Melon Mambo and the other in Pumpkin Pie. This colour combination screams spring to me!

I stamped the banner image from the Take It To Heart stamp set in Melon Mambo and used a sentiment from the Create a Cupcake stamp set (in Pumpkin Pie) before cutting out the banner, curling the edges and popping it up with Dimensionals. It still needed a little something extra so I used the scalloped circle punch from my Itty Bitty Punch Pack to punch out a Melon Mambo flower that I could add a pearl to.

The pearls looked a little lonely so I added a few more in two different sizes.

For the inside I stamped some images from the Delicate Doilies stamp set in Melon Mambo, Pumpkin Pie and Daffodil Delight and another sentiment from the Create a Cupcake set. 
Super simple but quite stunning, don’t you think?

Happy Birthday Jo!!

Posted in Cards | 2 Comments