It’s done!!!
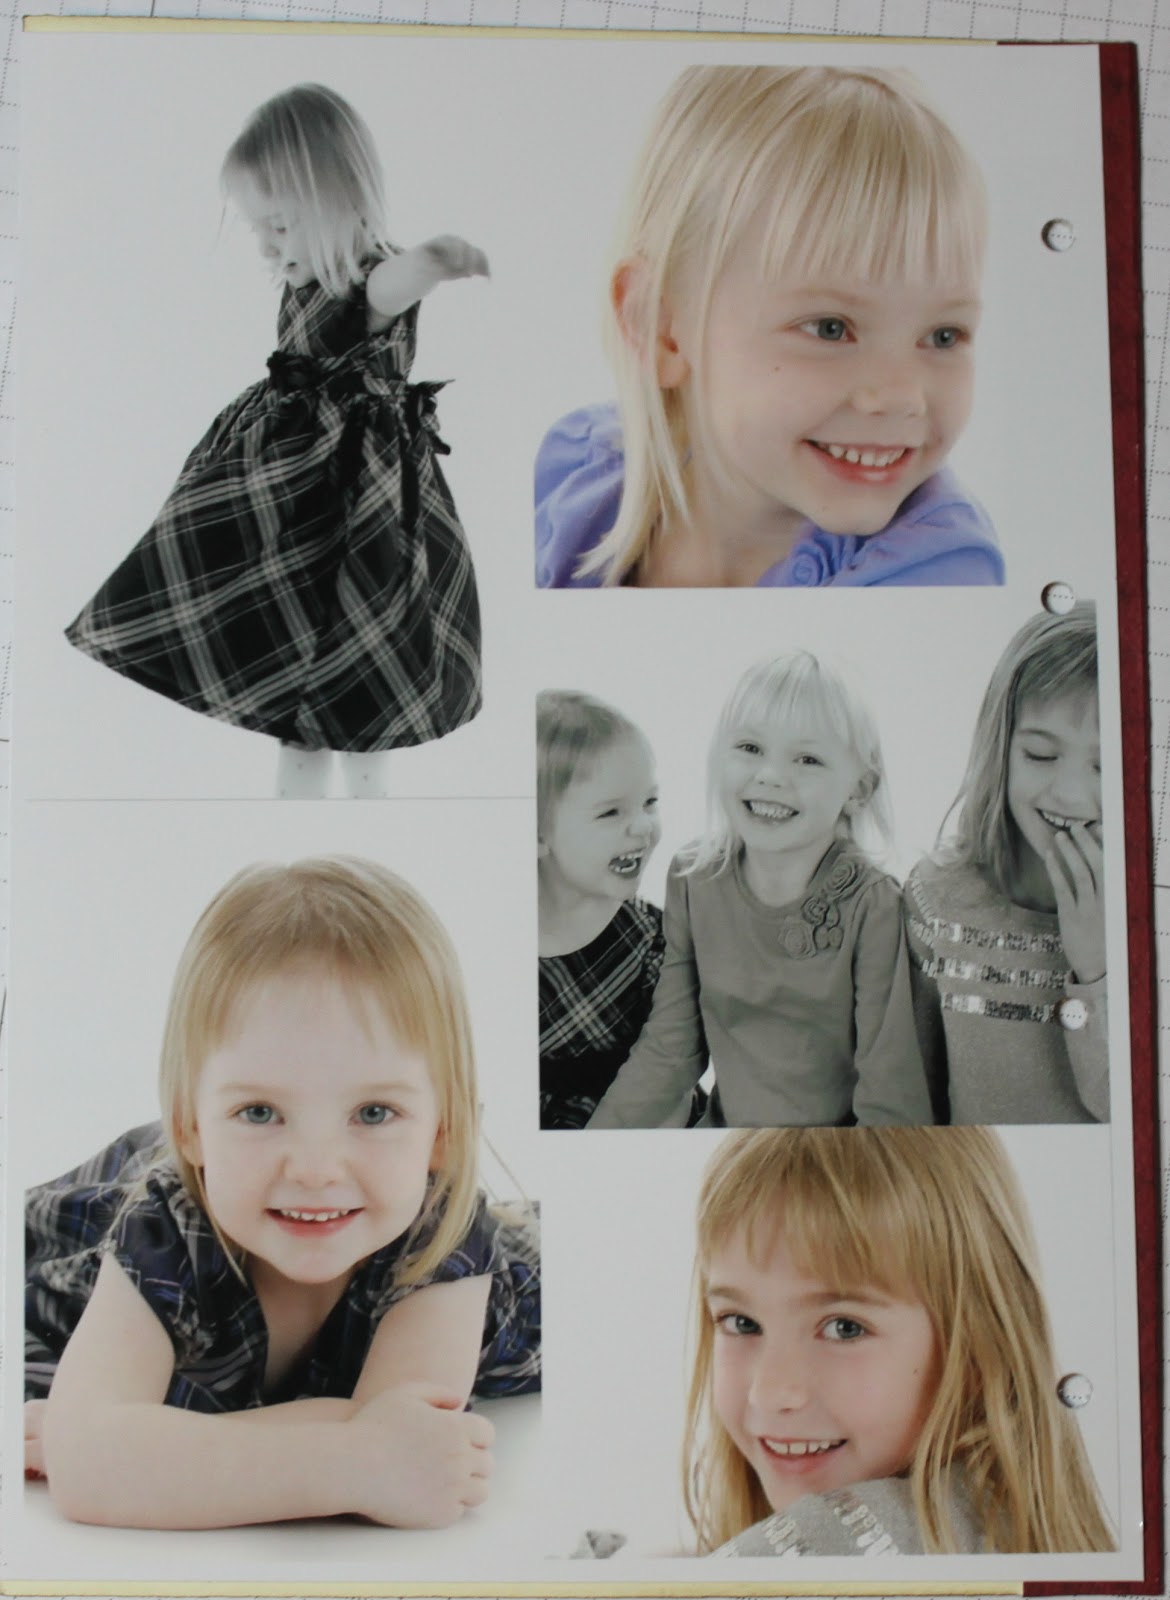
Okay, almost … I still have to scan in the professional pictures we had taken and add them to Day 15 … but other than that, it’s done!! Start the happy dance!!
Here are the last few days.
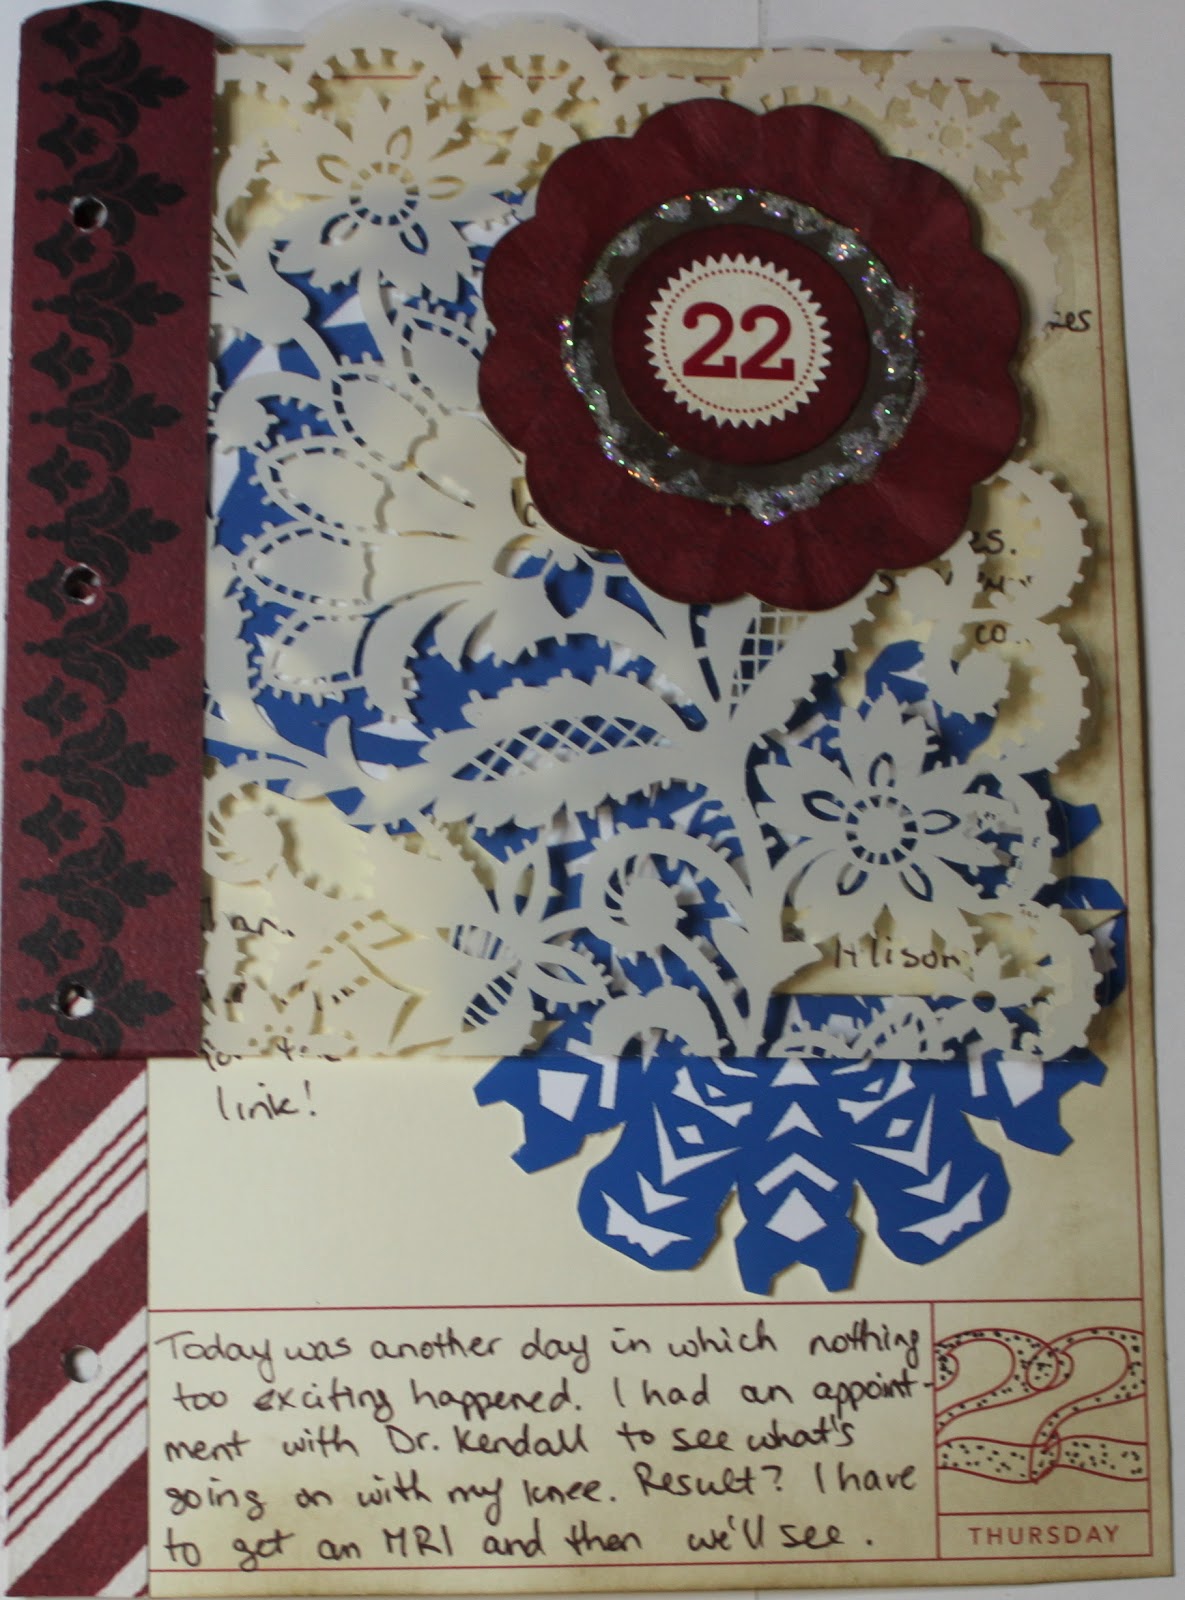
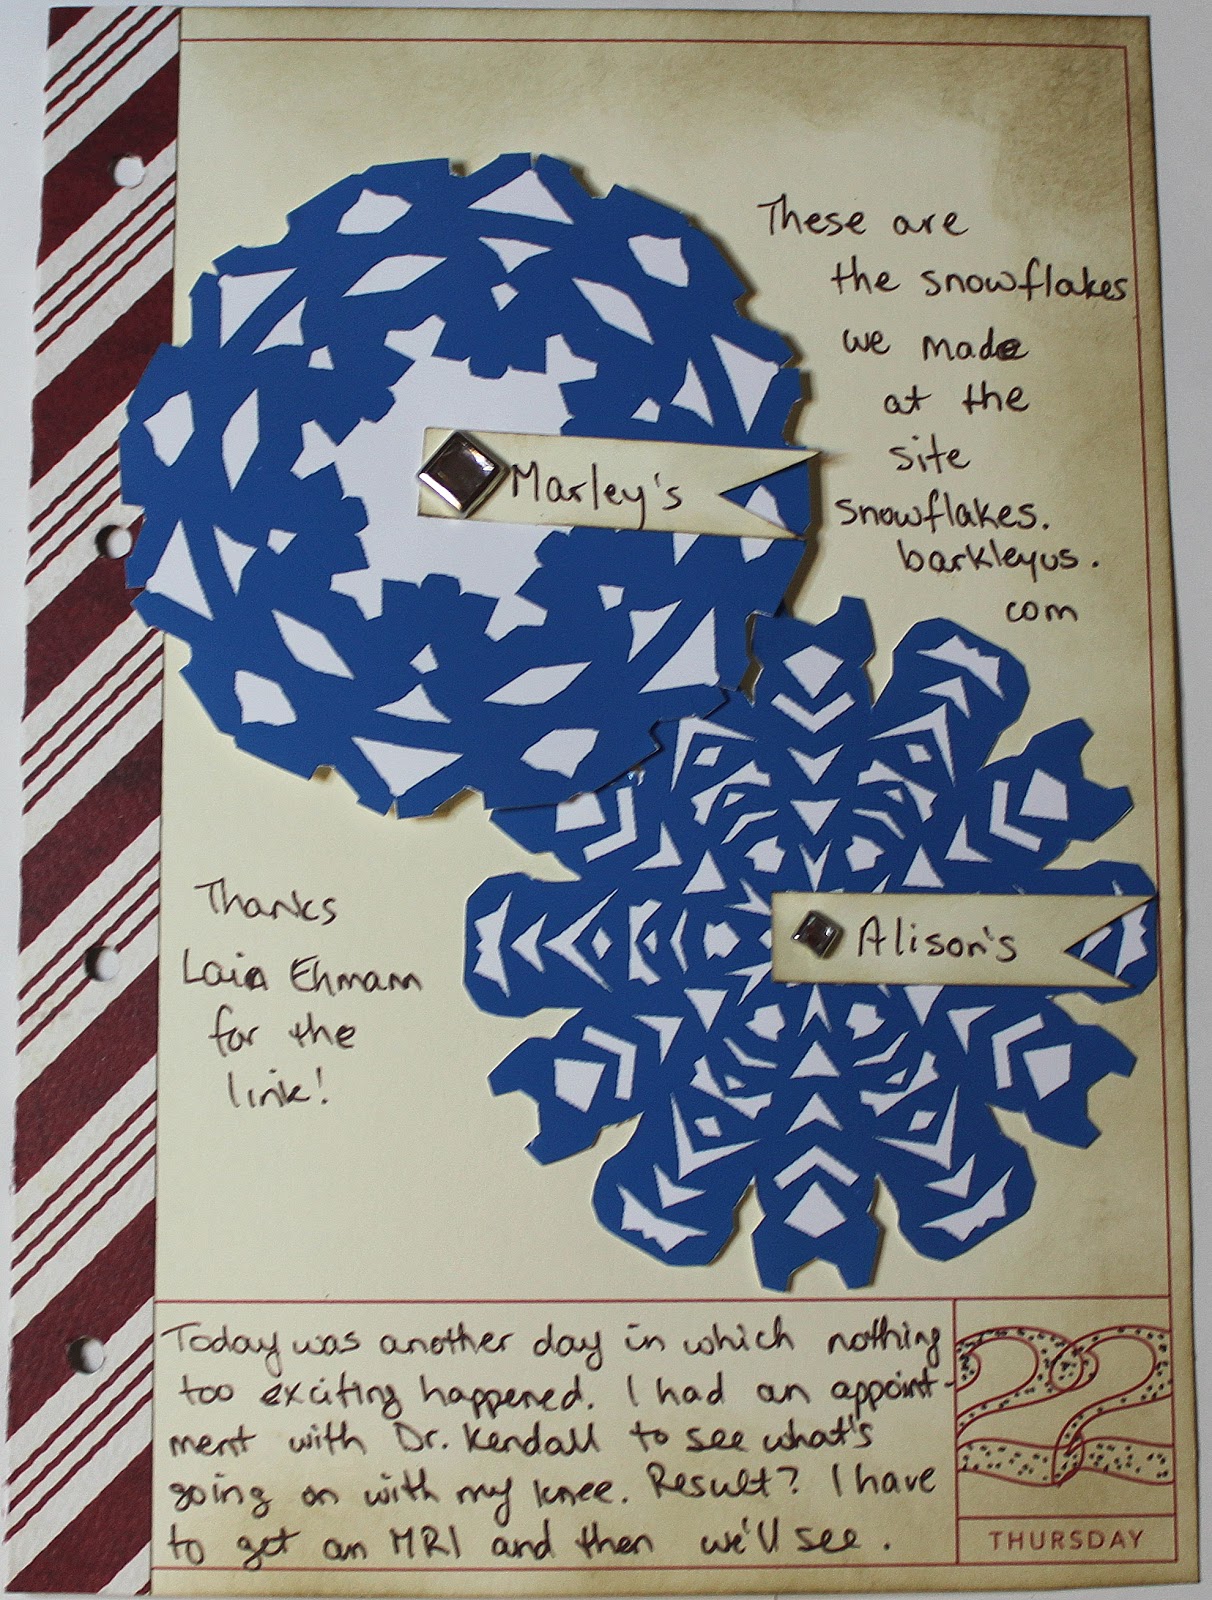
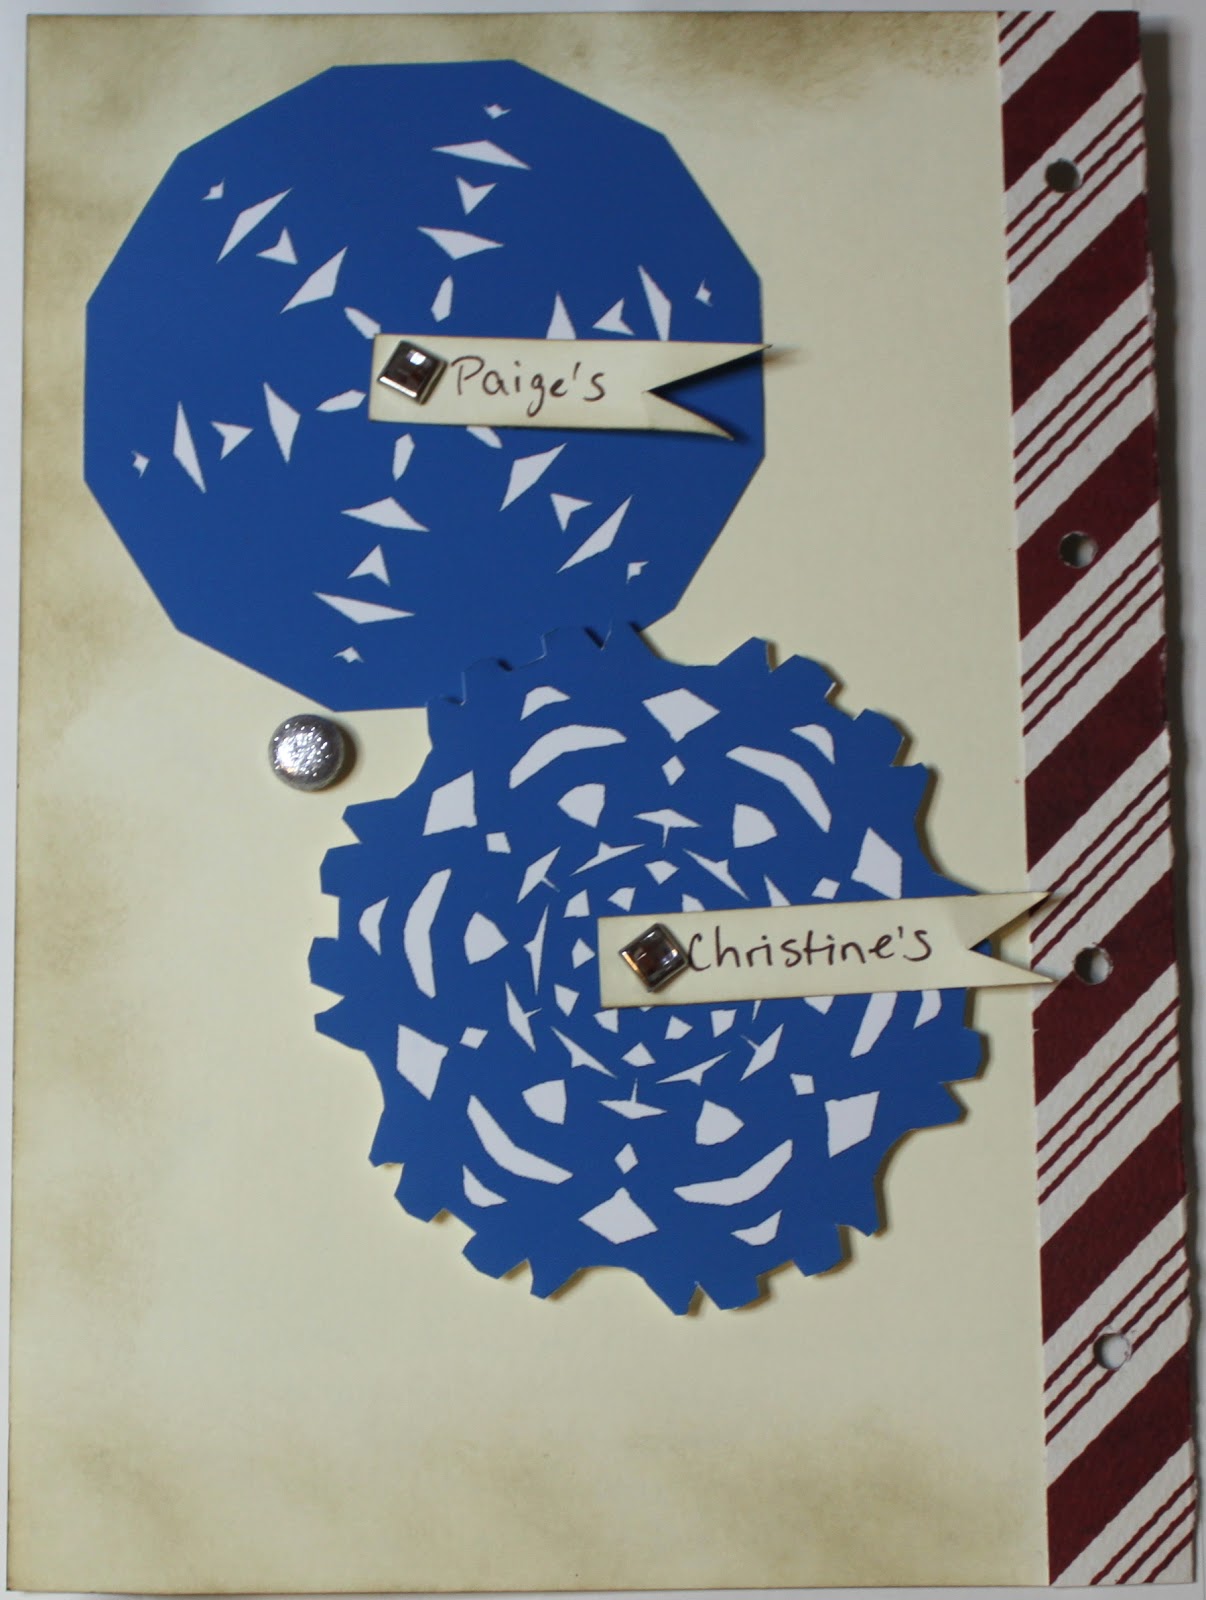
Day 22:
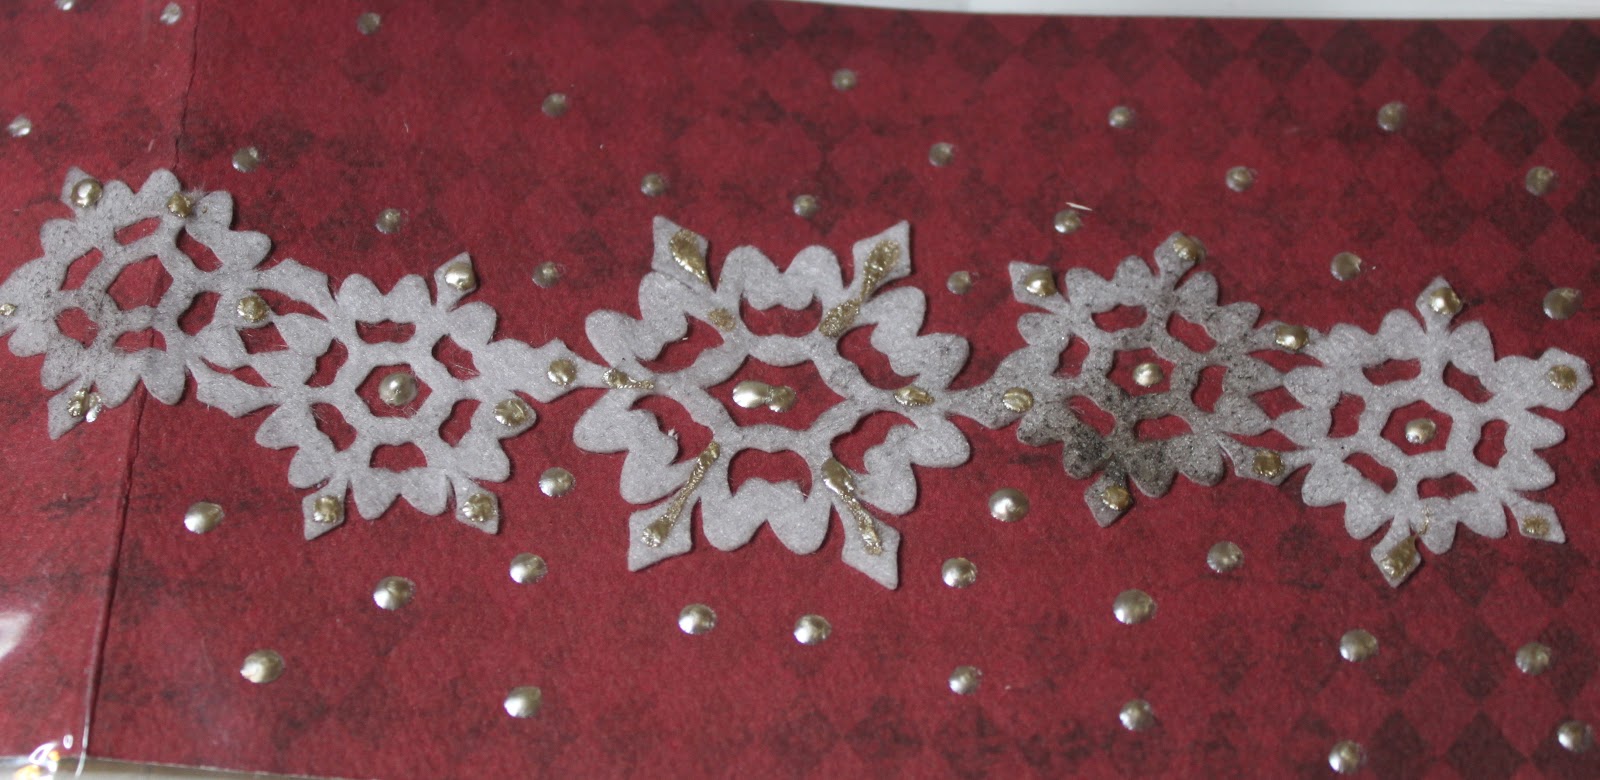
Another of those days where I took no pictures and there was no real “story to tell”. So I printed off some virtual snowflakes the girls and I had made earlier in the week, added a little journalling about what actually happened on the 22nd and called it done.
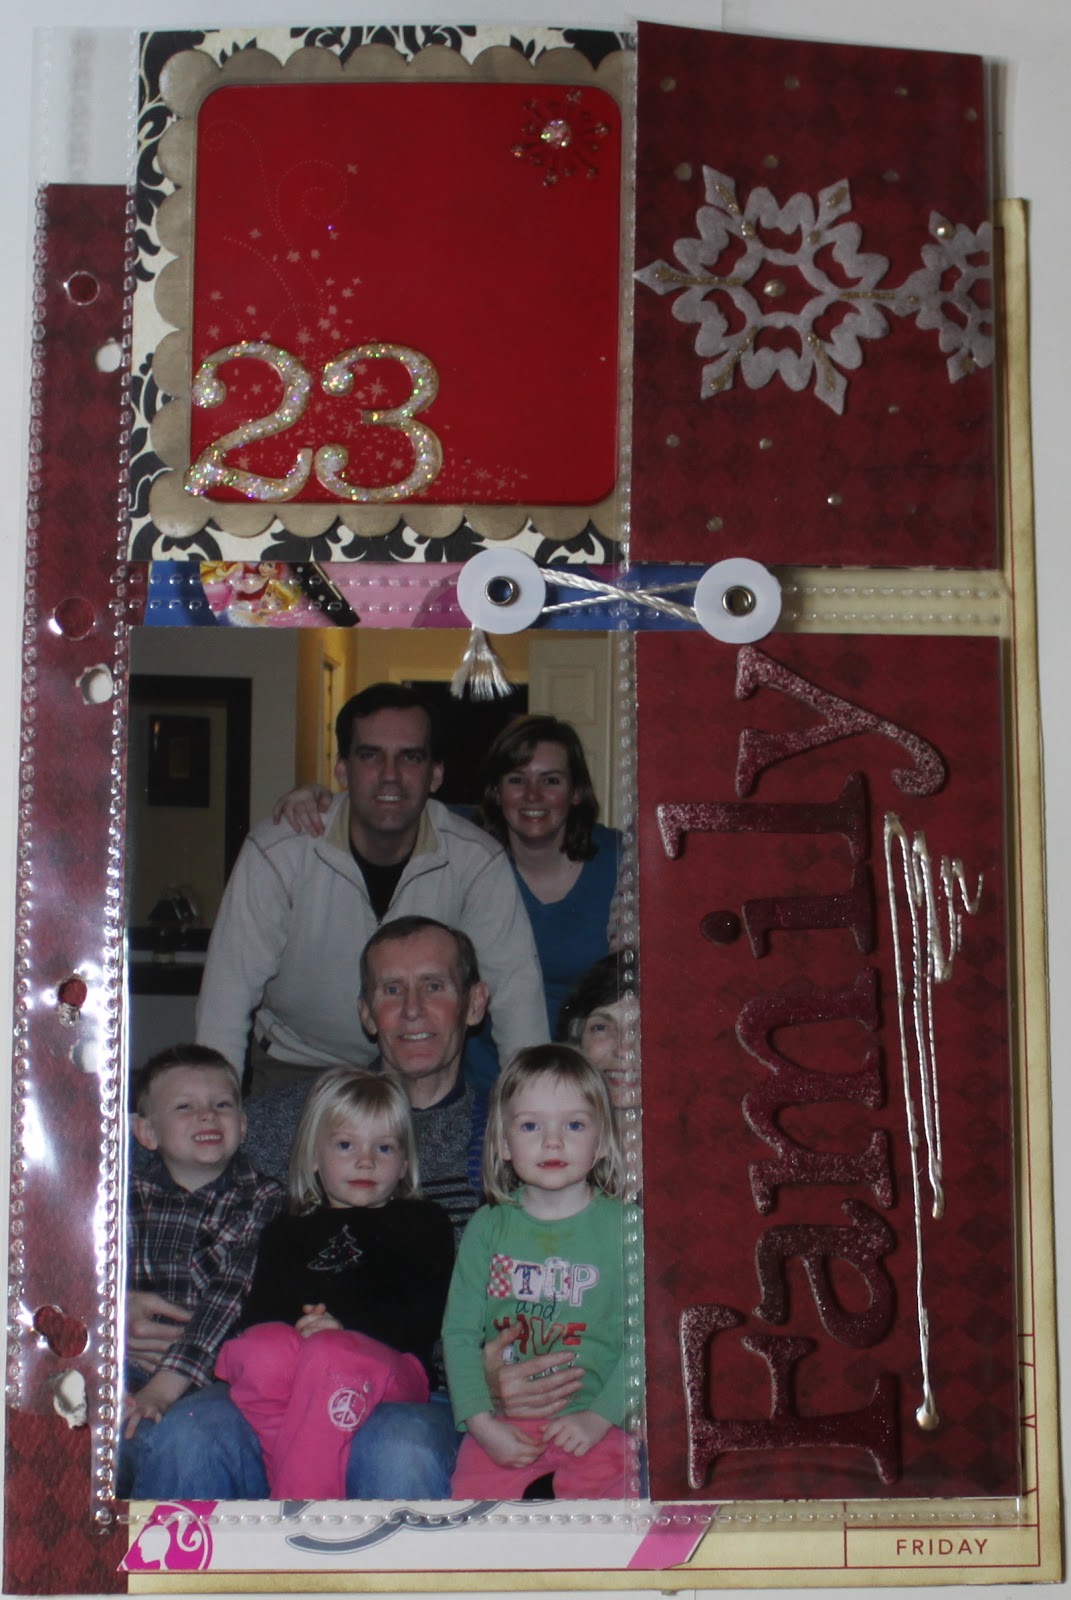
Day 23:
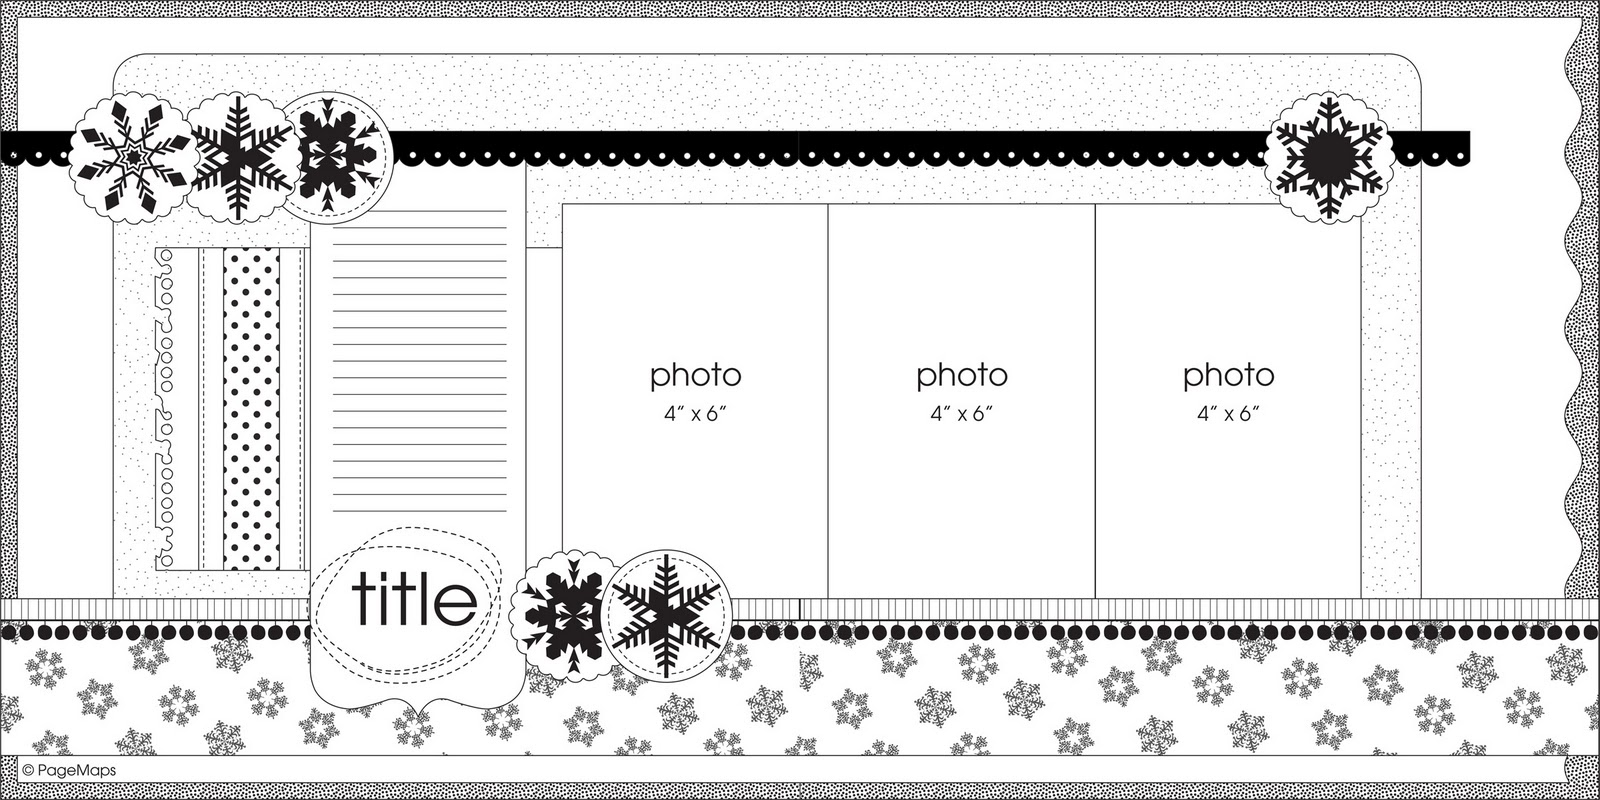
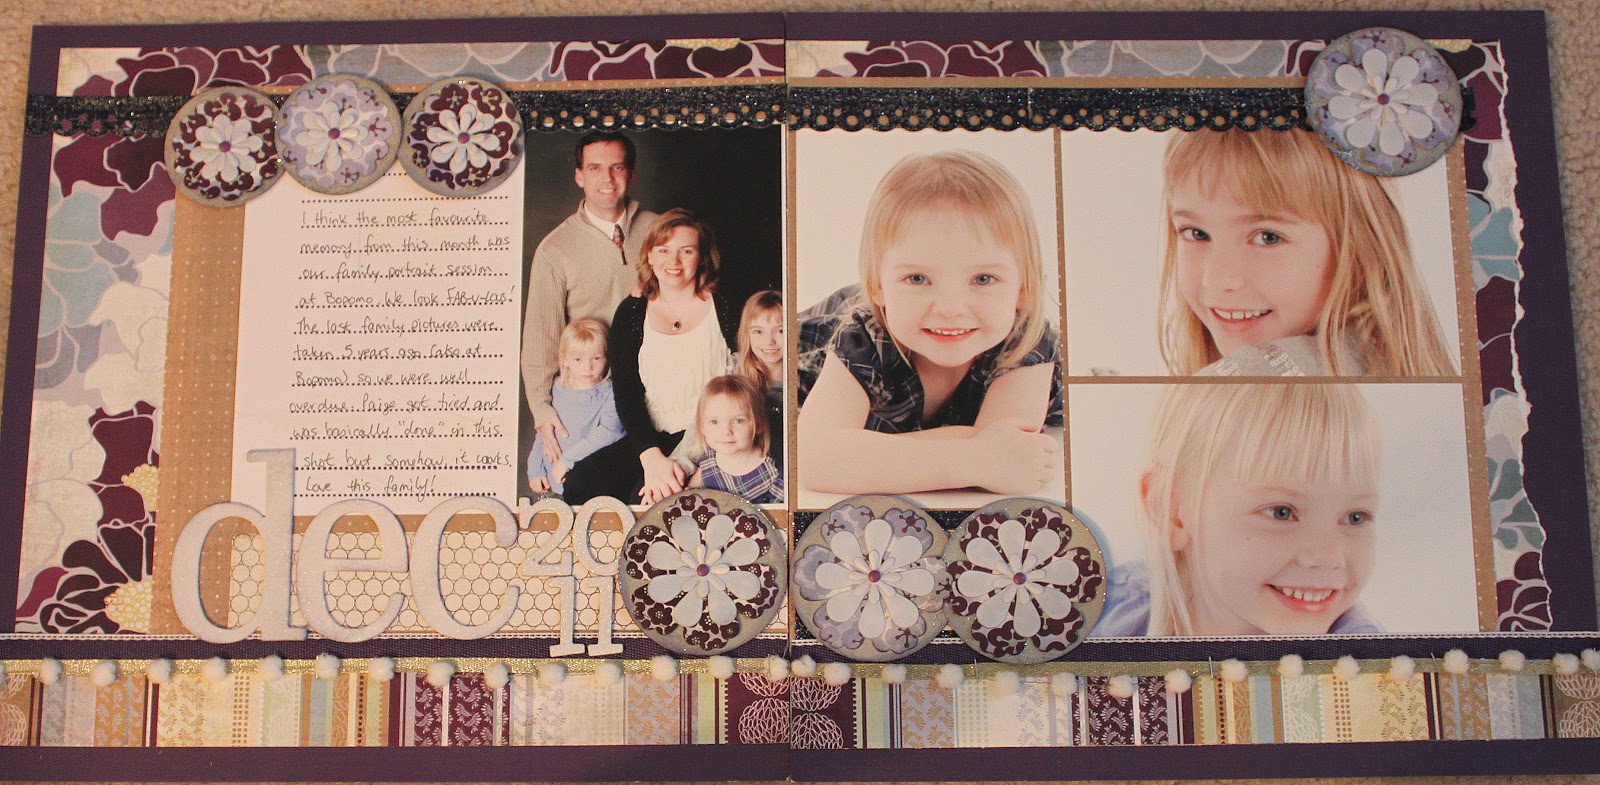
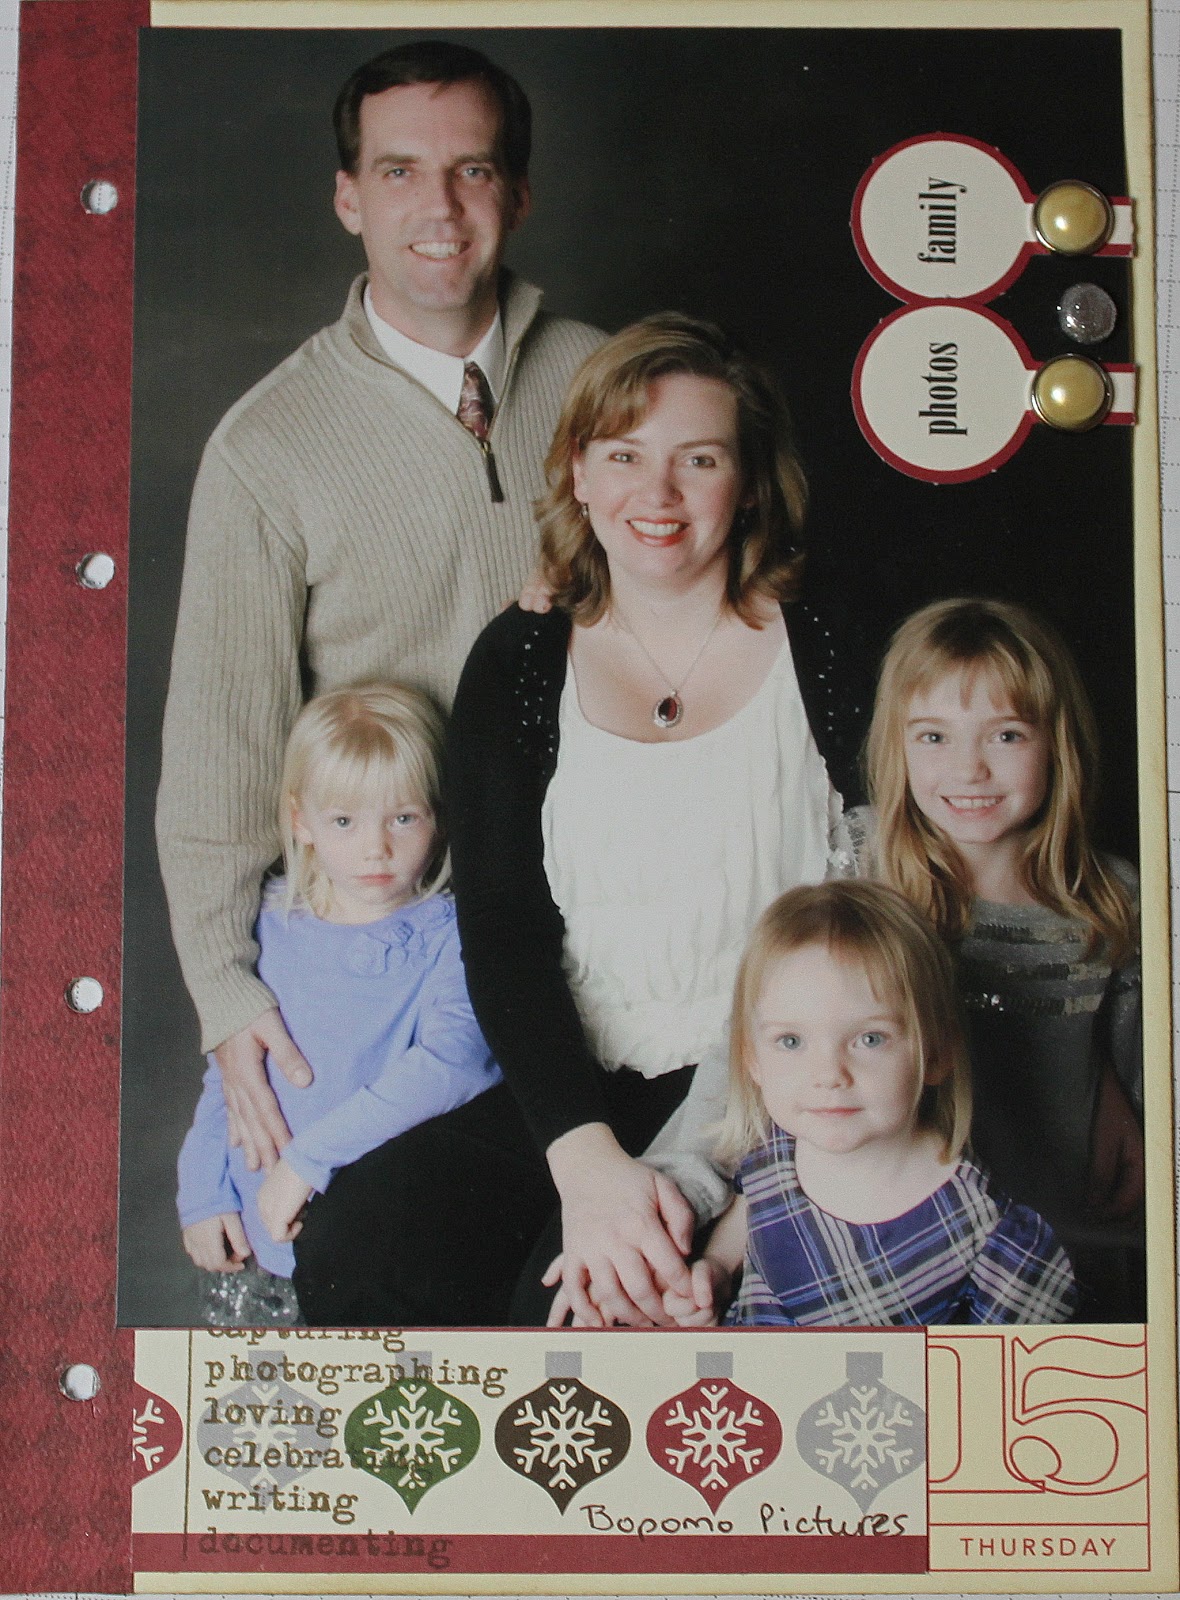
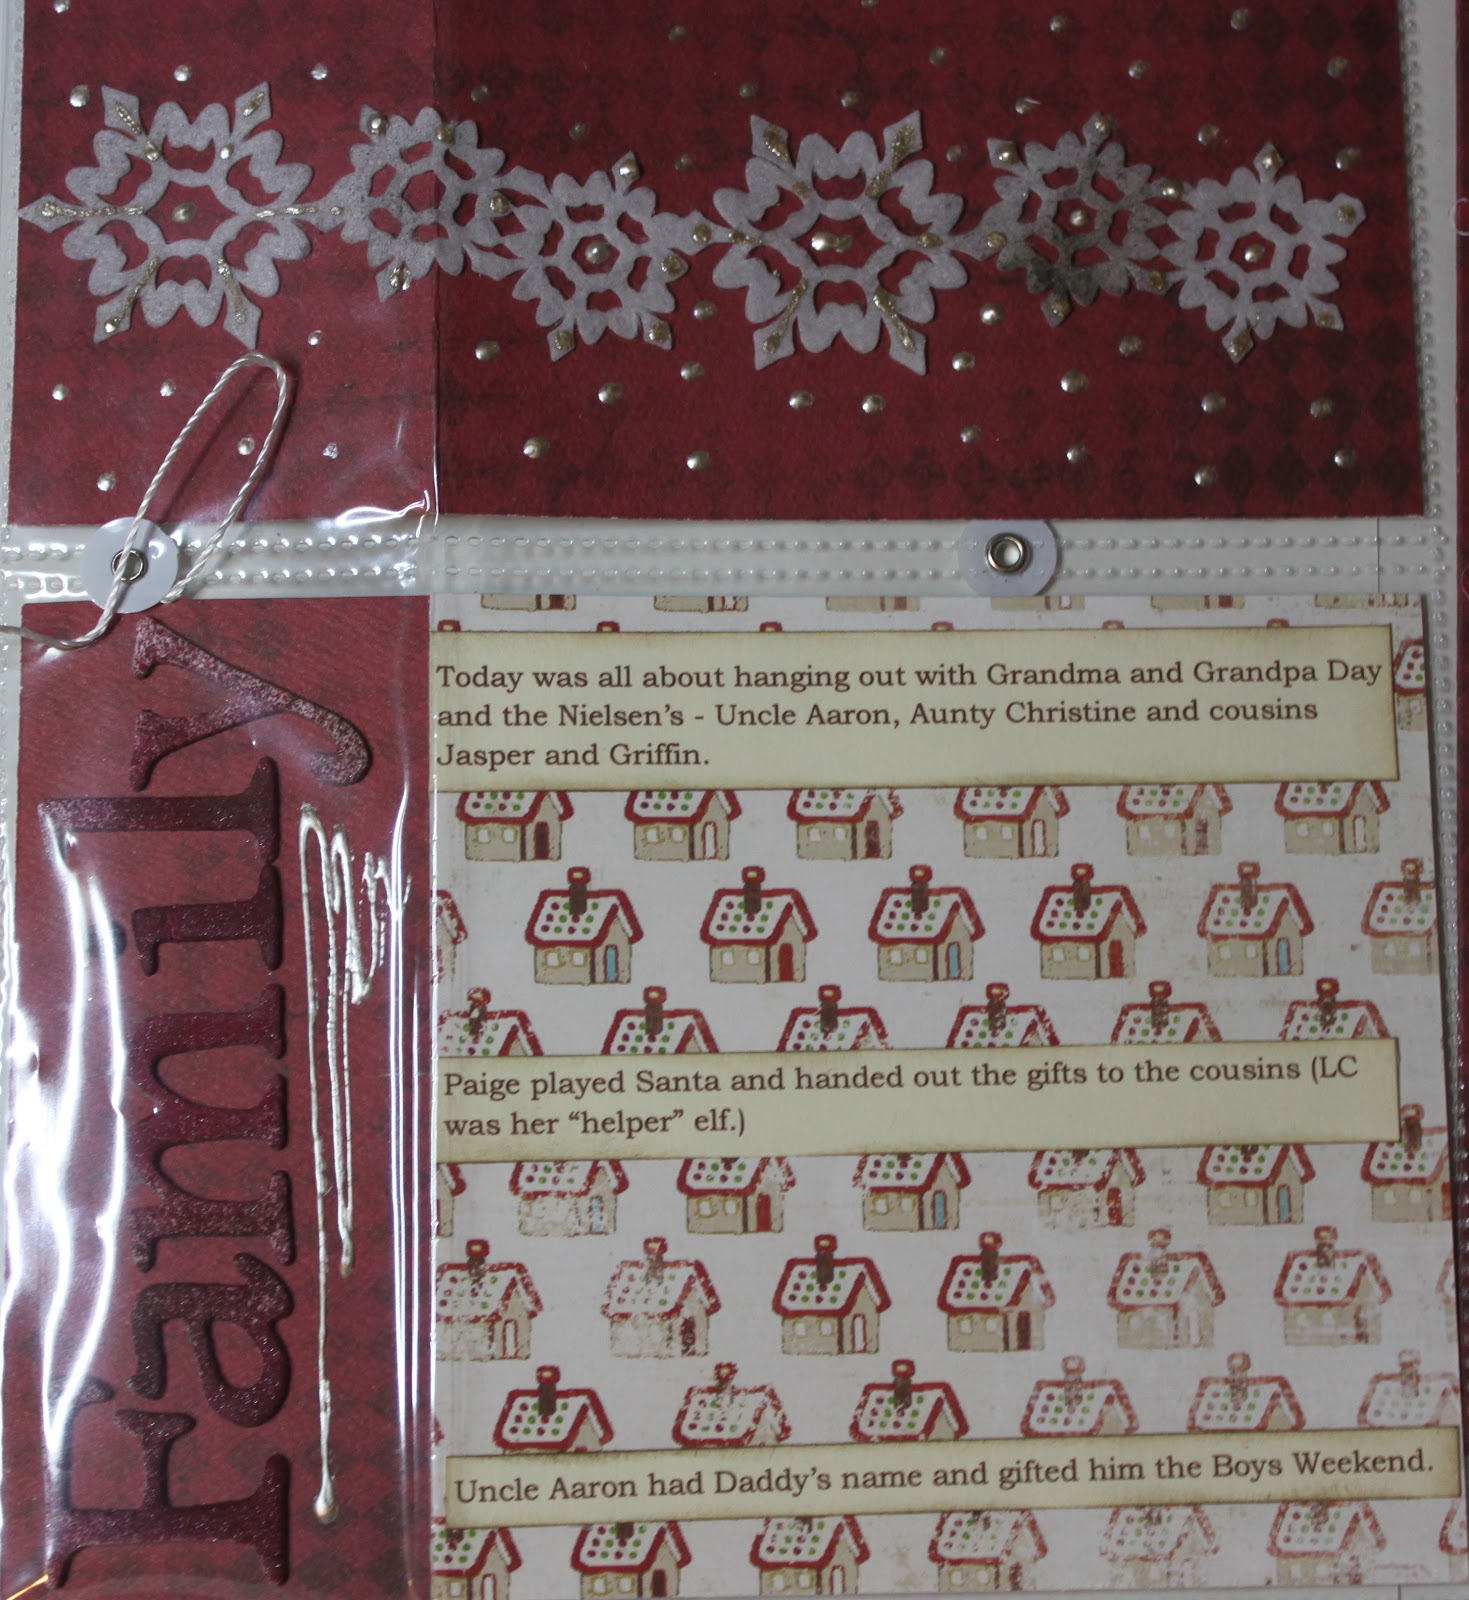
We hosted Grandma and Grandpa Day and the Nielsen’s – Greg’s sister Christine, and her family. We used the timer on my camera to take a group shot which I used in the cover page which is a flip out page protector. To the smaller flap I added the word ‘family’ – letters that were originally white but I spritzed the heck out of!! Then, since I’d used some platinum coloured Liquid Pearls on the snowflakes (see below) I added some as an embellishment below the word.
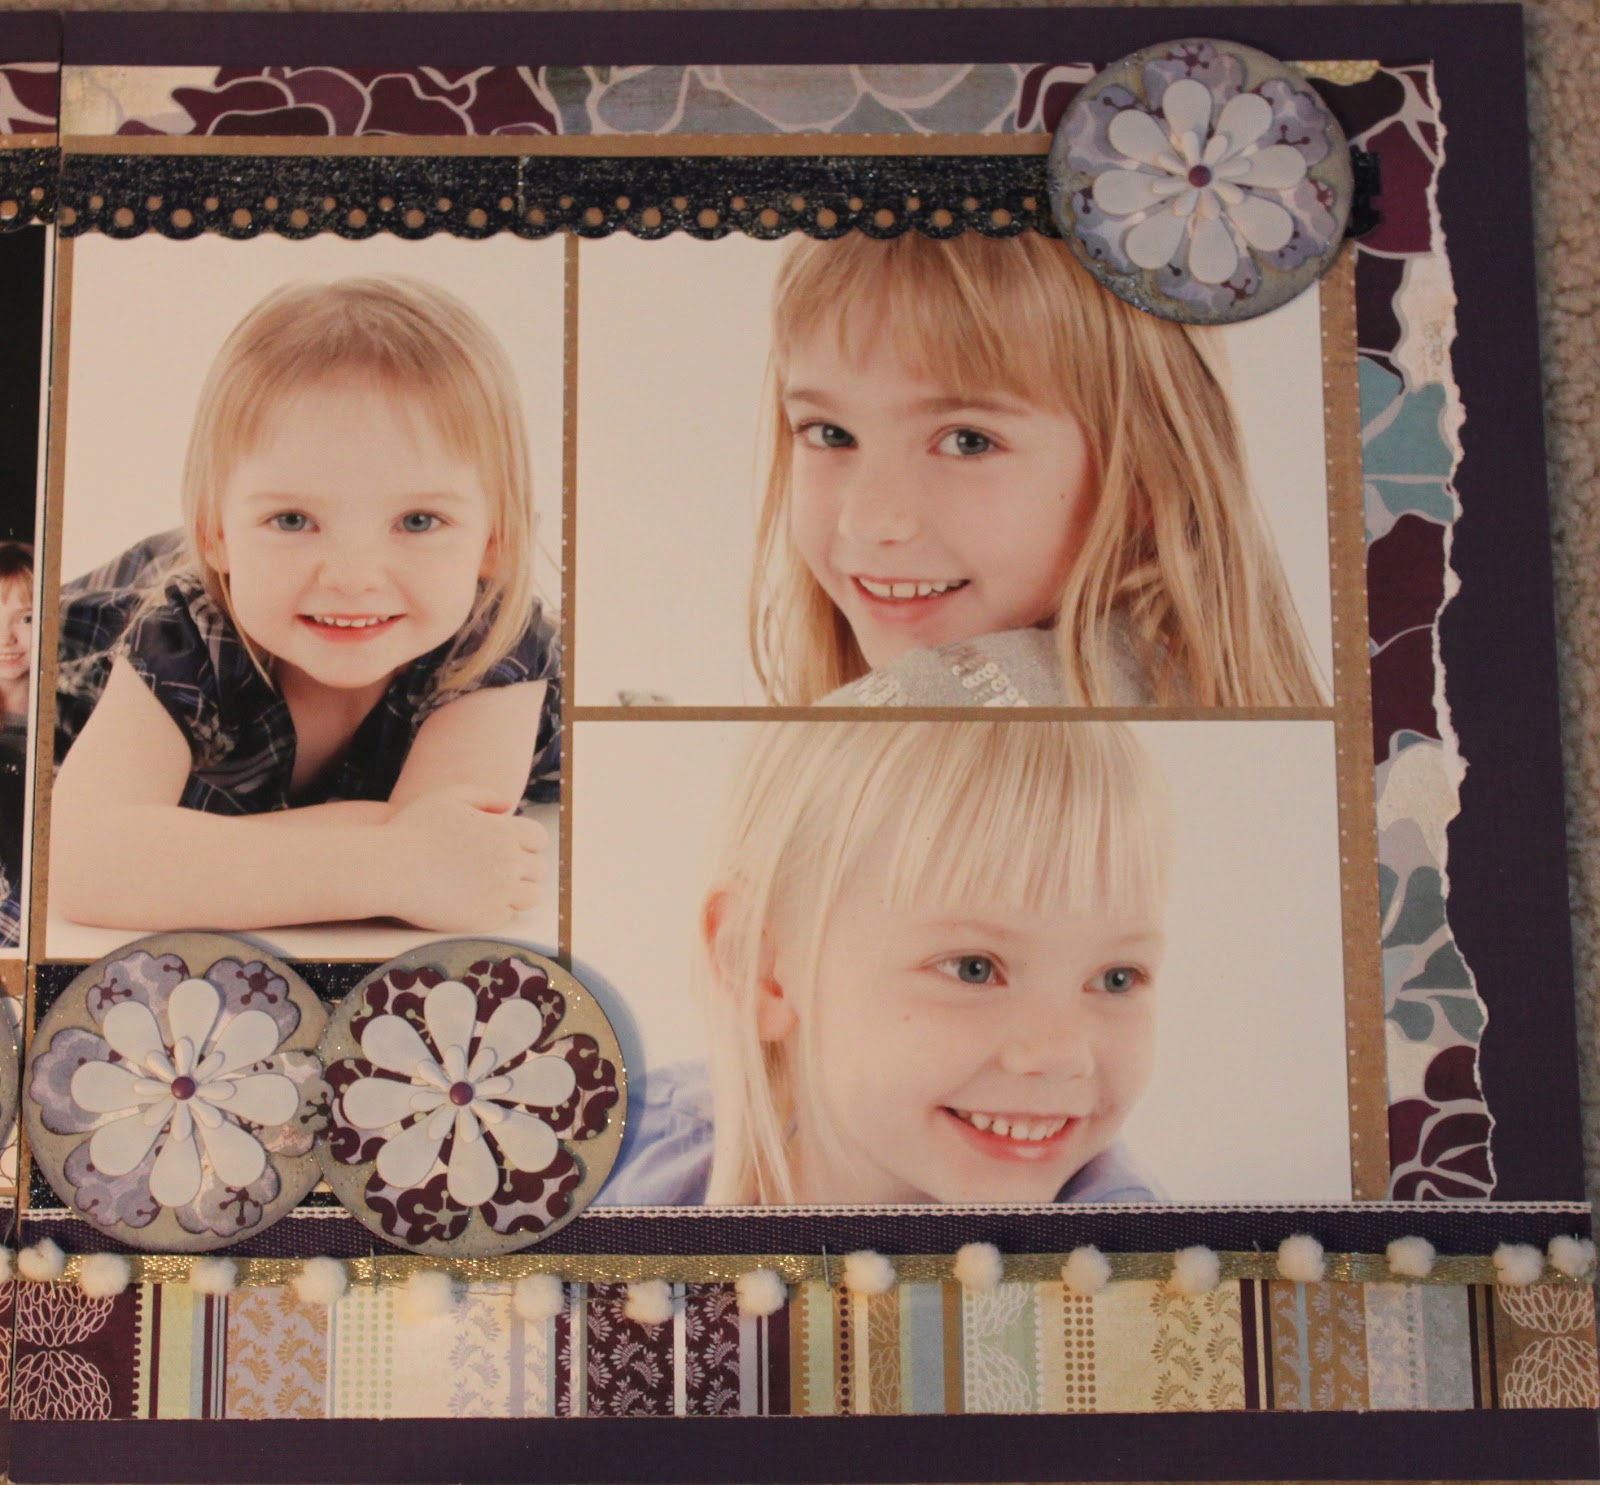
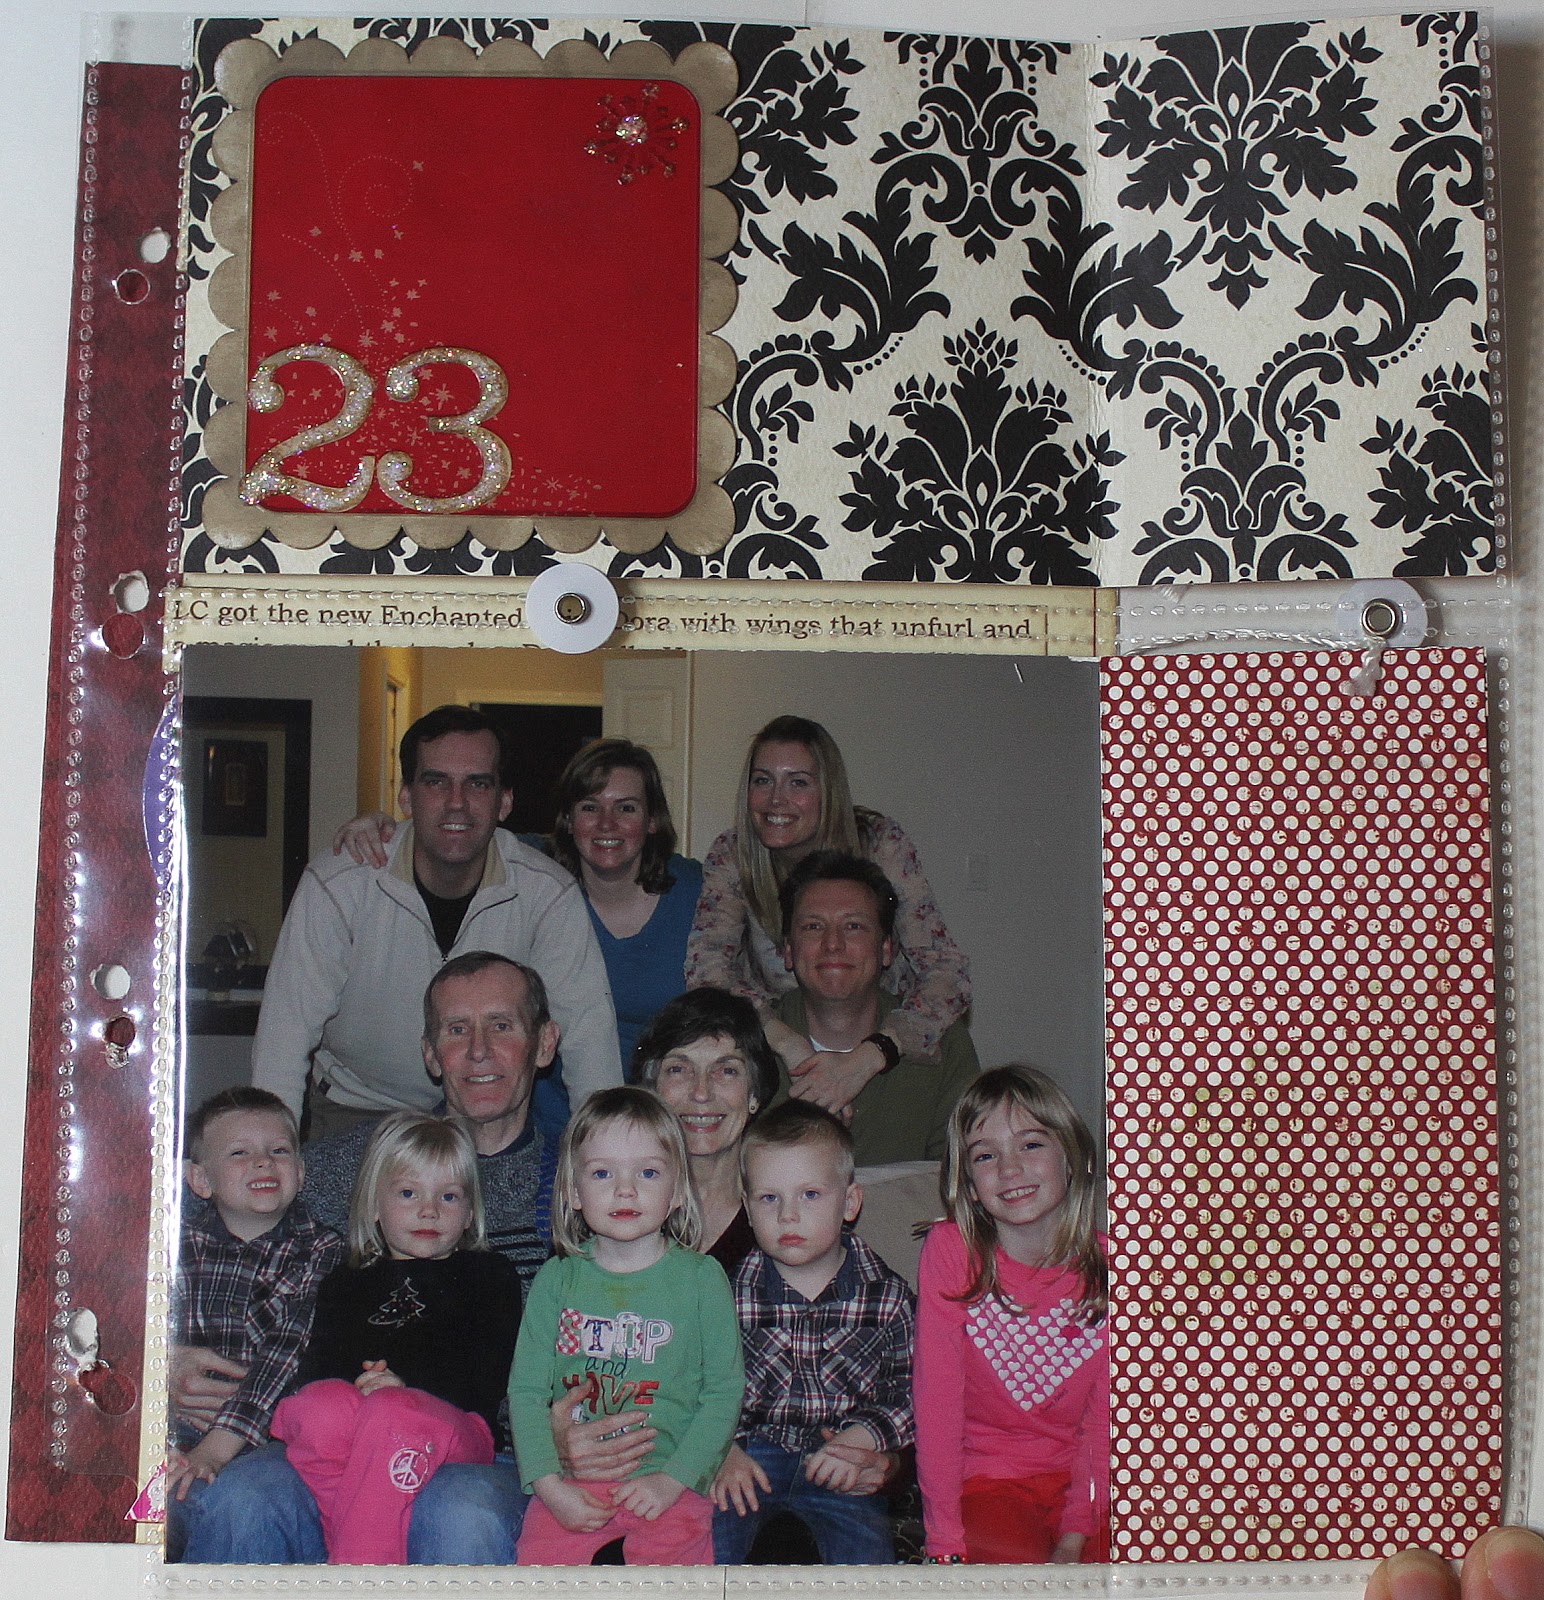
Here is the flap opened up to reveal the whole picture.
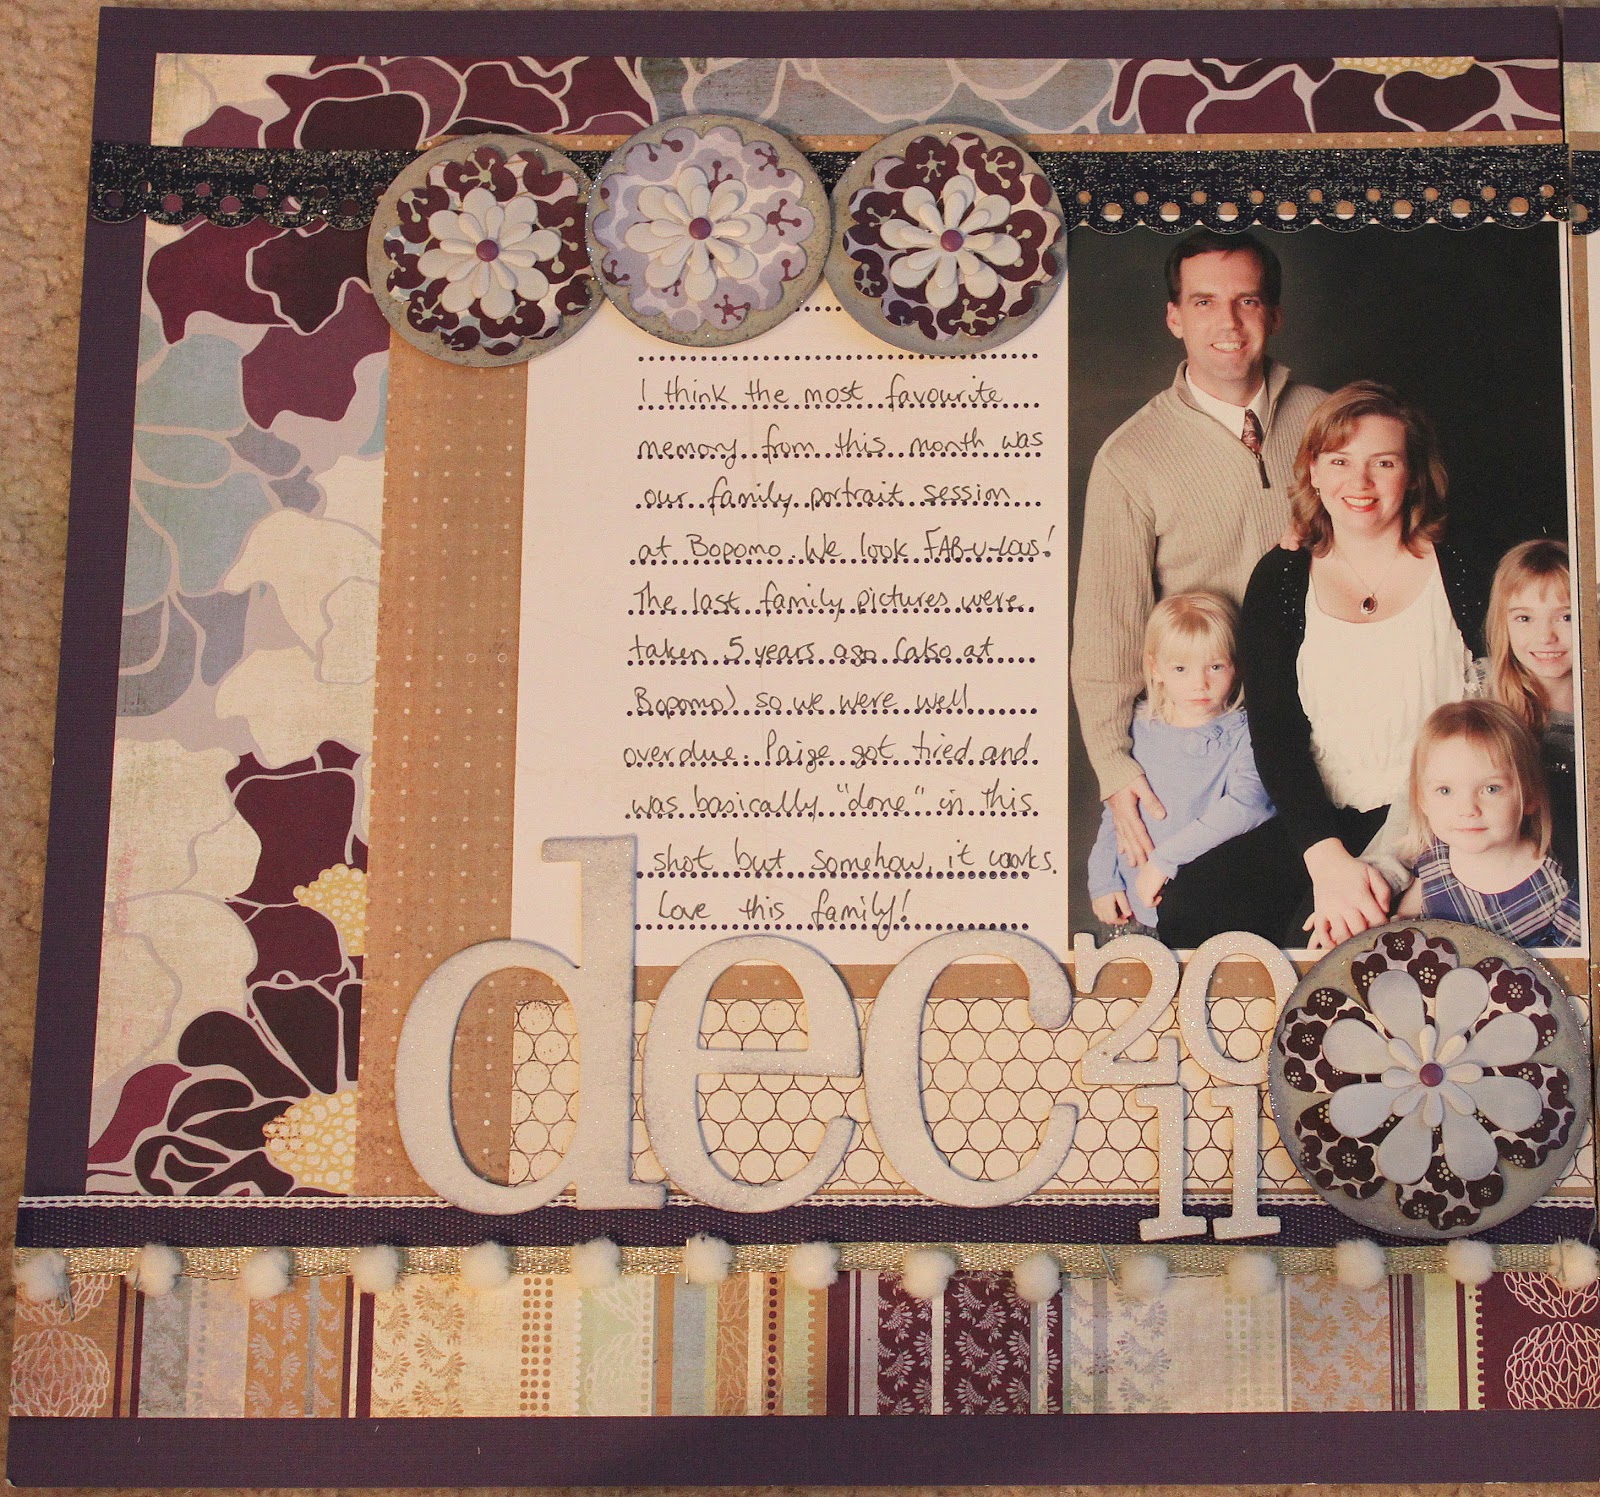
The full layout of cover page and main page.
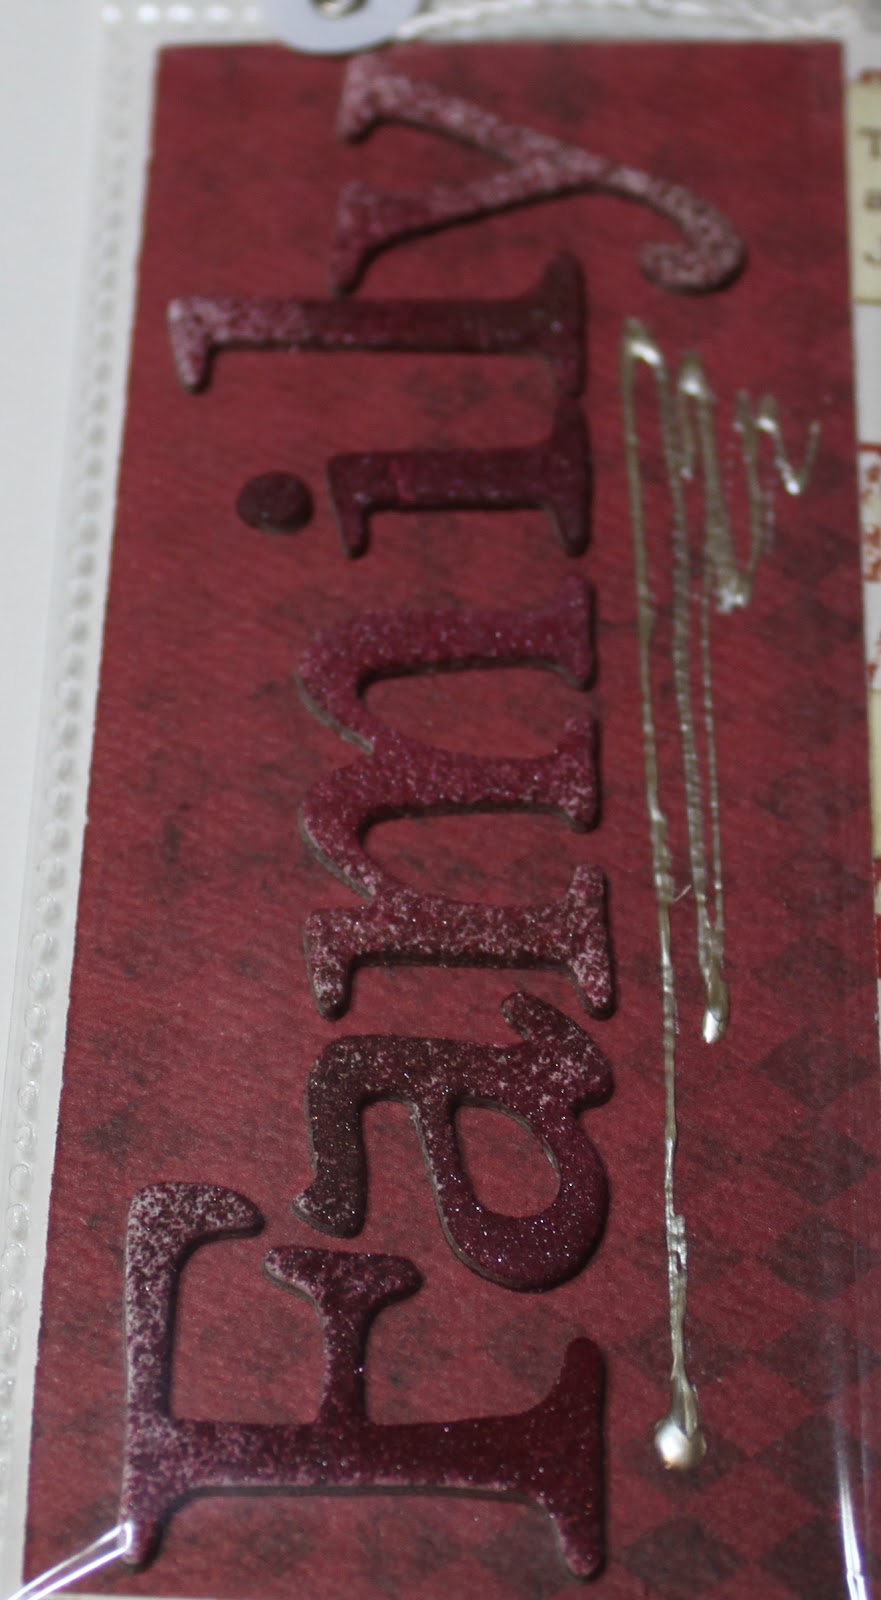
A close up of the word ‘family’.
And my playing with the Liquid Pearls!
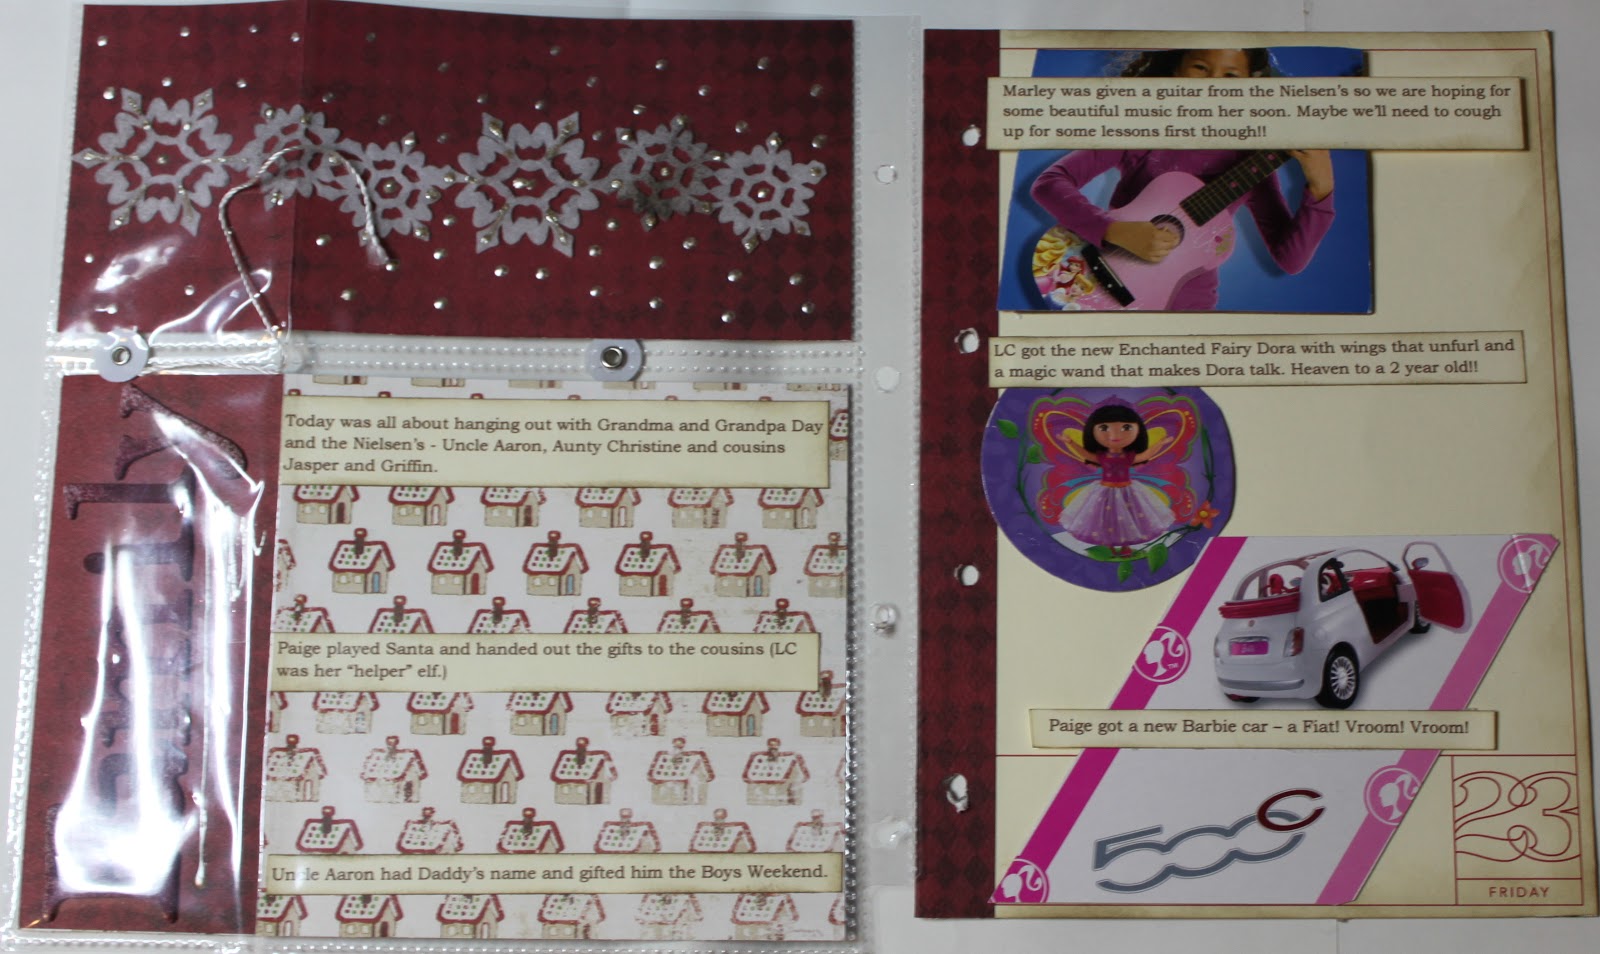
On the back of the cover page I added some of the journalling strips I’d cut intending to put on the main page but once I’d added my bits of packaging, they didn’t work. So they will live here now.
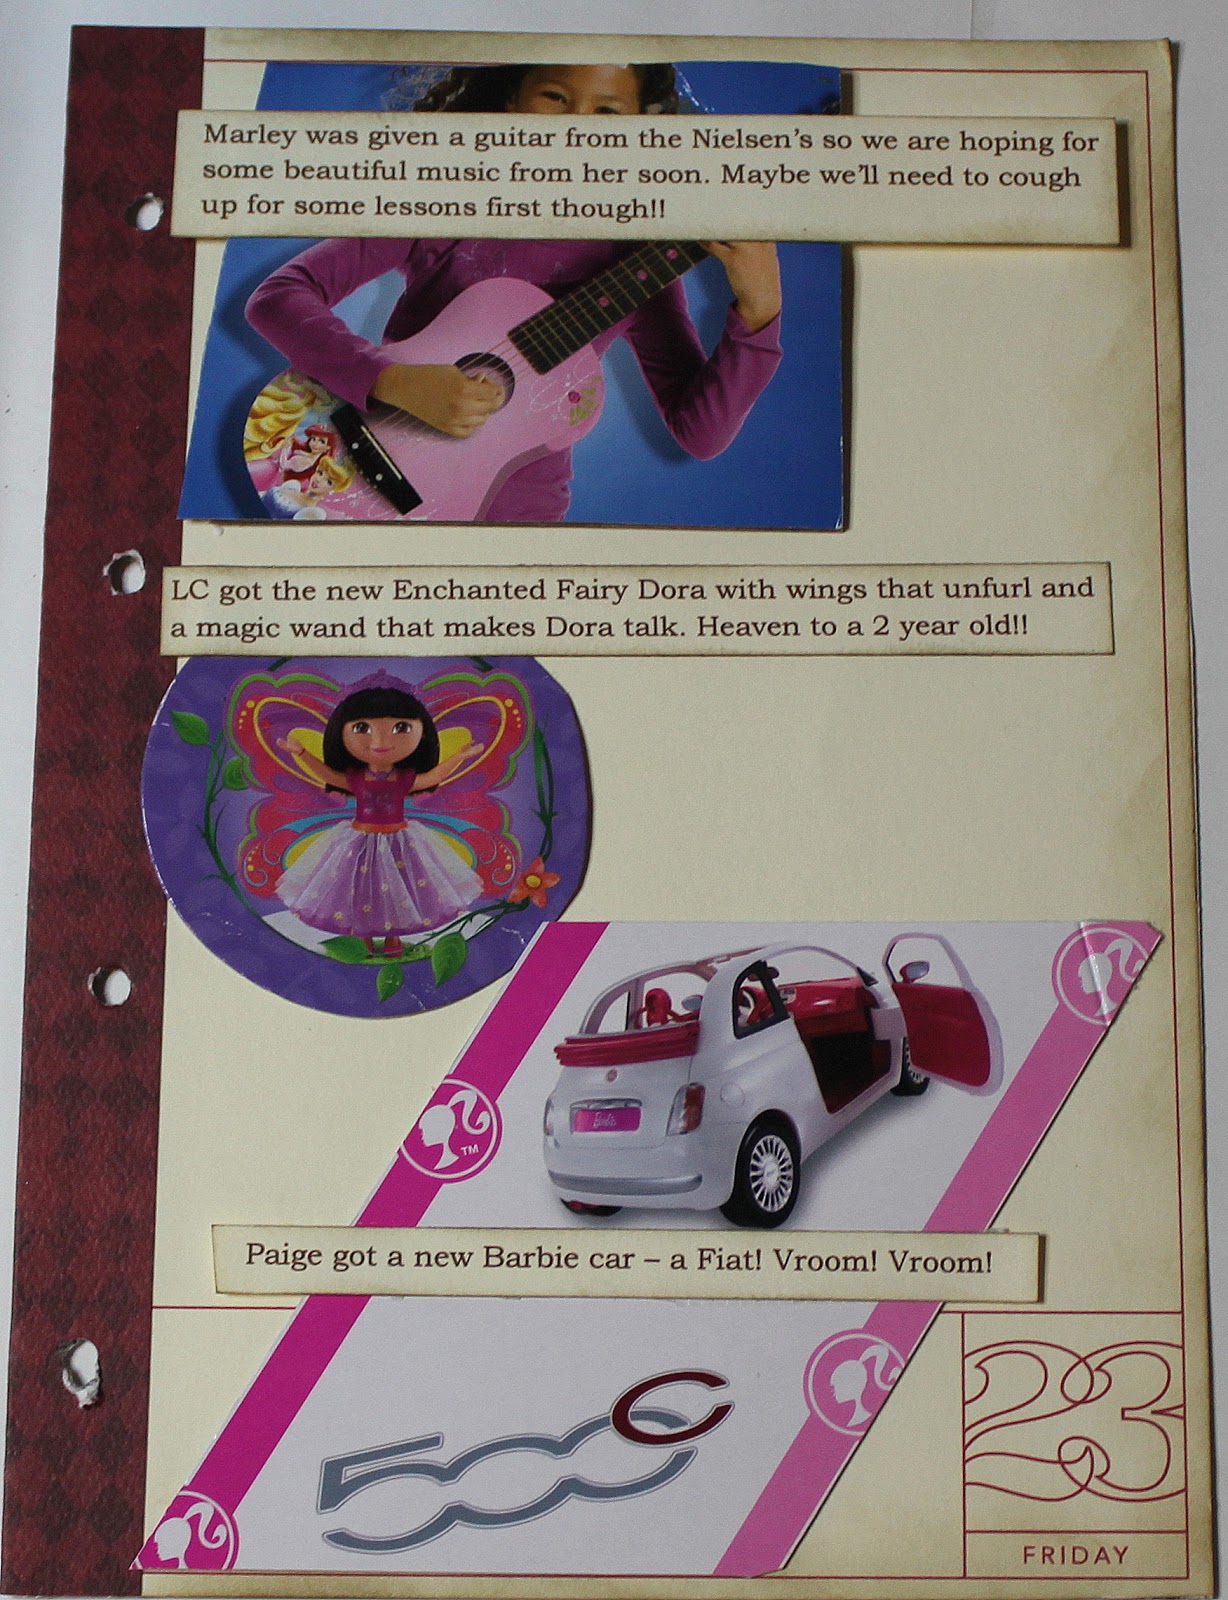
Each girl got what her heart most desired (even if her heart didn’t know it!). Marley got a guitar (Heaven help us!!), Paige got a new Barbie car – a Fiat no less – and LC got the Dora doll she’s been drooling over for months. It’s got magic wings that unfurl and a magnetic wand that makes Dora talk and sing. Joy!
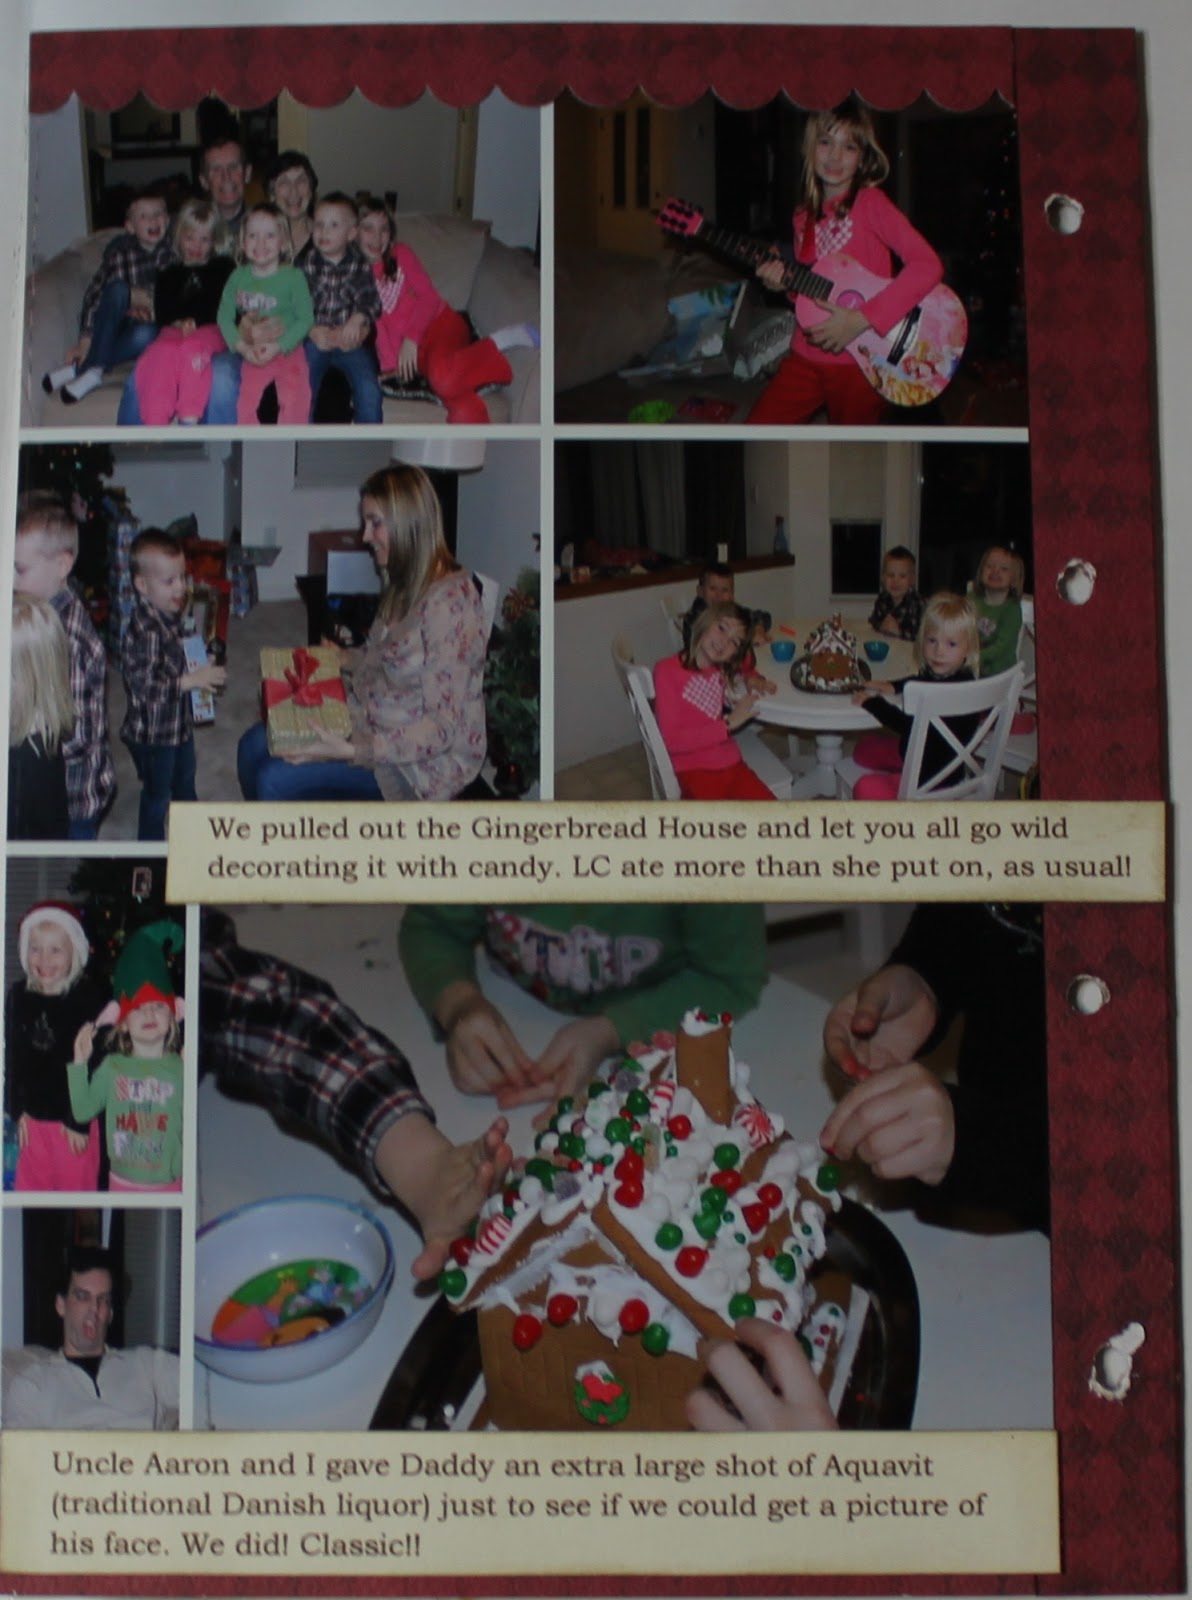
The back features a collage and some more journalling strips to complete the story of the night.
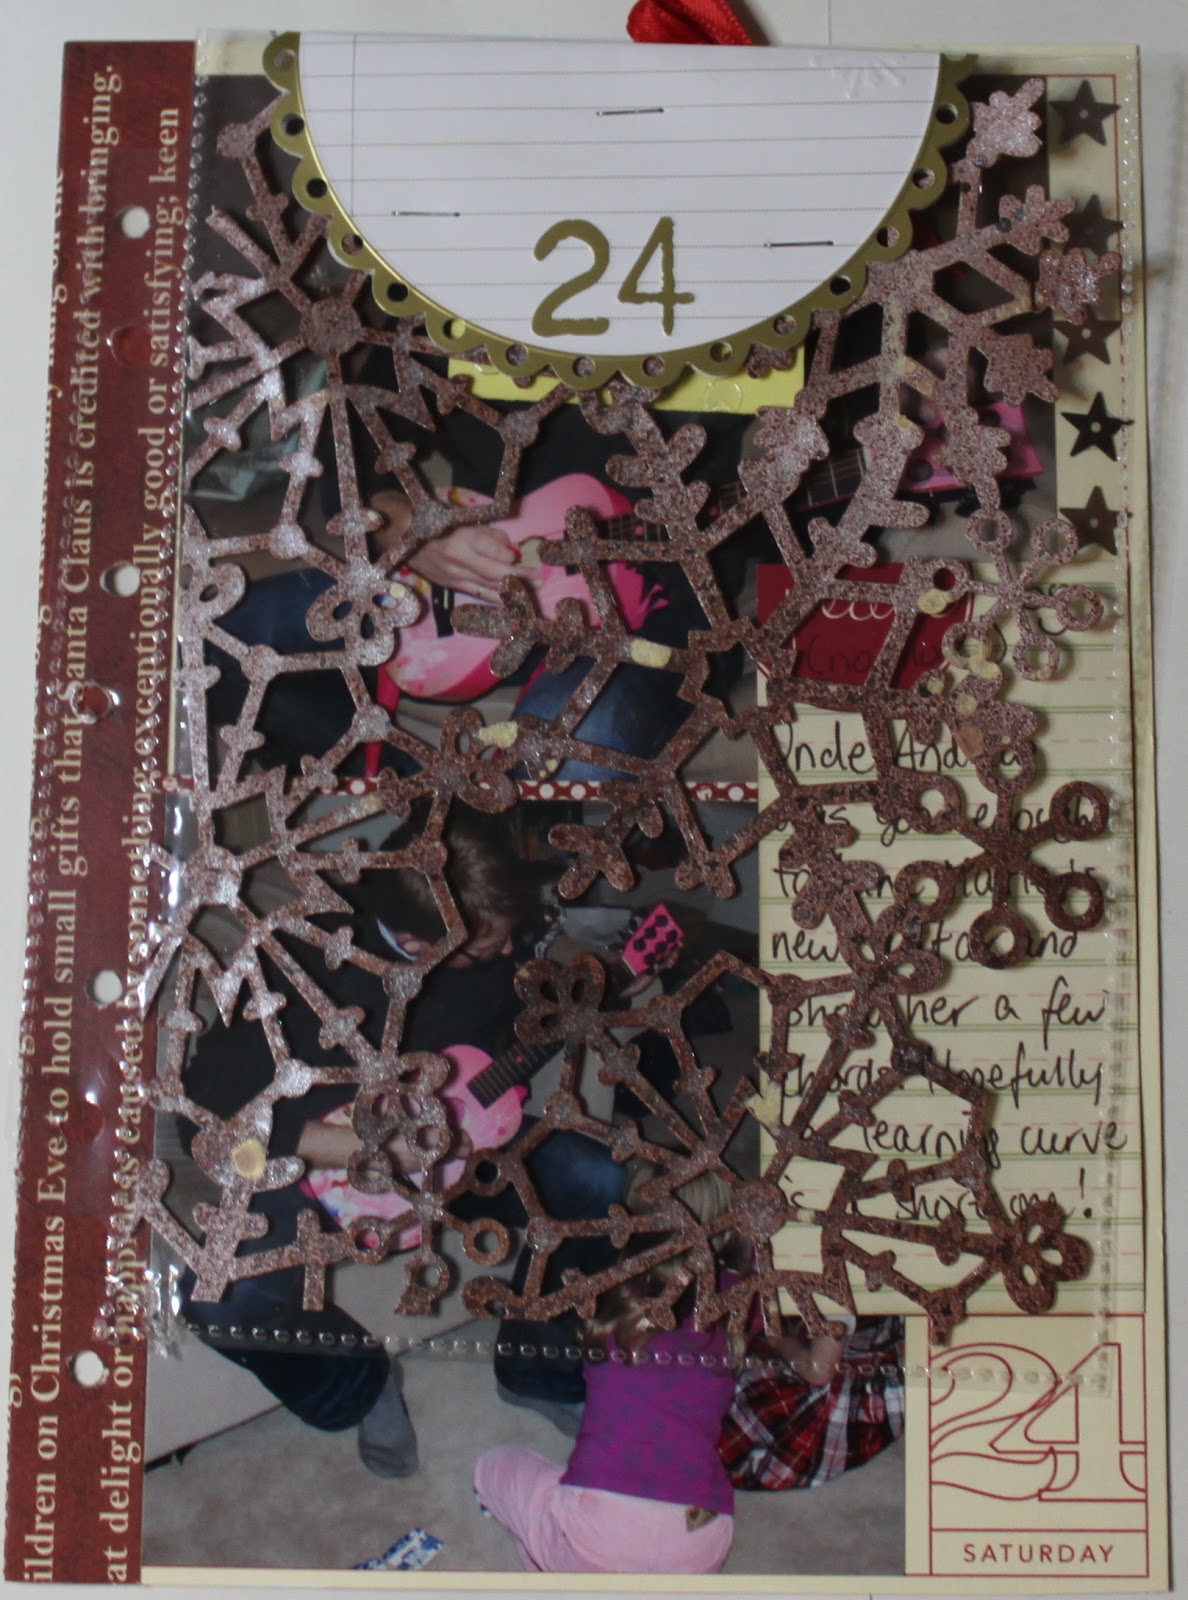
Day 24:
On Christmas Eve my brother Andrew and his family came over. We were not so organized and did not get group pictures … oops!
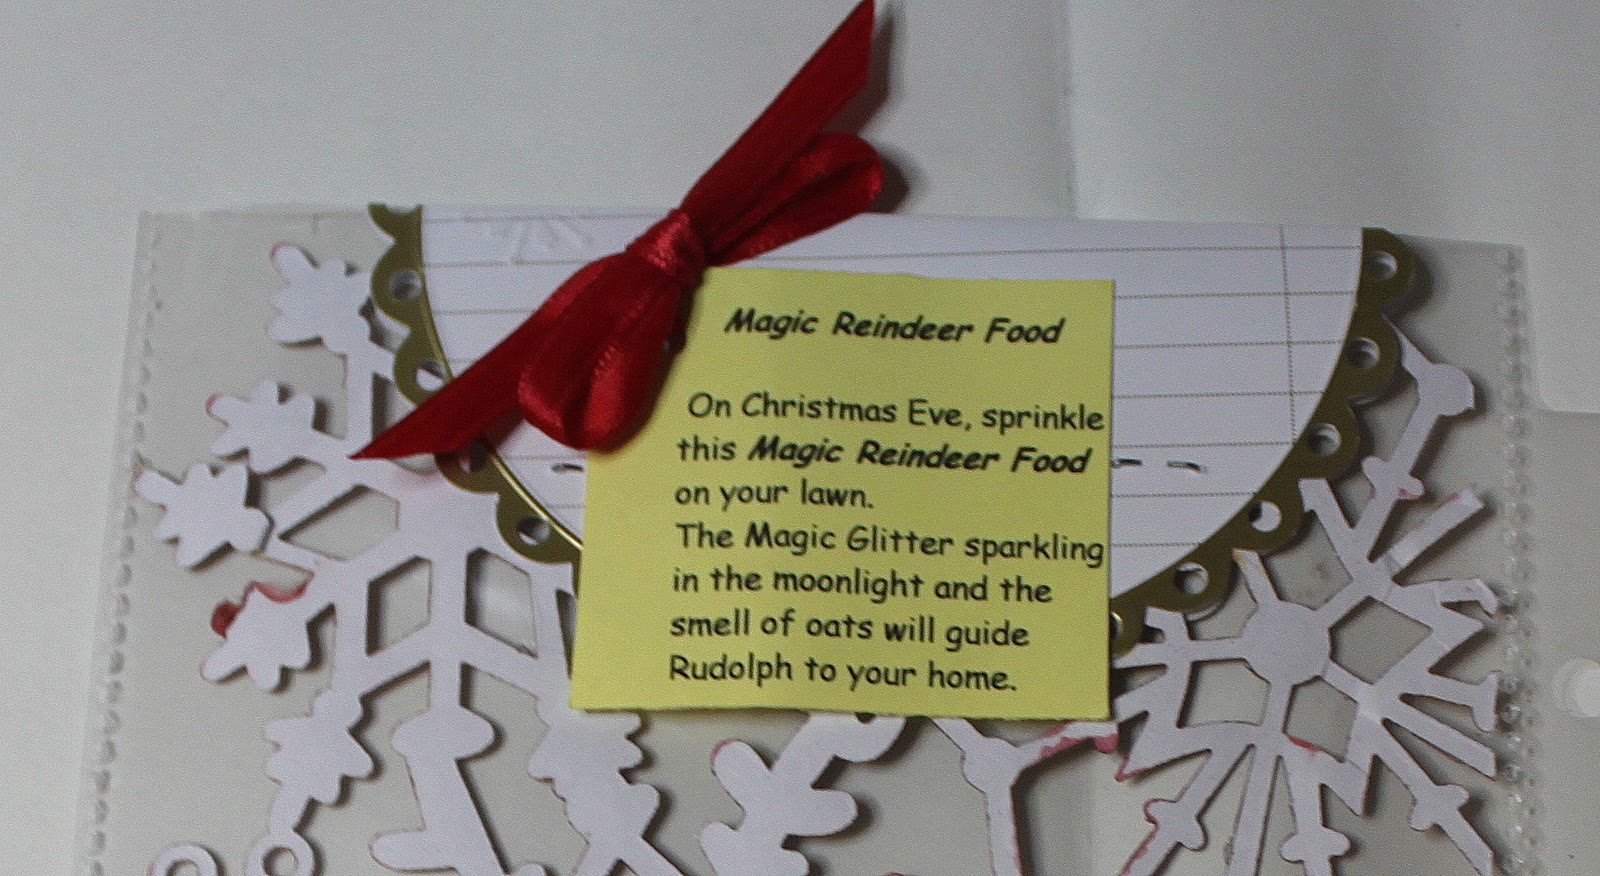
On the back of the cover page I added the tag from the Magic Reindeer Food we sprinkled on the lawn after everyone had left. Marley made it one year in Preschool and ever since then it’s been a requirement around here!
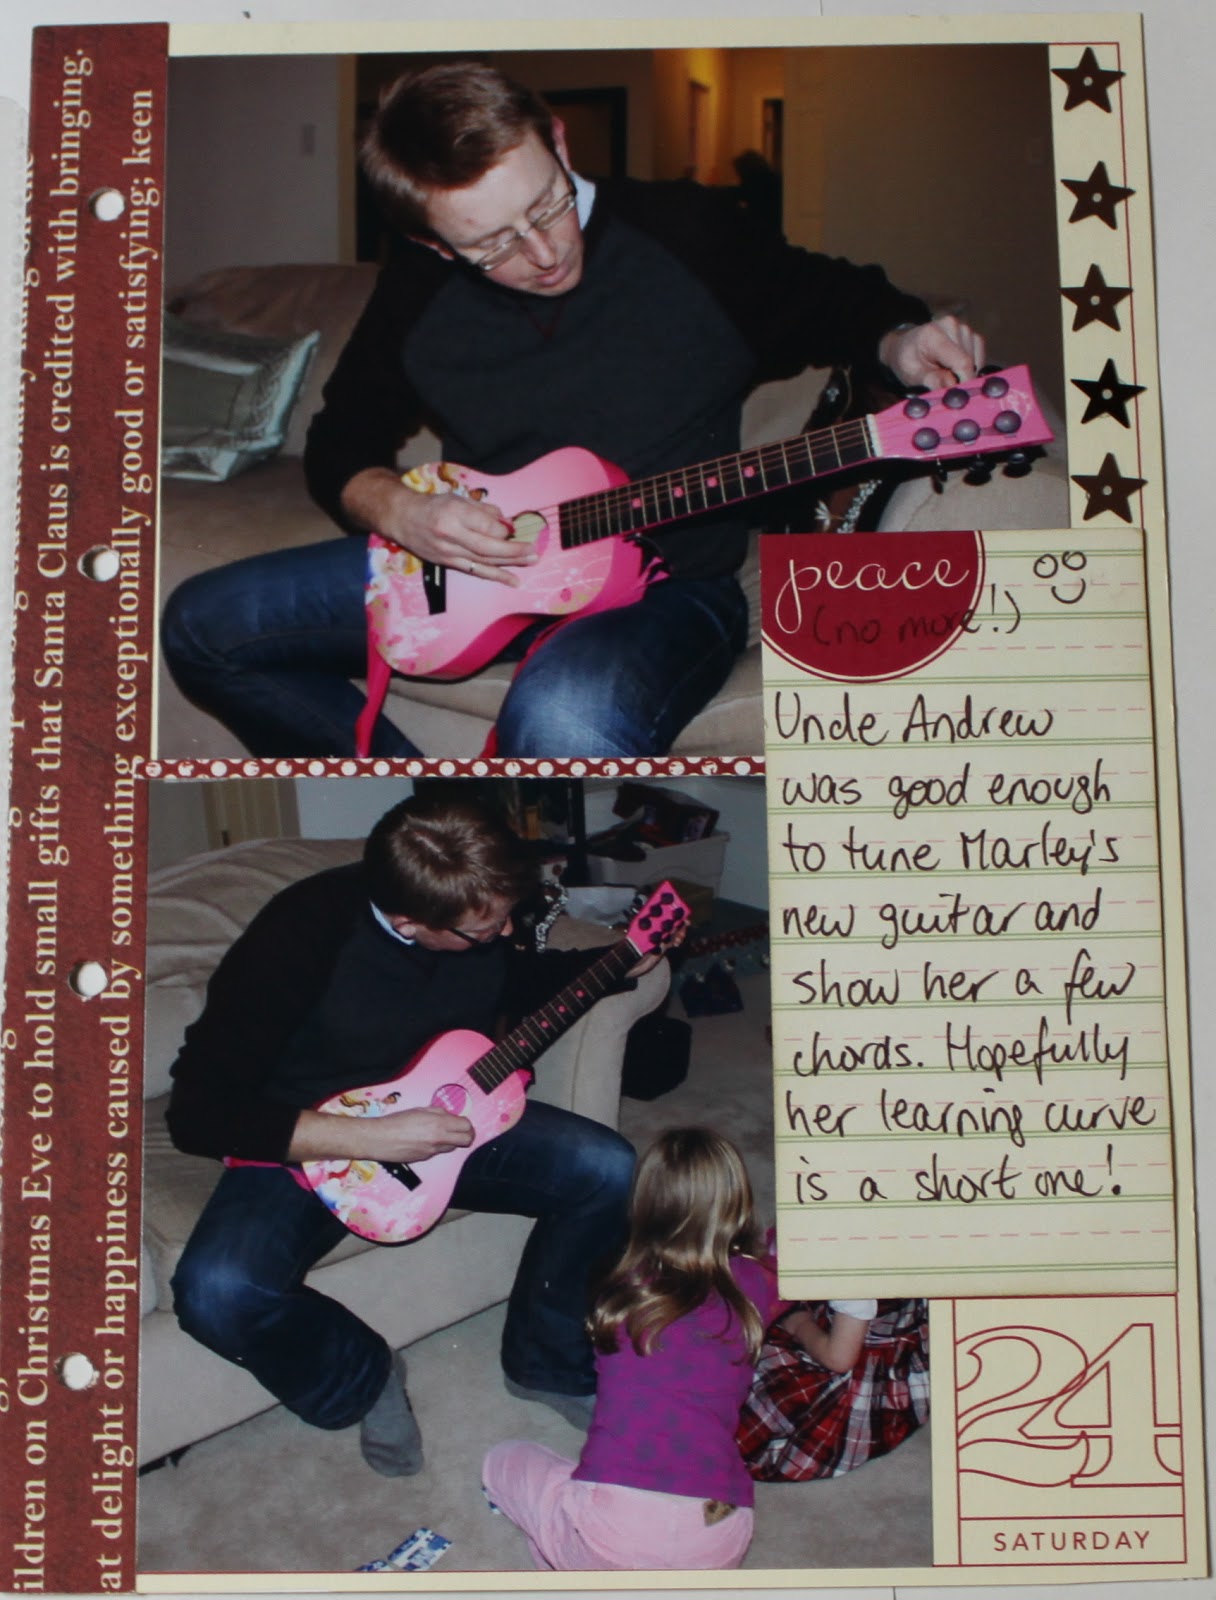
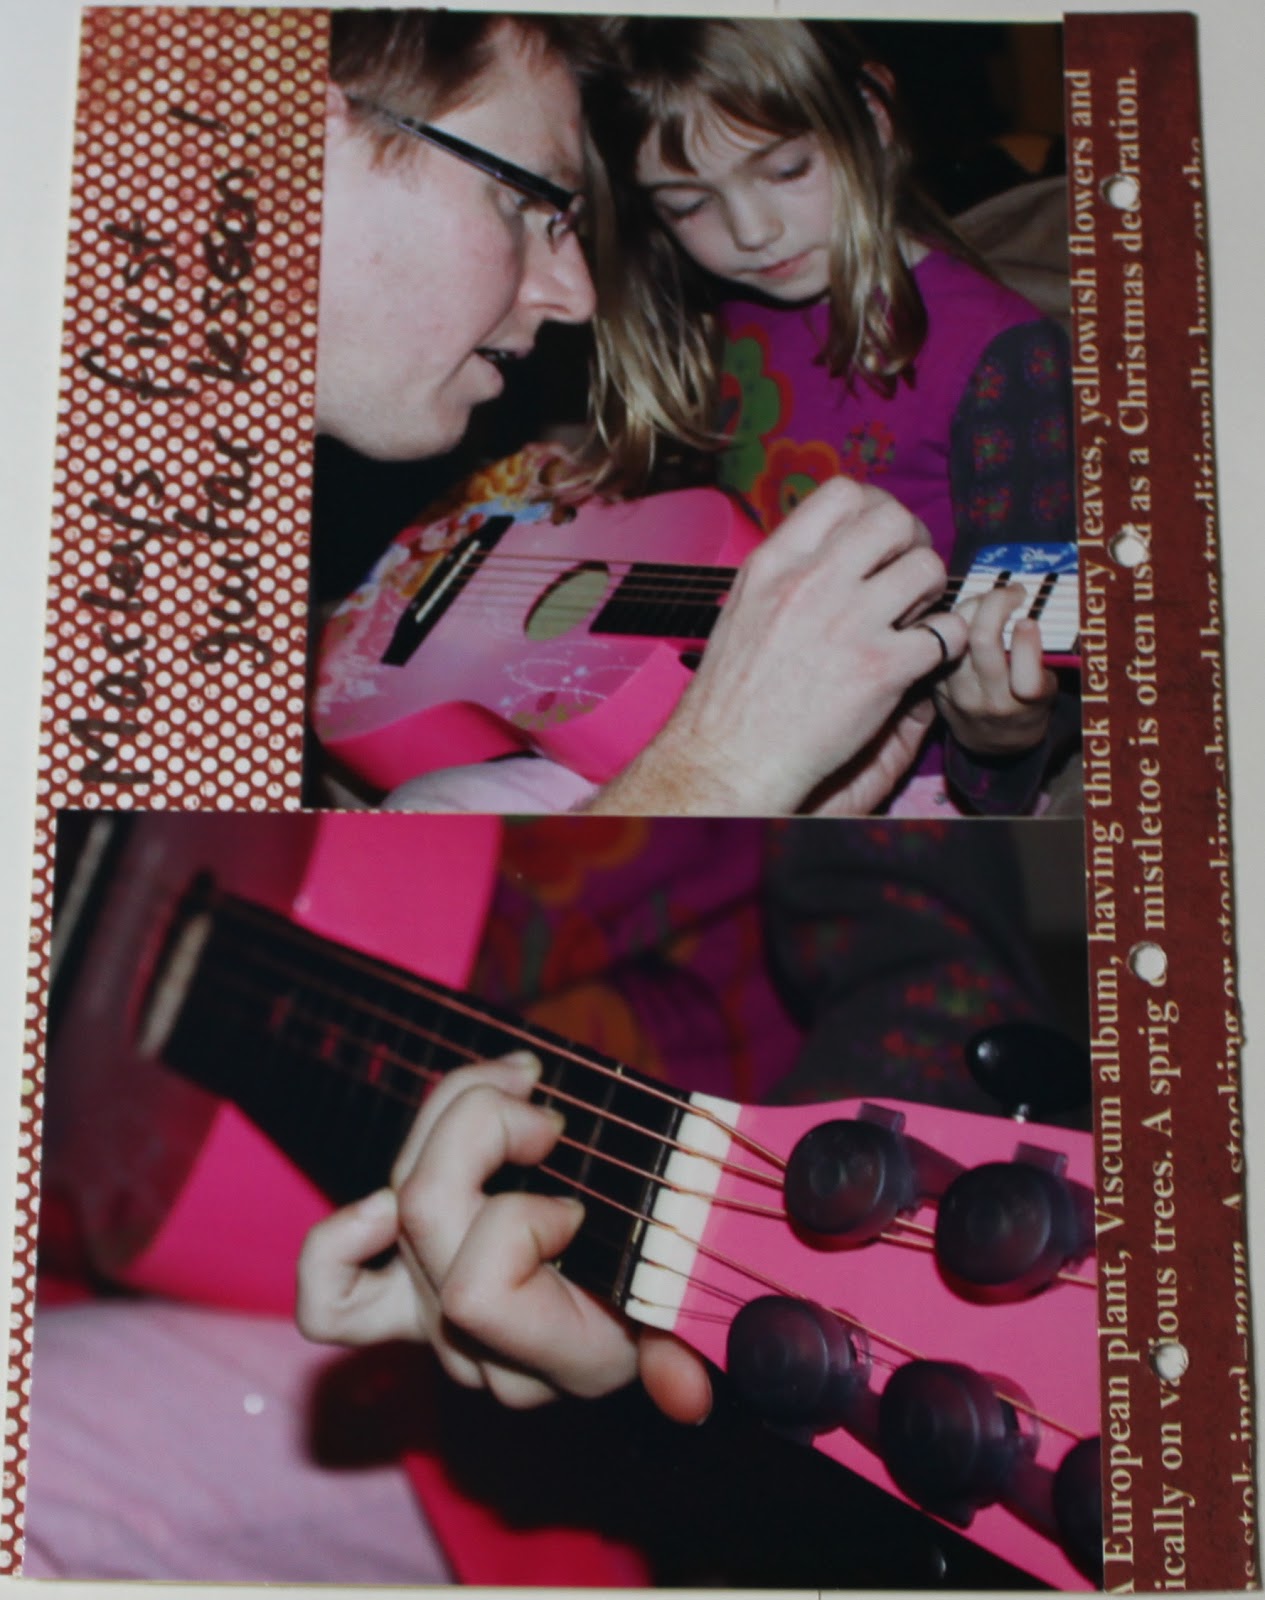
Andrew plays a mean guitar so Marley was fairly beside herself waiting for him to arrive and show her some things on her new guitar. He was awesome! He tuned it (as best he could without a tuner) and then showed her a few fingerings. The guitar came with 3 fingering charts so he used those. She was thrilled!!
I think guitar lessons are in our future!!
Day 25:
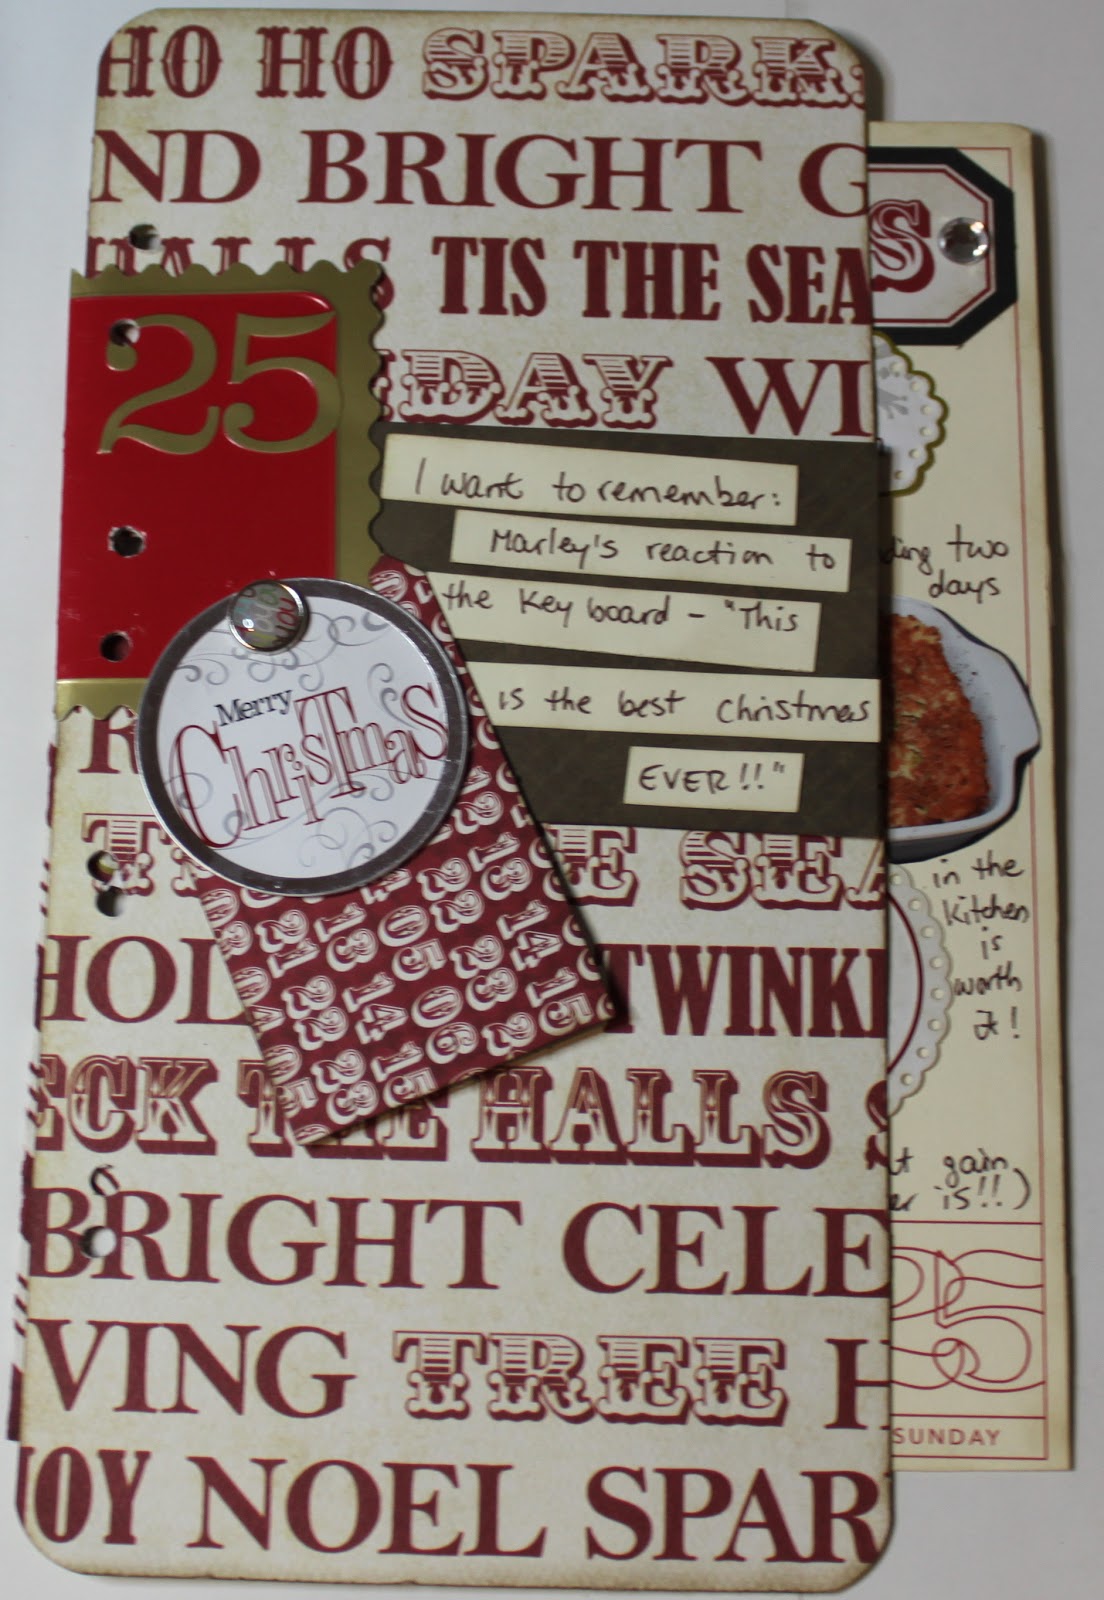
I added some journalling strips to the brown tag on the cover that say:
“I want to remember: Marley’s reaction to the keyboard – “This is the best Christmas EVER!!””
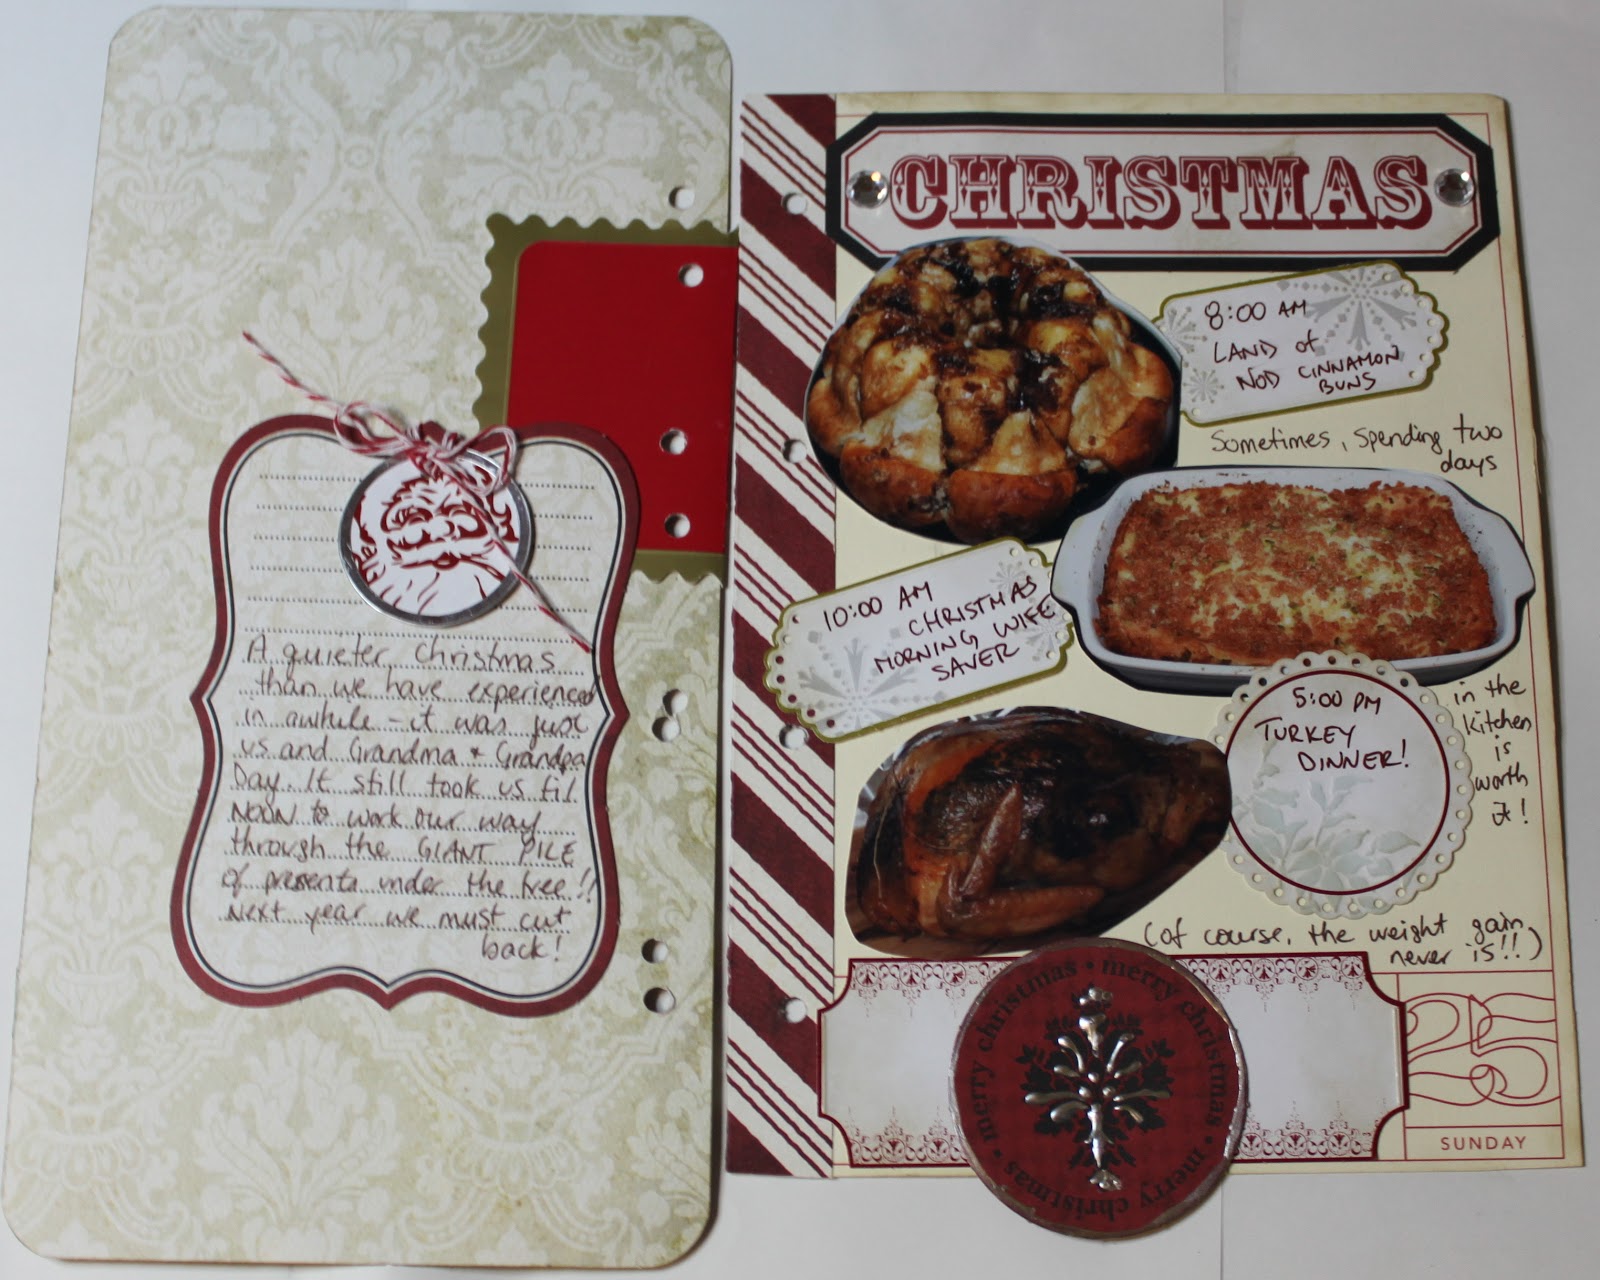
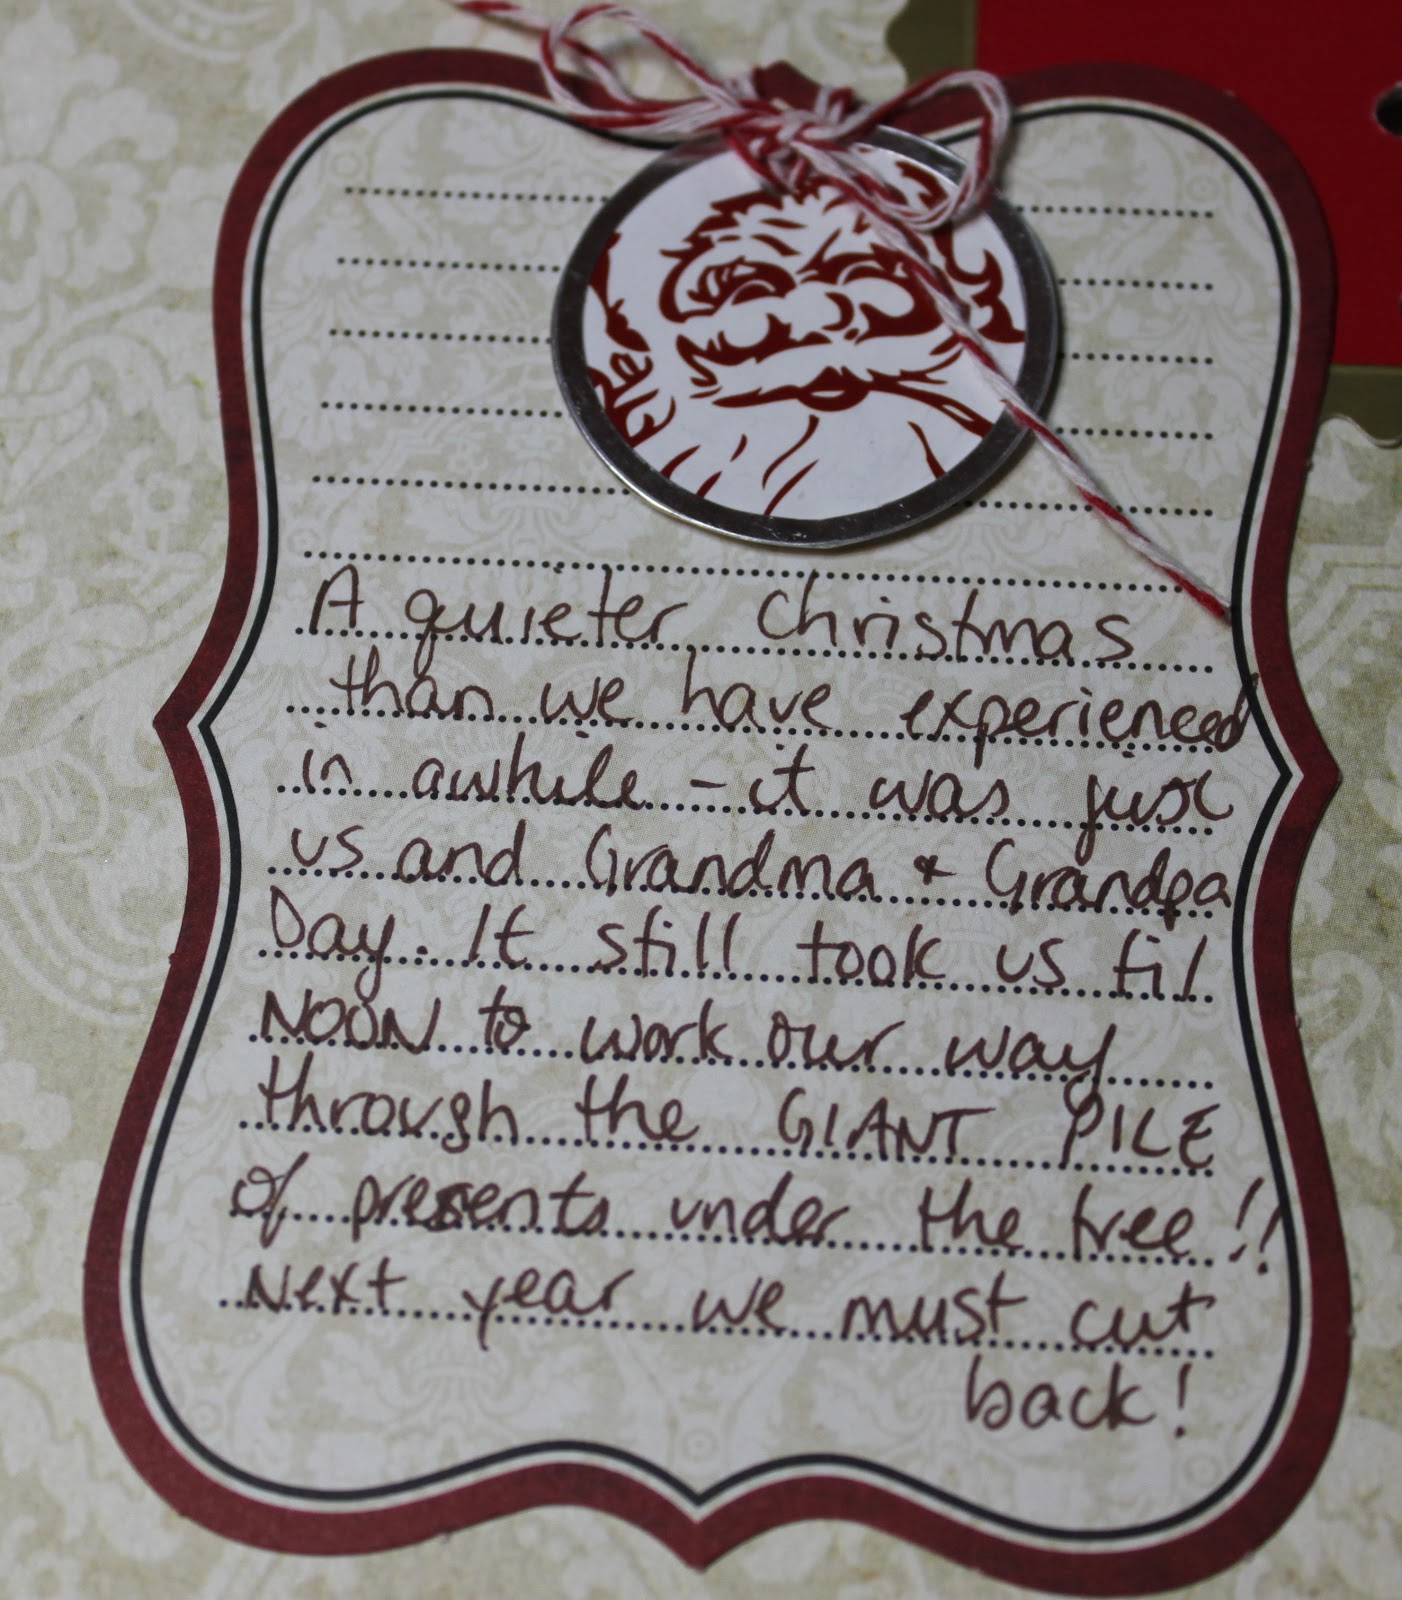
Here is the back of the cover page and the main page together. I added some journalling to the tag on the back of the cover page.
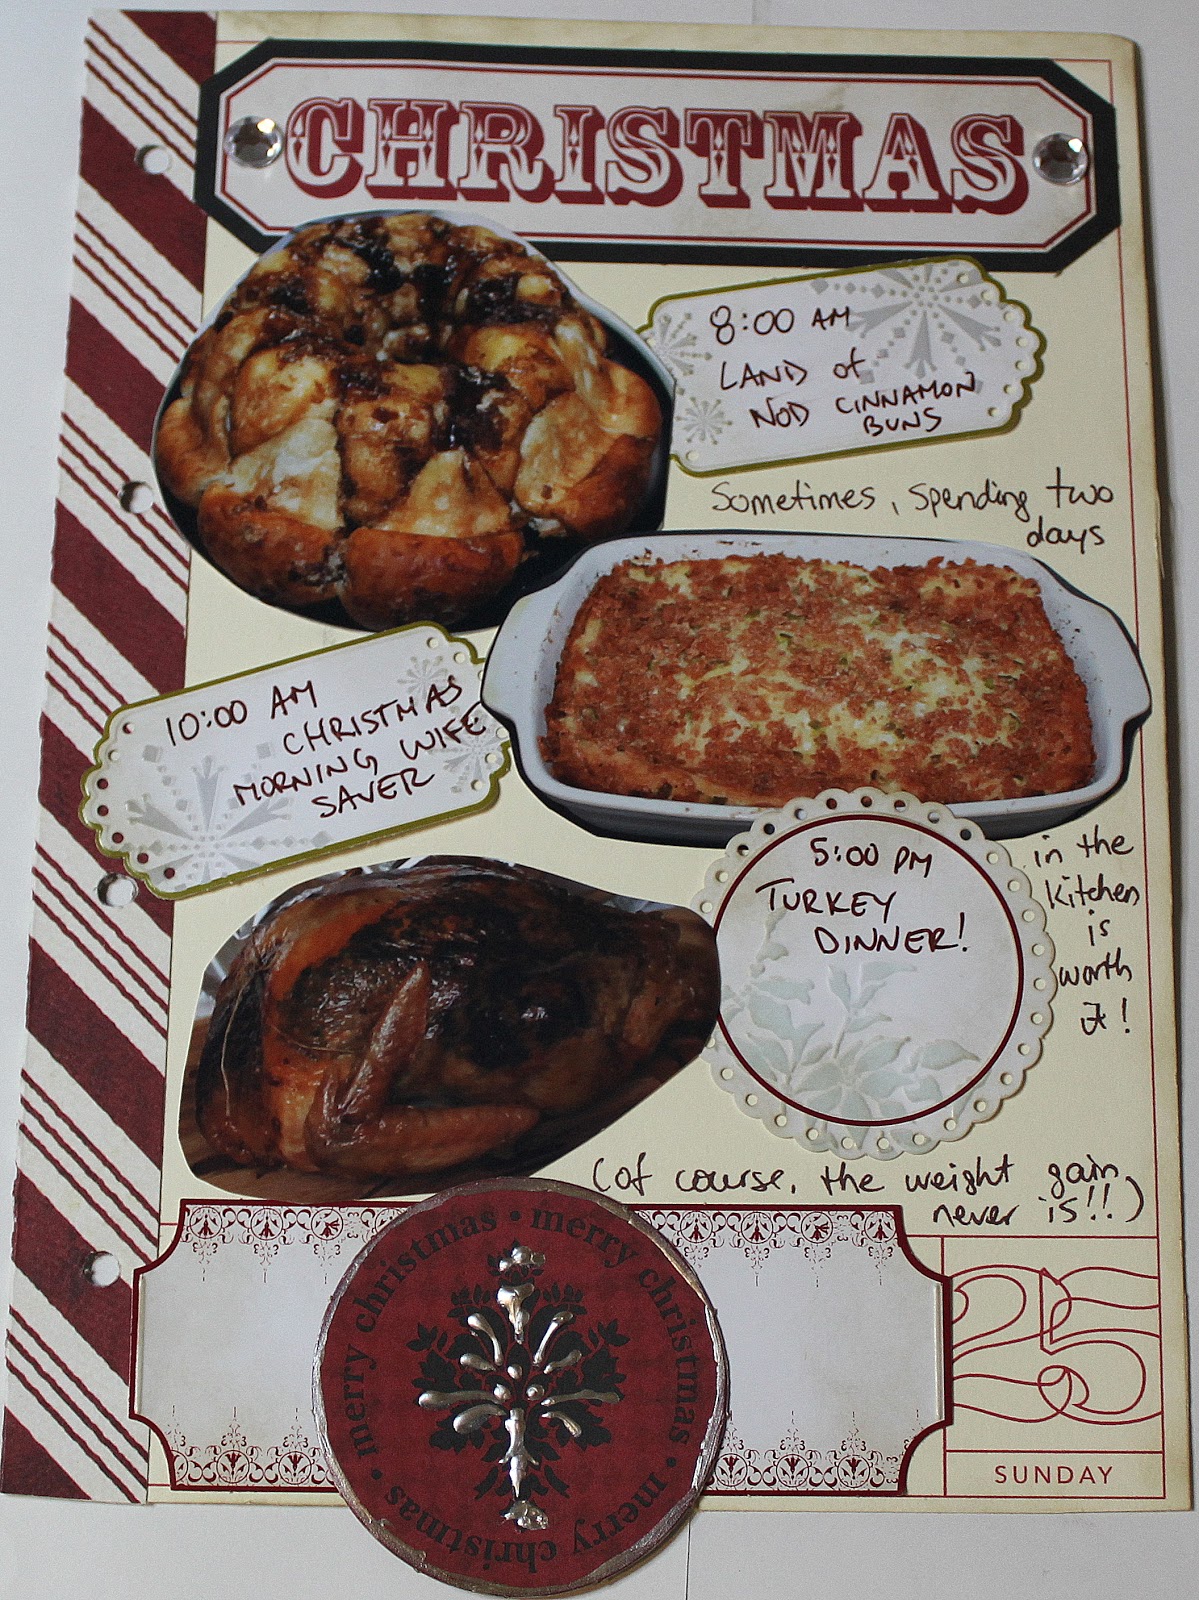
For whatever reason, I took pictures of our food this year. It seemed like I spent all the the 23rd – 25th in the kitchen so maybe it was only appropriate! For this page I feature the 3 main Christmas traditional foods we have around here. Once stockings are opened (or in this years’ case because Paige and LC slept in, before) we have the Land of Nod Cinnamon Buns from the Best of Bridge cookbook. Then mid-morning we usually take a break in the present opening to have the Christmas Morning Wife Saver (also from the Best of Bridge). Then finally, the big event – the turkey. I use a recipe from Cooking Light magazine which calls for a garlic-herb mix to be rubbed under the skin. It’s really yummy and super moist!
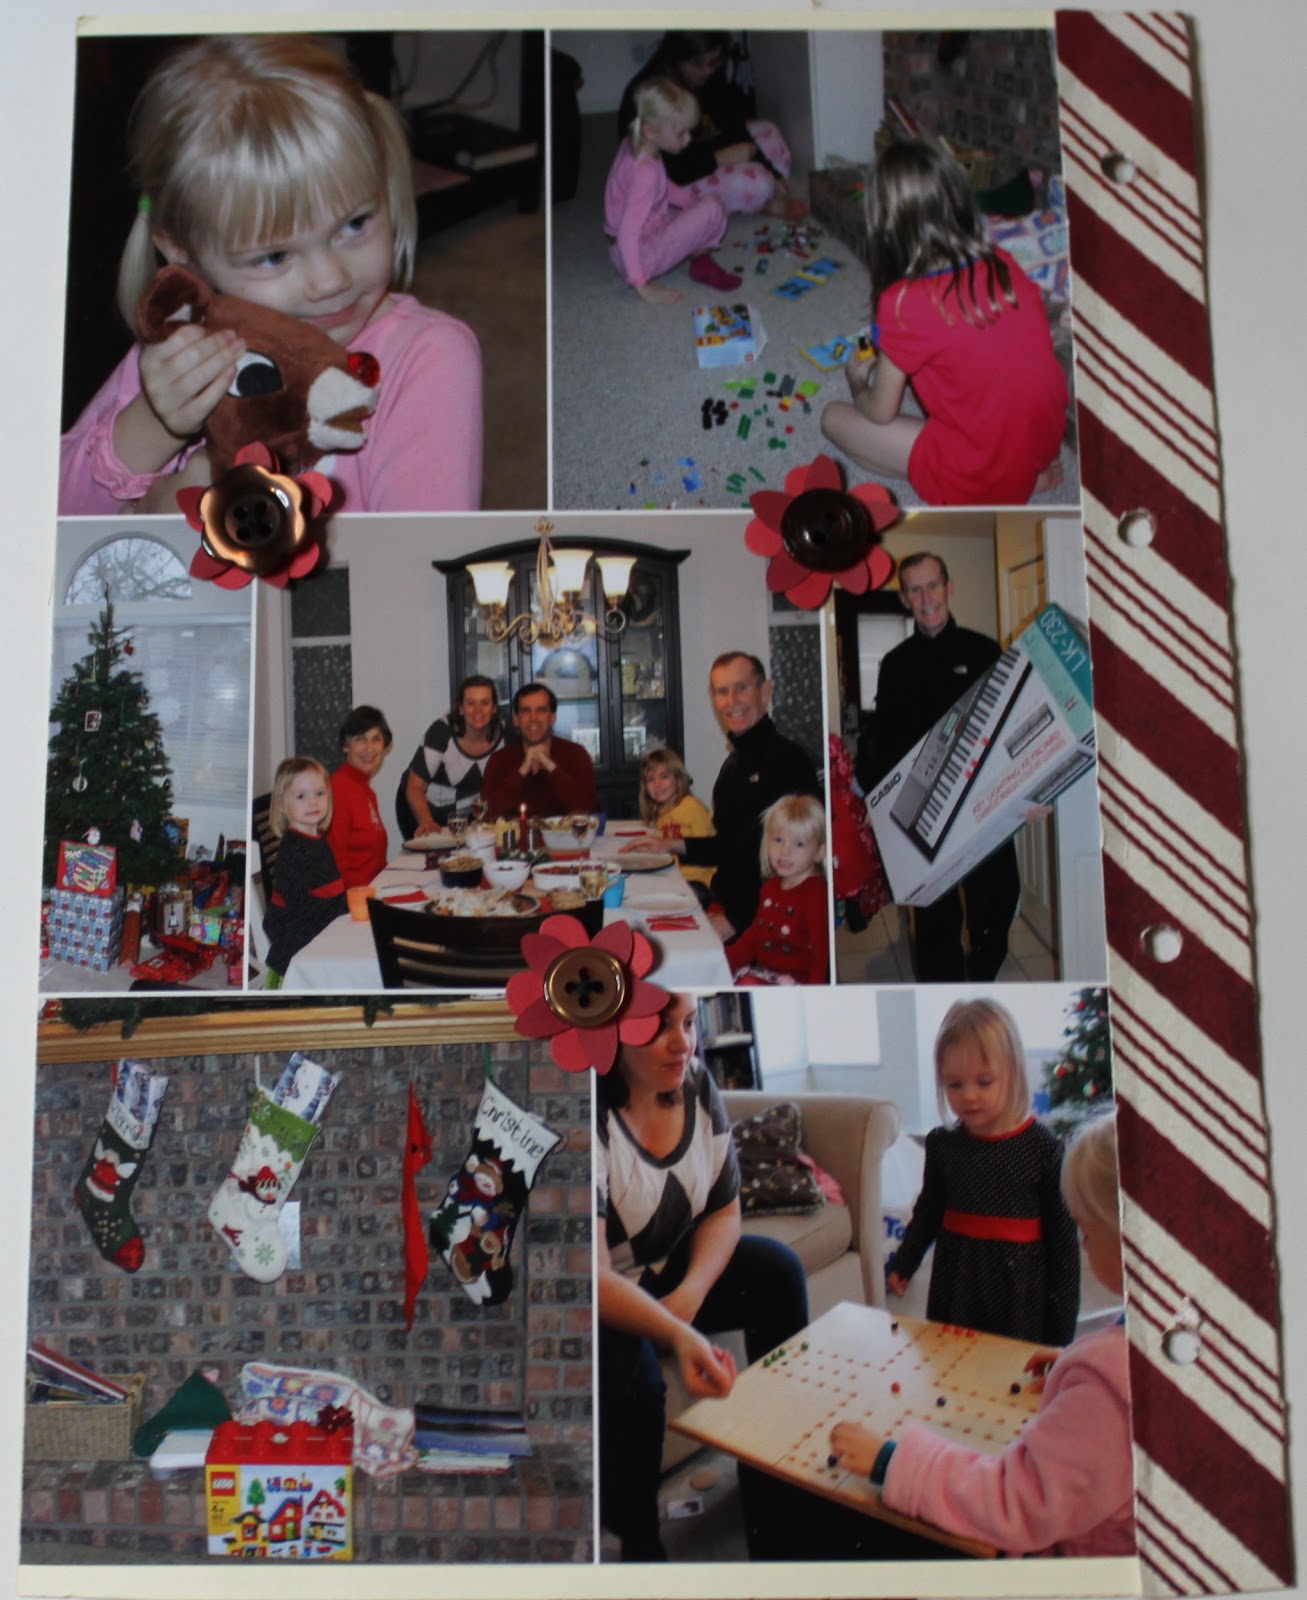
And last but not least, a collage of the events of the day.
From the top left and moving clockwise: Paige saw this Rudolph stuffy at Shoppers Drug Mart when we were shopping for Marley’s Christmas present and was reduced to tears when I forced her to leave it behind. So, even though the other two had already bought her a Christmas present, I went back and got it for her. She hasn’t let go of it since!! Santa brought Lego this year so we had some fun building the kits that were in Marley and Paige’s stockings. Grandma and Grandpa Day surprised us with an electronic key board. I think someone out there is trying to give us a hint! Maybe we need to branch out from our soccer-centric household!! Poppa Graham made his grandkids a Marbles game board each. Paige is addicted so it wasn’t long before it was broken in! The stuffed stockings in the morning. Our over loaded tree! And in the centre – a group shot of us around the dinner table – using my new gift – a tripod!! Yay!!!
Well, there you have it. Another December Daily done. Christmas has come and gone and all that’s left is a whole living room full of empty boxes and wrapping paper. The garbage and recycling men better bring extra vehicles this week!!
I hope your Christmas was as joyous as ours. See you around!