Card Making Canadians Canada Day Blog Hop

Hi there! Thanks for joining us today on this blog hop. We are a small group of Card Making Canadians from all over Canada that wanted to have a fun blog hop to celebrate Canada Day! Today we’re sharing with you cards that have been created with either Canadian products, a Canadian theme or Canada’s colours! We hope they inspire you! And Happy Birthday Canada!! 145 years young today!


You should have come here from the lovely Chelle’s Blog but if you just stumbled upon my blog and want to go back to the beginning of the hop then please go to the Creative Accents blog and follow the links. Be sure to leave a comment as there is a $20 gift certificate to the Creative Accents online store up for grabs – details are at the end of this post.  If you have joined me from Practical Scrappers, welcome. I am so excited to be a new PS designer!!

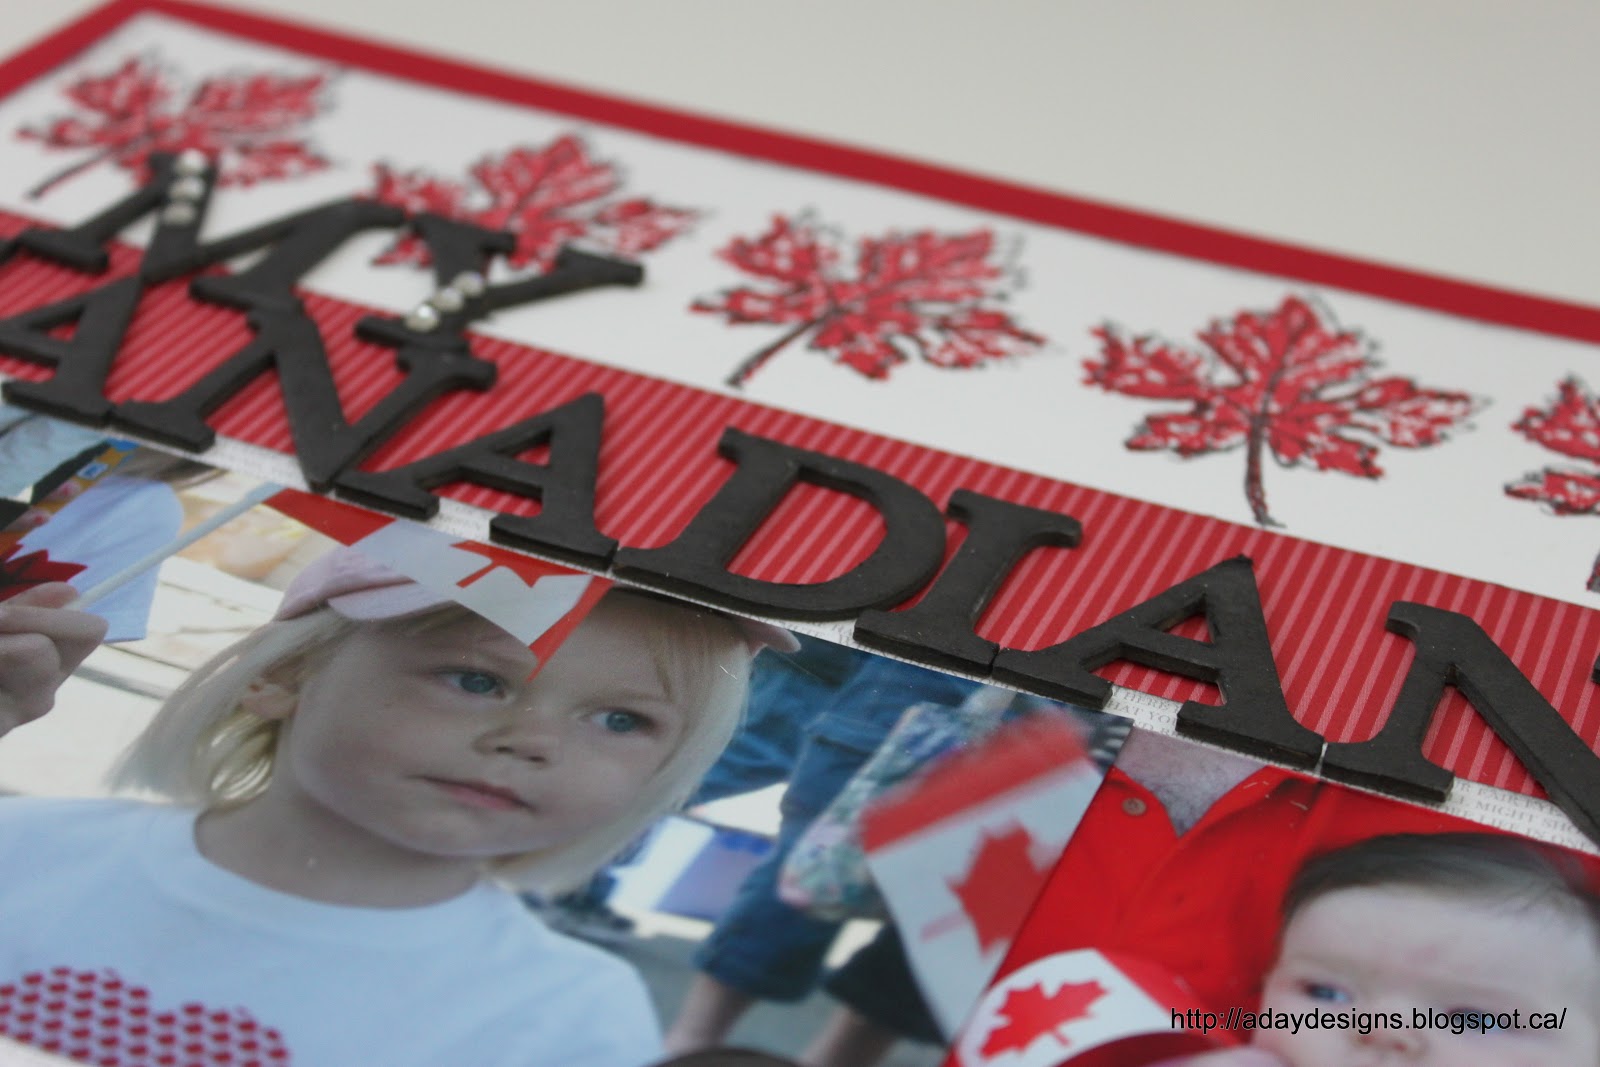
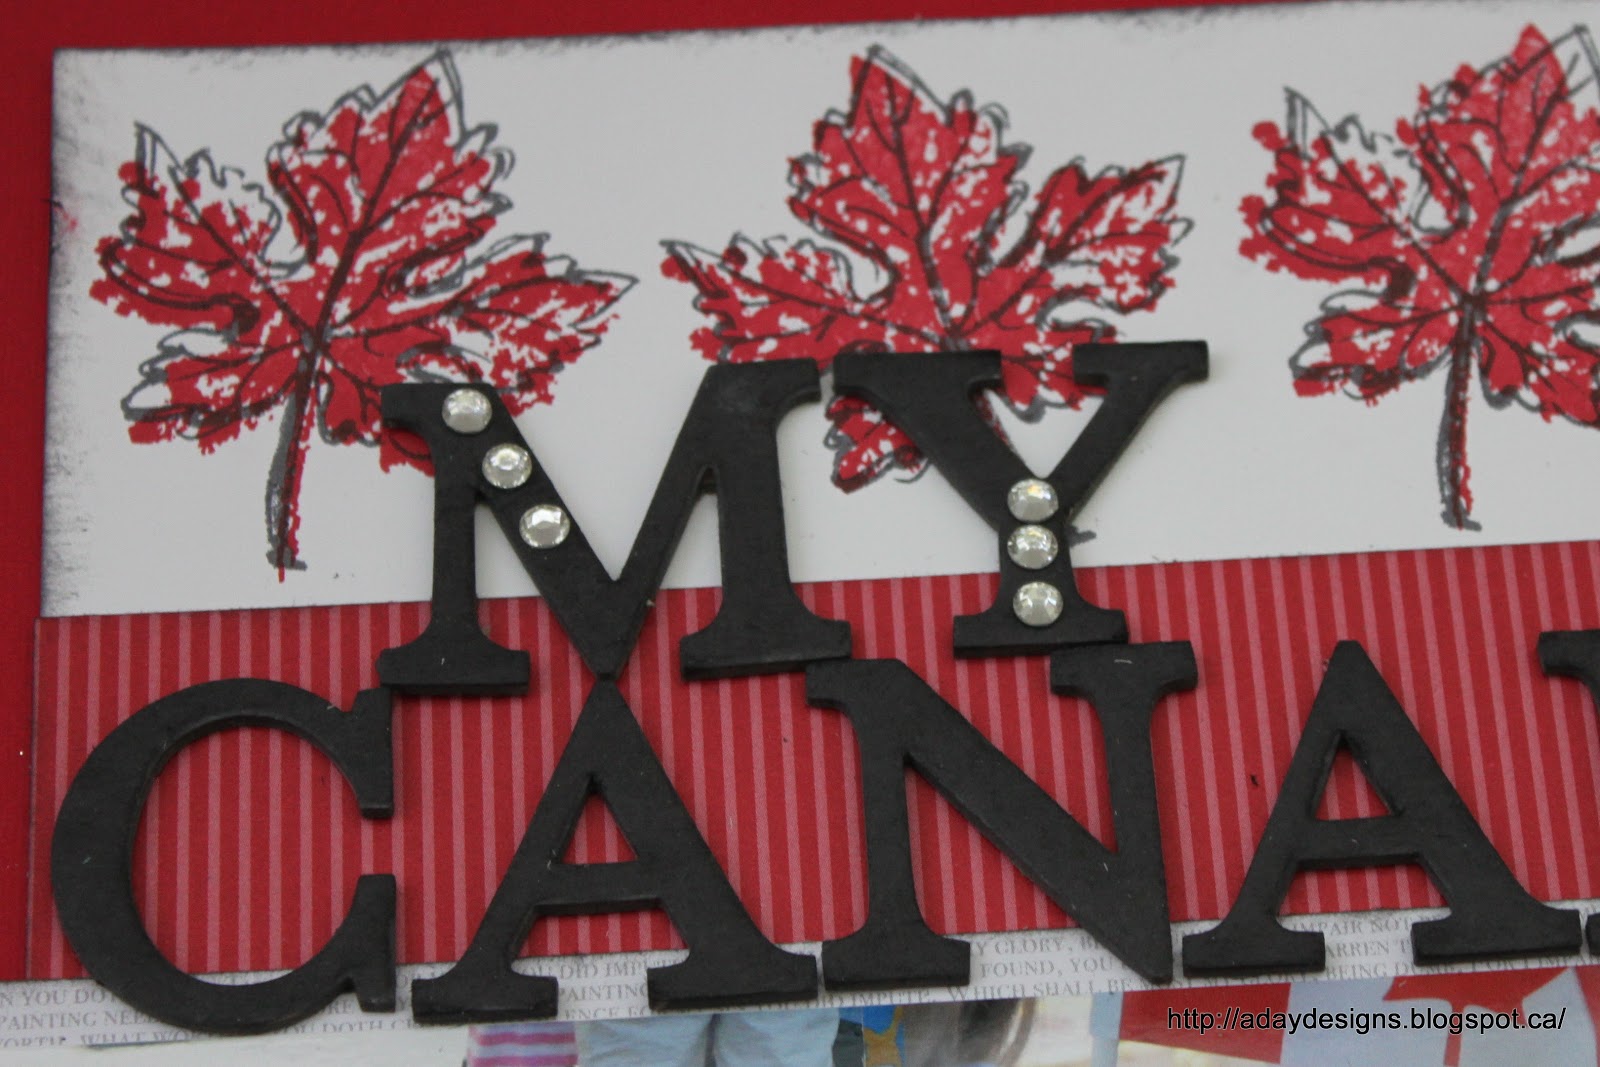
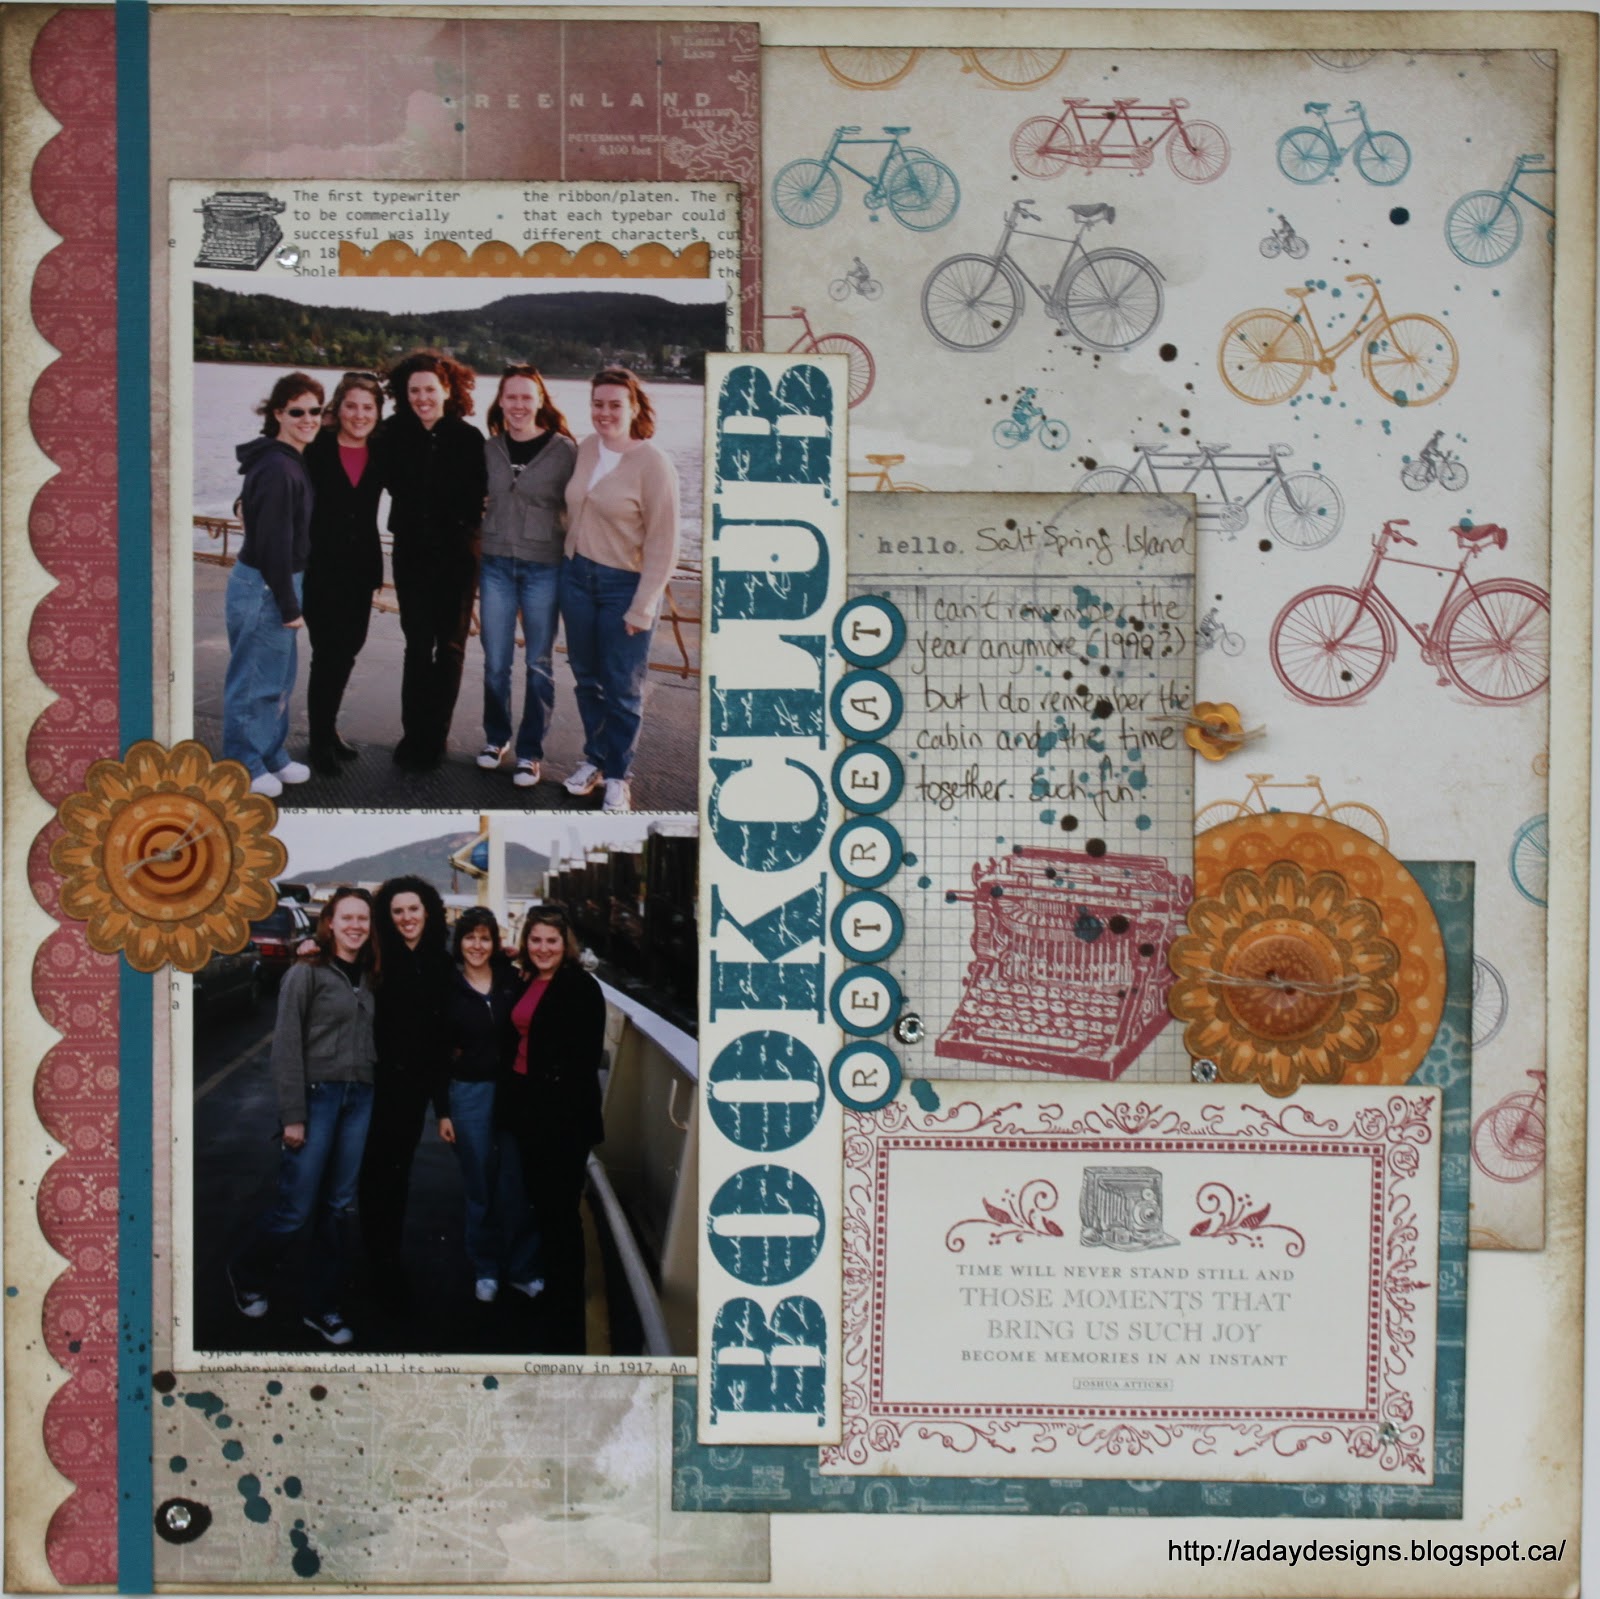
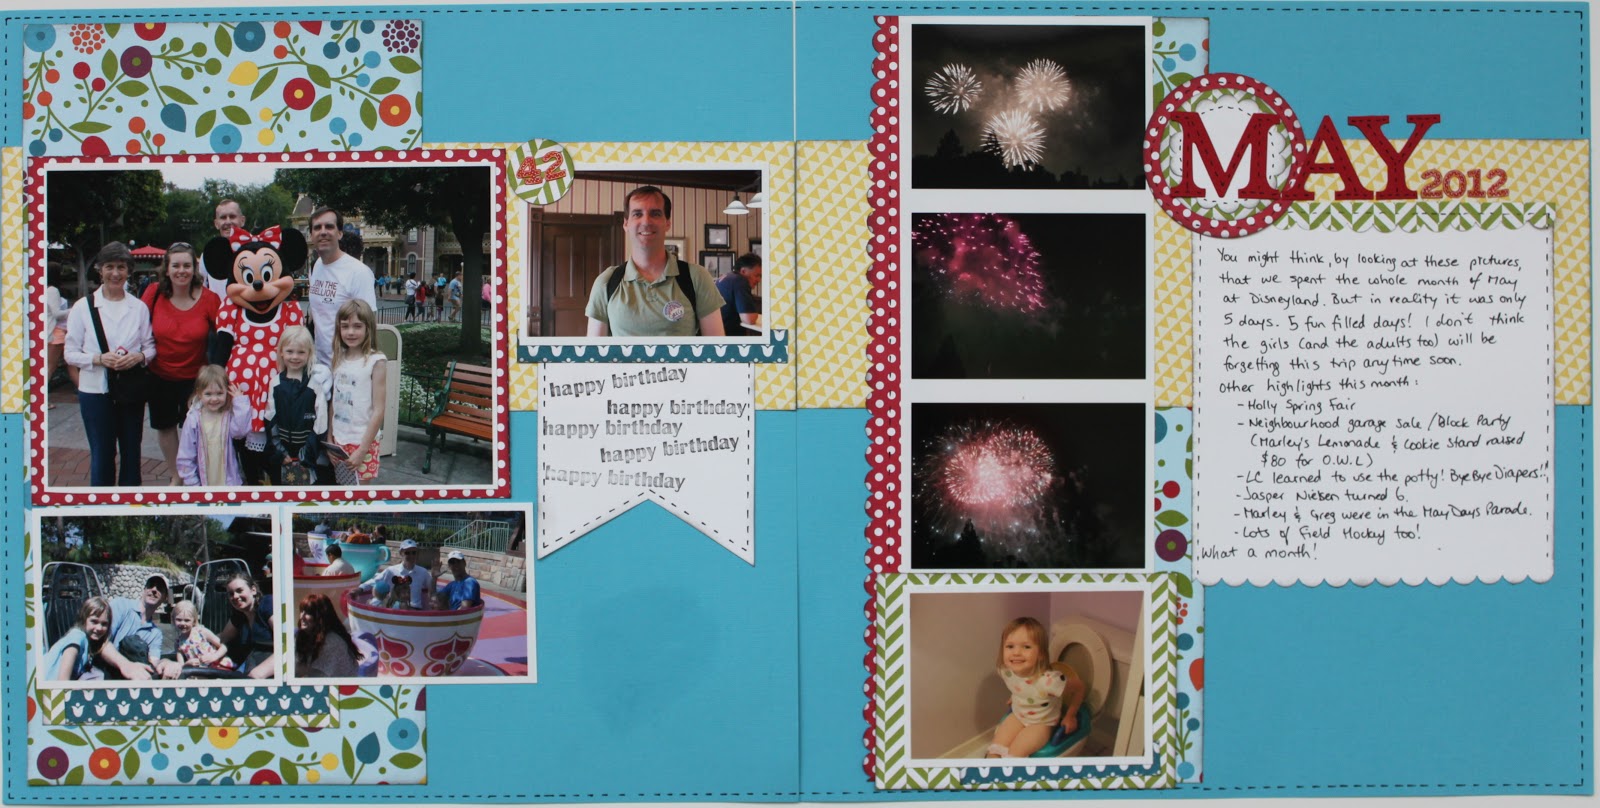
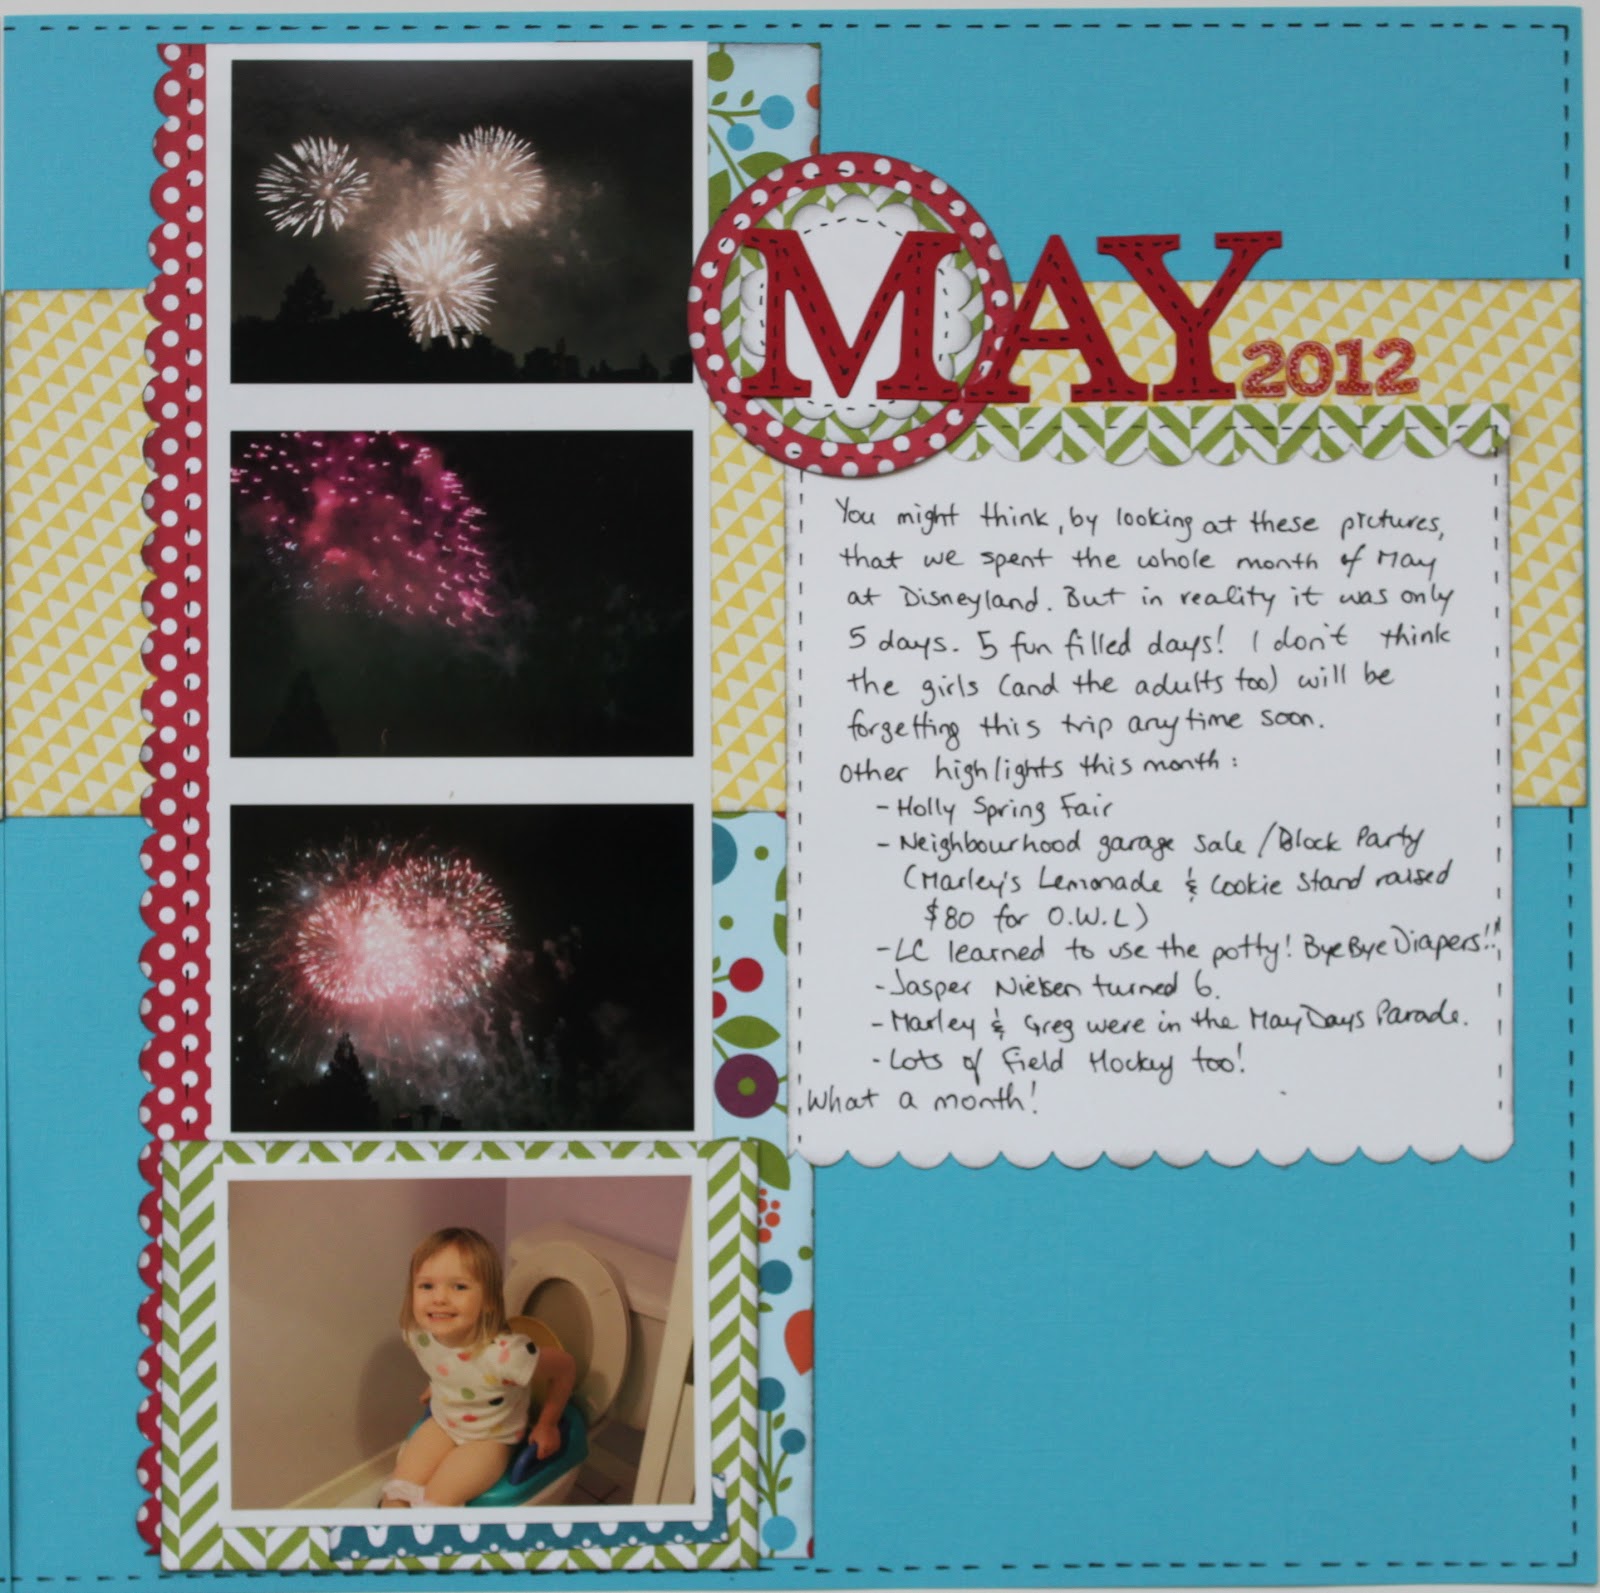
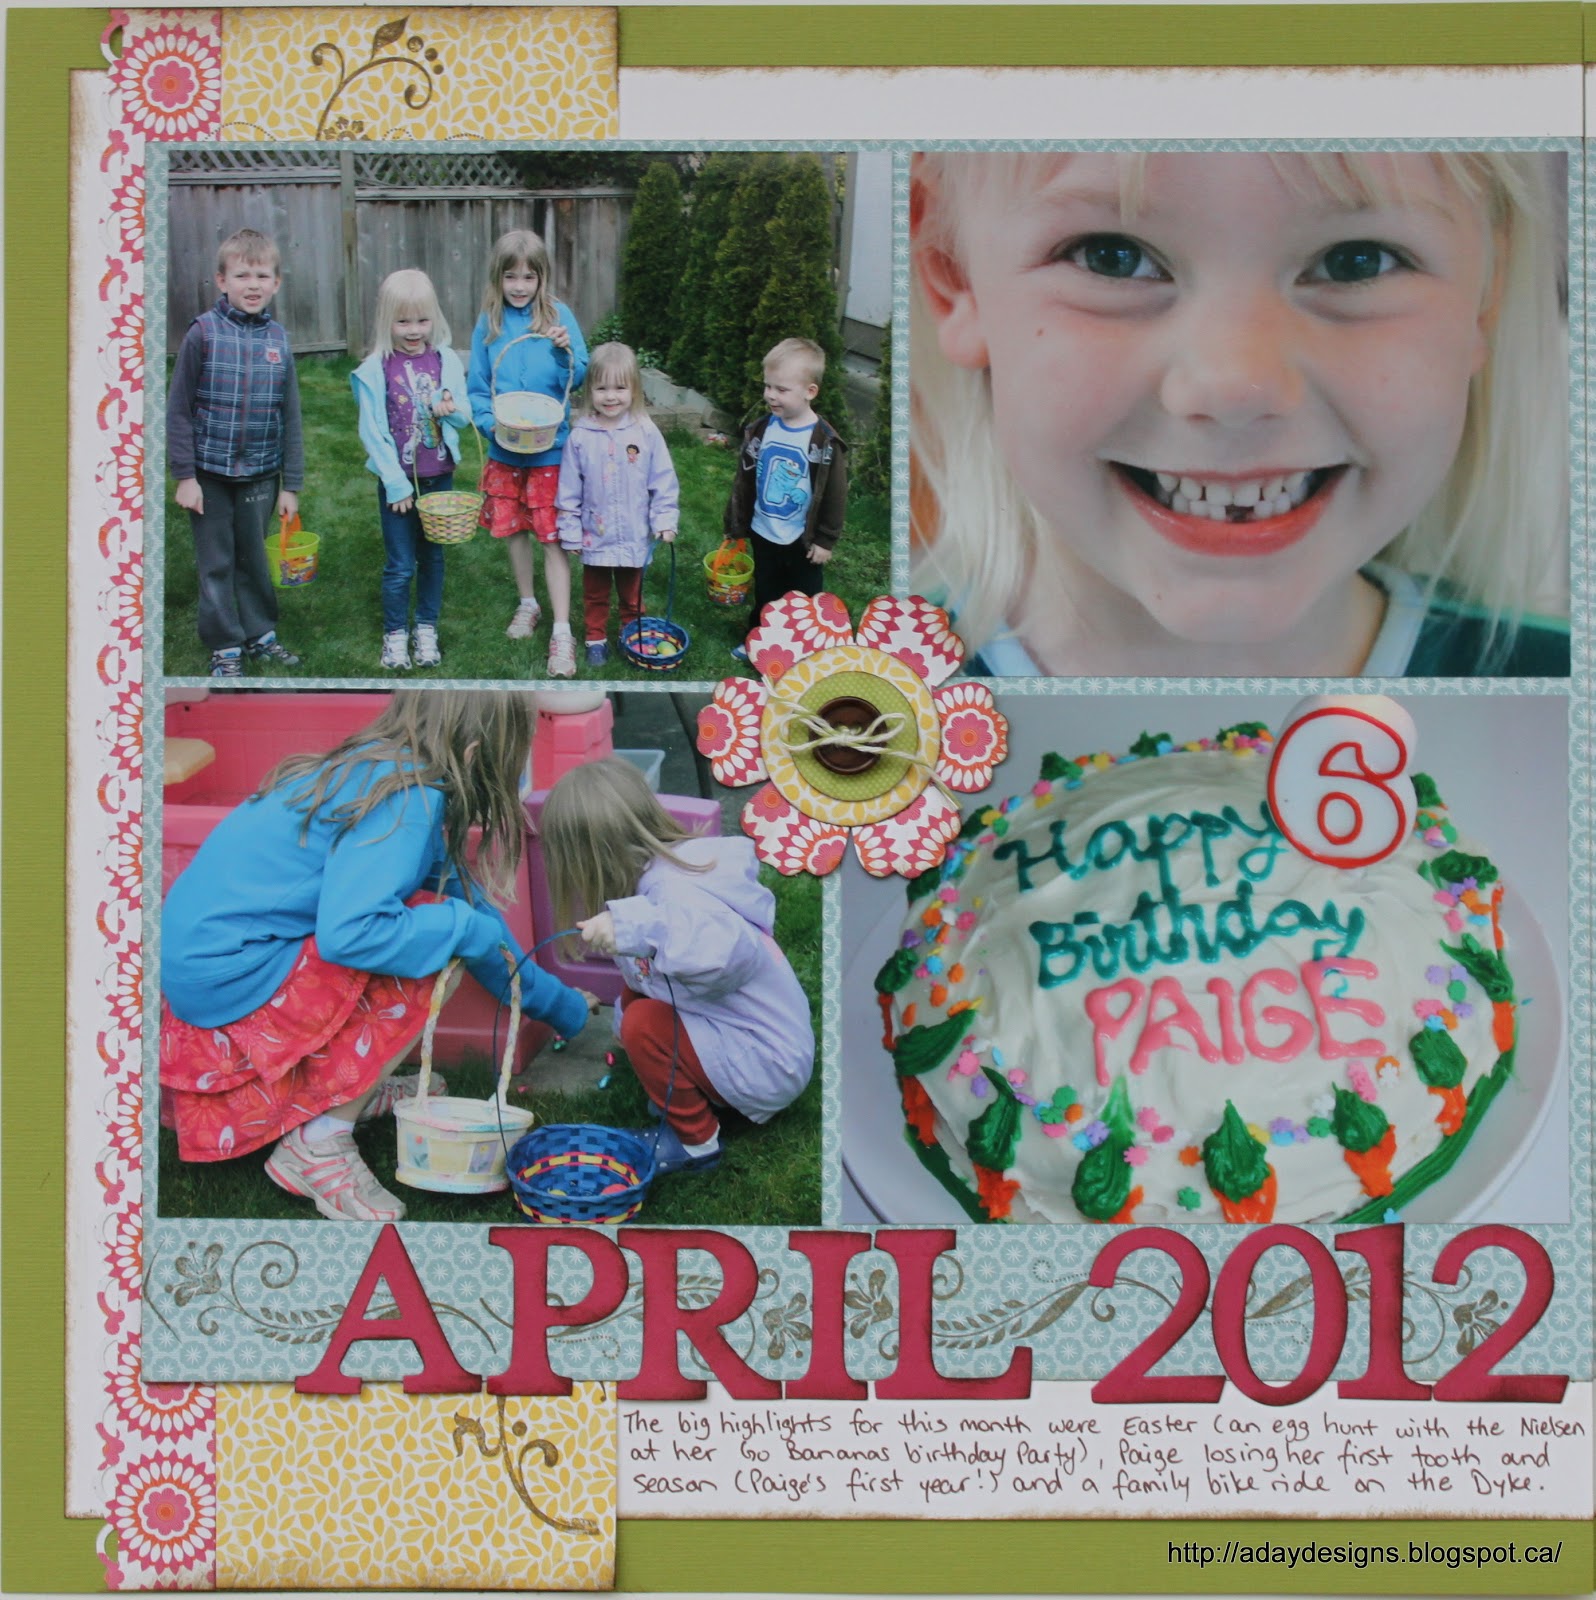
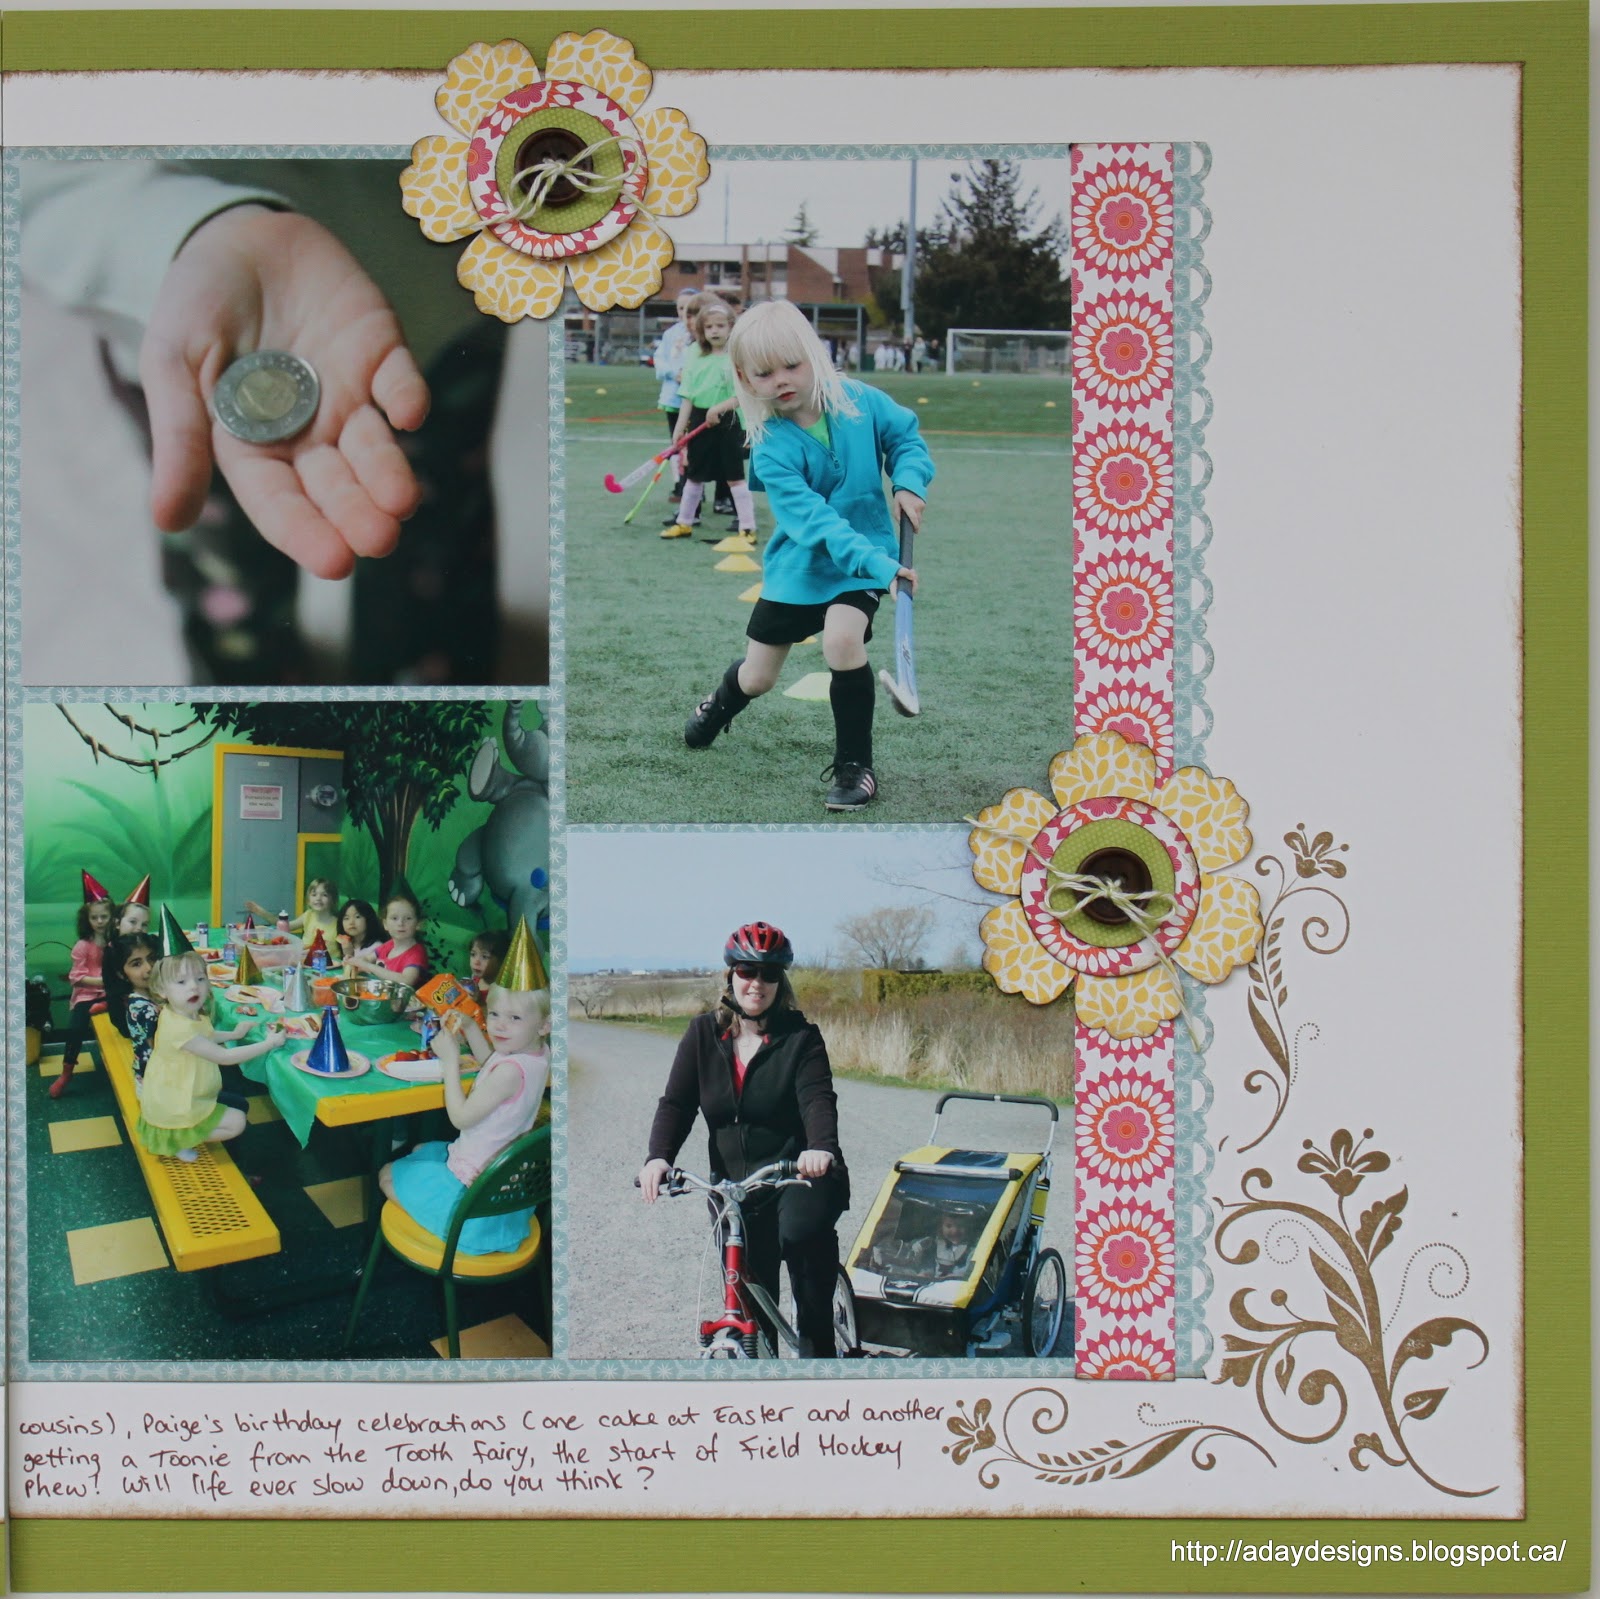
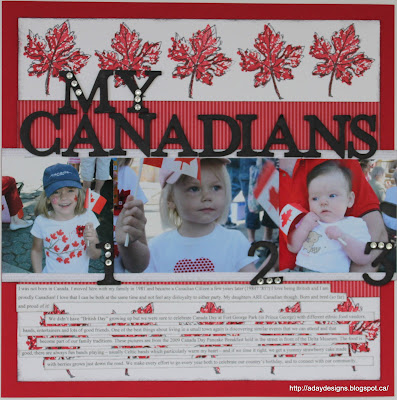
I have two projects to share with today. The first is a layout (I know, I know, we advertised cards but I’m a layout girl at heart!!) with a very Red, White and Maple Leaf theme!

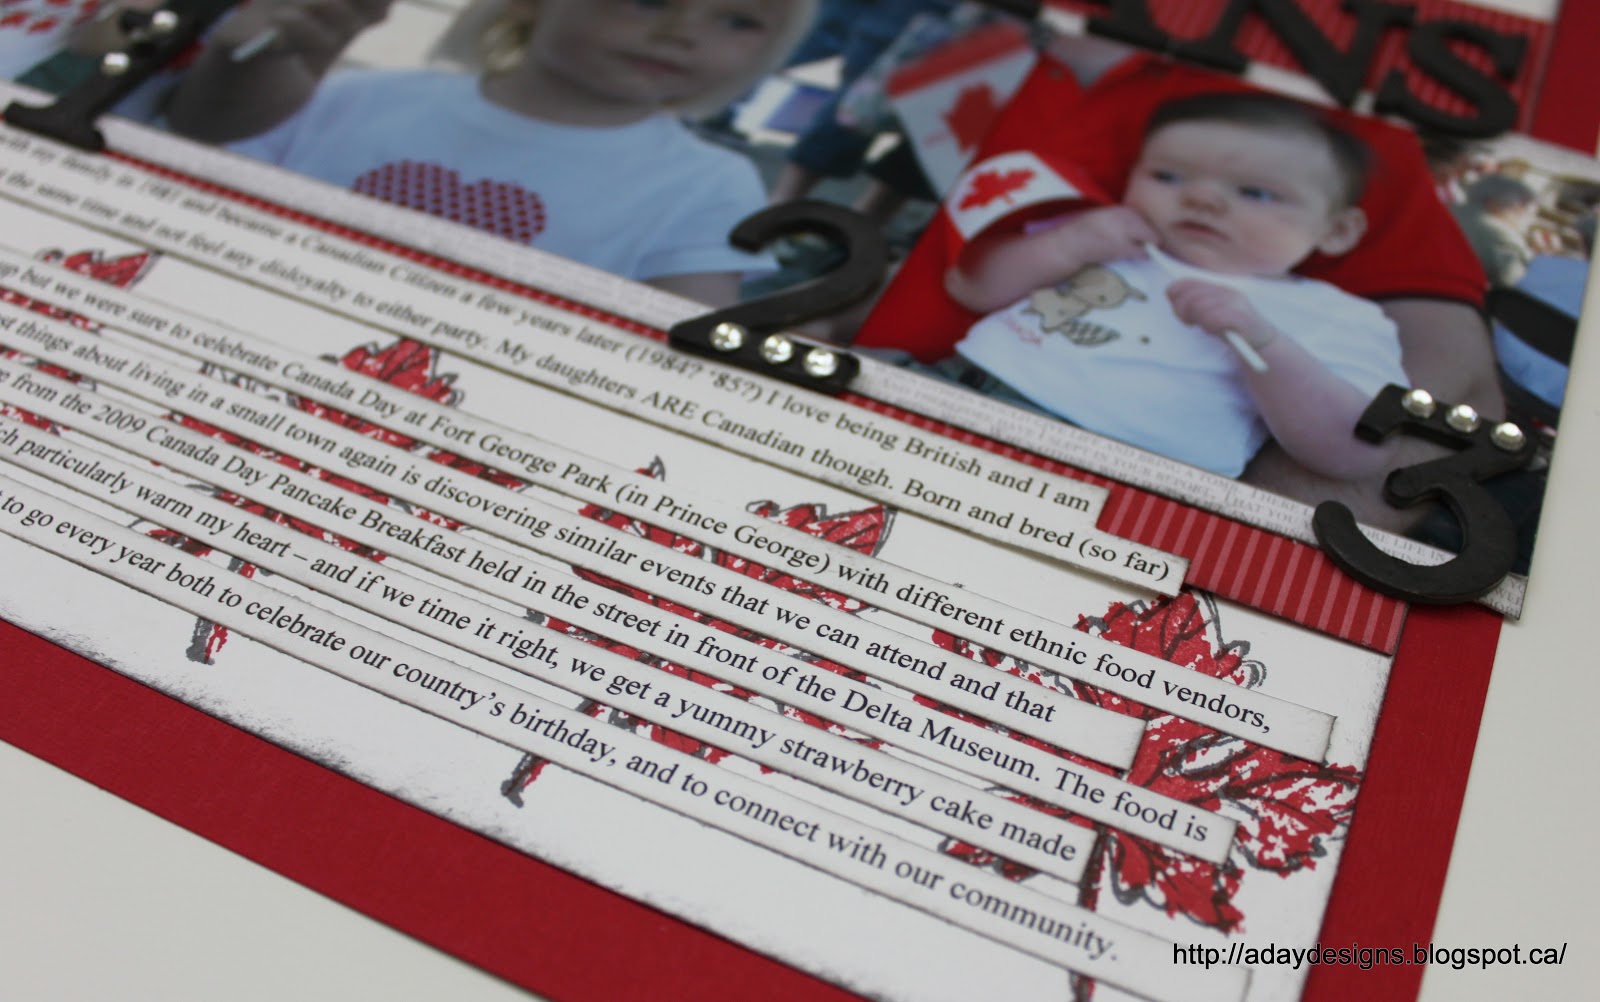
The journalling is more reflective than normal (I’ve been working my way through Shimelle Laine’s Cover to Cover class and I’m suddenly feeling the need to write down more than I normally would.) It reads: “I was not born in Canada. I moved here with my family in 1981 and became a Canadian Citizen a few years later (1984? ’85?) I love being British and I am proudly Canadian! I love that I can be both at the same time and not feel any disloyalty to either party. My daughters ARE Canadian though. Born and bred (so far) and proud of it! We didn’t have “British Day” growing up but we were sure to celebrate Canada Day at Fort George park (in Prince George) with different ethnic food vendors, bands, entertainers and lots of good friends, One of the best things about living in a  small town again is discovering similar events that we can attend and that become part of our family traditions. These pictures are from the 2009 Canada Day Pancake Breakfast held in the street in front of the Delta Museum. The food is good, there are always fun bands playing – usually Celtic bands which particularly warm my heart – and if we time it right, we get a yummy strawberry cake made with berries from just down the road.  We make every effort to go every year both to celebrate our country’s birthday, and to connect with our community.”

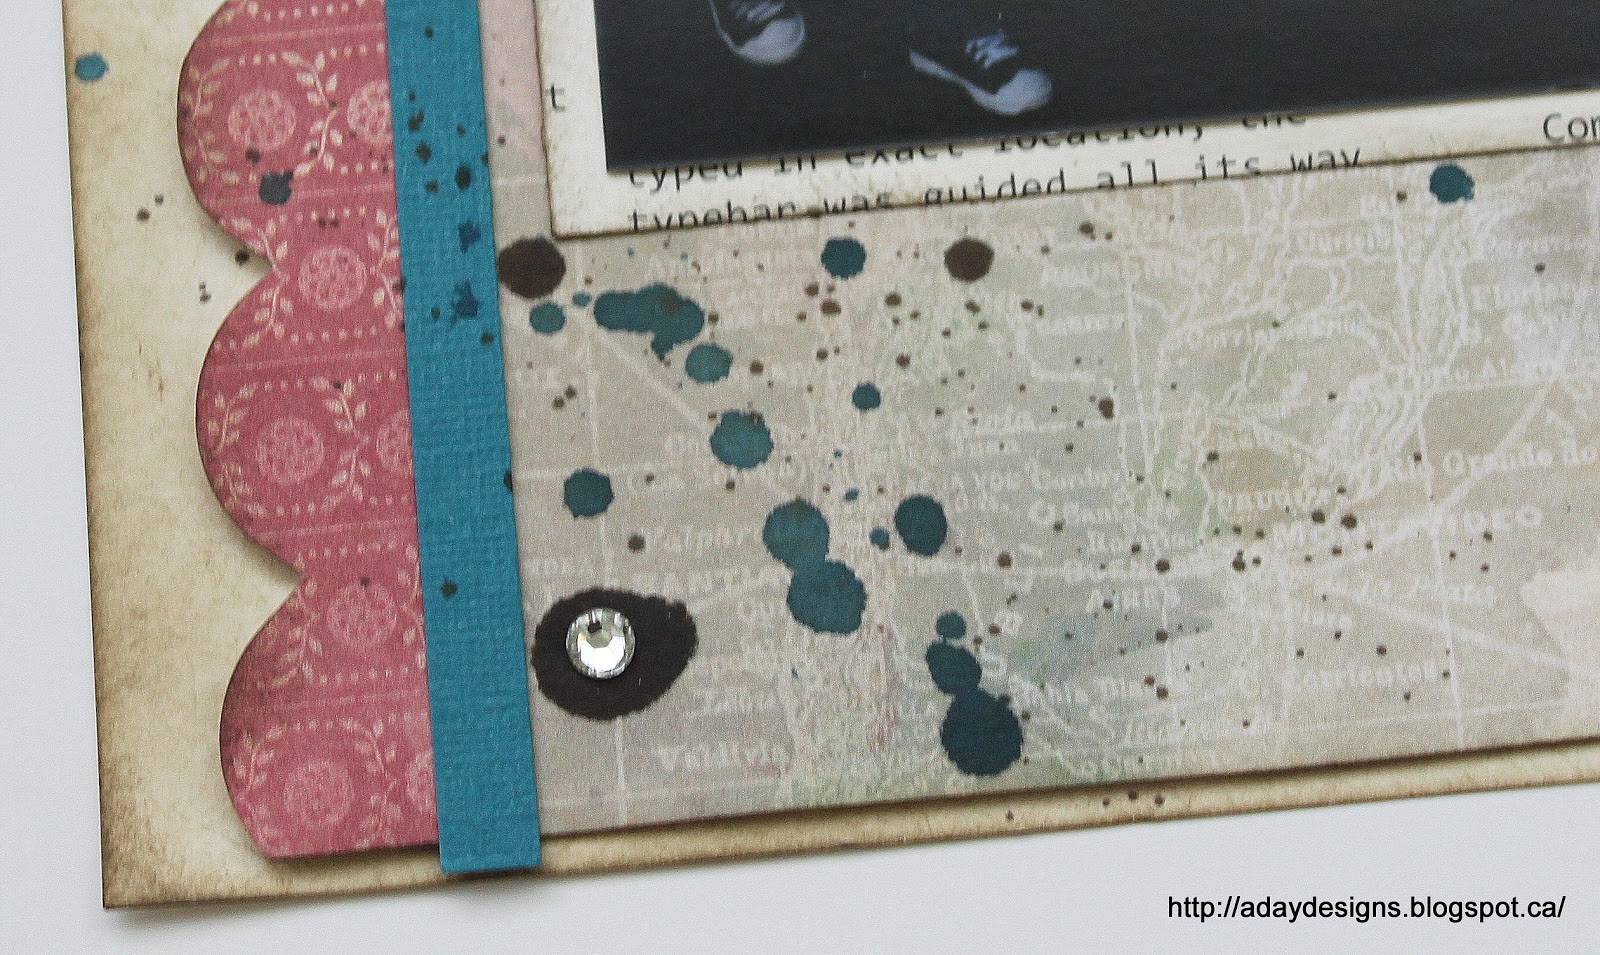
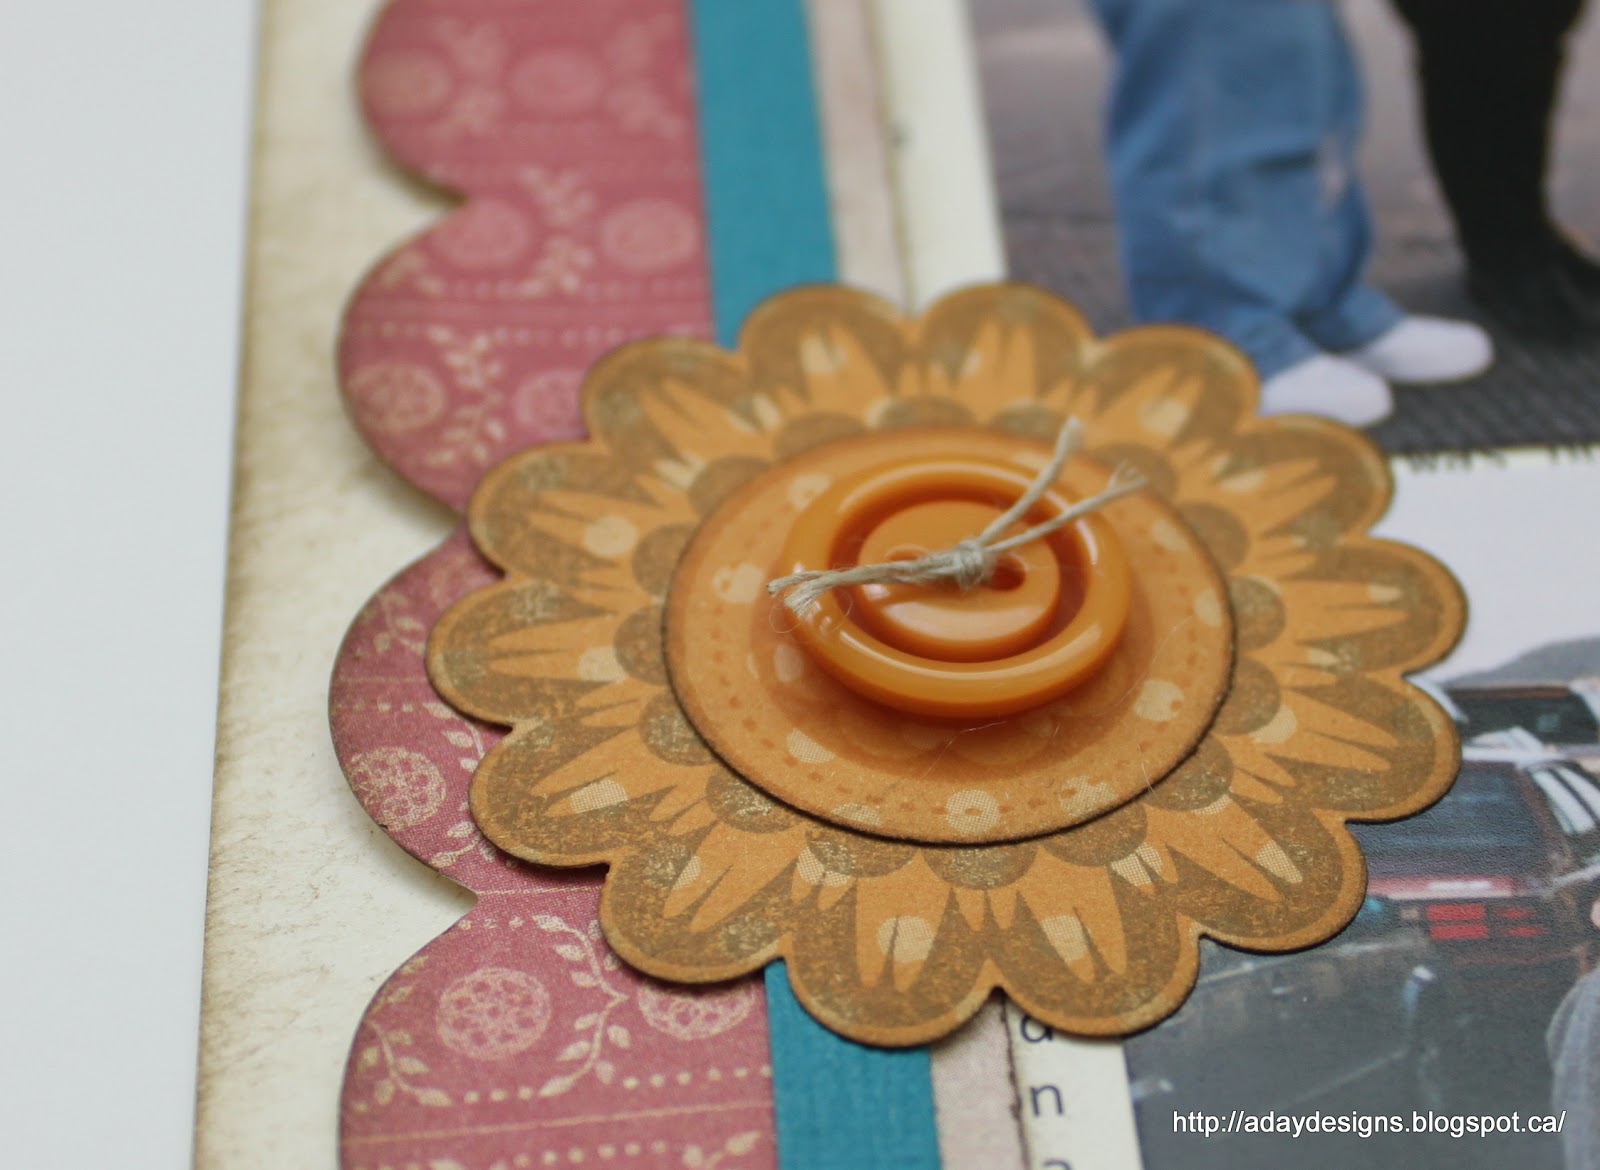
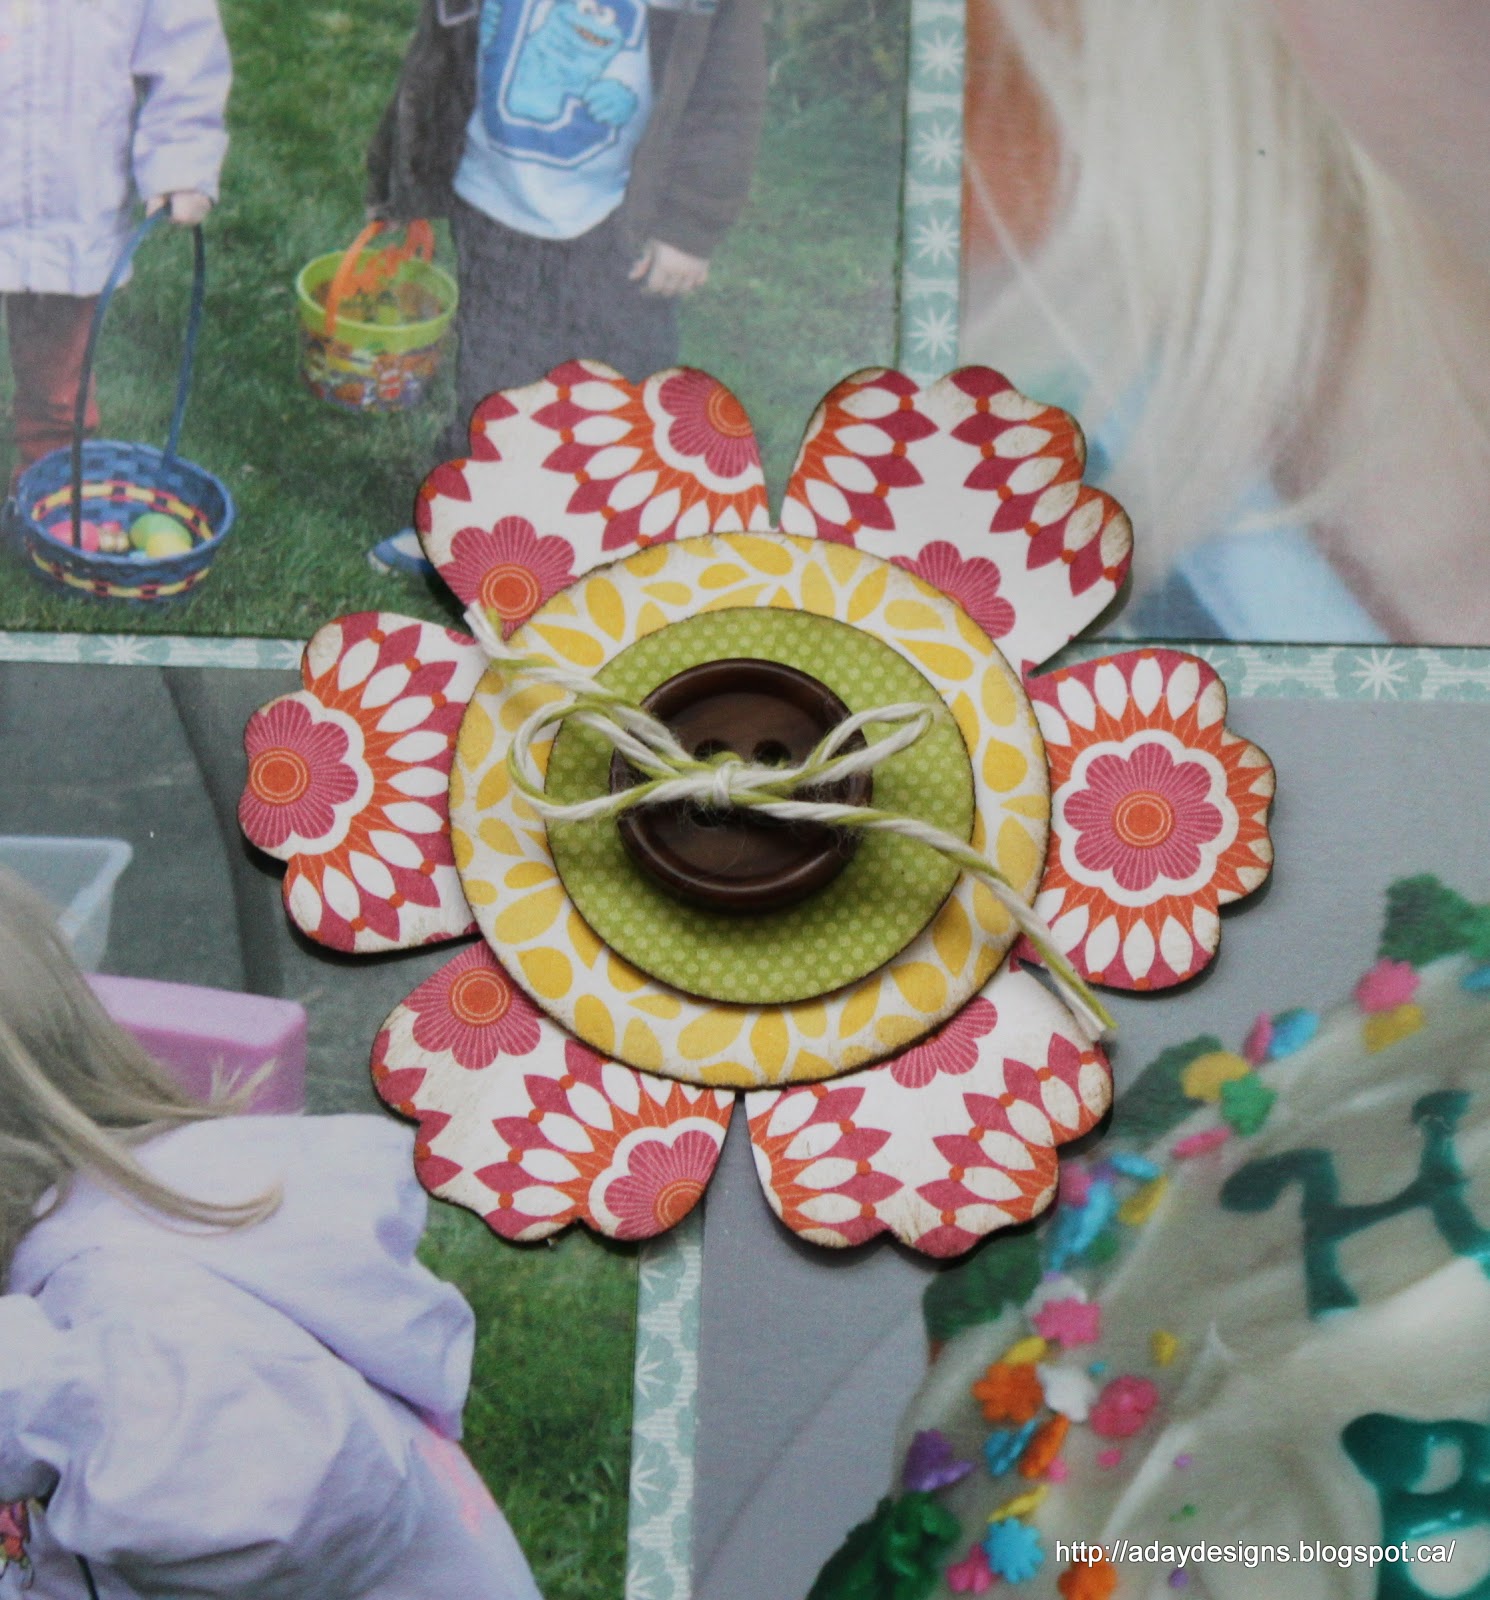
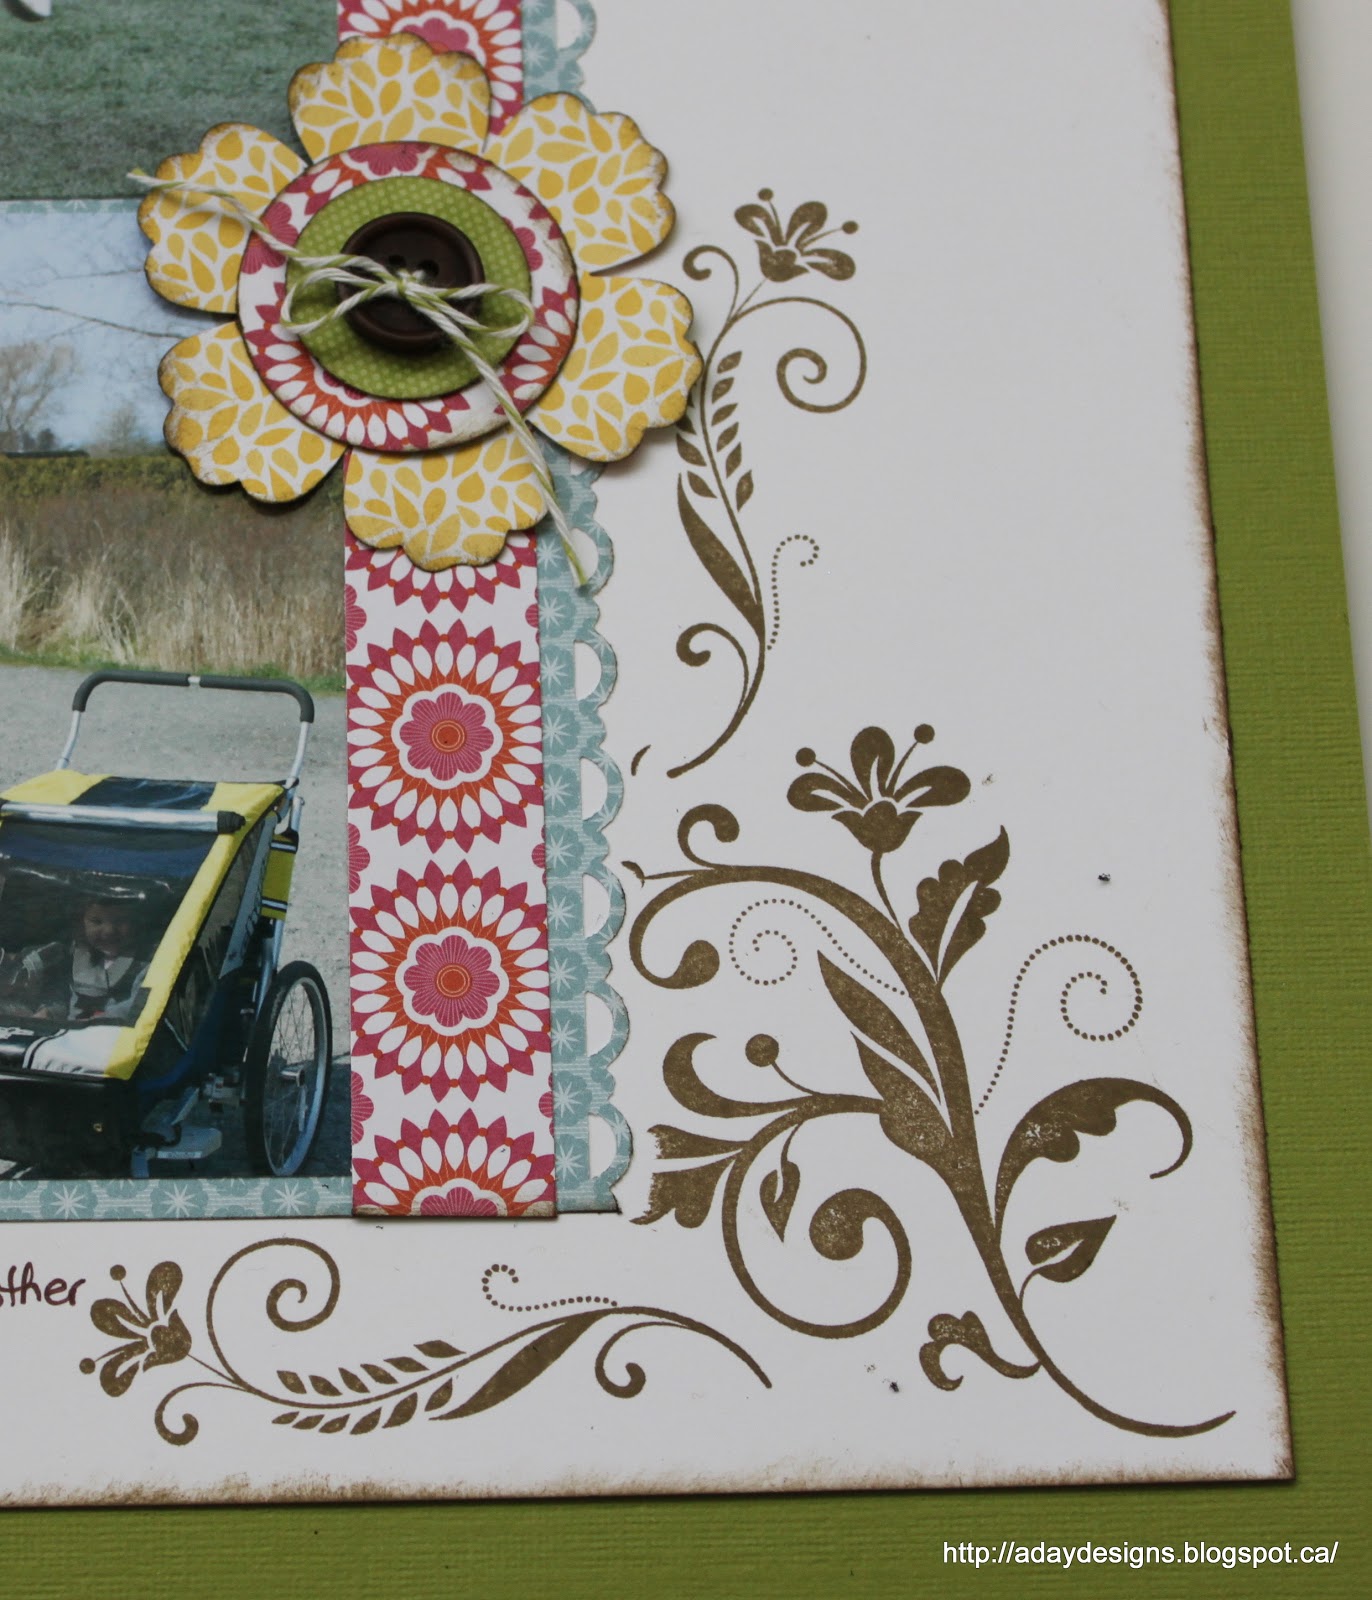
Some close ups of the details for you.

The maple leaves are stamped using the two part stamp set called Gently Falling. I used Real Red for the leaves and Basic Gray for the outline. The chipboard letters were cut out with my Big Shot (took a bit of muscle but I love the outcome!) using the Typeset Alphabet die and then coloured using Basic Gray. I added some rhinestones for a bit of sparkle too!

To make sure the sides of the chipboard letters were coloured also, I used my Basic Gray Stampin’ Write marker to ink the edges.

The patterned paper you see is from the Designer Series Paper Patterns Stacks in Real Red and Whisper White. These are great pads of paper full of sheets in each colour family and simple, basic designs that can accent any project perfectly.
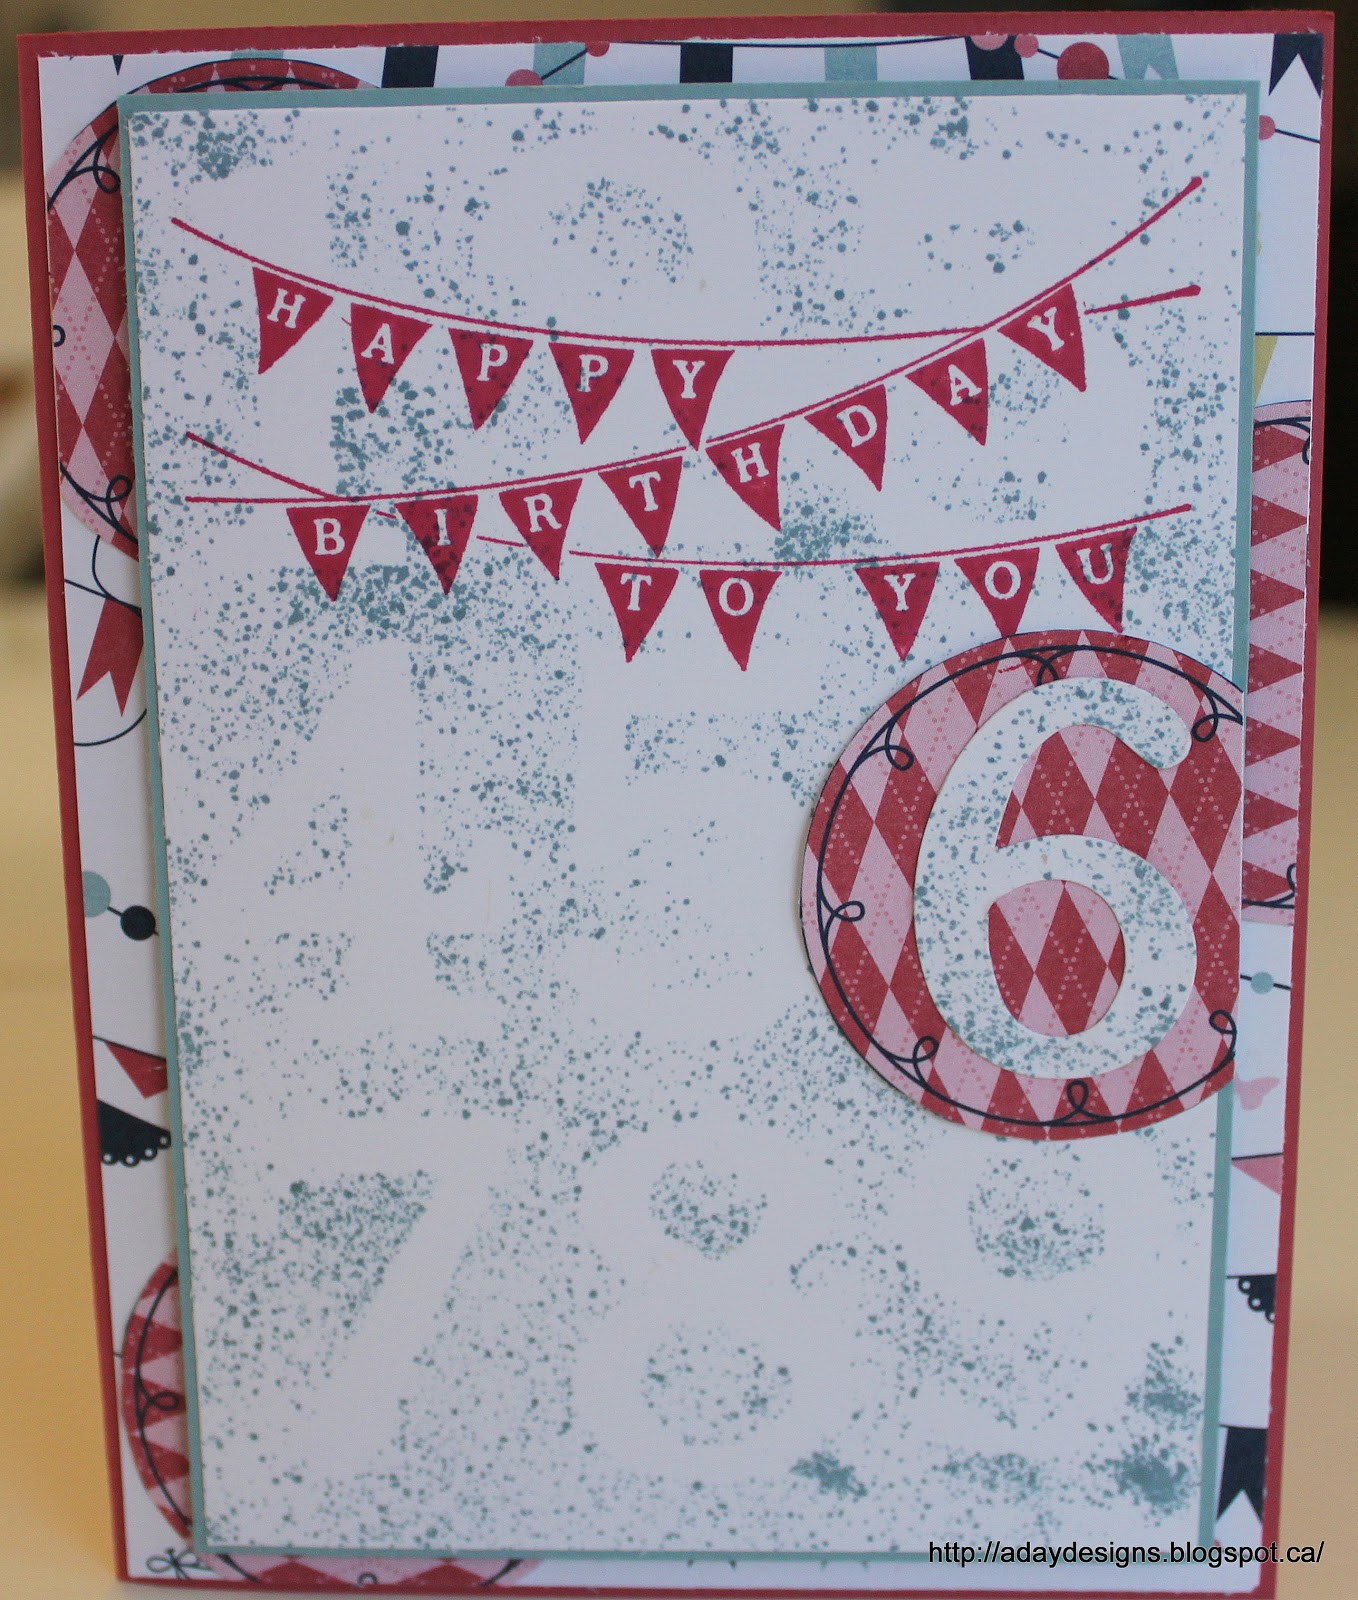
My next project is (as this hop promised) a card! Another of the fabulous things about living where we live is that during the summer we have a market in the streets of “down town” every other Sunday. Last Sunday was a gorgeous day so we went for a wander. Lo and behold there was a booth (
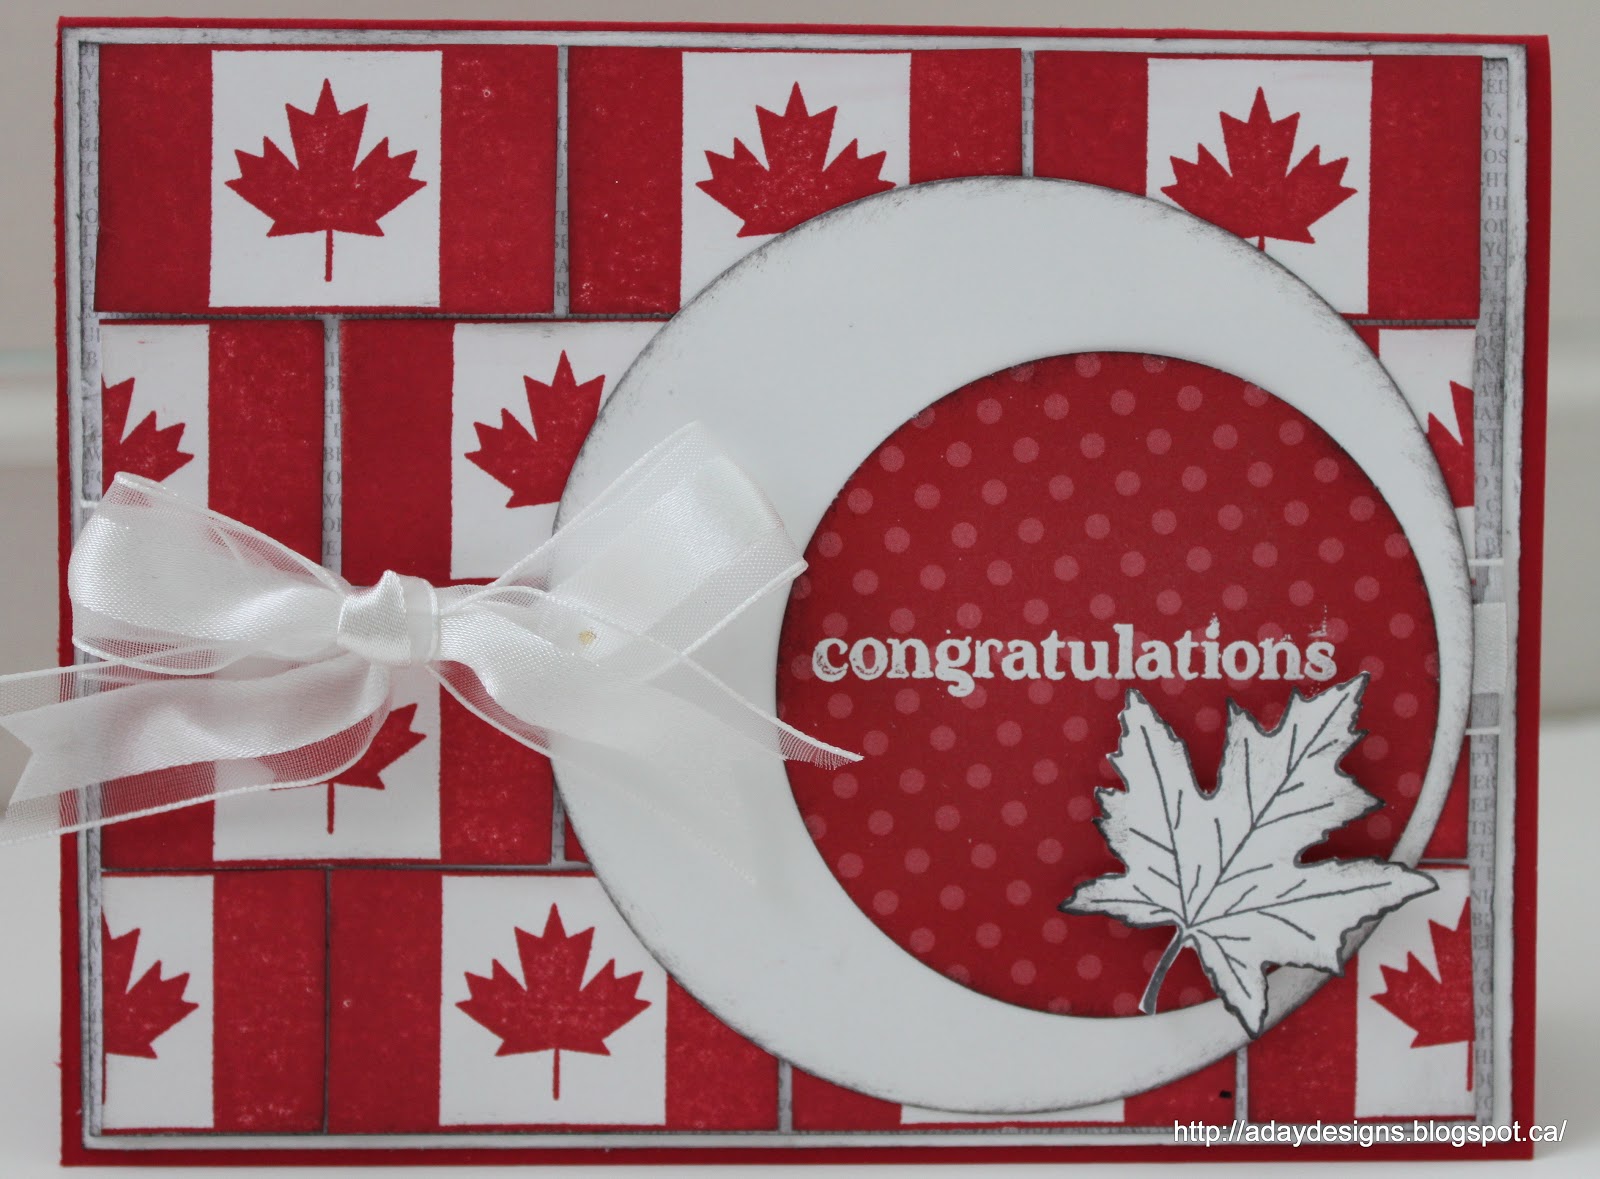
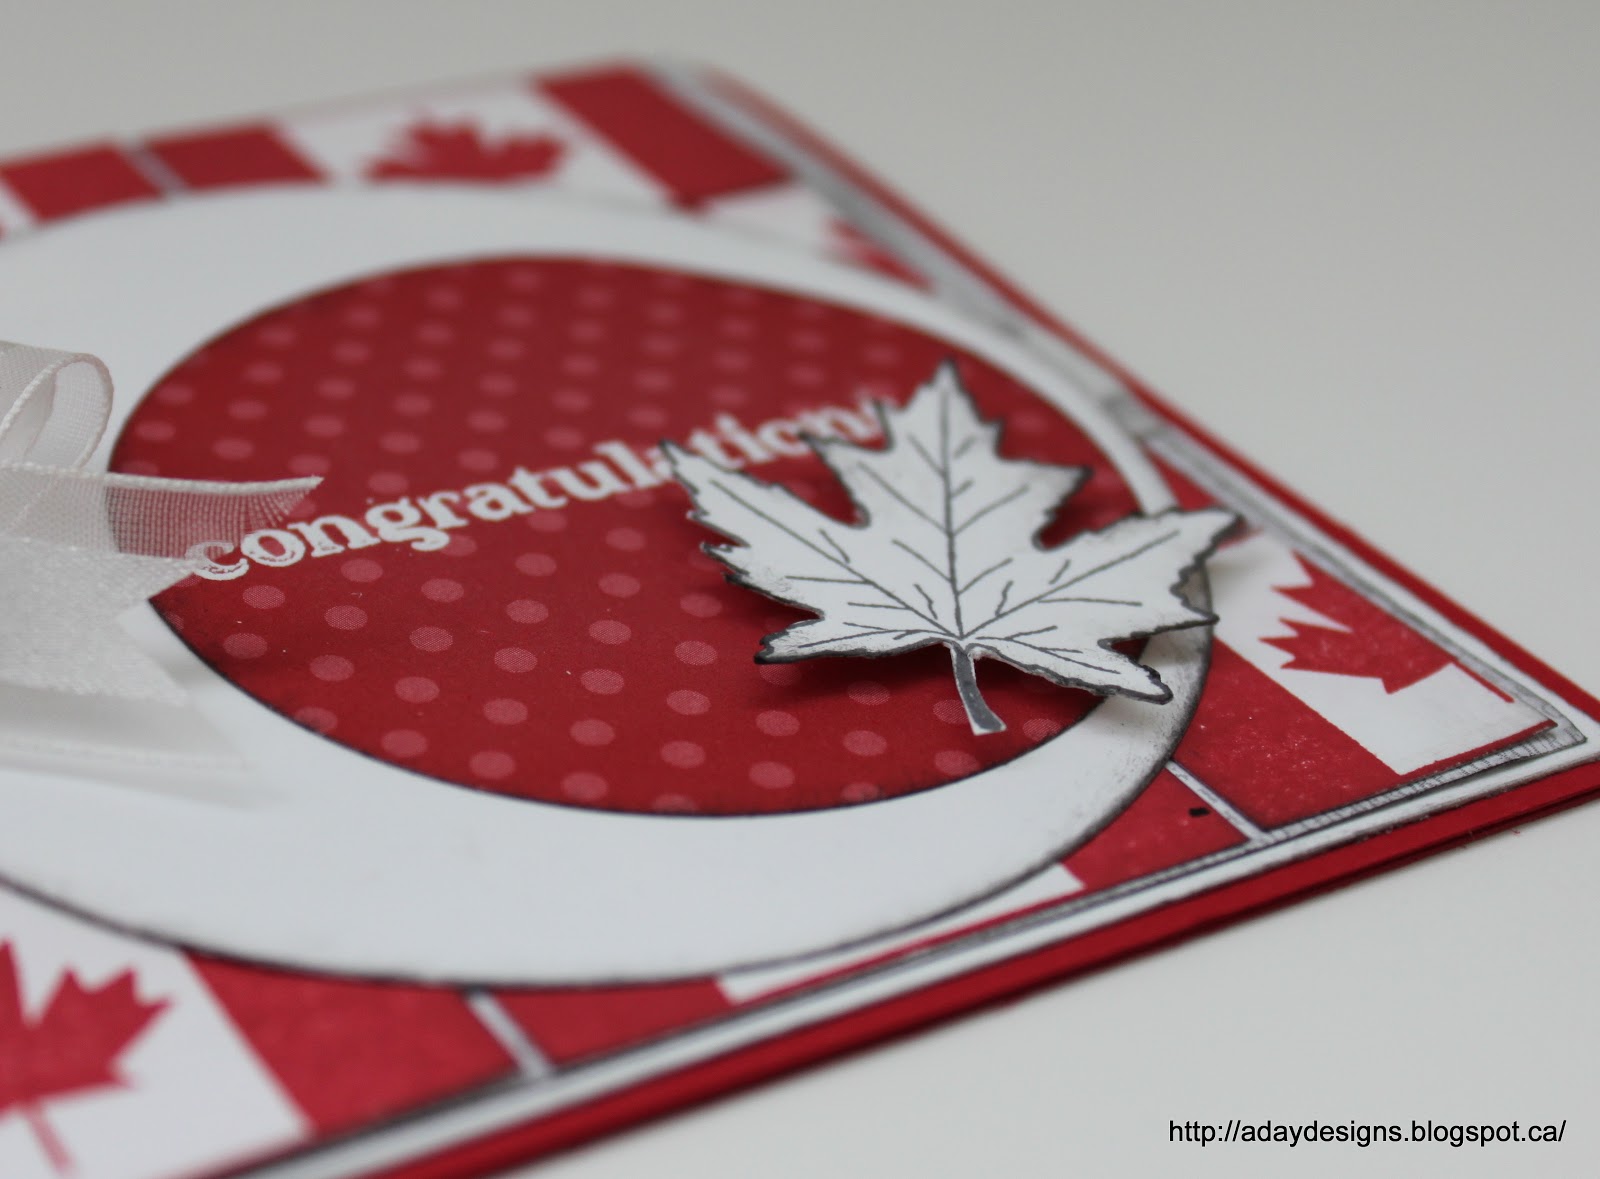
The Old Island Stamp Company) selling stamps!! Canadian made stamps no less. I crossed my fingers and prayed they’d have something I could use to make a truly Canadian card for today. Here it is …
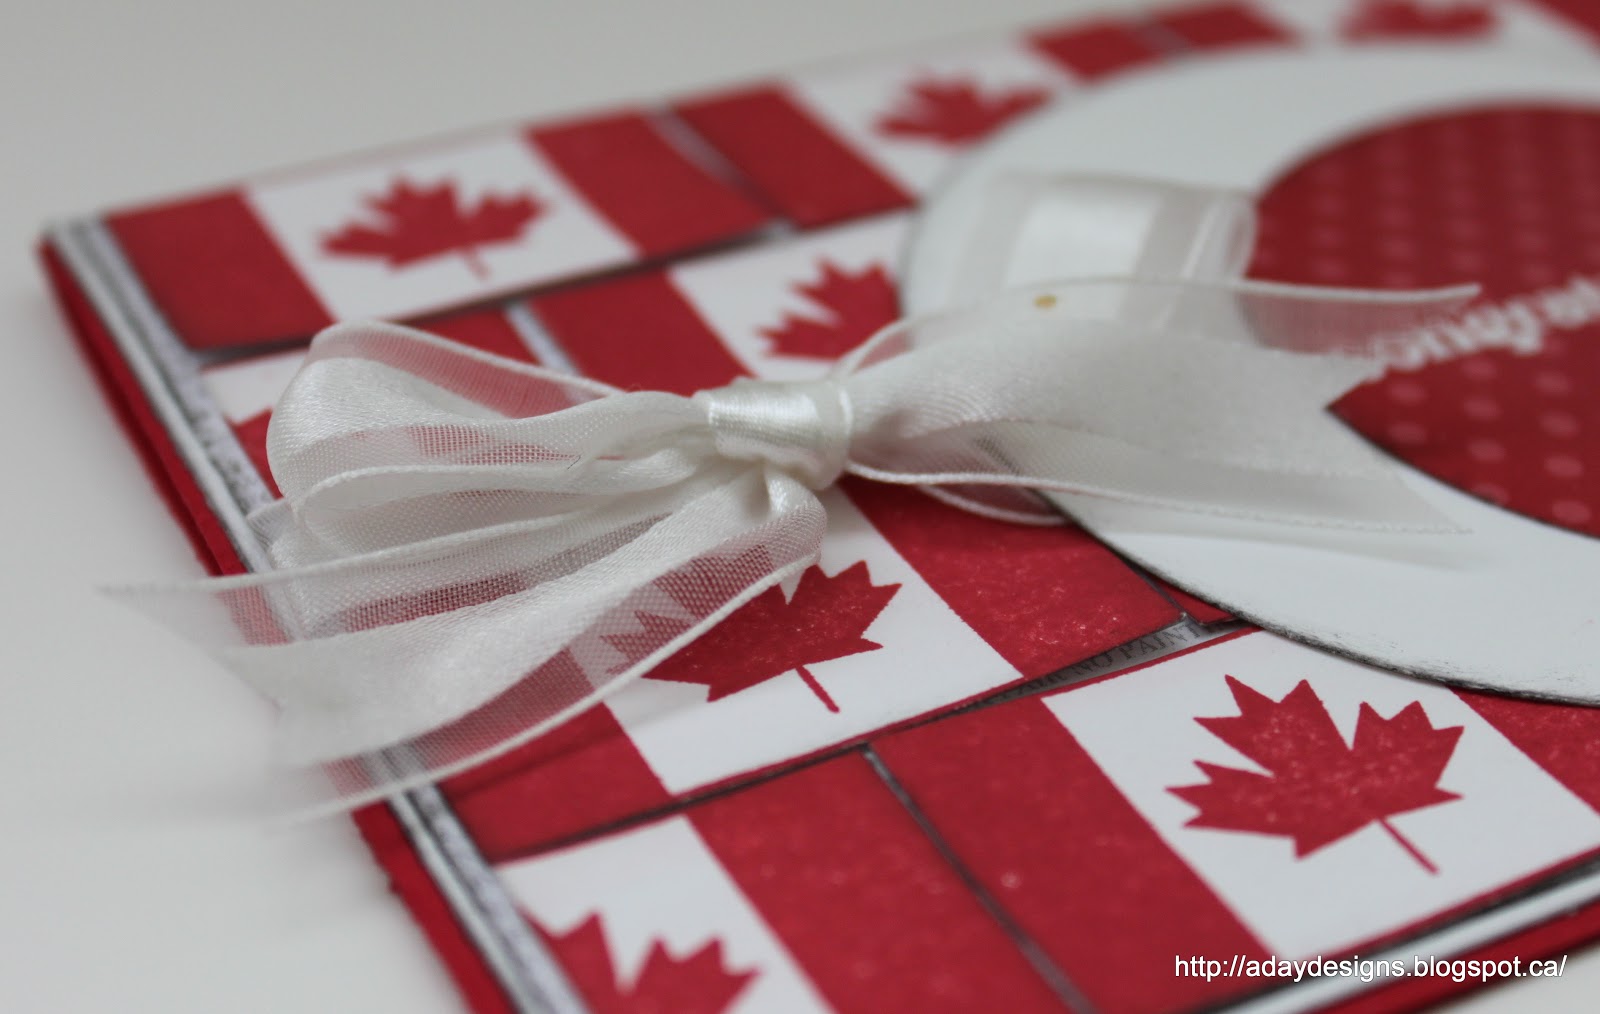
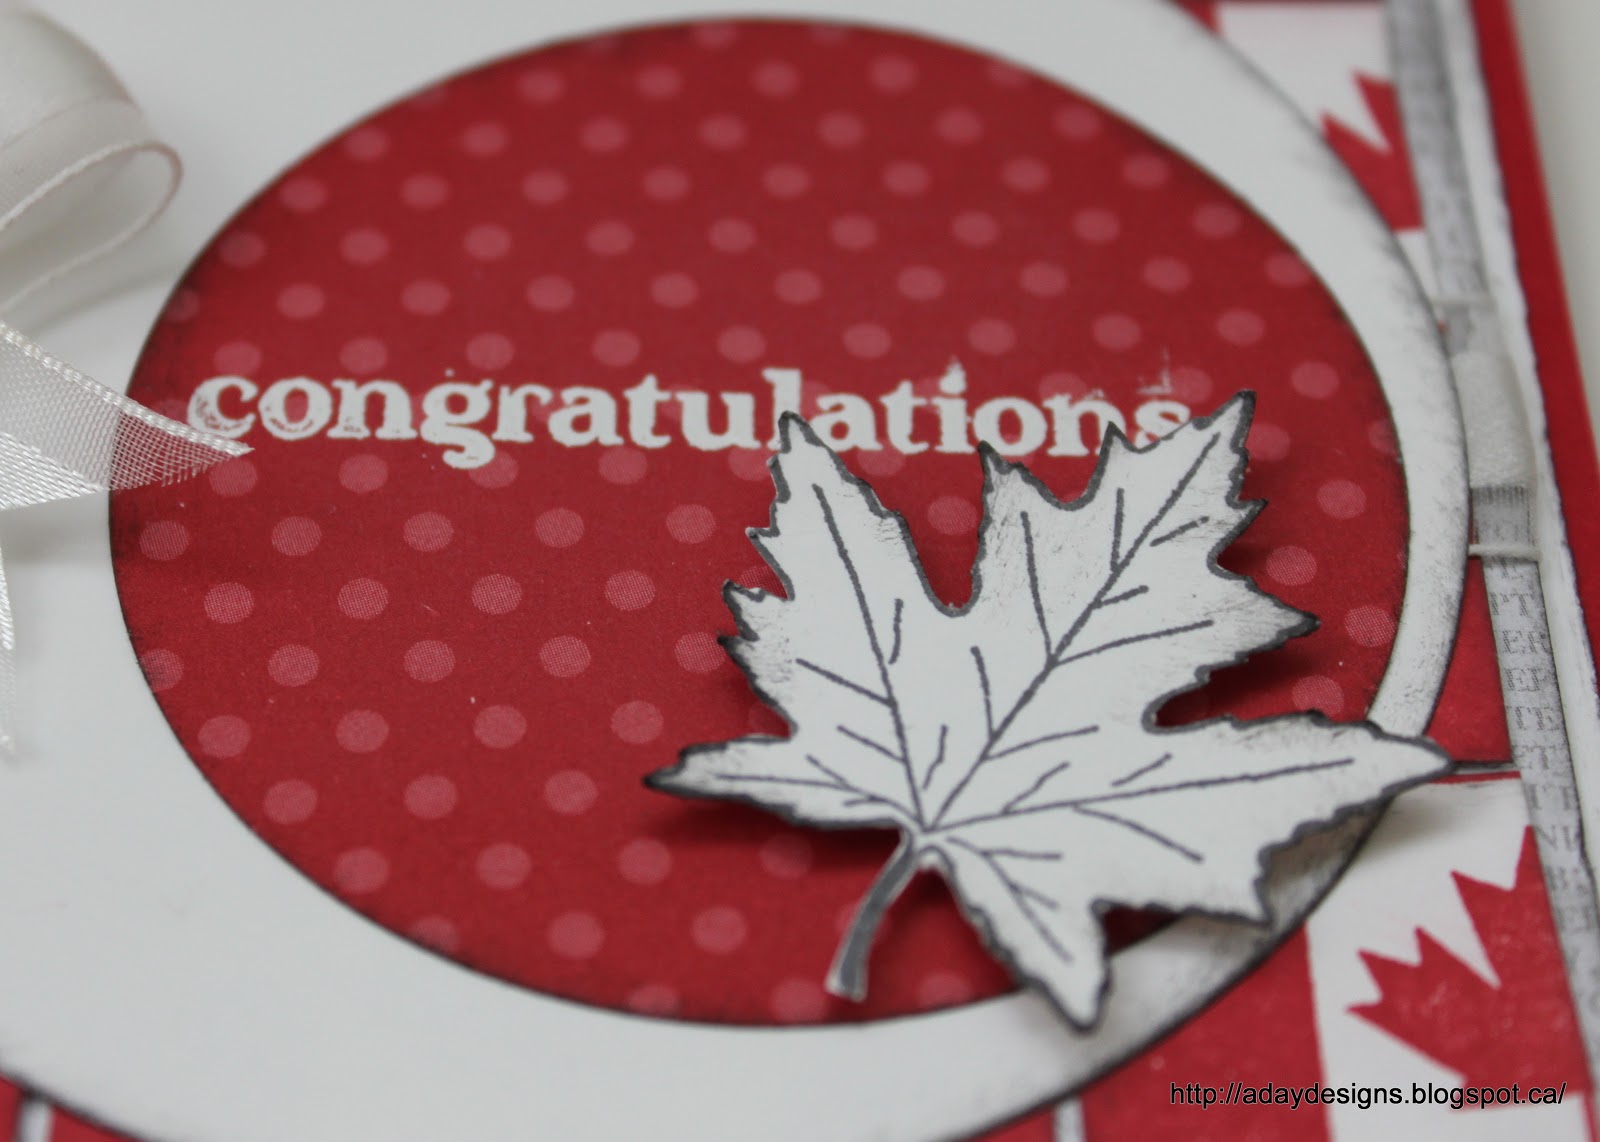
I purchased a Canada Flag stamp which is stamped in Real Red onto Whisper White card stock and then cut out to create this tiled effect on the card base. 

I used a scrap of Whisper White Organza ribbon to create a bow.

This little maple leaf was the other stamp I purchased which I stamped in Basic Gray and fussy cut. I used Dimensionals to lift it off my card and give it more presence. 

The “congratulations” sentiment was stamped into Versamark then Whisper White Craft ink THEN heat embossed with white embossing powder. I wanted to make sure it was as white as it could be!! 
This card is currently winging its way to my aunt who moved to Canada 12 years ago when she married a Canadian and who just recently (sorry Aunt Moira, I’ve forgotten exactly when!) got her Canadian Citizenship. I felt the need to send this to her as a reminder of how proud I am that she is now a Canadian too. Truly we are a diverse nation!! Awesome!!
Well, thanks for joining me today. Your next stop on the Hop is Janet. Here is the complete list for you. 

  1. Tara Nixon http://creativeaccents.blogspot.com
  2. Tracy http://tracystreasures-tracy.blogspot.ca/
  3. Barbara G. http://barbscreativecorner.blogspot.ca/
  4. Sarah http://scrapsbysarah.blogspot.ca
  5. Roxy http://roxyrolla.blogspot.ca
  6. Luce Lavertu http://myvintagecat.blogspot.com
  7. Chelle http://maybecreative.blogspot.com
  8. Alison Day http://adaydesigns.blogspot.ca/ – YOU ARE HERE
  9. Janet http://hilltopcreations.blogspot.ca/
  10. Donna Whiteman http://yellowdoggreetings.blogspot.ca
Please be sure to leave comments on all the blogs as Tara will be selecting one random comment from one random blog to receive a $20 gift certificate to the new Creative Accents online store!! How awesome is that, eh? (Ha, ha, ha! Had to include it at least once on this Canadian blog post!!)


Here are your product links from today’s projects:
Gently Falling stamp set
Big Shot
Typeset Alphabet Die
Basic Rhinestones Jewel Accents
Designer Series Paper Patterns Stack – Brights and Neutrals Collections
Whisper White 5/8″ Organza Ribbon
Stampin’ Dimensionals
Posted in Canada, Cards, layout | 19 Comments

The End of Another School Year

Today was the girls’ last day of school. Not that you could really call it a “day”. They attended the Grade 7 Grad ceremony and then were dismissed at 10:30!! Paige was “graduating” from Kindergarten too so I of course was there with camera in hand. Look for that post on my other blog soon. Hopefully!

The reason for this post today is to share the cards I made for Marley and Paige’s teachers. Check them out.

Fun huh?

I used Twitterpated DSP (SO glad this wasn’t retired along with everything else as I LOVE this paper set!) Stampin’ Up! has a new stamp set (and paper line) that features blue ribbon motif but I do not own it so I made my own.

The sentiment was created using 3 different stamp sets – Patterned Party, Family Reunion and Morning Post Alphabet. Oh, and the hatch was hand drawn using my Riding Hood Red Stampin’ Write Marker.

Here’s a close up of the blue ribbon embellishment.

Inside the card I simply stamped “Thank you” from Wacky Wishes.
Thanks for coming by today. I hope you liked my cards. Just a reminder that I will be participating in a Blog Hop on Sunday and there will be prizes so I hope you’ll come back for that. Here are your links from today’s project.

Posted in Cards | 2 Comments

Masculine Birthday Card

The colour scheme is probably going to look awfully familiar to you by now!! 🙂

This was made for my Father-in-law who celebrated his –th birthday (numbers are no longer allowed!!) on Monday. We got all his grand kids together to celebrate the occasion last Saturday and this is what I gave him. The papers are from International Bazaar DSP and, of course, I had to throw in some of the wood grain pattern from Natural Composition Specialty DSP. Told you it was a familiar combination!!

The sentiment on the front of the card is from Wacky Wishes which is a new Hostess Rewards stamp set. The sentiment above (on the inside of the card) is from Delightful Dozen. Both sets are excellent to have on hand for any and all occasions!

To dress up the front a tiny bit, I used one of the new wood look Naturals Designer Buttons.
Thanks for checking in today. I have exciting news! I am going to be participating in my first ever Blog Hop!! A group of like minded Canadian Crafters and I are going to Celebrate Canada Day in a way that suits our passions – by showing off our Canada inspired cards and layouts. Here`s a teeny tiny sneak peak …
To see the rest (and my card) you will have to check back on July 1st at 9:00AM PST. There will be prizes so I hope to see you all then.
Here are your links from today`s project:

Posted in Cards | 1 Comment

Starting Point layout – Bookclub Retreat

Is bookclub one word or two? Hmmm … perhaps two. Oh well.

This week’s Starting Point layout with Shimelle Laine was a lot of fun to work with. Click on the link to be taken to her site and the inspiration for my layout.

Here is my finished layout.

And where I started from.

These papers are from Fan Fair. I loved the map print and the keys (the girls in my book club were Sorority Sisters and our symbol was the key). The bicycles are just for fun!
Oh, and the text paper isn’t from Fan Fair but is a piece of First Edition Specialty DSP. I liked the little type writer image and felt the paper went with my story about a book club retreat. 

One of the most exciting papers in Fan Fair is a sheet of cut-a-parts. The back side is a gorgeous pink lace pattern which I will use on a different layout but for this one, there were two images that I wanted to cut out. The little journalling tag with the red type writer and the one you see above of the quote with a lovely scroll-y border. 

Here’s a look at the journalling tag.

I don’t usually position my titles vertically but as I was playing with my stamped title (seeing if I wanted to cut it all apart or leave it as is) I really liked how it looked placed vertically between the photos and the journalling embellishment cluster so … what do you think? Does it work? I wanted to play on the theme of type writers so created the second word of my title to mimic type writer keys. 

To get the ink splashes I took my re-inkers, squeezed a little bit into an old yogurt container and then used a well saturated paint brush to get the ink splotches. You could also use your Aqua Painter.

As a pop of colour I picked up the More Mustard from the bicycles images and used my Quint-Essential Flower stamp to create these flower images. A More Mustard Designer button and some Jute finish it off. I am planning to enter this into the Creative Accents buttons and twine challenge.
Thanks for stopping by. Please be sure to leave a comment so I can come and visit your site to do the same.
Here are your links for this project.

Posted in Uncategorized | 3 Comments

May 2012 P12 Featuring Summer Smooches

This catches me up in my 2012 Project 12 album. What a nice feeling!
Since the main event this month was our family trip to Disneyland, I felt it appropriate to use mostly Disney pictures!

Here is the PageMaps sketch that I used (from the May 2012 sketches.)
I flipped the sketch to accommodate my chosen photos.
And here are close ups of each page.

As you can see, I didn’t do a whole lot of stamping on this layout (just the ‘happy birthday’ underneath Greg’s picture and the numbers.) Sometimes I’m “feeling” the stamping, and sometimes I’m  not. And that’s okay! For this layout it was really more about playing with all the different paper patterns in the Summer Smooches collection. The red and white polka dot is NOT from Summer Smooches however, it is from another new collection called (appropriately enough) Polka Dot Parade. Check out the links below to see all the colours this comes in. It’s a great set to have on hand to enhance other collections.

It was Greg’s birthday on our last day at the park so I made him go to the City Hall and get a birthday button. To further highlight this picture I created a little banner below it and just stamped the ‘happy birthday’ sentiment from Best Dad Ever. My Basic Black ink pad needs to be re-inked so to make it look intentional I stamped off some images to give them a more faded look. 

My title. 
I cut out the letters with my Typeset Alphabet die and the numbers were stamped using one of the stamps in the Patterned Party stamp set (really finding this super versatile!!) and then fussy cut. (Also did this to get the ’42’ for Greg’s birthday picture.) To dress it up a bit I added the pen faux stitching. I liked the stitch look so much I did it on the rest of the layout!

My journalling block.

And one last picture to highlight (you Moms out there will know why I’m highlighting this!!) Yes, this is Christine in the potty. The story is this; Christine is my last baby and while she’s been wearing Pull-Ups for months now and we had been flirting with potty training, we hadn’t committed 100% to the process. For many reasons, not least of which being my resistance. Not because I wished her to remain little (although that may have been a tiny part of it) but because I still retained very vivid and horrid memories of potty training Paige and didn’t fancy repeating them with Christine. As it turned out I needn’t have worried as she took to it very quickly (once we’d fully committed – after returning from Disneyland) and now I am revelling in the process of getting rid of things like diaper bags, change tables, diaper pails, etc etc etc. Ah, freedom!!

Thanks for stopping by. If you liked this please leave me some love! I may even visit you and return the favour!! Last but not least, here are your links.

Summer Smooches DSP
Polka Dot Parade DSP
Patterned Party stamp set
Best Dad Ever stamp set
Typeset Alphabet Die

Posted in Christine, layout, Project 12 | 2 Comments

Birthday Birthday!

My niece and my daughter’s best friend both recently celebrated turning 6!
Happy Birthday girls!!

I got crafty and created these cards.

I used the new Patio Party DSP and Primrose Petals from the 2012-14 In Colours. 

I made this one first. To create the background I cut out the numbers 1-9 with my Big Shot and laid them down on a piece of Whisper White card stock using re-positional glue. Using my Colour Spritzer Tool and my Baja Breeze Stampin’ Write Marker, I sprayed the entire sheet with ink. Once I removed the numbers, I was left with this cool, subtle number back ground. 
I wanted to highlight the number 6 so I cut out an image from one of the Patio Party patterns, mounted the original sprayed #6 on it and voila! The Happy Birthday To You banner stamp is from the Patterned Party stamp set.

Inside I created this sentiment using my Fabulous Phrases stamp set.

For this one I wanted to accentuate the banner paper in this pack. I used those numbers from the first card, mounted them on Primrose Petals card stock cut into different sized banners. Super simple but quite effective if I do say so myself!
Thanks for stopping by. If you enjoyed this post please be sure to leave me some love!
Here are your product links.

Posted in Cards | 2 Comments

Project 12 using Floral District

I am finally caught up with my Project 12 album – yay! It is unusual for me to get 2 months behind so it was really weighing on me. A lot of things have been weighing on me lately which (if you follow either of my blogs) you probably gathered just by the fact that I’ve been a bit MIA lately. I think I may be back on track … ish … but time will tell.

As an aside, can I ask a favour of those (few) of you who do follow me here or on Facebook? Can you please share this post with your own followers/friends? I am feeling a bit of frustration that my sites are not growing as quickly (or at all!) as I’d hoped so am reaching out to you good people to help spread the word. While we’re at it, do you have any suggestions for content or improvements? I would really appreciate your input!! Thanks.

Okay, back to my Project 12 layout. This is for April and I see that I used the same sketch as my buddy Roxy. Here is my interpretation.

If you’ve taken a look at Roxy’s layout you’ll see that I have quite a few more pictures on mine. It’s a weakness of mine, I admit it! Must. Use. Many. Pictures. Always!
This is the PageMaps sketch I used. Loosely! 
And some close ups … first the left hand page.

And the right hand page.

Some close ups of the details.

Loving my new Alphabet die! 

Here you can see some of the papers in the Floral District DSP pack as well as one of the new Naturals Designer Buttons – lovely wooden buttons!

I loved the stamping I’d done on Starting Point layout so added it on this one too.
Okay, that’s it. Here are your links – thanks for stopping by. If you liked this please leave me some love!

I’ve decided to enter this into Creative Accents Buttons and Twine challenge for June. Check them out at the link above.

Posted in layout, Project 12 | 3 Comments