Apron Strings Days 14 – 16

No 5 on Friday today I’m afraid. I’ve been too busy getting this weeks Apron Strings Out With the Old, In With the New Challenges completed. Without further ado …

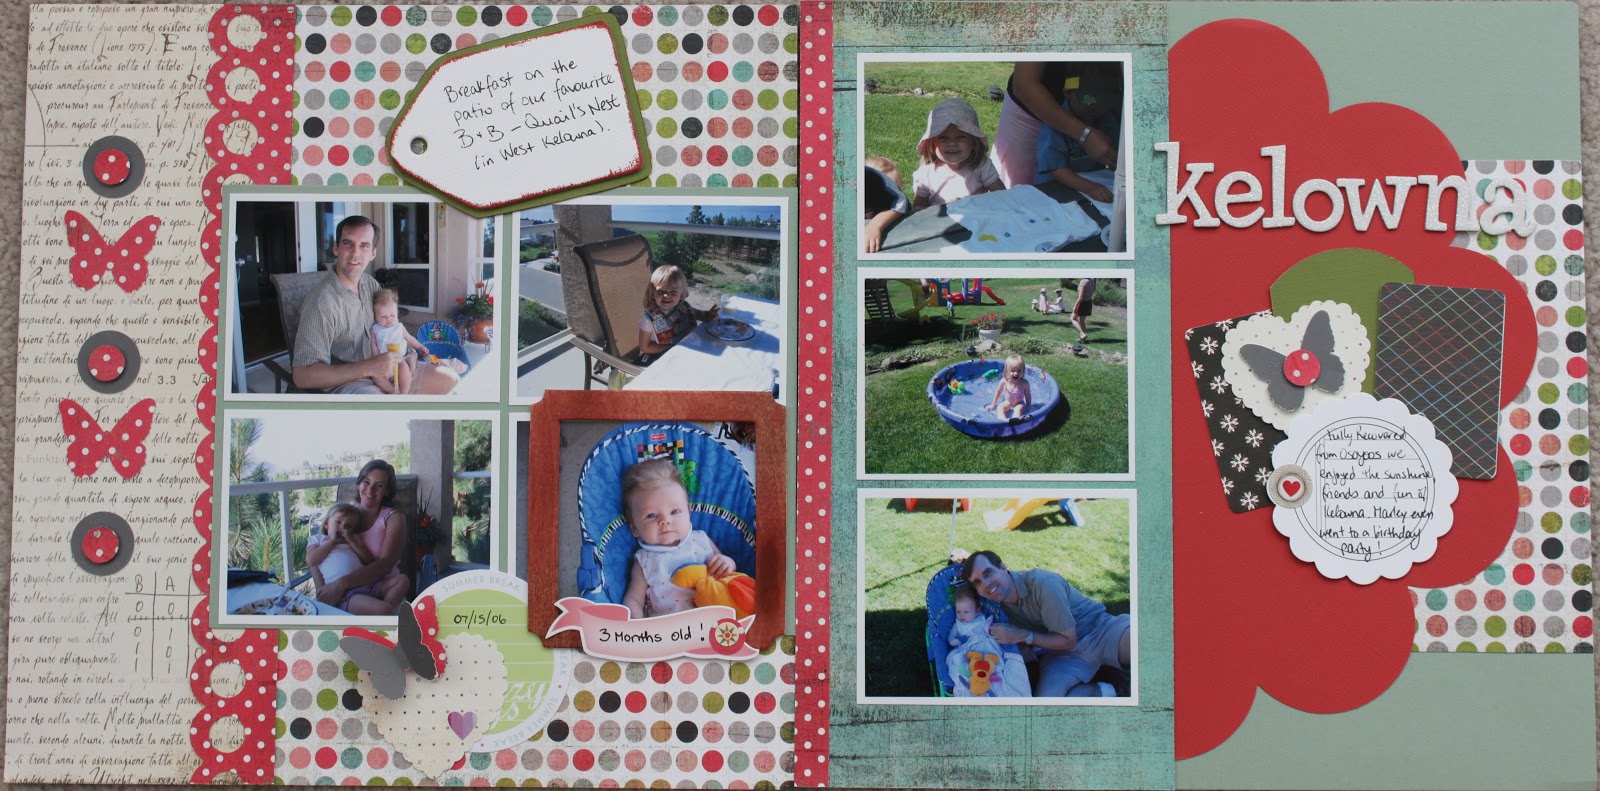
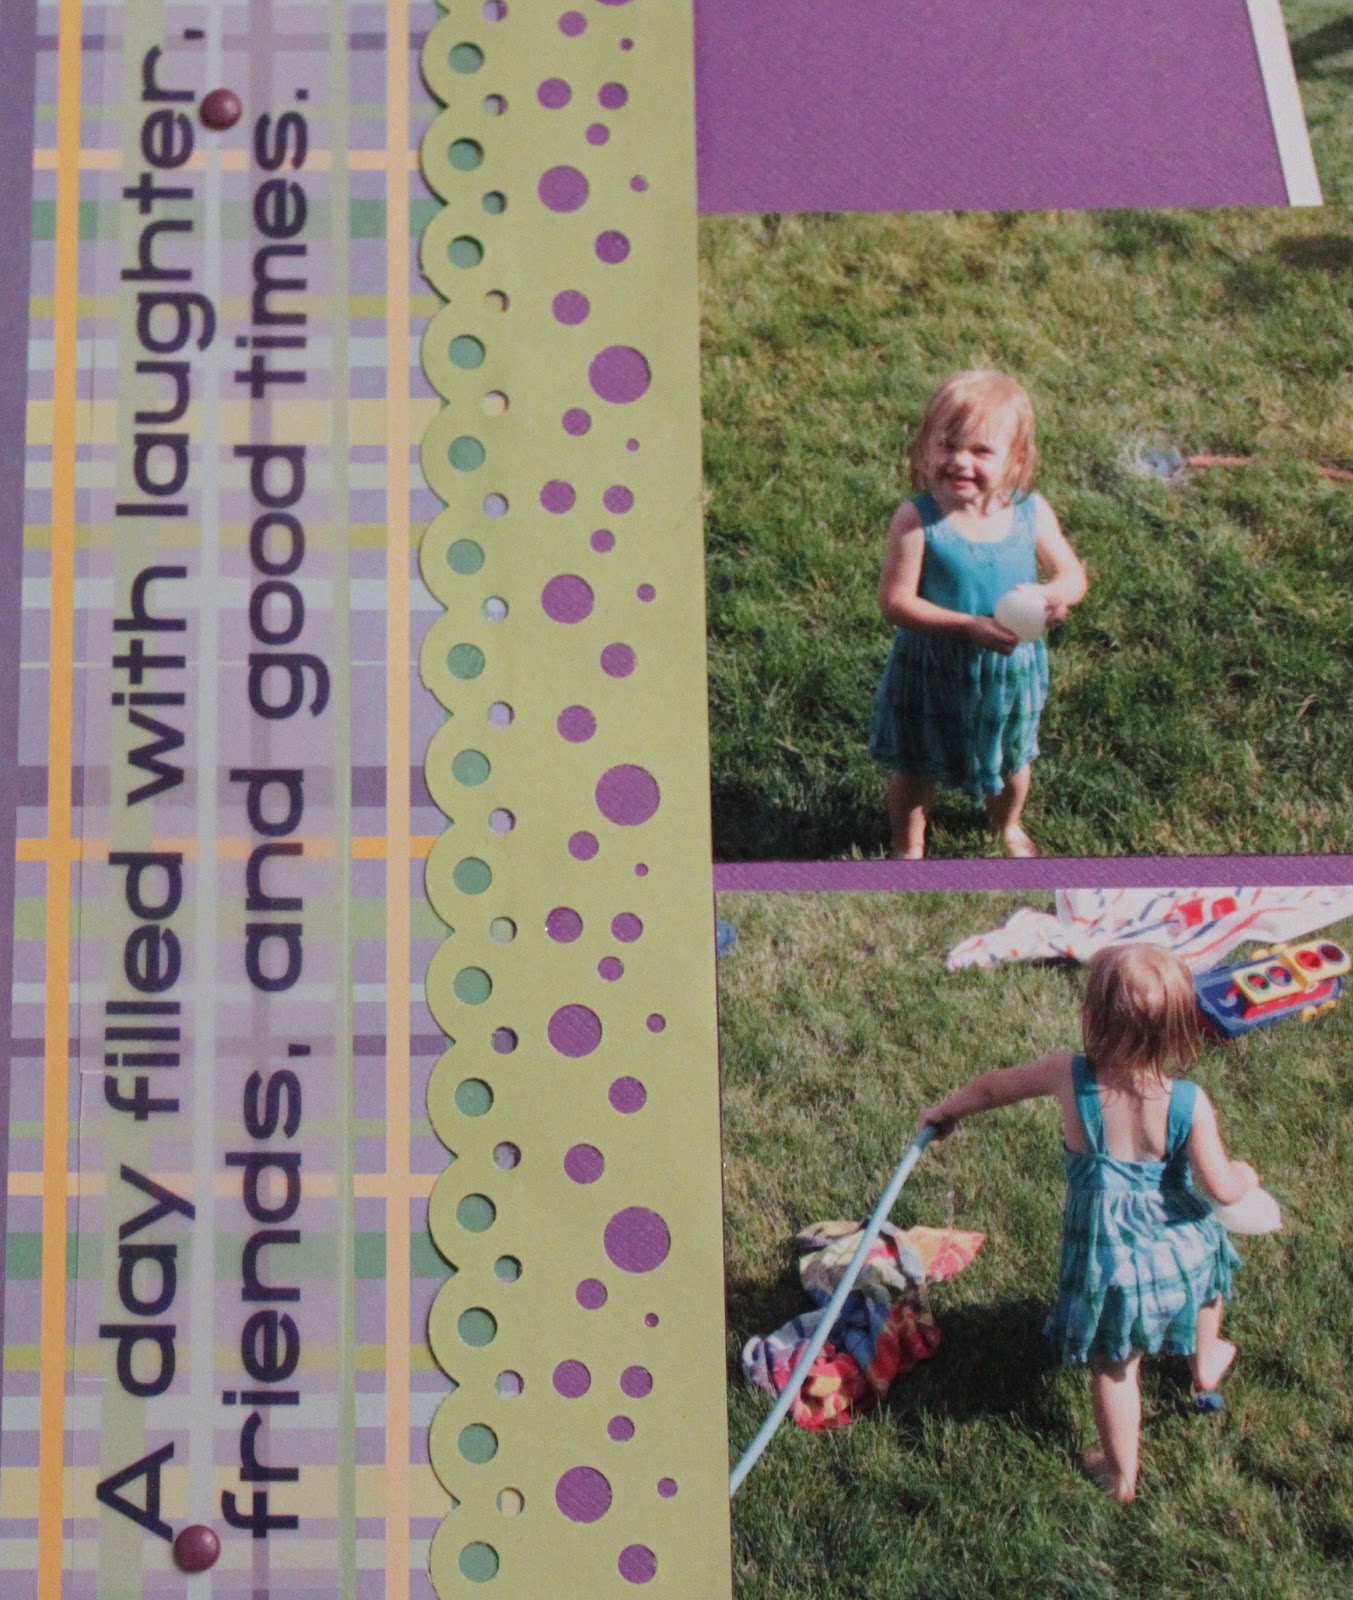
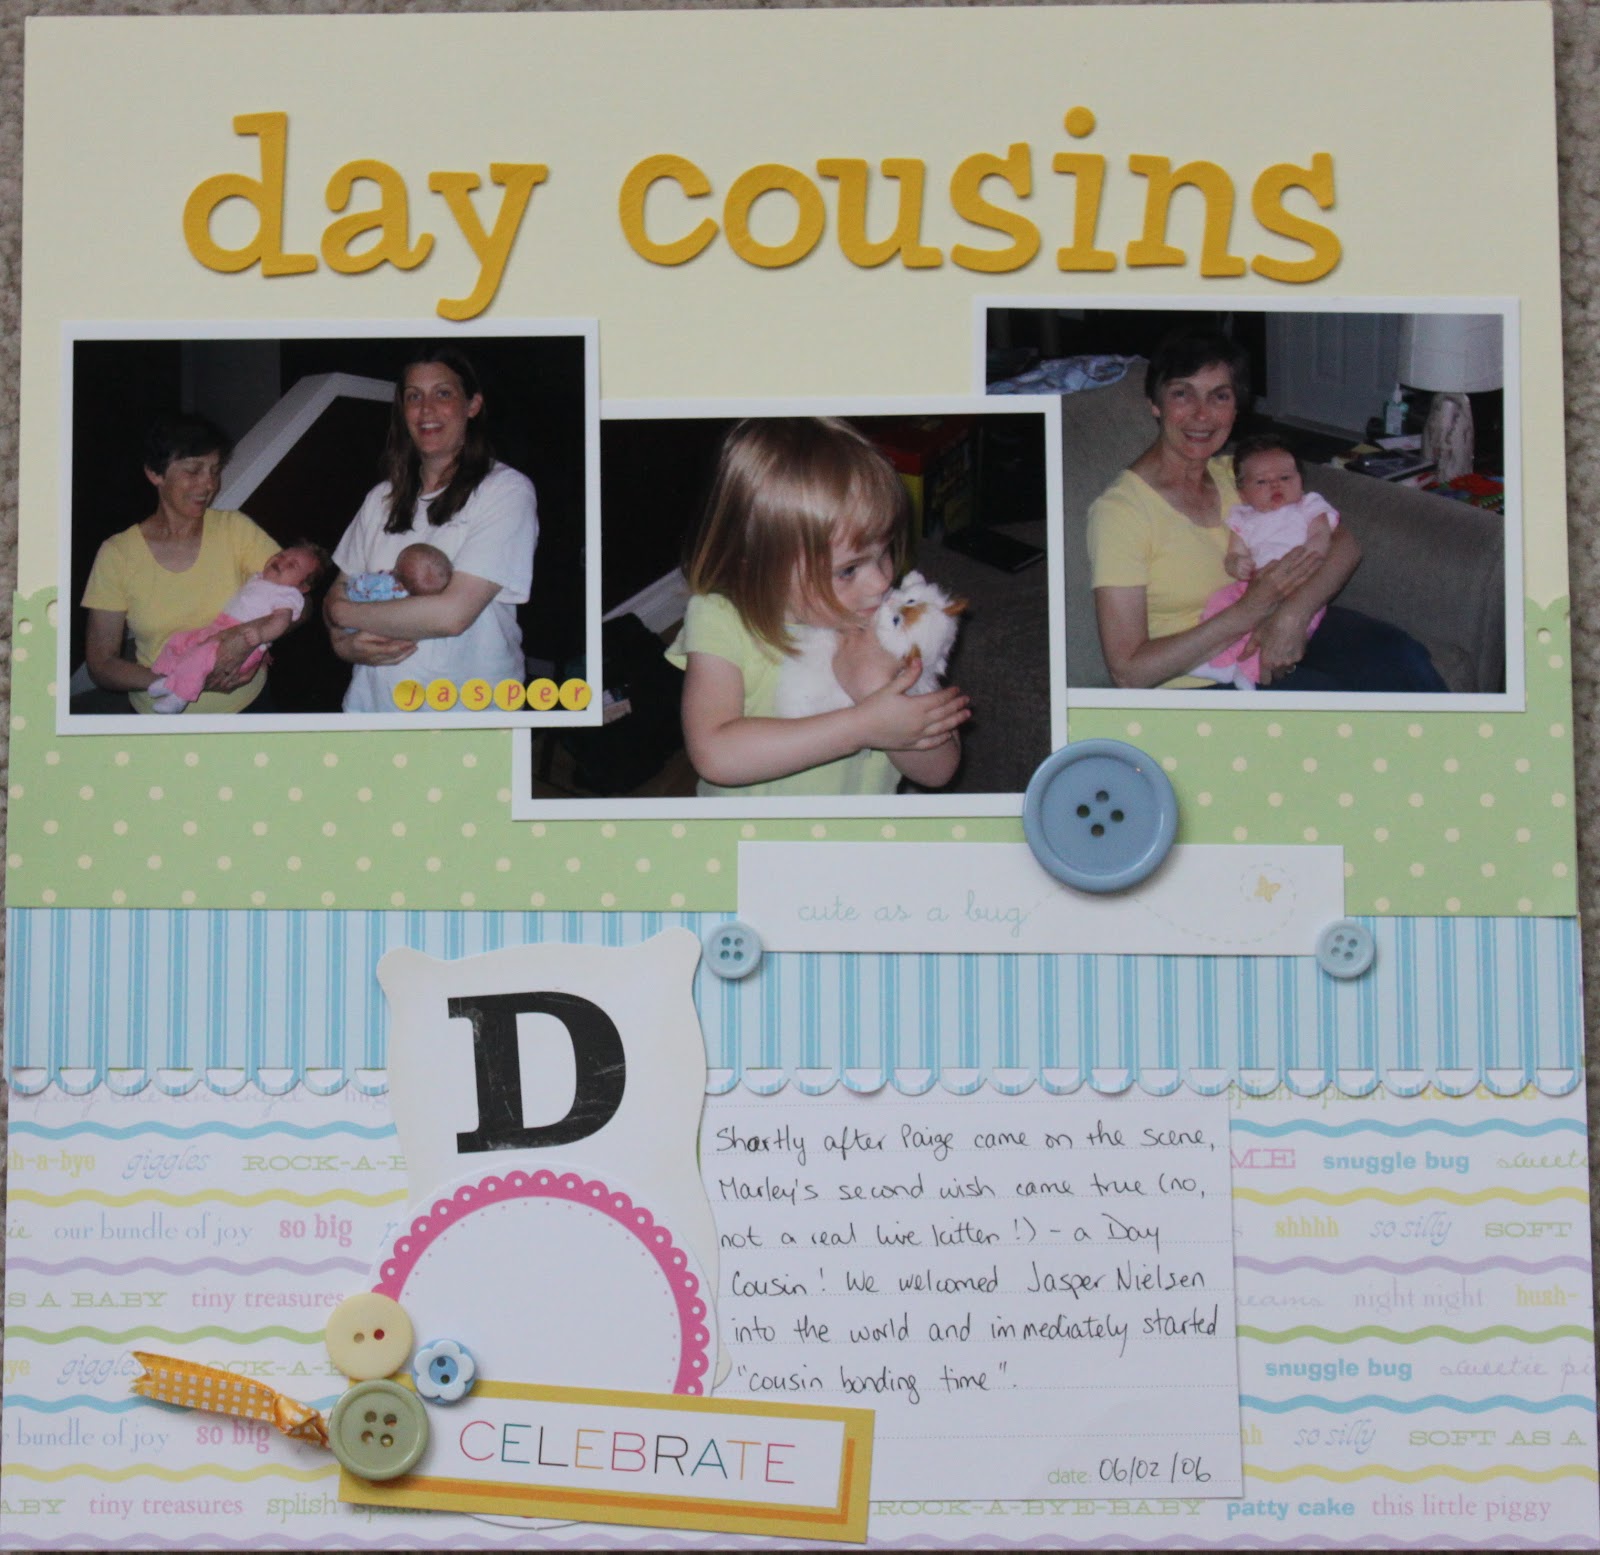
Day 14: use an older kit that contains paper with polka dots. Combine that older kit with your newest rub-ons or stickers.

I used the sketch above (that Lori provided for us) as inspiration for this. 
Old papers are some Basic Grey that I’ve been hording and the new stickers are ones from Sassafras as well as the picture frame from Studio Calico.
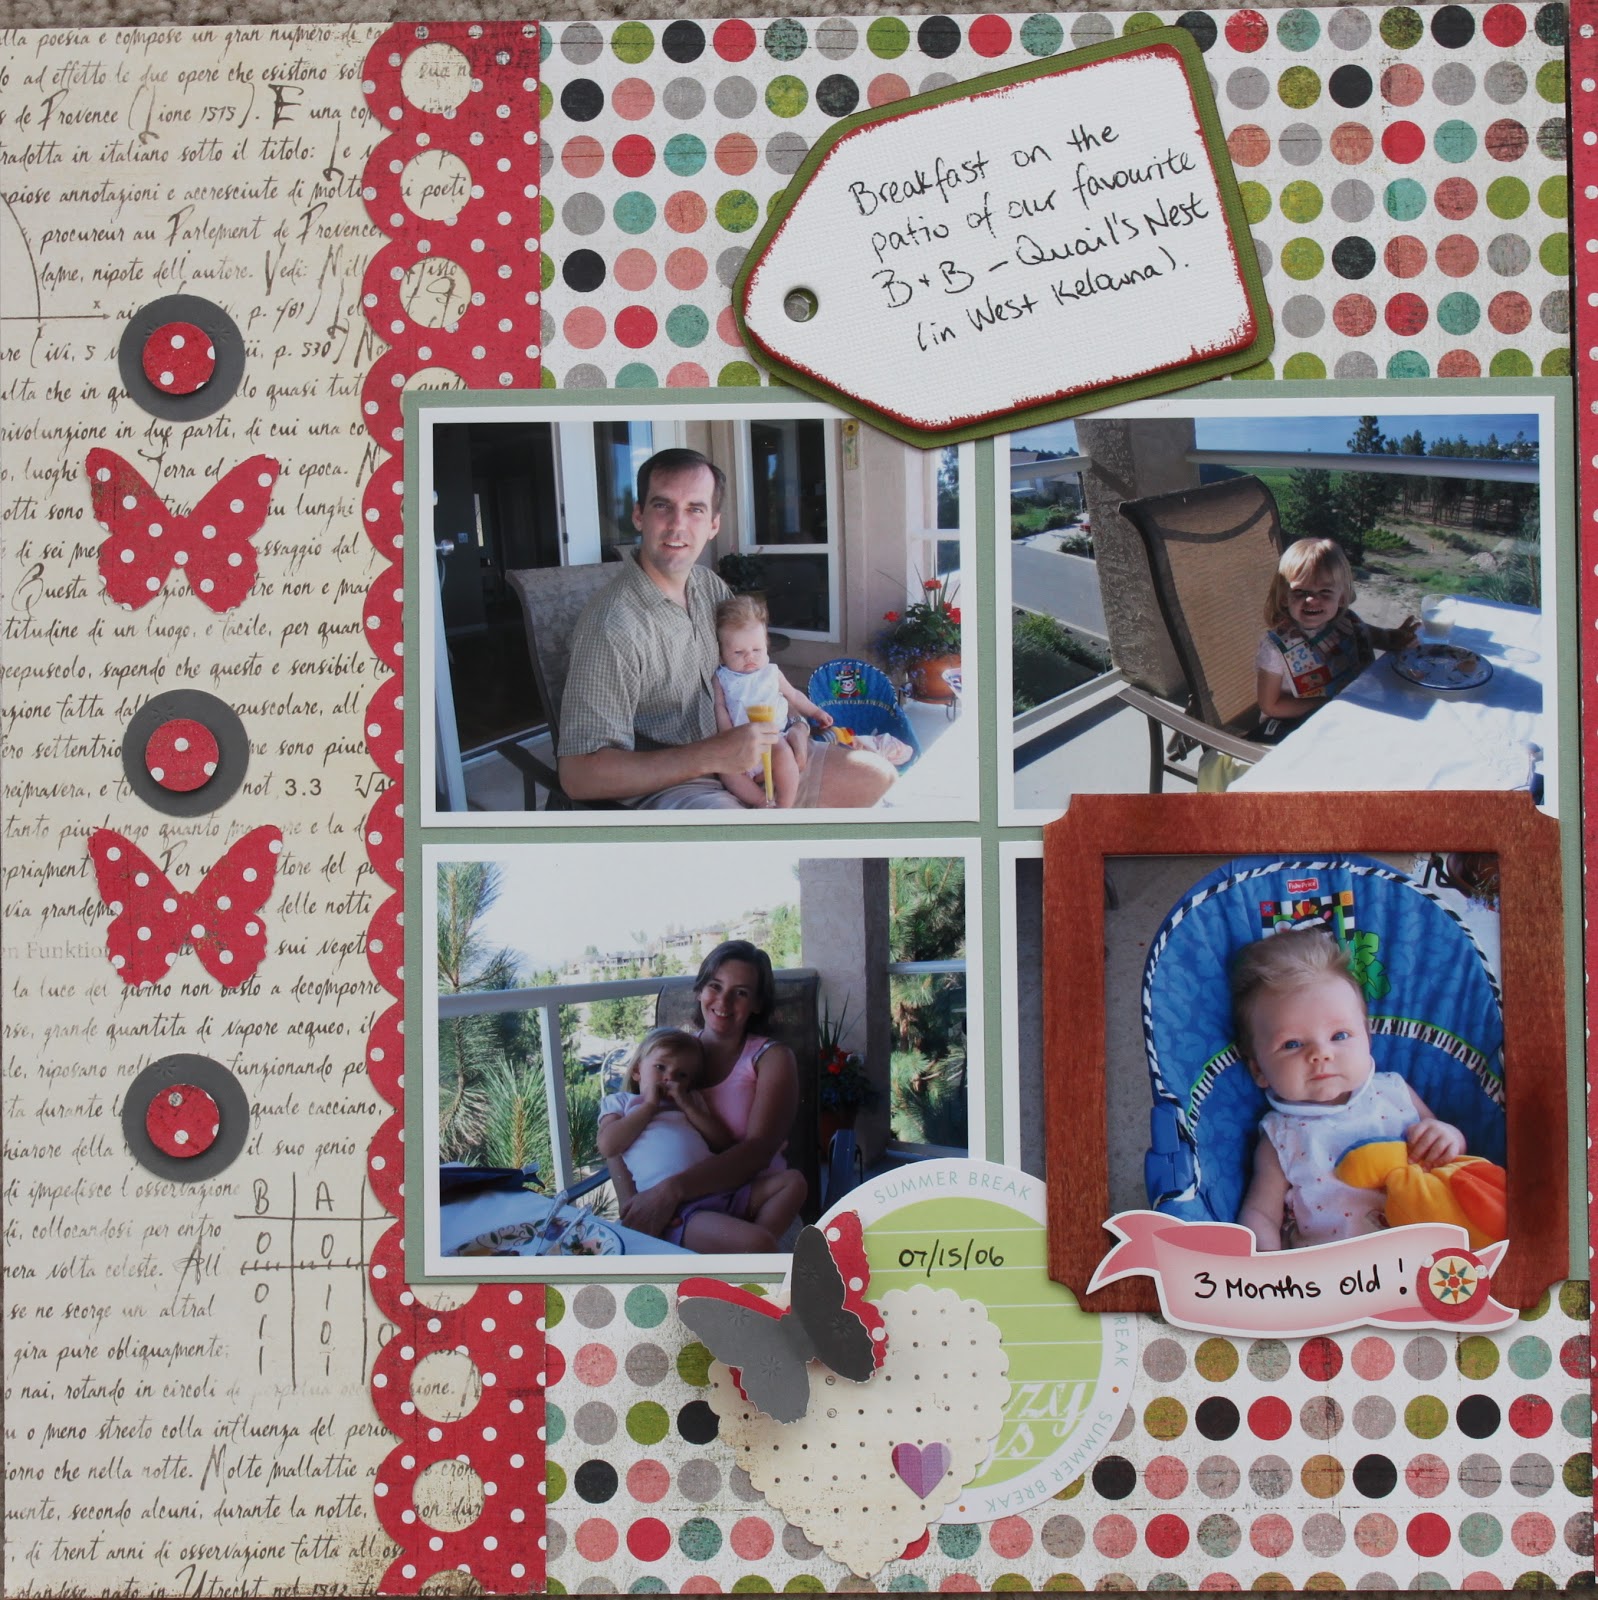
Here’s the left hand page. 
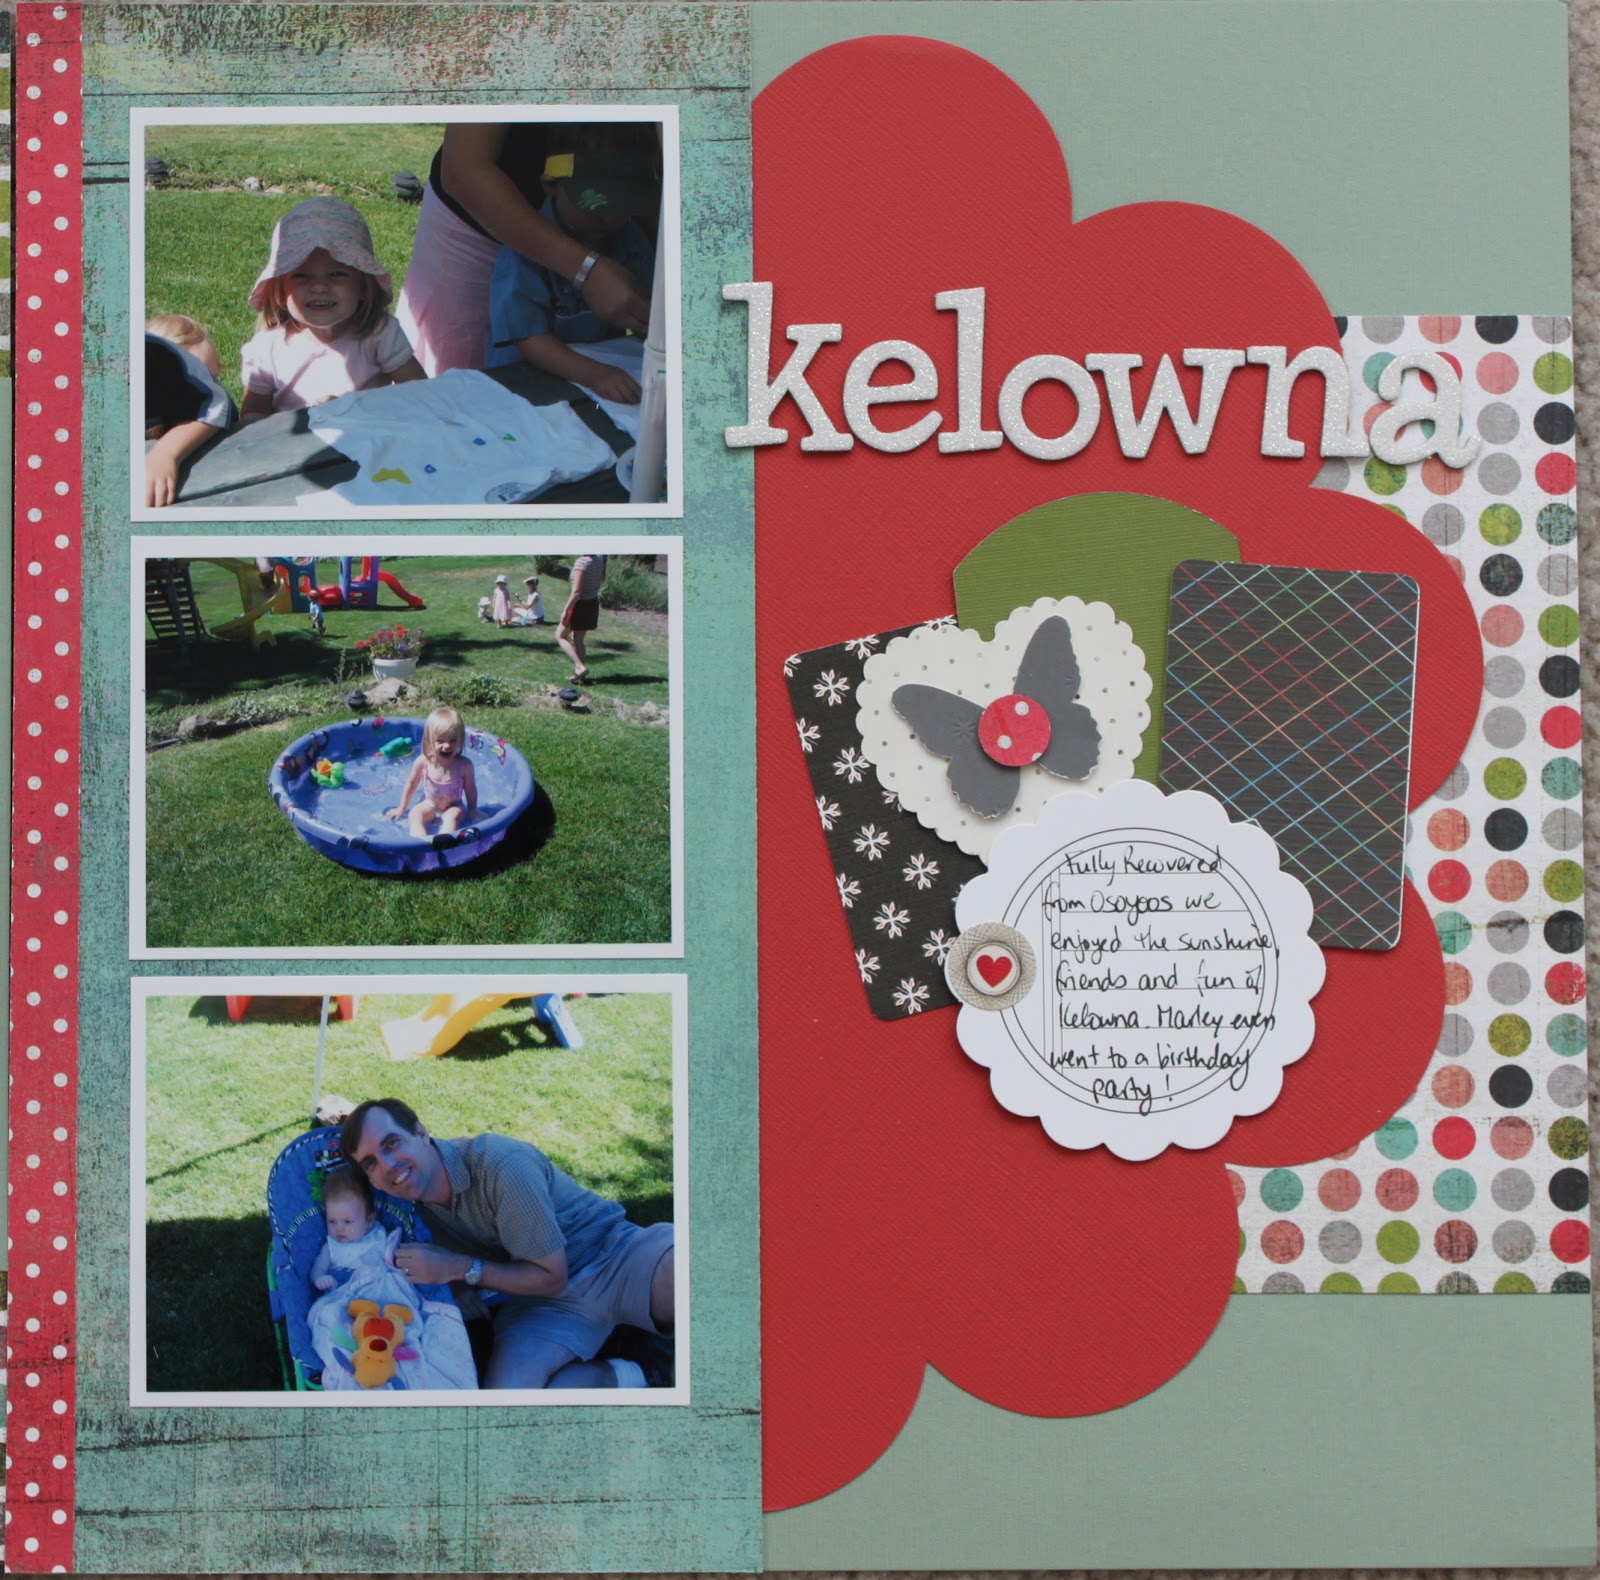
And the right hand page. 
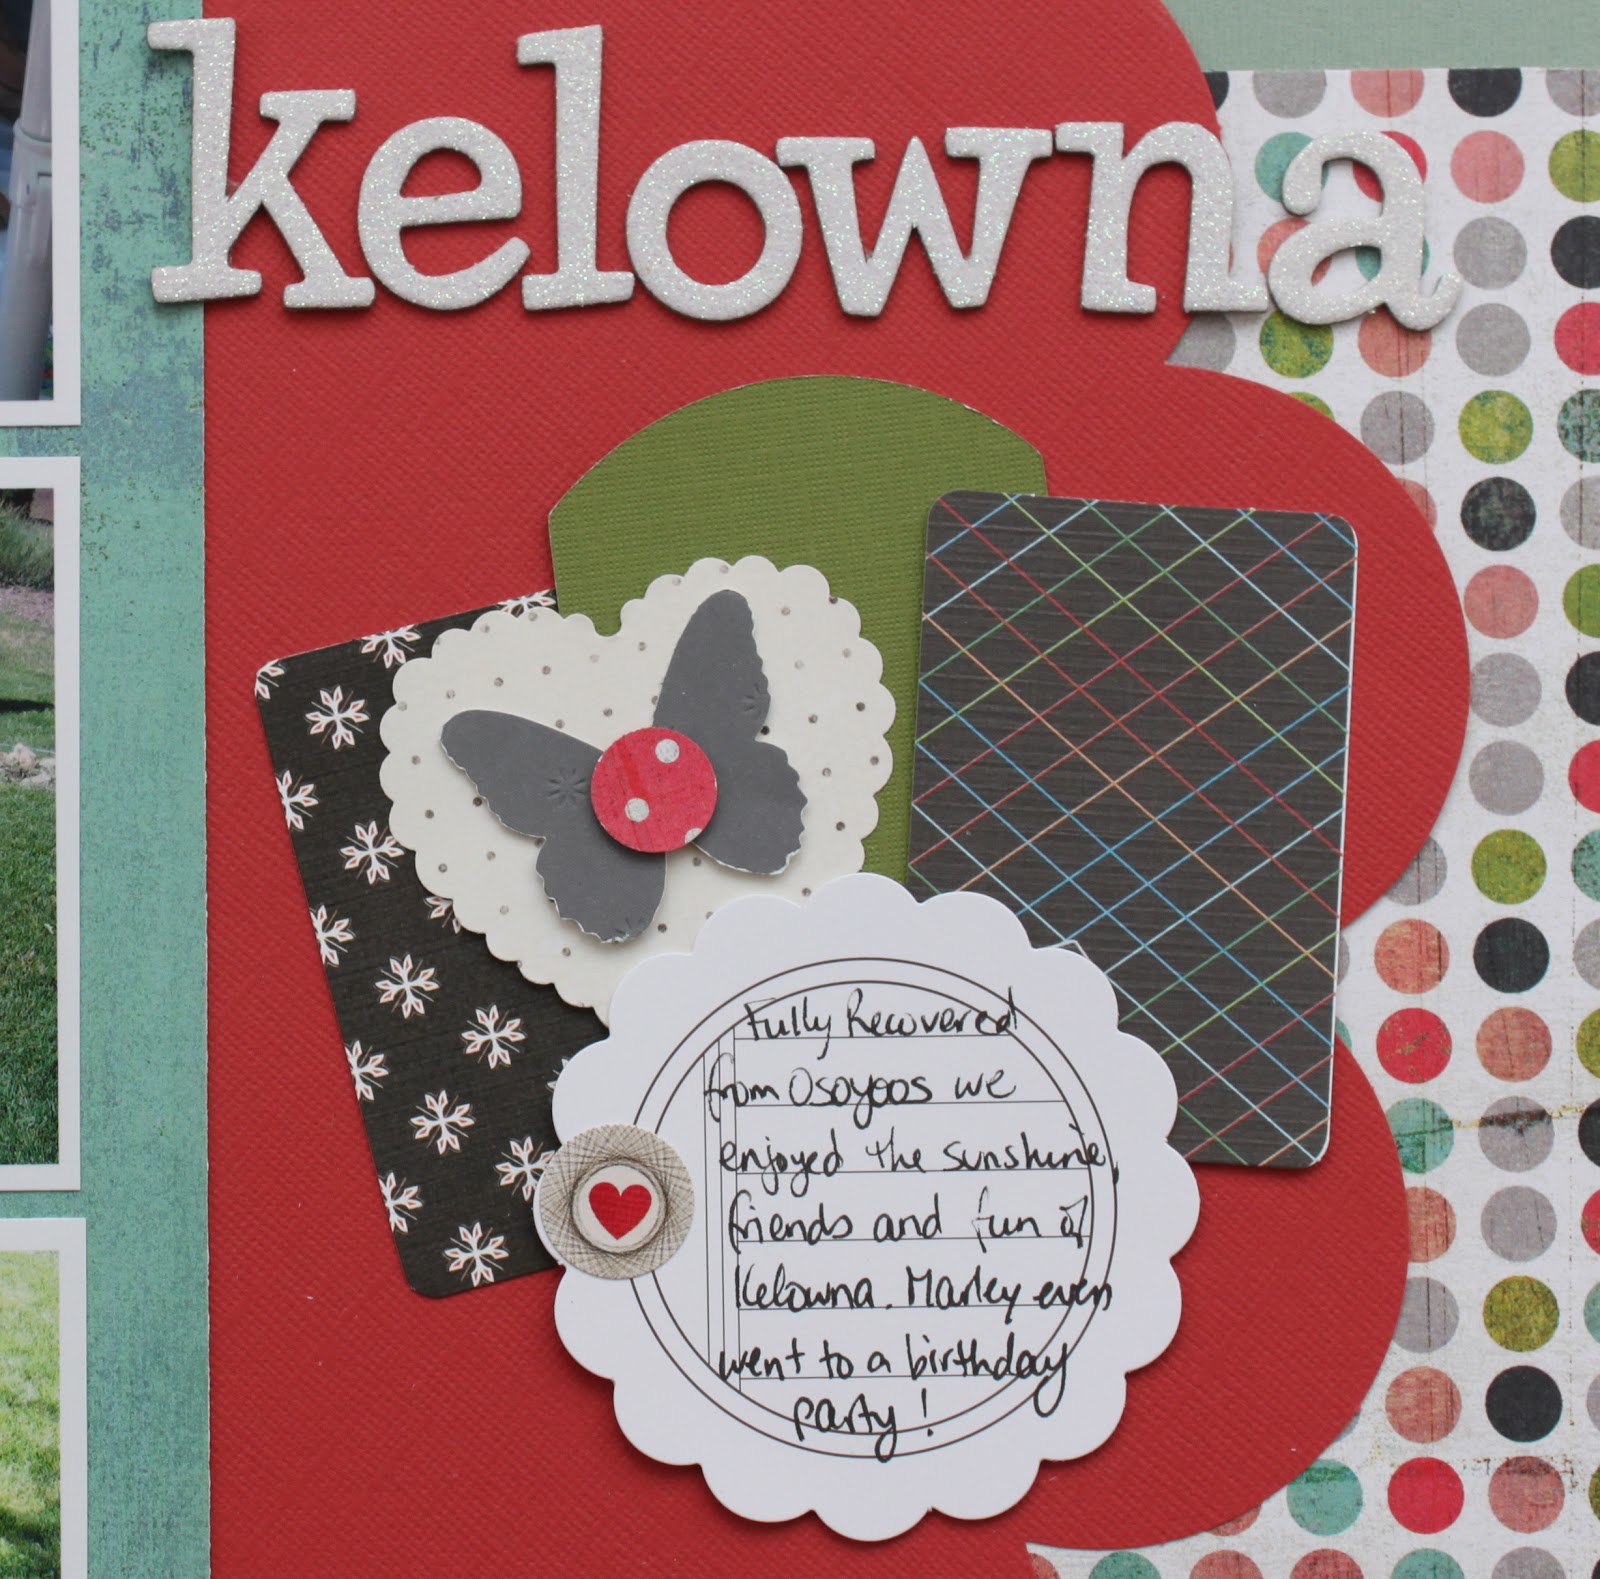
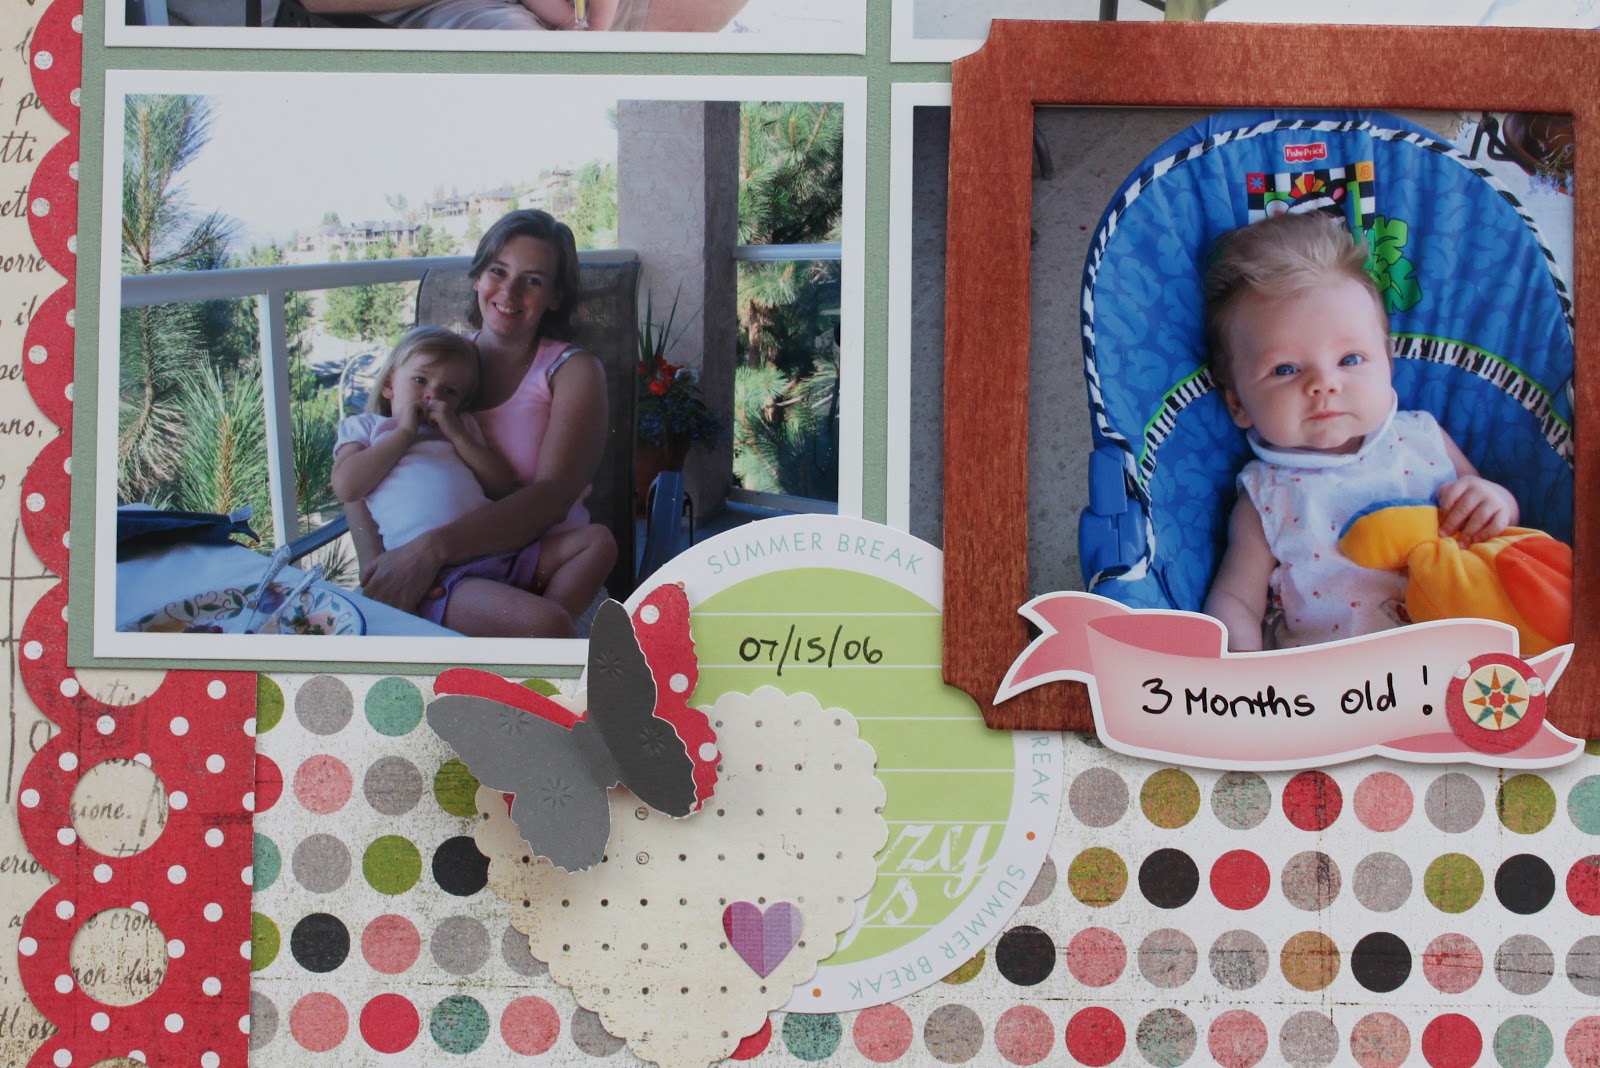
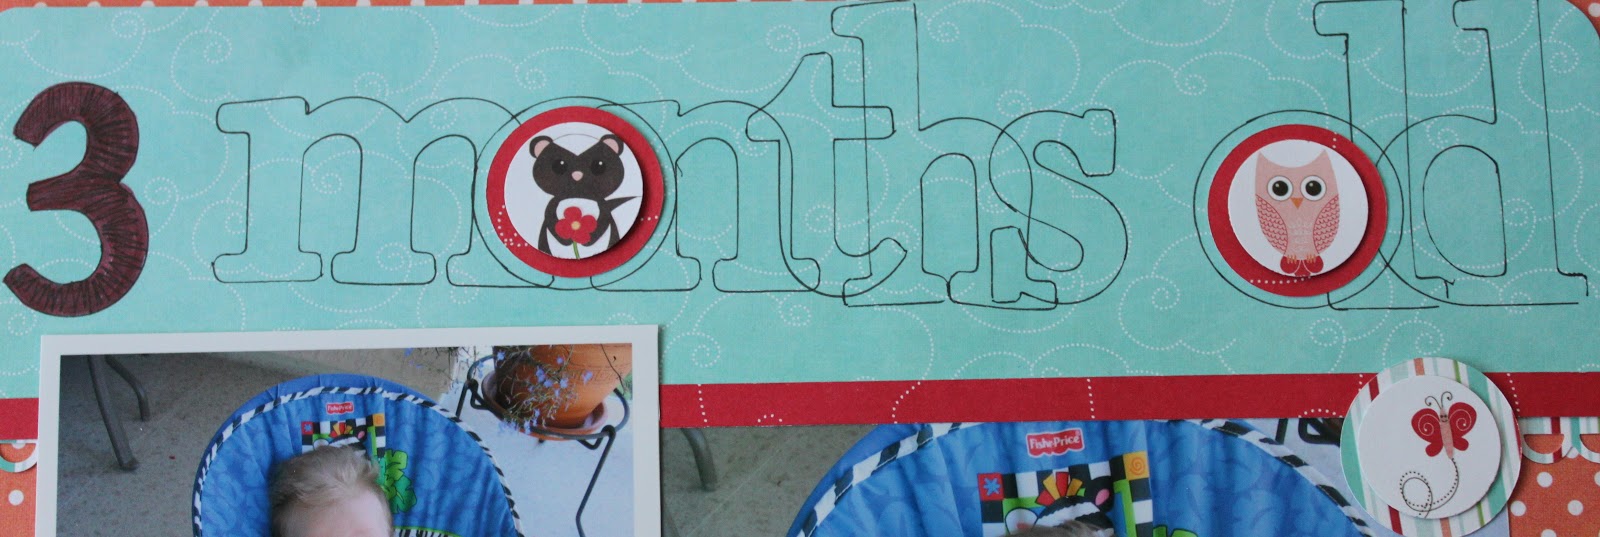
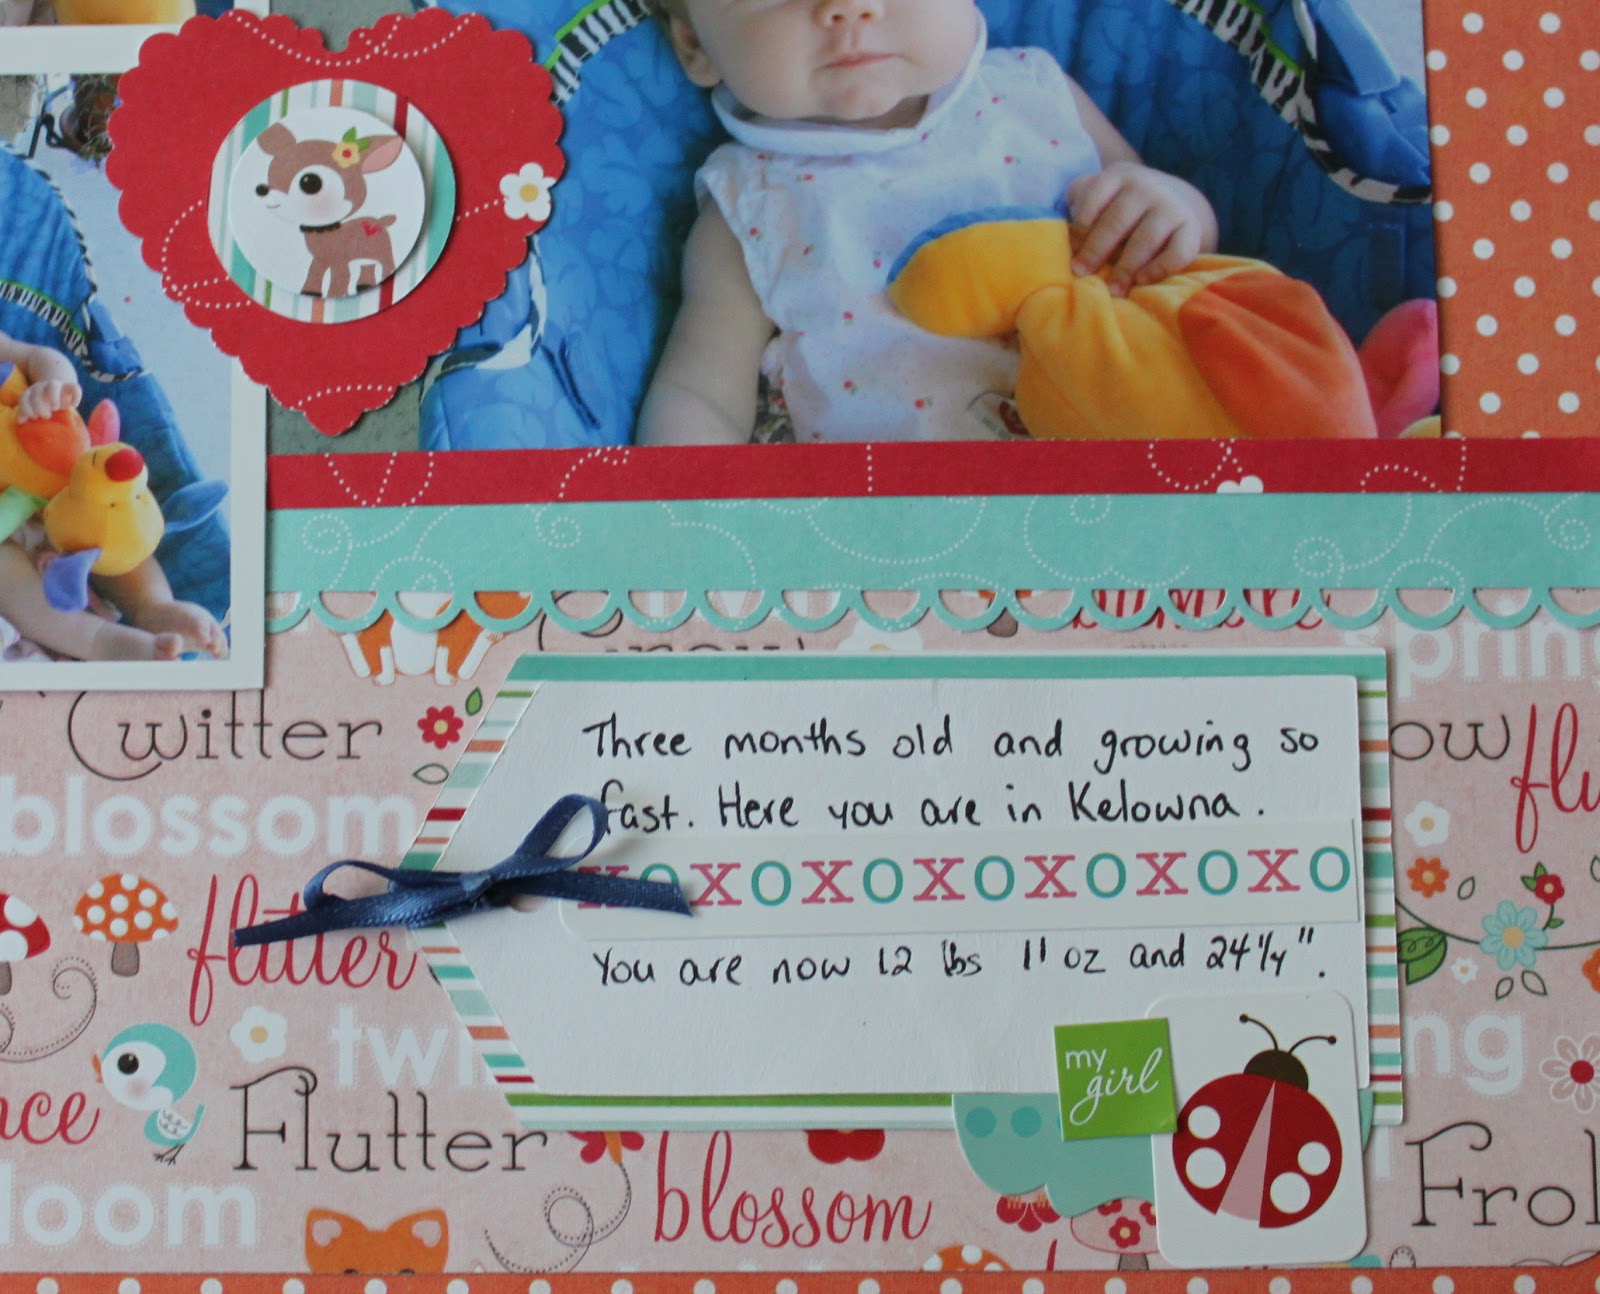
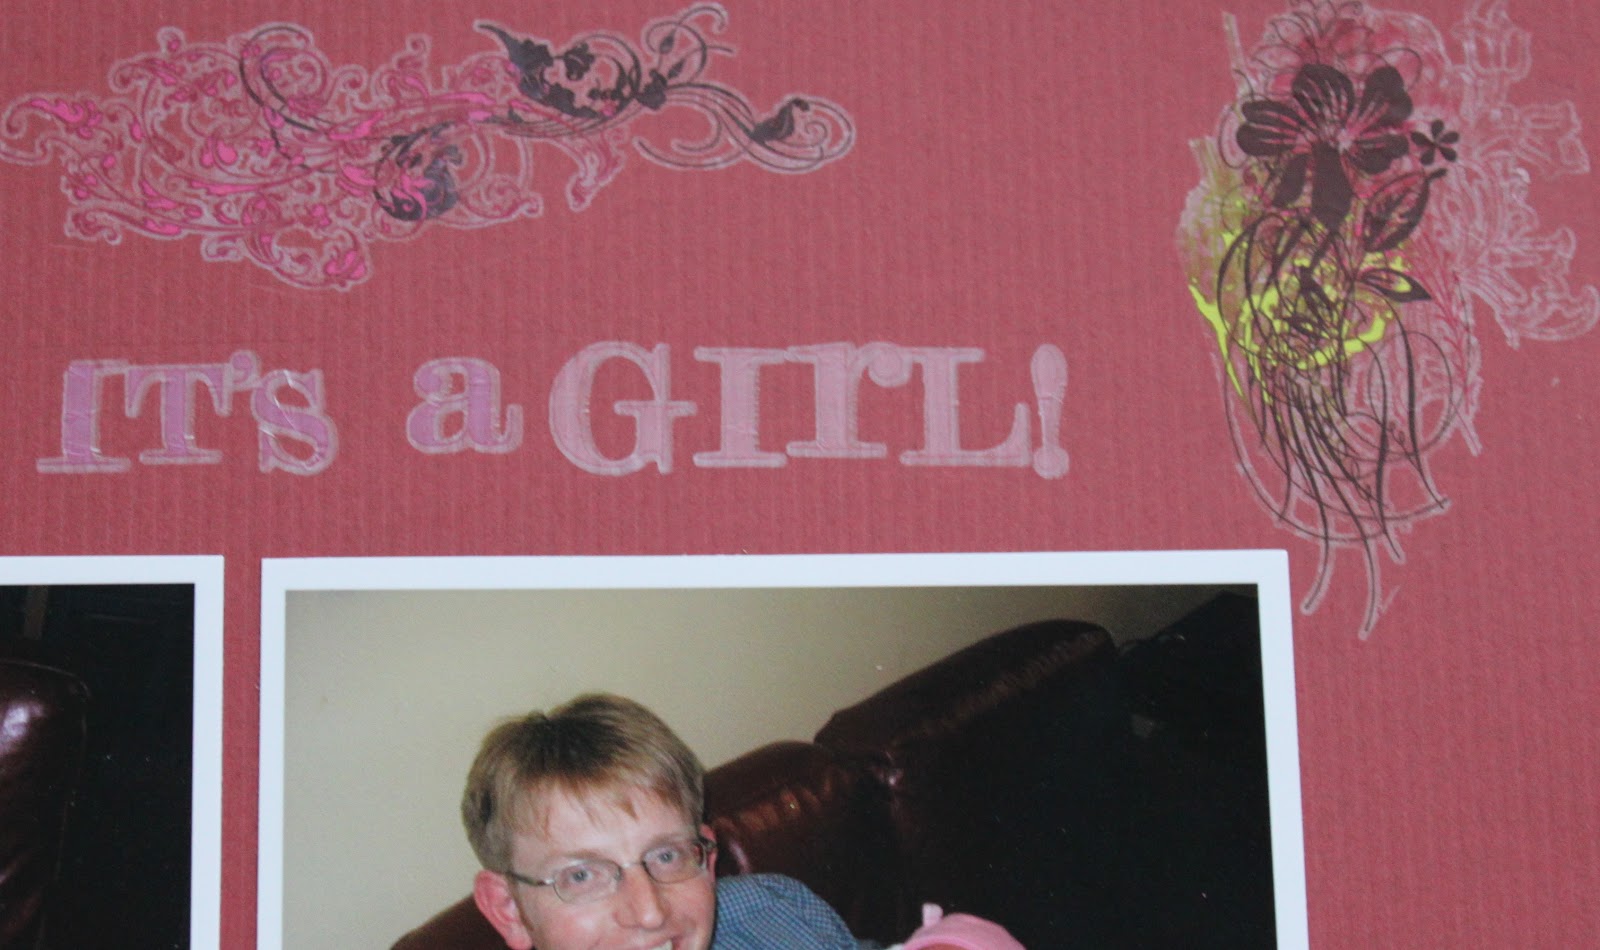
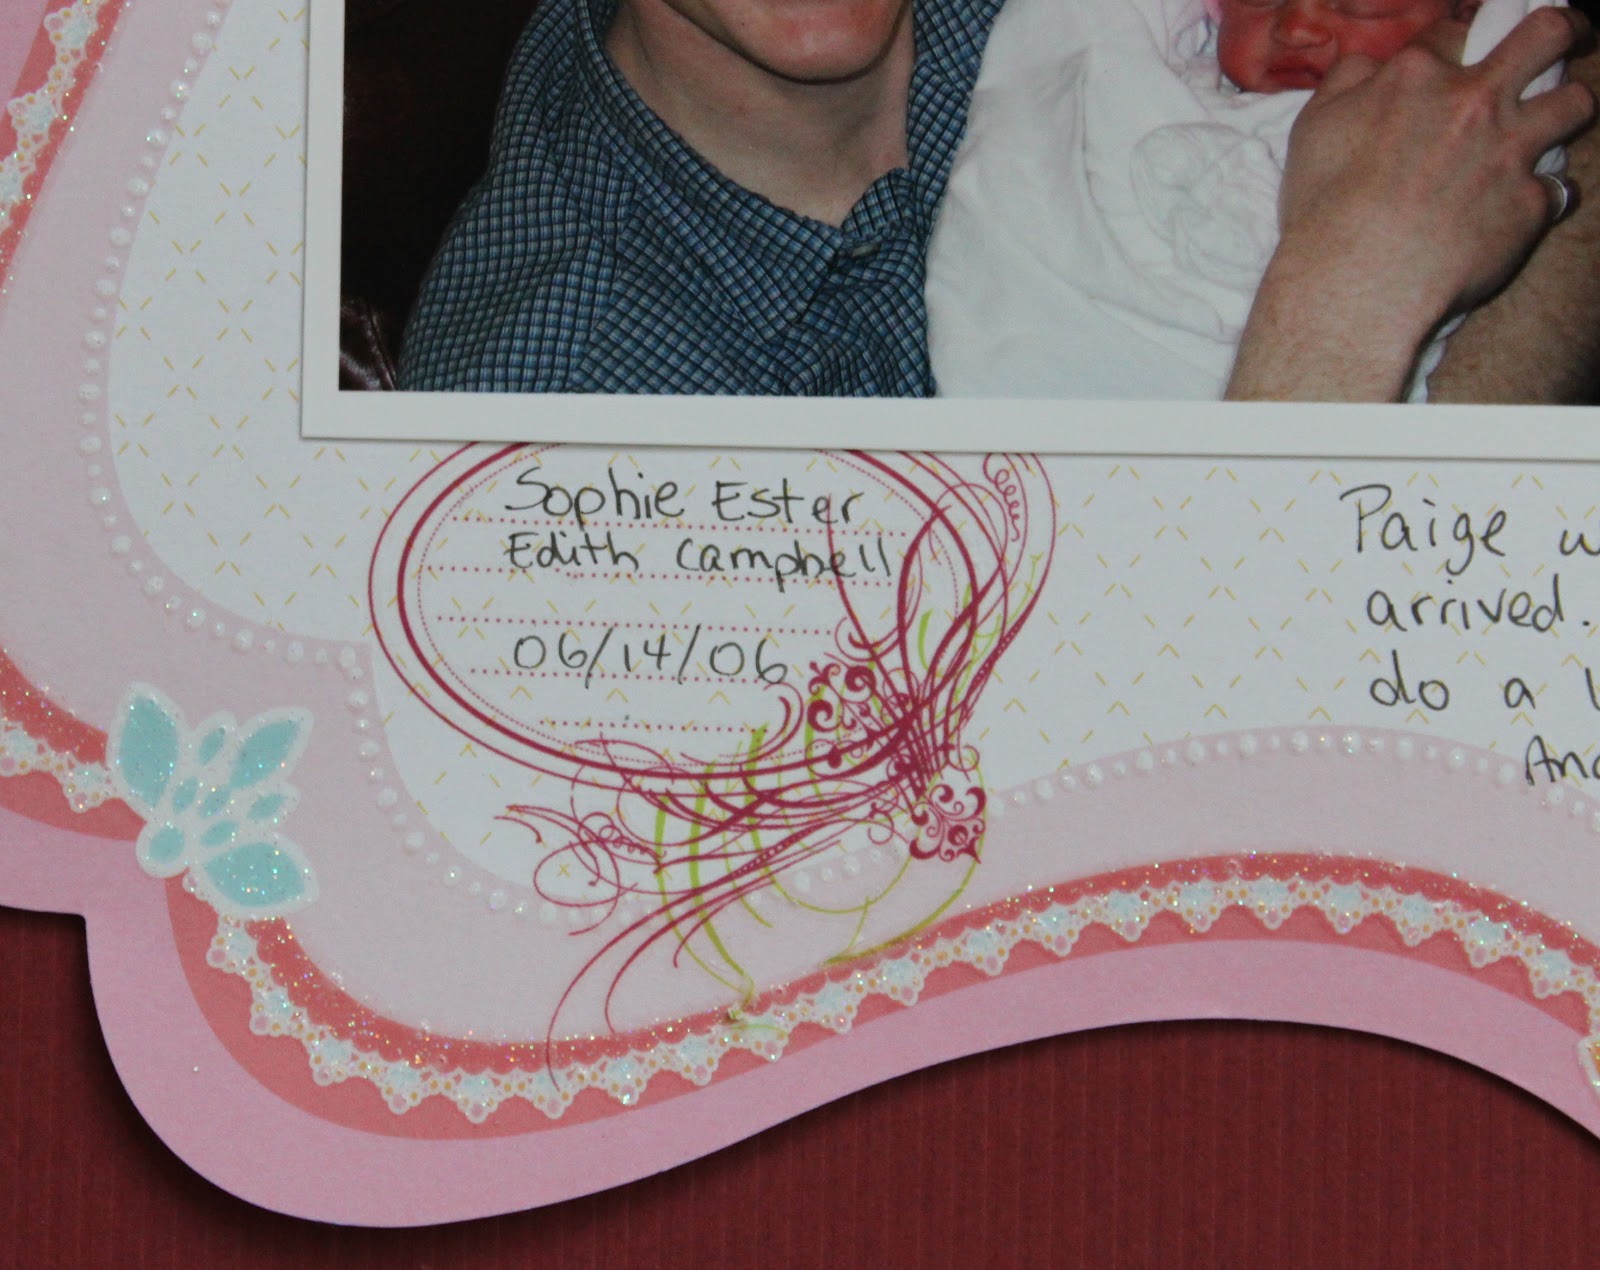
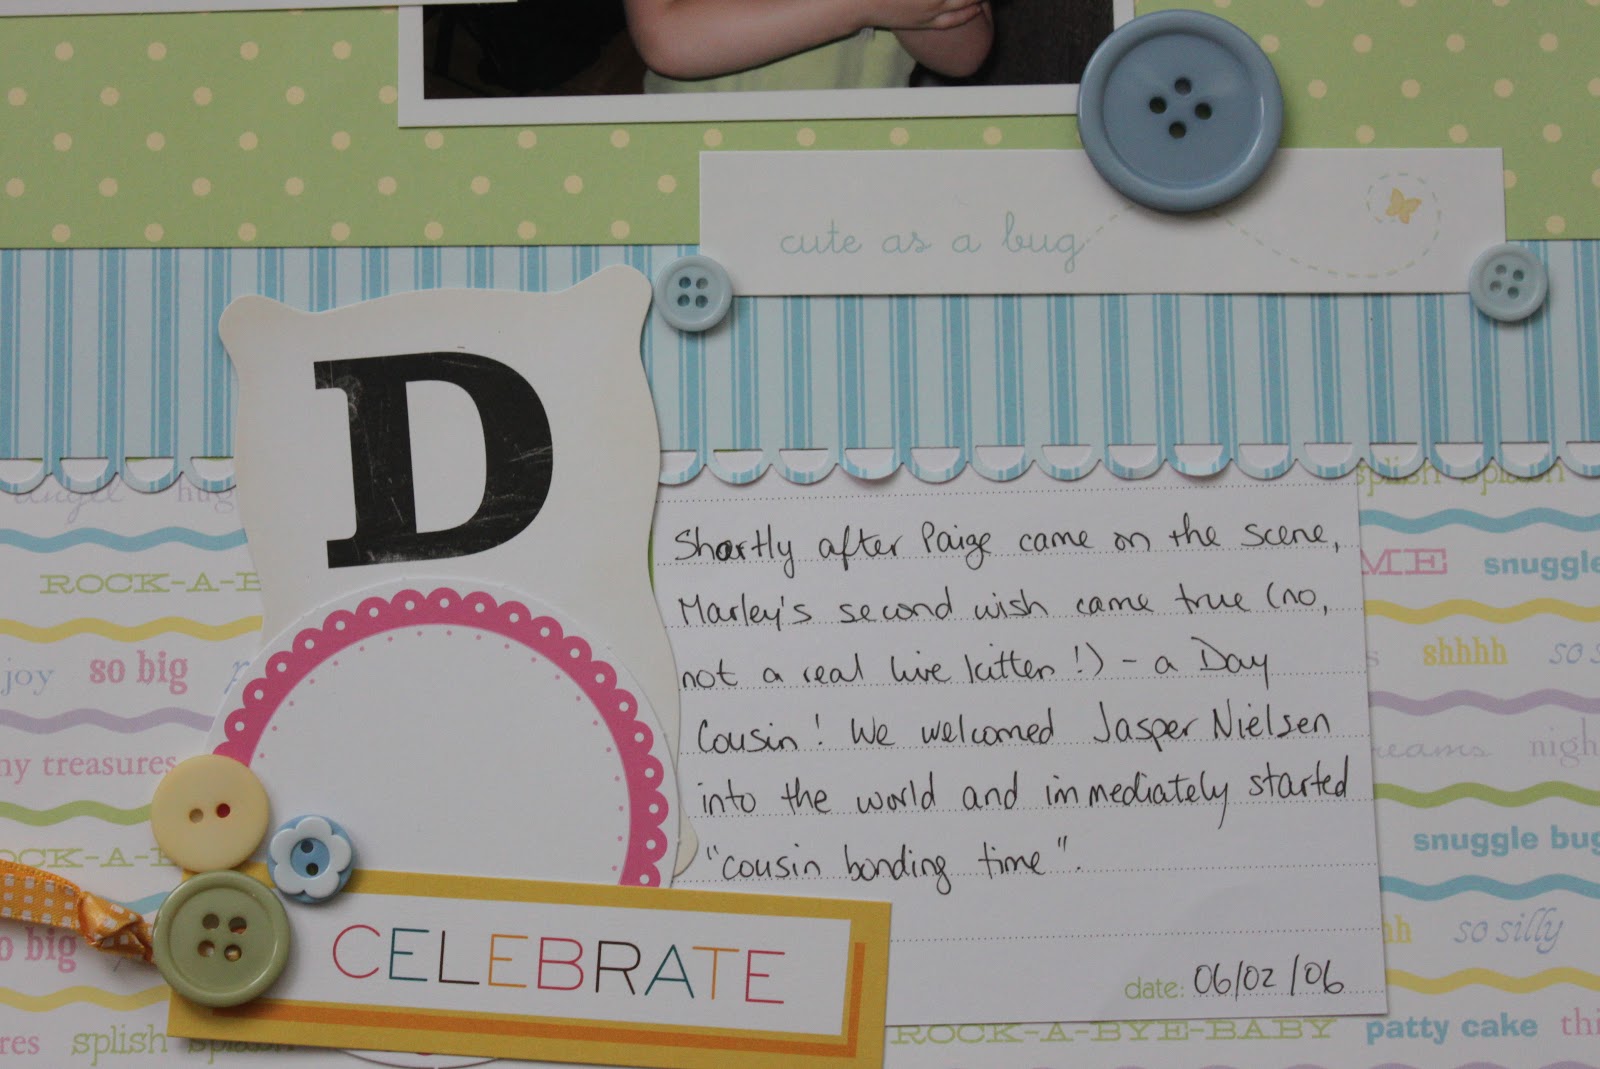
Close up of the title and journalling work. (That little heart is one of the new stickers!) 
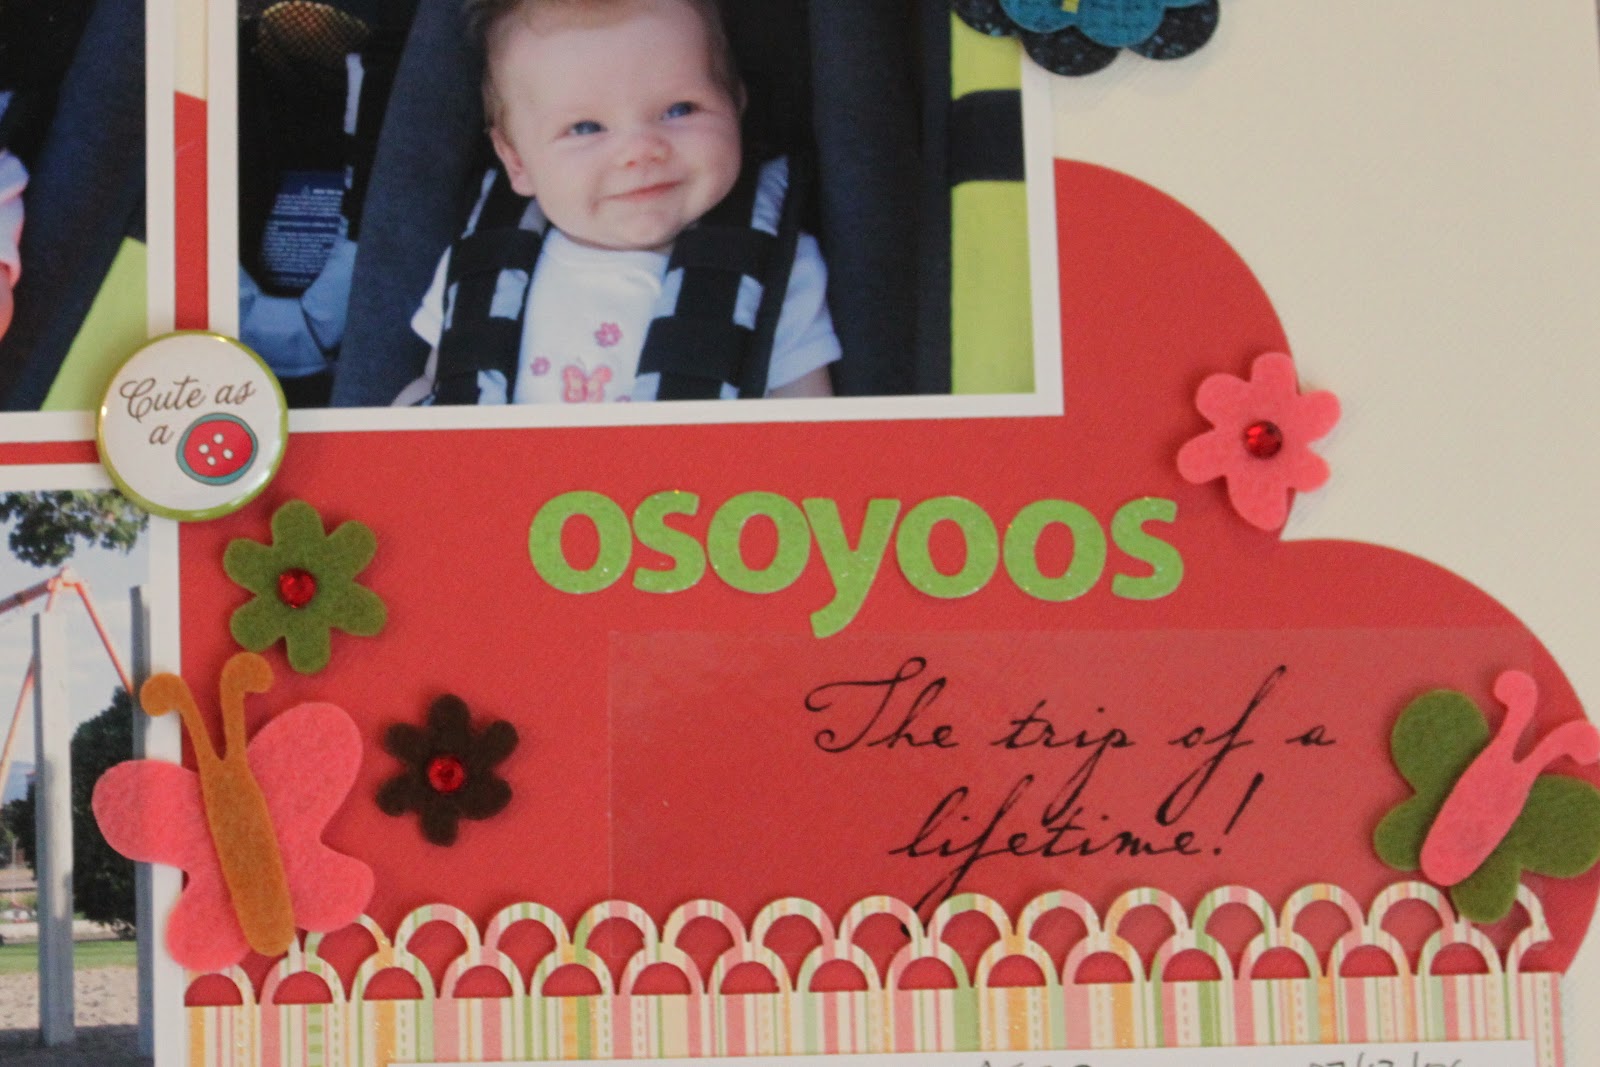
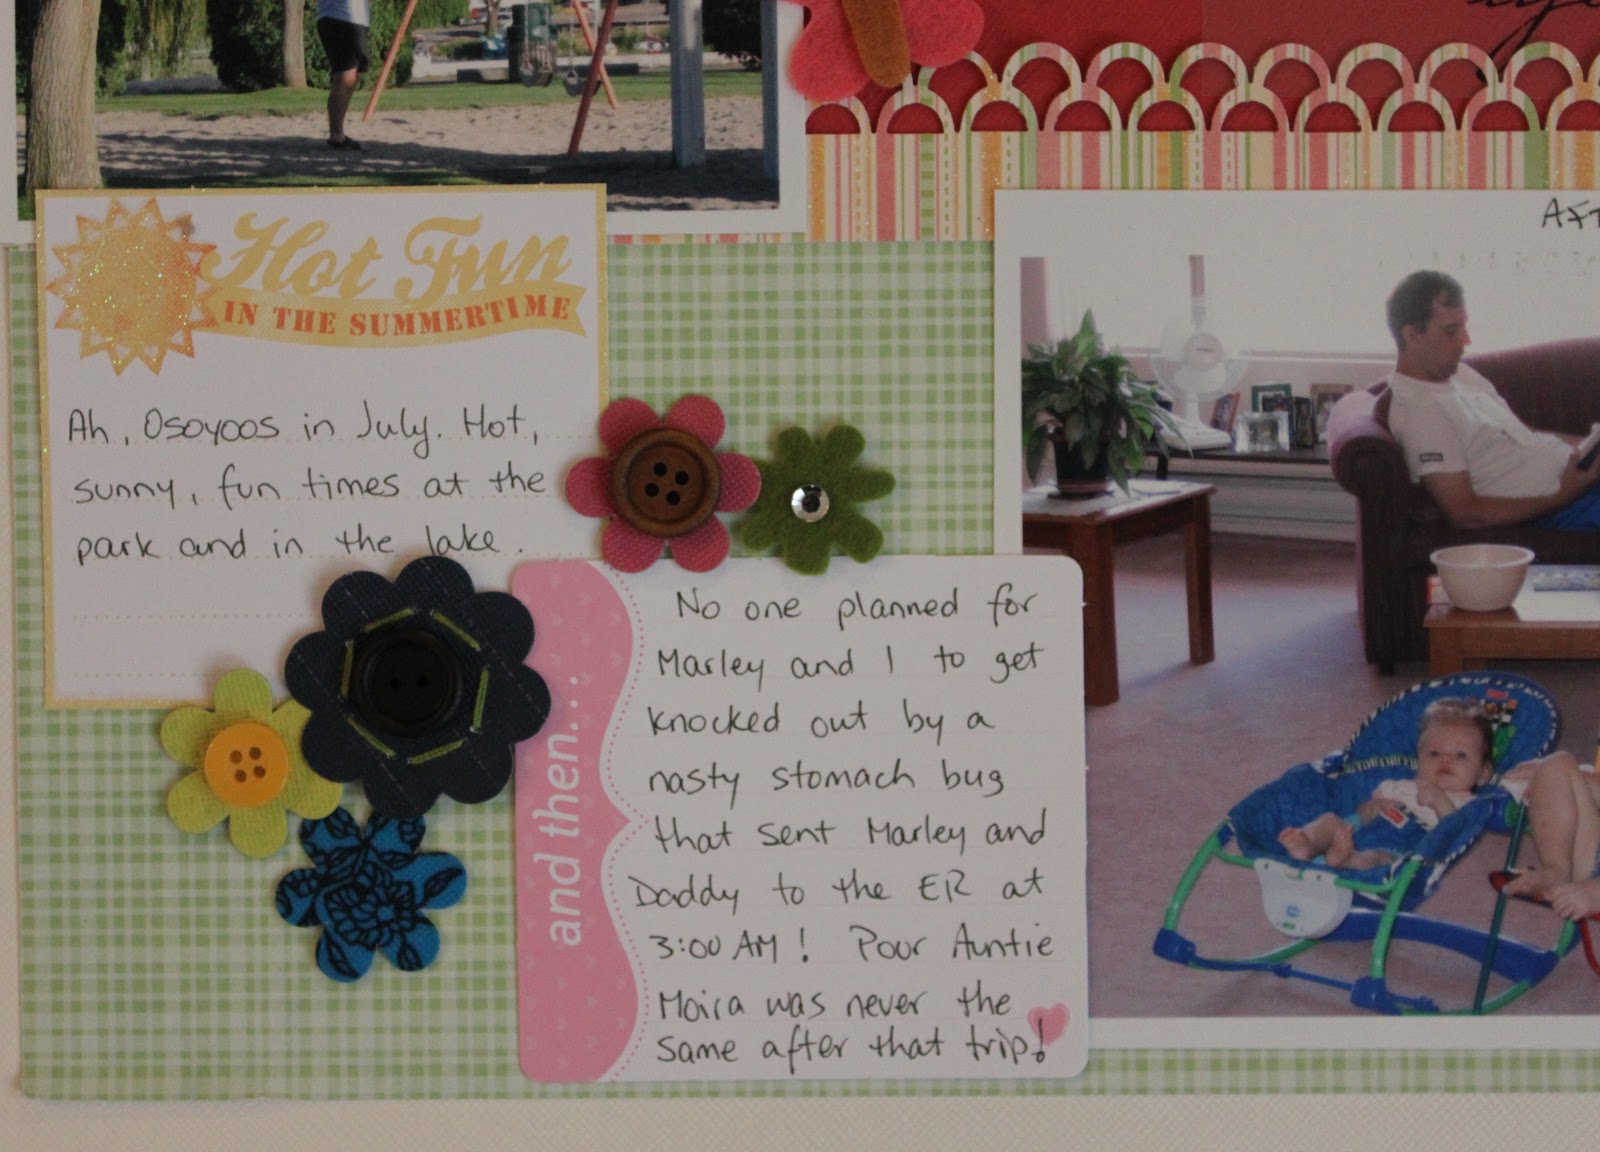
Another close up of the embellishments. 
Products used: Cardstock – Bazzill; Patterned paper – Basic Grey, Olivia and Basics; Alphas – AC Thickers Sprinkles in white; Punches – EK Success Large Edger Circles, Marvy medium scalloped heart, MS Punch all over the page Butterfly, Marvy 1″ circle; Tag – Bazzill Chips Chipboard tags; Journalling tags – LYB Boardwalk Journal Tablet, Jillibean Soup Circle Sprouts in white; Frame – Studio Calico Wood Veneer Frame misted with Tattered Angels Glimmer Mist in Brick and Tsukineko Walnut Ink Antiquing Solution; Stickers – AC Remarks from Surprised, Sassafras Cardstock stickers from Sweet Treats; other – Paper Whimsies in Retro and Head Count from Sassafras.

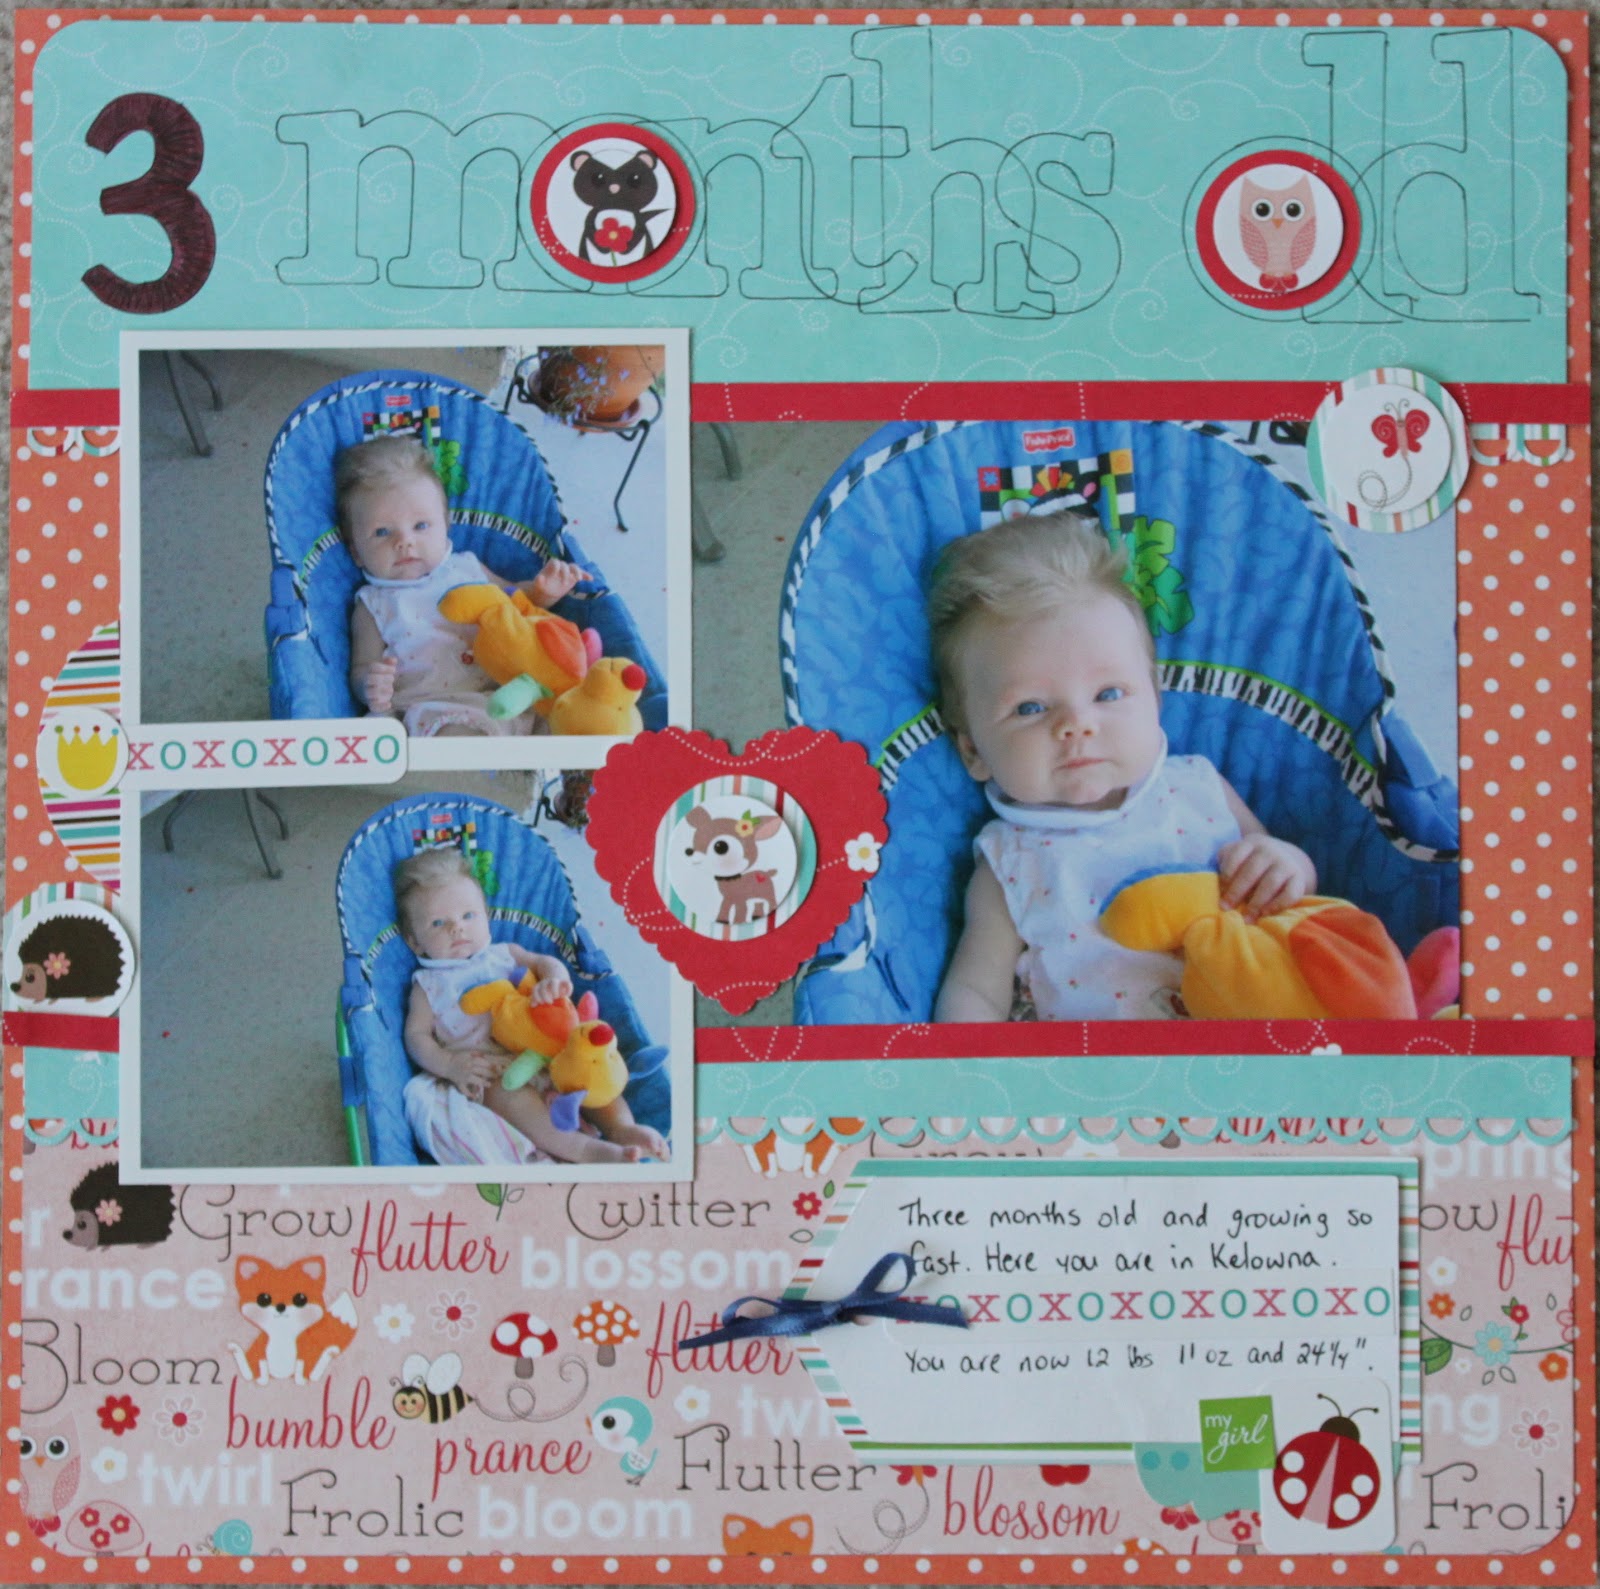
Day 15: take out your oldest kit that fits the newest style challenge. FREESTYLE. Freestyle is freedom. There are no rules, you just play: doodle, sketch, outline photos with pens instead of matting them, the look (or if you’re brave your own hand) of hand-drawn titles and shapes, free-form designs. Playful.

As you can see, I had a lot of fun with this layout. And I really like it so I guess the moral of the story is to have fun while you’re creating!!

I drew around some chipboard alphas to get the title and then coloured in the #3.

Playful to me means lots of cute embellishments and stickers!!
Products used: Patterned paper – Imaginesce Twitterpated line, Mushroom Fancy, Hey Foxy, Colorful and Flower Trails; Punches – EK Success Open Scallop, corner rounder, Marvy medium scalloped heart and 1″ circle; Alphas – Crate Paper Crateboard Alphas from Wildflower; Stickers – Bella Blvd from Sunny Happy Skies, Flirty and Plastino; ribbon – from stash; white cardstock – from stash; tag cut out on my Cricut using George Basics.

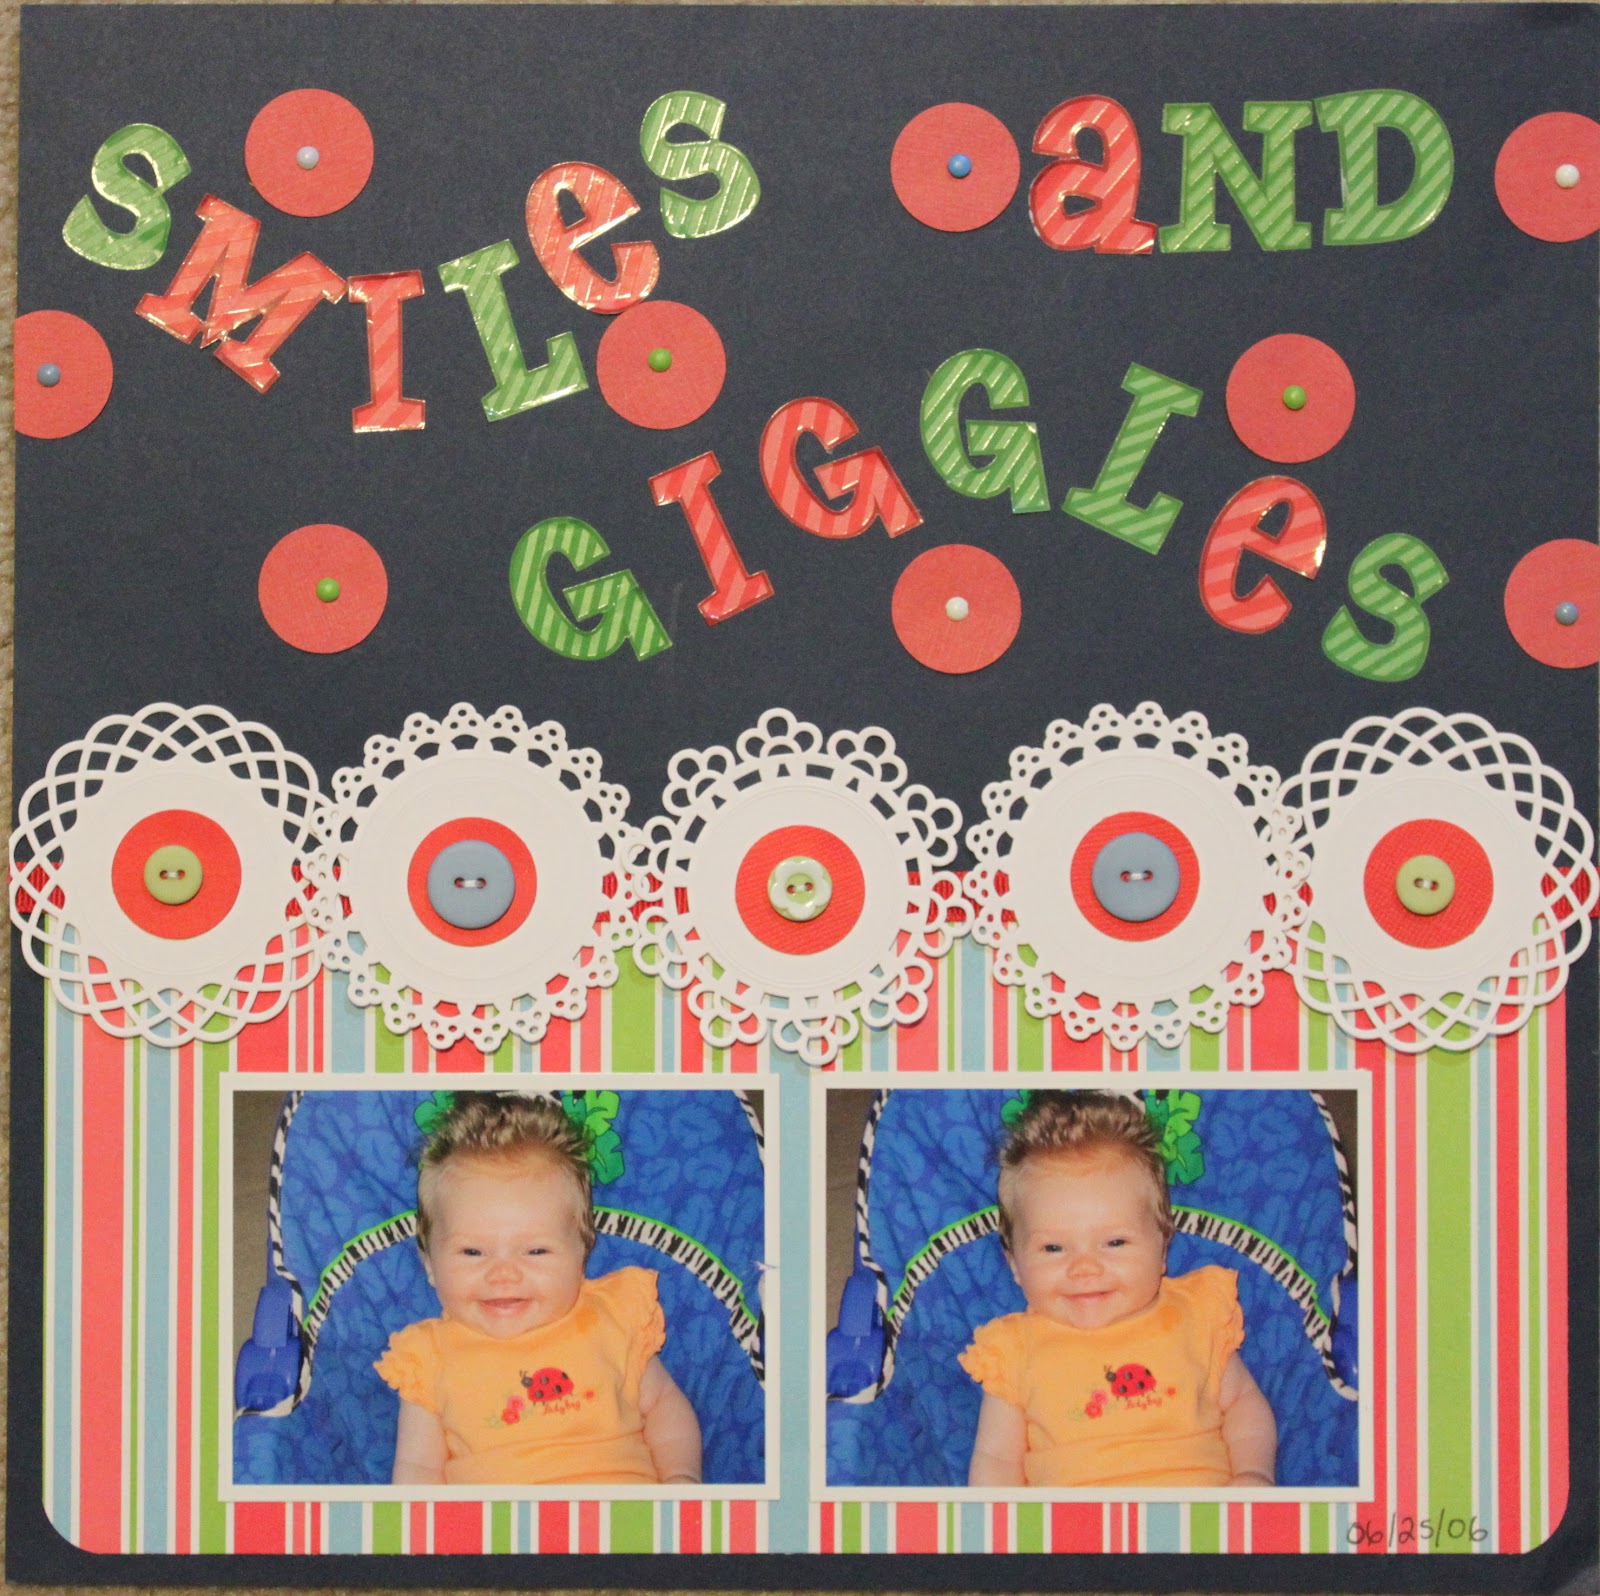
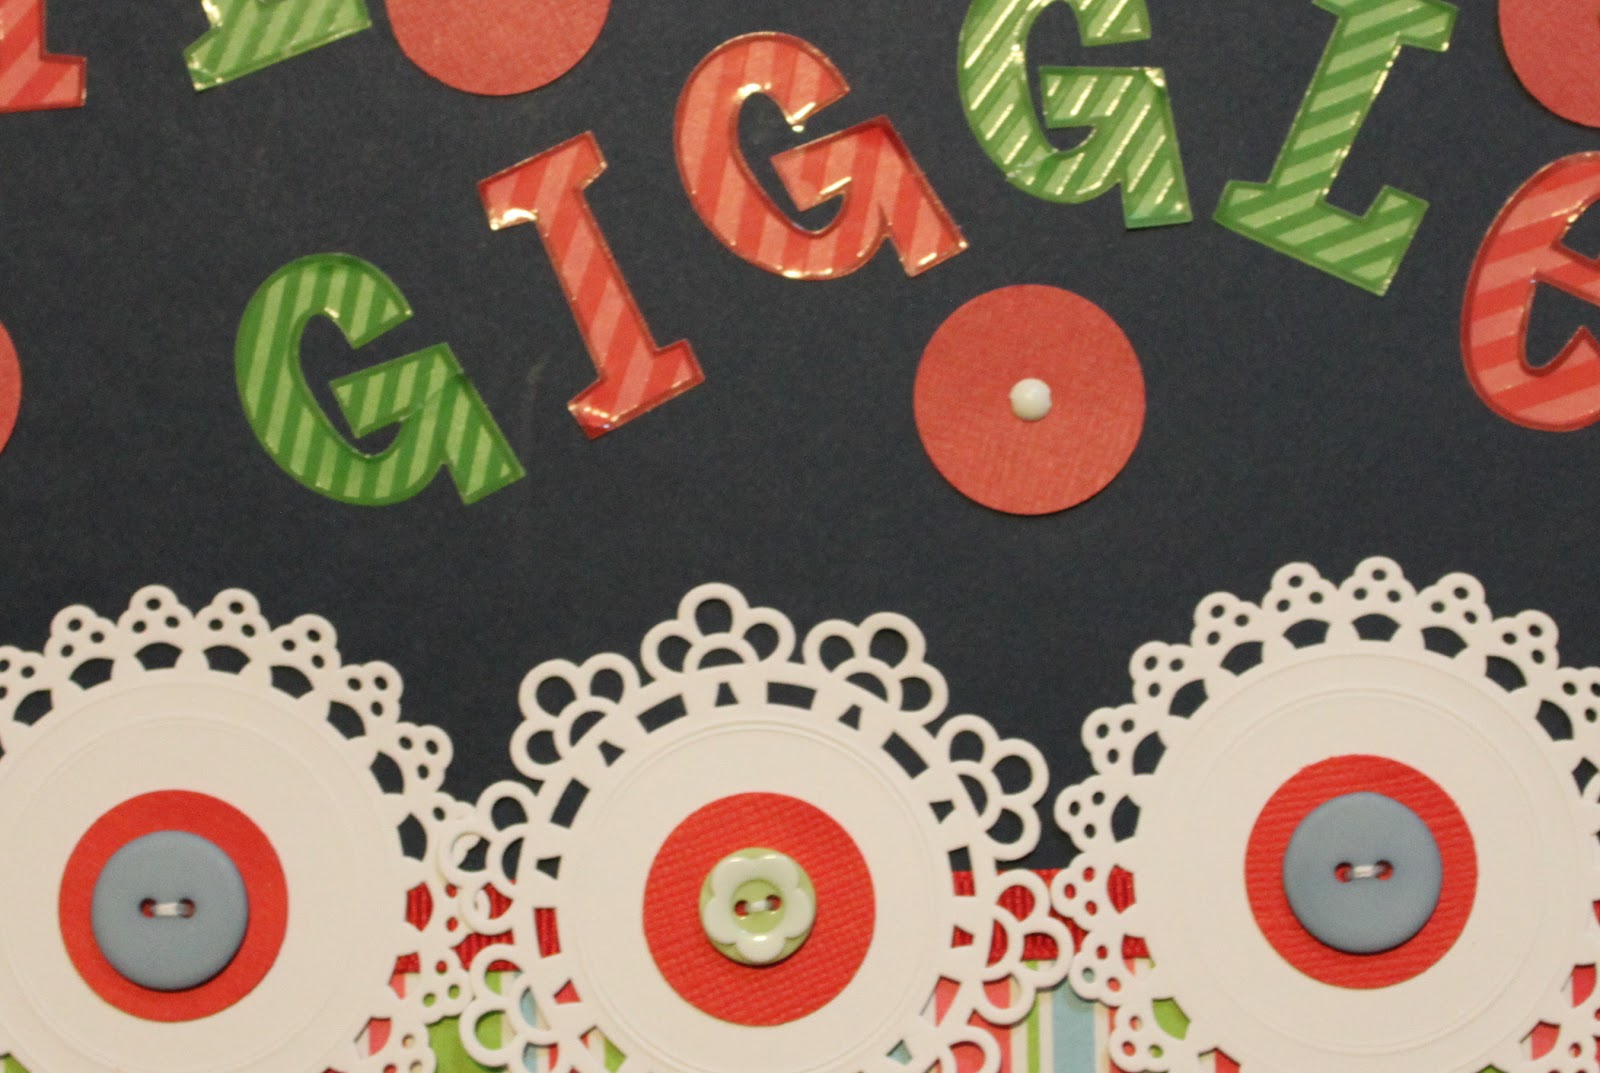
Day 16: Use your oldest Apron Strings kit (no kit? Then your oldest papers and embellies) with big bold strips. Be sure to incorporate the color red, something round and rings.

Stripes? Check. Circles? Check. Colour red? Check and check.

Products used: Cardstock – Michaels; Patterned paper – AC Tea Party; Ribbon – Offray Red Grosgrain ribbon; Doilies – MS Die Cut Lace Tags; Alphas – Recollections Alpha Adhesive Stacks; Buttons – Daisyd’s Tiny Treasures Assorted Buttons; Brads – BG.

That’s it. Thanks for checking them out!

Posted in challenges, layout, Paige's Baby scrapbook, Scrapbook | 2 Comments

Apron Strings Day 13

The challenge for Day 13 was to use your oldest kit with the scariest (to you) embellishment in it and combine it with a new embellishment or paper that has no “scare factor.”

At first I thought I’d have to fudge the scare factor as there isn’t much in the scrapping world that scares me but then I remembered the little bag of rub ons I have in my stickers/rub ons box. Ah, rub ons. I can never figure out how to use them effectively and I just plain old prefer a 3-d look to my embellishments.

So this morning I dug out my bag, grabbed some pictures from my pile and got going. Here’s what I came up with.

So my “scary” is the rub ons (see below for close ups of them all) and my “not scary” is the papers and my new punch (purchased BOGO at Precious Memories!!)

As you can see this title rub on didn’t work out too well. Also, you can’t see it too well. I may go back and change this at a later date …

This is my favourite one. Maybe because it came out the best but maybe because I used it in a not-scary way – as an embellishment to my not scary paper strip.
I don’t think I’m sold on rub ons yet (although I see that Lori is encouraging us to use them again as part of Day 14’s challenge!) I prefer stickers and other embellishments and will likely go that route 98% of the time! But it was good to play with them again. It’s been awhile!
Products used: Cardstock – Bazzill;  Die Cut paper – Best Creations; patterned paper – AC and MME; Rub ons – BG Stuffy and K&Company Brenda Walton Small Wonders Girl Words Rub Ons; Punch – EK Success Large Edger Scallop Daisy.

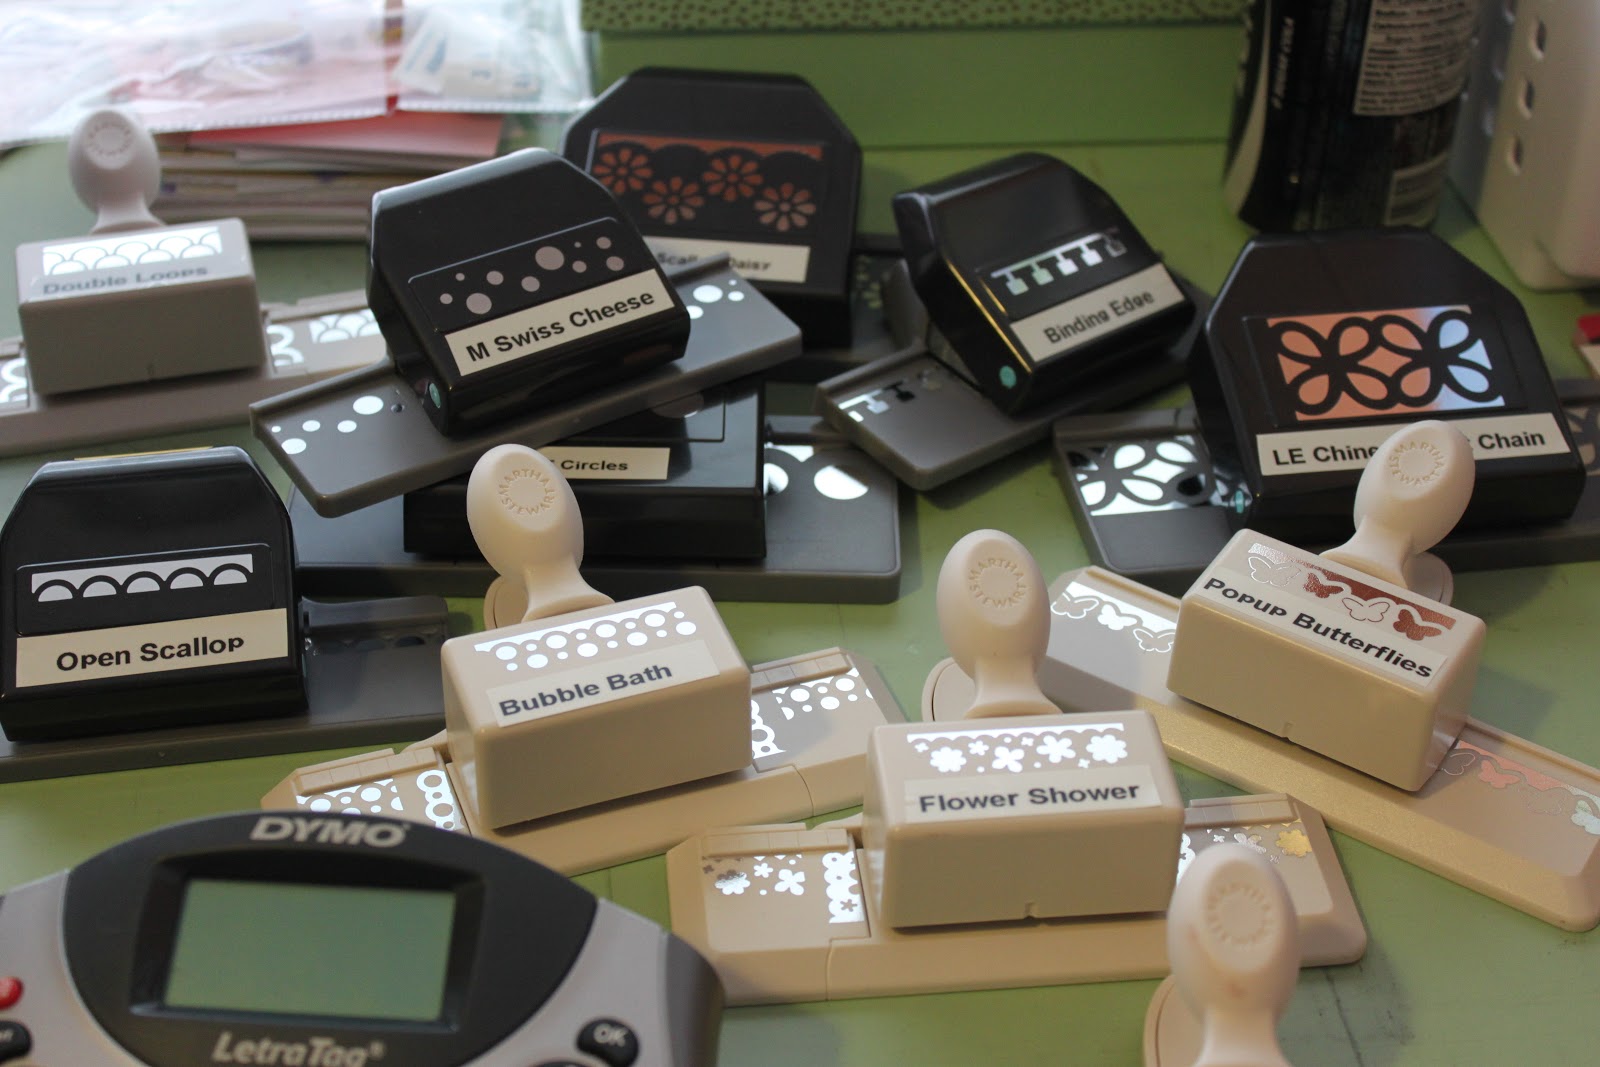
Speaking of my punches … the organizational bug keeps on biting. I got out my label maker this morning and put the names of each punch onto them. No more surfing the internet sifting through hundreds of punches to find the name of the one I’ve used for my page!
Posted in challenges, layout, Paige's Baby scrapbook, Scrapbook | 3 Comments

Apron Strings Day 12 and MotherLOAD Week 3

Okay, I’m continuing my crafty streak. Participating in these two challenges this month has been an awesome experience for so many reasons. I’ve been completing lots of layouts for one. I’ve been reacquainting myself with (and actually using) my stash! And I’ve been tackling little organizational projects from my to-do list. And, perhaps the most amazing reason of all, I’ve really been discovering my “style”!

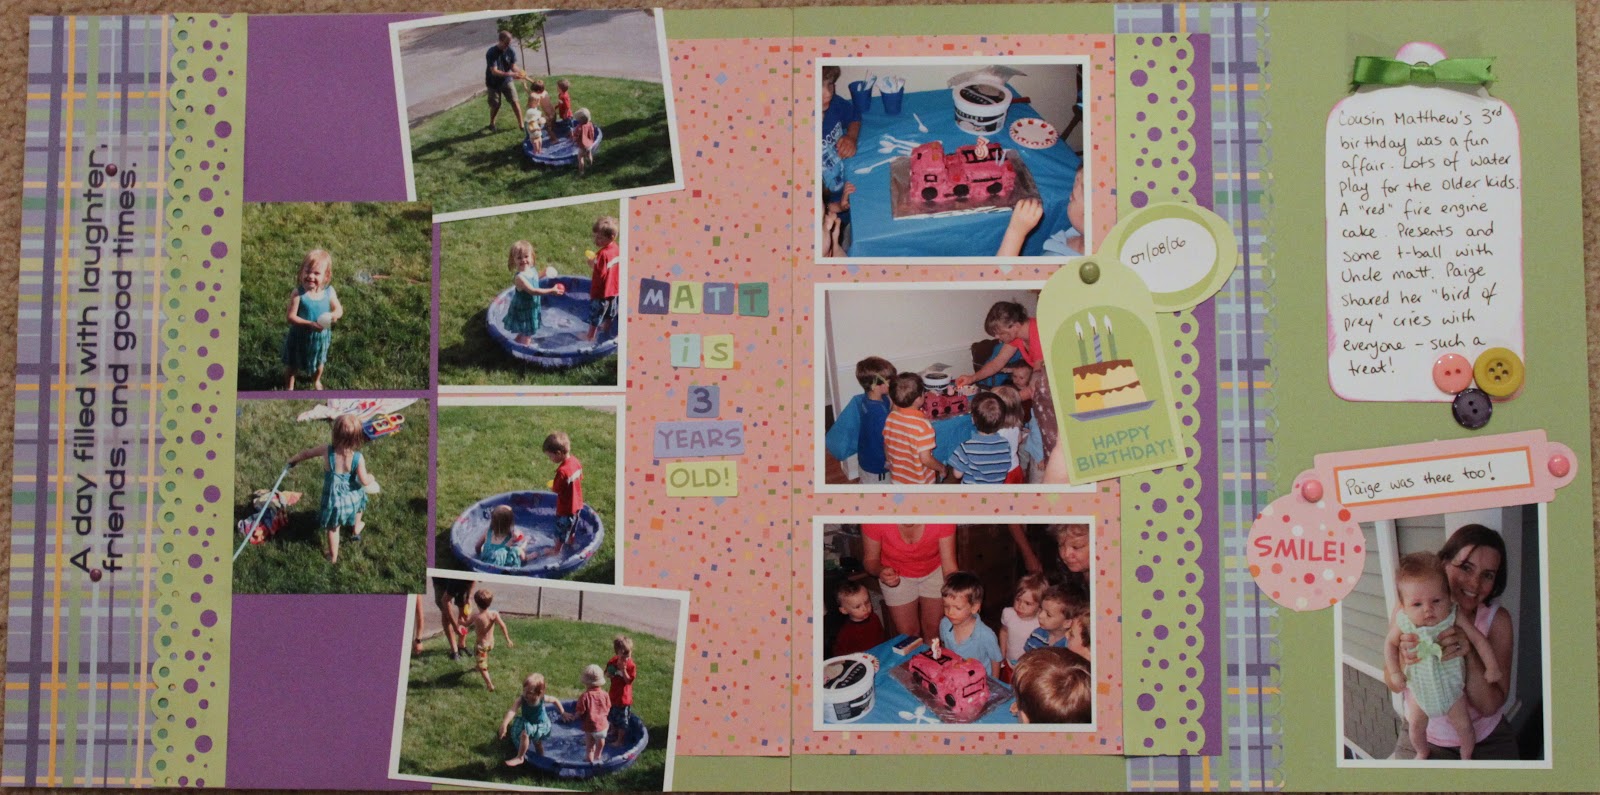
So the first of the two layouts I have for you tonight is a double pager for Apron Strings Day 12. The challenge was to use the given colour scheme and some older kits/papers. Lori also gave us another sketch to help us if we needed it. I’d used it before (Day 6 I believe) and decided to give it another go.

Here’s the colour scheme and the sketch.

And here’s my take on things. 
I’m still digging into those old pictures from when Paige was a baby so these are of my nephew Matthew’s 3rd birthday. In Marley’s baby album I have a layout of Matt’s 1st birthday but I’m thinking I may pull that out and make a separate album for birthday layouts. ‘Cus really, Paige wasn’t a player in the action here just as Marley wasn’t 2 years before so why should these layouts be in their baby albums? We’ll see. Work in progress, as the saying goes!

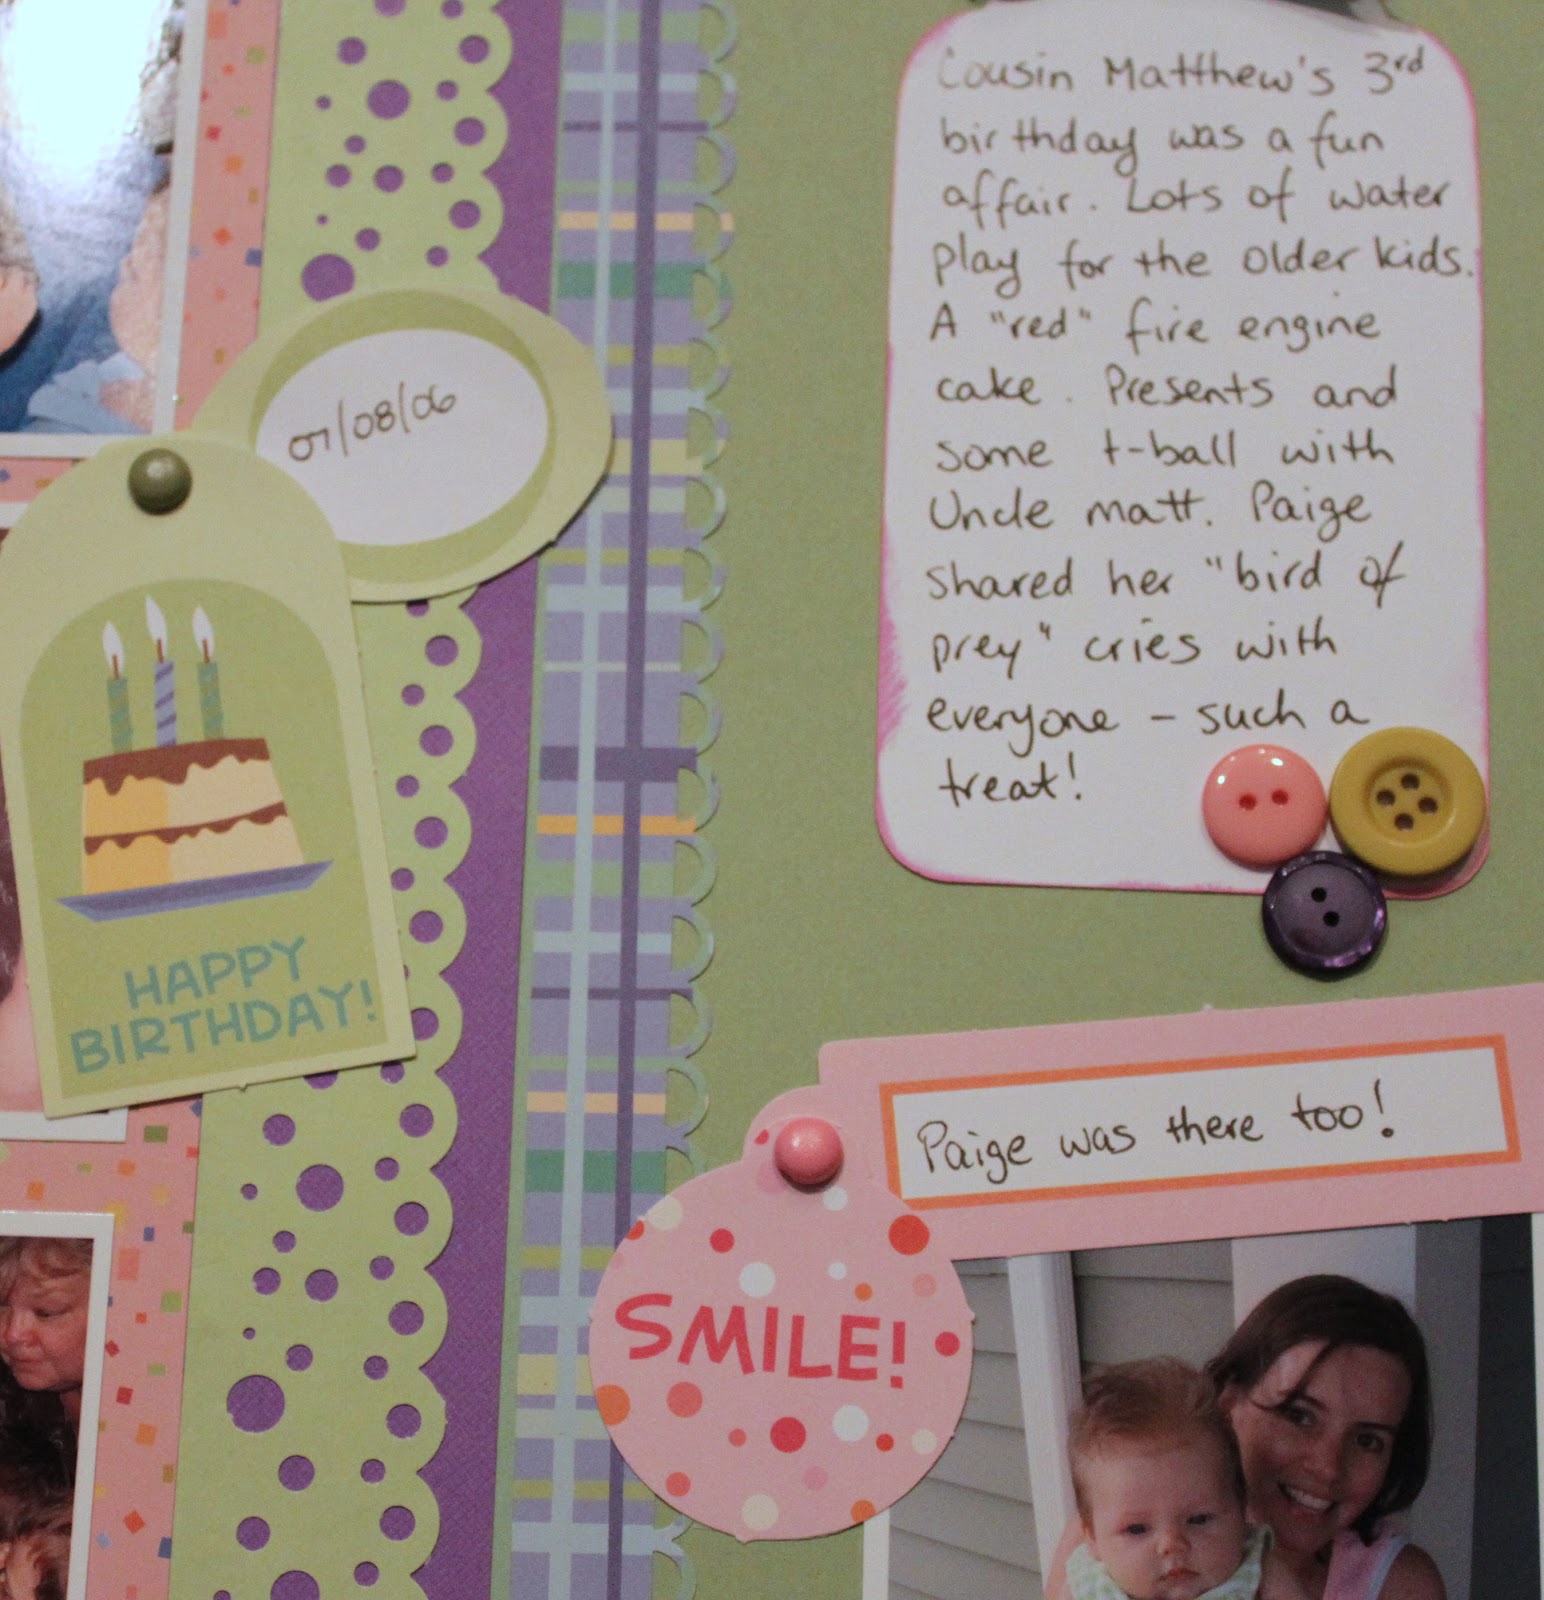
Here’s a close up of some of the journalling and embellishments. I was still trying to cluster them (as I like to do now) but I admit to feeling a bit restricted by my paper choices and the colour scheme. I like this layout overall but it’s not one of my favourites.

A closer look at the vellum quote I added to the left side.
Sorry for not having individual pictures of the right side and left side. I usually like to do this for double page layouts so you can see more detail but my brain forgot to fully engage while I was taking pictures tonight. 🙂
Products used: purple and green (base) cardstock – Bazzill; all other papers, vellum quote, letter/word stickers and embellishments – ATD Celebrate Brights 12×12 Bundle; Brads and green button – Basic Grey; other buttons – stash; Ribbon – Michael’s Celebrate it basics; Journalling tag – cut from scrap on Cricut with George Basics; Punches – EK Success Swiss Cheese and MS Scallop Dot.

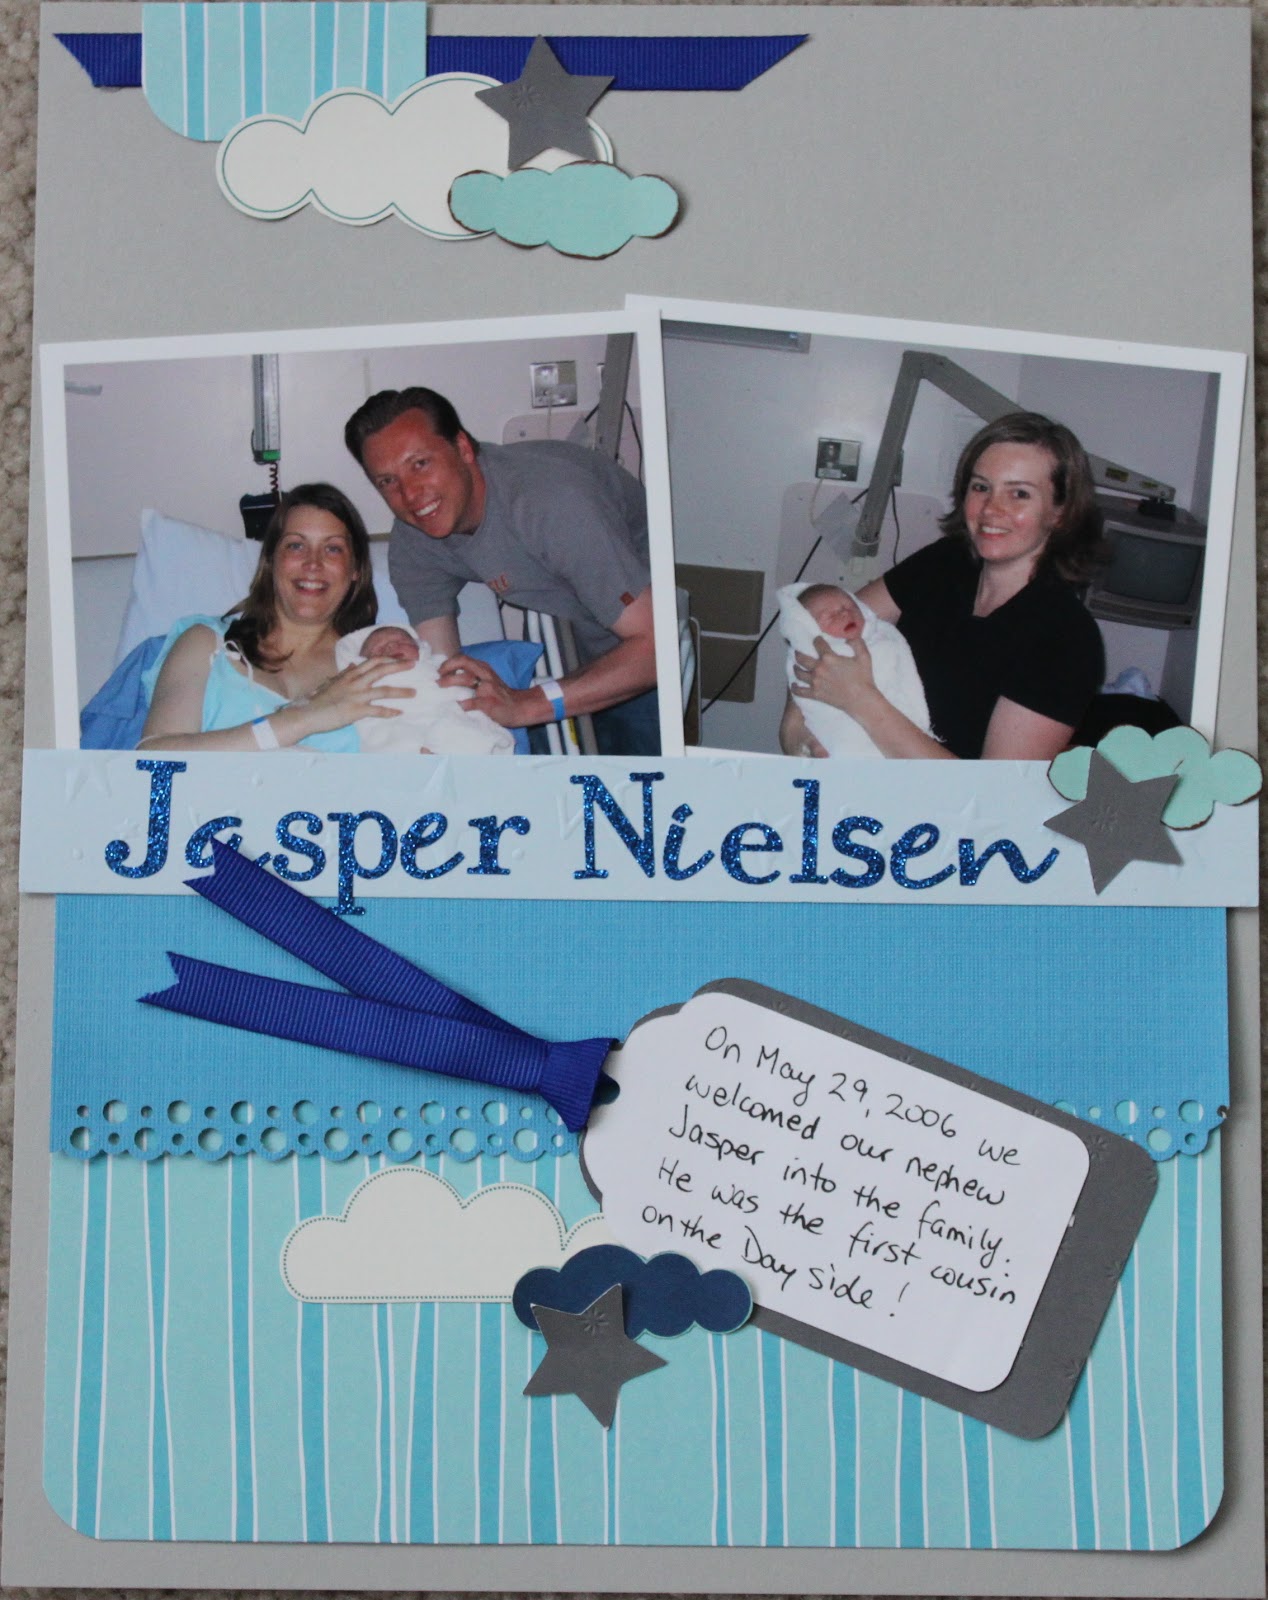
For our MotherLOAD assignment this week we were to pay attention to our process and examine how it may be contributing to or affecting our output. For example, do we always start a layout with the photos or is it the papers? Do we use sketches or not – how do they change the way we approach a layout? To test this out we were to create a layout using our normal process and take notes along the way, how long each step was taking, etc. This was an interesting exercise. I wanted to combine it with the Apron Strings challenge but to be honest, I don’t normally start with a specific colour scheme in mind so I had to create a completely different layout. As I do have a stack of photos sitting out waiting to be scrapped I just grabbed the next ones and got to work. Here’s what I came up with.

I think this is very indictative of how I scrap right now.
When I first started I was so overwhelmed with how far “behind” I was that each layout had to be FULL of photos. There was no room for embellishments and journalling was an afterthought at best. I have calmed down somewhat now. I realize that I may never get “caught up” and that’s okay. I am having fun doing what I am doing and know that I am creating lasting keepsakes. Right now they have huge holes in the timeline of the story but slowly I’ll fill those in. The important thing is to get layouts done not moan about how many I have left to do. As long as I remember to keep backing up my hard drive so I don’t lose all those photos before I have a chance to print them I’ll be okay!!
Obviously, I started with the photos and then went digging for papers and embellishments to support them. This is how most of my layouts start. Even when I have a sketch to work from, I still start with the photos. That’s why a lot of my Project 12 layouts have more photos on them than they’re “supposed to”. I just love photos. I’m a visual kind of person I guess. My journalling is still usually left to last but I am more conscious of it and do try to leave sufficient room for it these days.
Oh, and my new obsession with grouping things prevails here too!

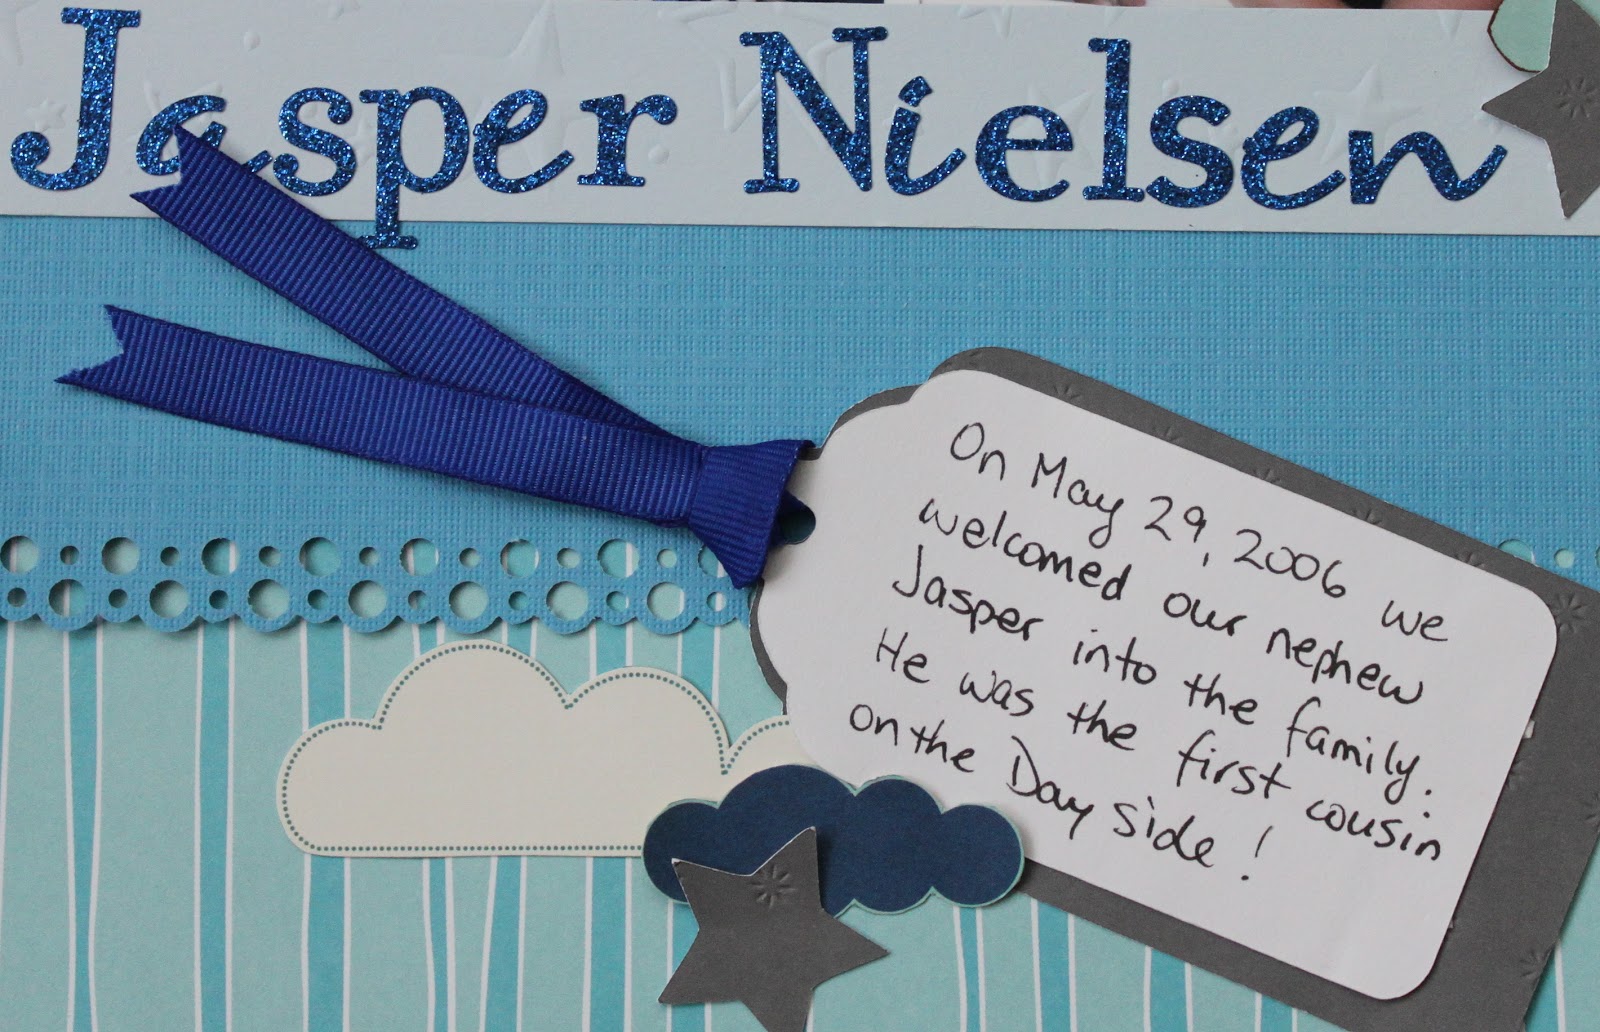
Products used: Grey cardstock base – Recollections 81/2 x 11; Striped patterned paper and the clouds – Bella Blvd Flirty and ??; Grey paper for tag and stars is AC but I don’t remember the line; Labels – cut out on my Cricut using George Basics; Ribbon – Michael’s Celebrate it grosgrain; Alphas – Making memories Cheeky Shimmer Stickers in dark blue; punches – corner rounder and MS Bubble Bath.

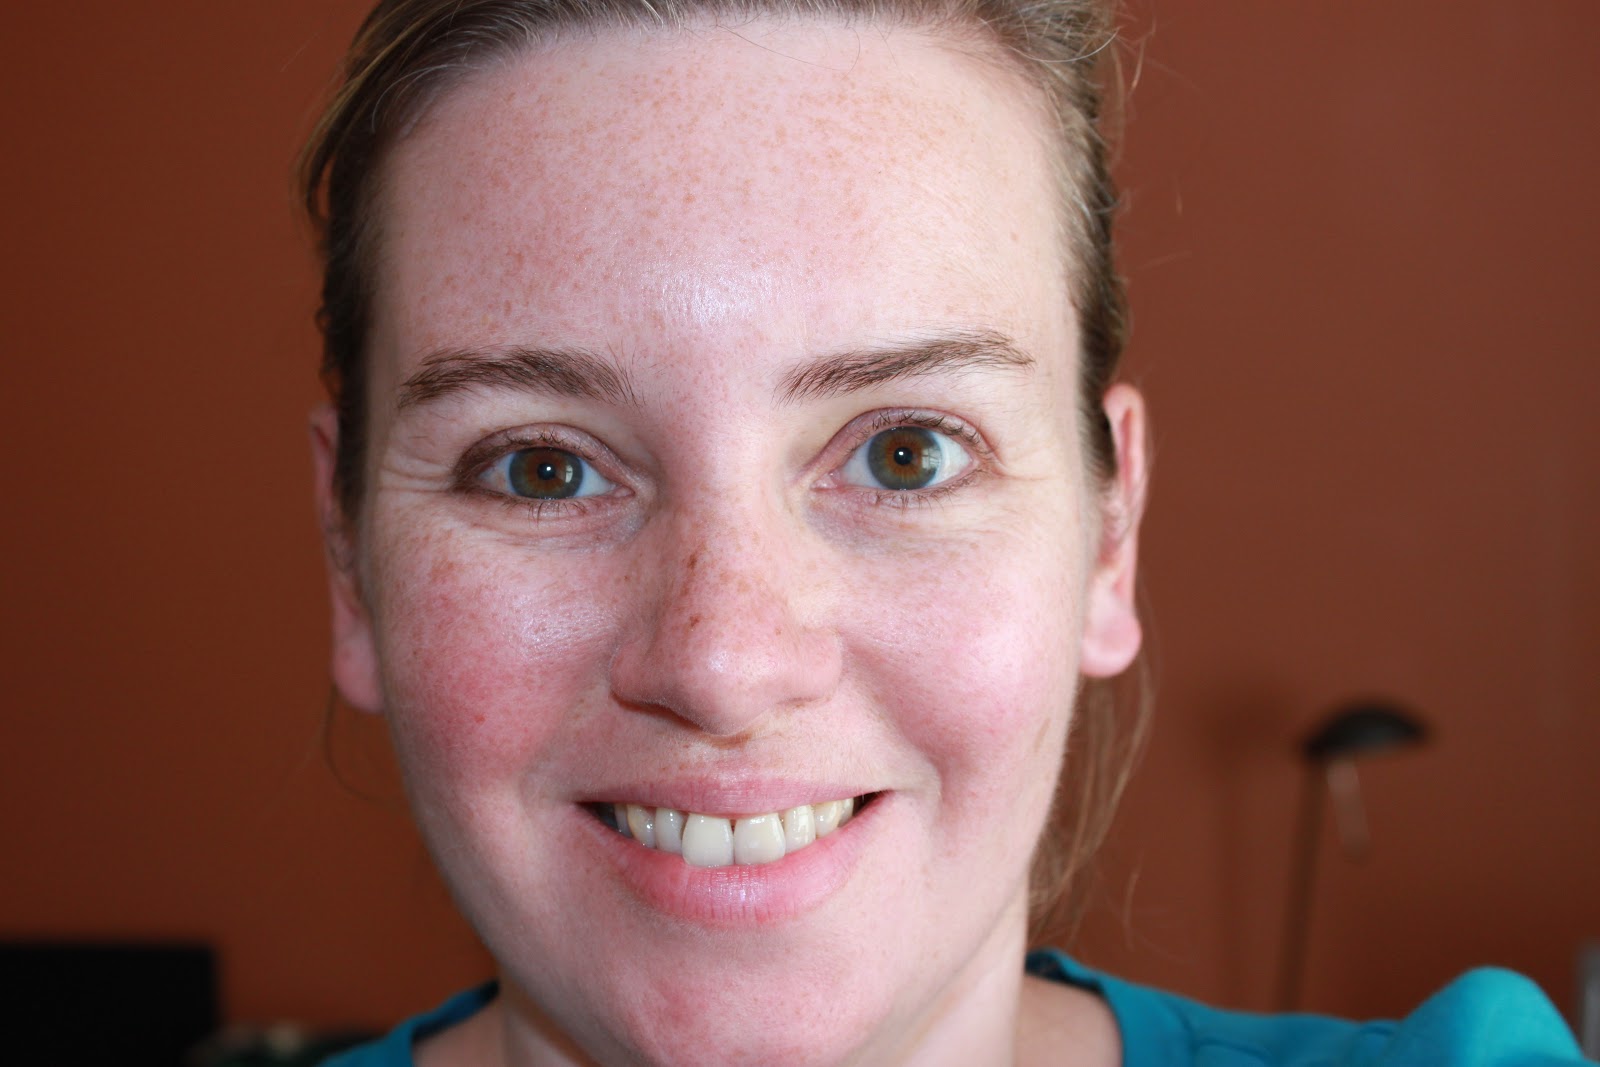
The photo assignment for this week was a self portrait. I don’t usually like pictures of myself but … what the hell. Here it is.

Thanks for checking in. See you around!
Posted in challenges, layout, MotherLOAD, Scrapbook | 1 Comment

Apron Strings Days 10 & 11

Good to know that when I’m down to the wire I can crank out 2 layouts, photograph them, edit them and then post them in … when did I last post? 4 hours ago? Oh and I also cooked dinner. Fish and chips but who’s counting?

LOL! No, I’m no superwoman – just getting faster at this scrapping thing. Also, all these “use your scraps” challenges have made me very aware of what I have, exactly where it is and how I like to use it so it’s easy to grab what I need quickly. 

Day 10’s challenge was to: use your LEAST favorite kit and combine it with something new you really love. Well, it’s been well established that I don’t get the Apron Strings kits (yet?) so I went digging through my old papers for some of my least favourite or oft passed over for other “prettier” options, if you prefer. I actually recently put my least favourite papers into a box to give away (see this post) so I was a little stumped with this one. But I have a whole drawer full of papers that I regularly skip right past in favour of others so that’s where I went. This is what I came up with.

The new is 3 fold. The vinyl letters, the tag and the new way I love to group embellishments.

Here’s a look at the journalling block.
Products used: Cardstock – Bazzill; Patterned Paper – K&Company Snuggle Bug Designer Paper Pad; Buttons – Daisyd’s assorted buttons; Flashcard – K&Company Alphabet Cards; Tag – AC Bits Decorative Tags from Confetti; Quote – DCWV “Girls” Cardstock Quote Sticker Stack; Journalling tags – LYB Journal Tablet Boardwalk and Cupcake Love; Ribbon – Ki Memories playful plaid; Border punches are EKSuccess and MS; Alphas – Thickers Vinyl Letter Stickers.

Day 11’s challenge was to: grab an older kit that contains a stripe or plaid patterned (you can use whatever other papers are in the kit you pick, but one of them should be a stripe or plaid) and combine that with something newer and round and something newer and soft from your stash.
This was fairly easy as the stack I’m currently using for the majority of Paige’s album is both old (I’ve had it for about 3 years now) and contains striped and plaid papers. So I picked a couple that went with the pictures I’d chosen and got to work.

The something round is the round scalloped cardstock behind the pictures as well as the button embellishment. I also had a pile of Sassafras felties so went nuts with them as my something soft.

Some close ups. 
Products used: Cardstock – Bazzill; Round scalloped cardstock – from stash; Patterned Paper – DCWV Nana’s Nursery Baby Girl; Quote – DCWV Clear “Vacation” Quote Sticker Stack; Journalling tags – LYB Journal Tablet Boardwalk and Cupcake Love; Border is MS; Alphas – Sassafras Kelly Green Glitter Alpha; Embellishments – Sassafras Felties from Peddlars and Puddle Jumpers, Sassafras Blooms from Mod Pods; Button – AC Flair Sew cool.

Well, I think I may have managed to squeak them all in this week once again! I’ve really got to work on each challenge the day it’s posted and not leave so many to the last day!! Maybe next week.

Enjoy the rest of your weekend everyone. We went to a very wet ceremony today for the Portraits of Honour Tour. Both Marley and Paige ended up laying a rose on the Cenotaph. It was actually extrodinarily moving to see all 155 (plus 2 that are only sketched as their deaths are so recent) faces of the members of Canada’s Armed Forces that have given their lives in Afghanistan. The pouring rain was a bummer but very fitting.

Posted in challenges, layout, Paige's Baby scrapbook, Scrapbook | 2 Comments

Apron Strings Day 9

The challenge was: use your oldest kit, combined with a new style. Today’s look is Shabby Chic – so look for your oldest Shabby Chic kit (or papers and embellies if you don’t have kits), to create a new to you Shabby Chic layout. What is Shabby Chic? Worn and weathered, with a touch of that romance to it. Think torn, crinkled, inked, lace, velvet, muted tones, fabric embellishments.
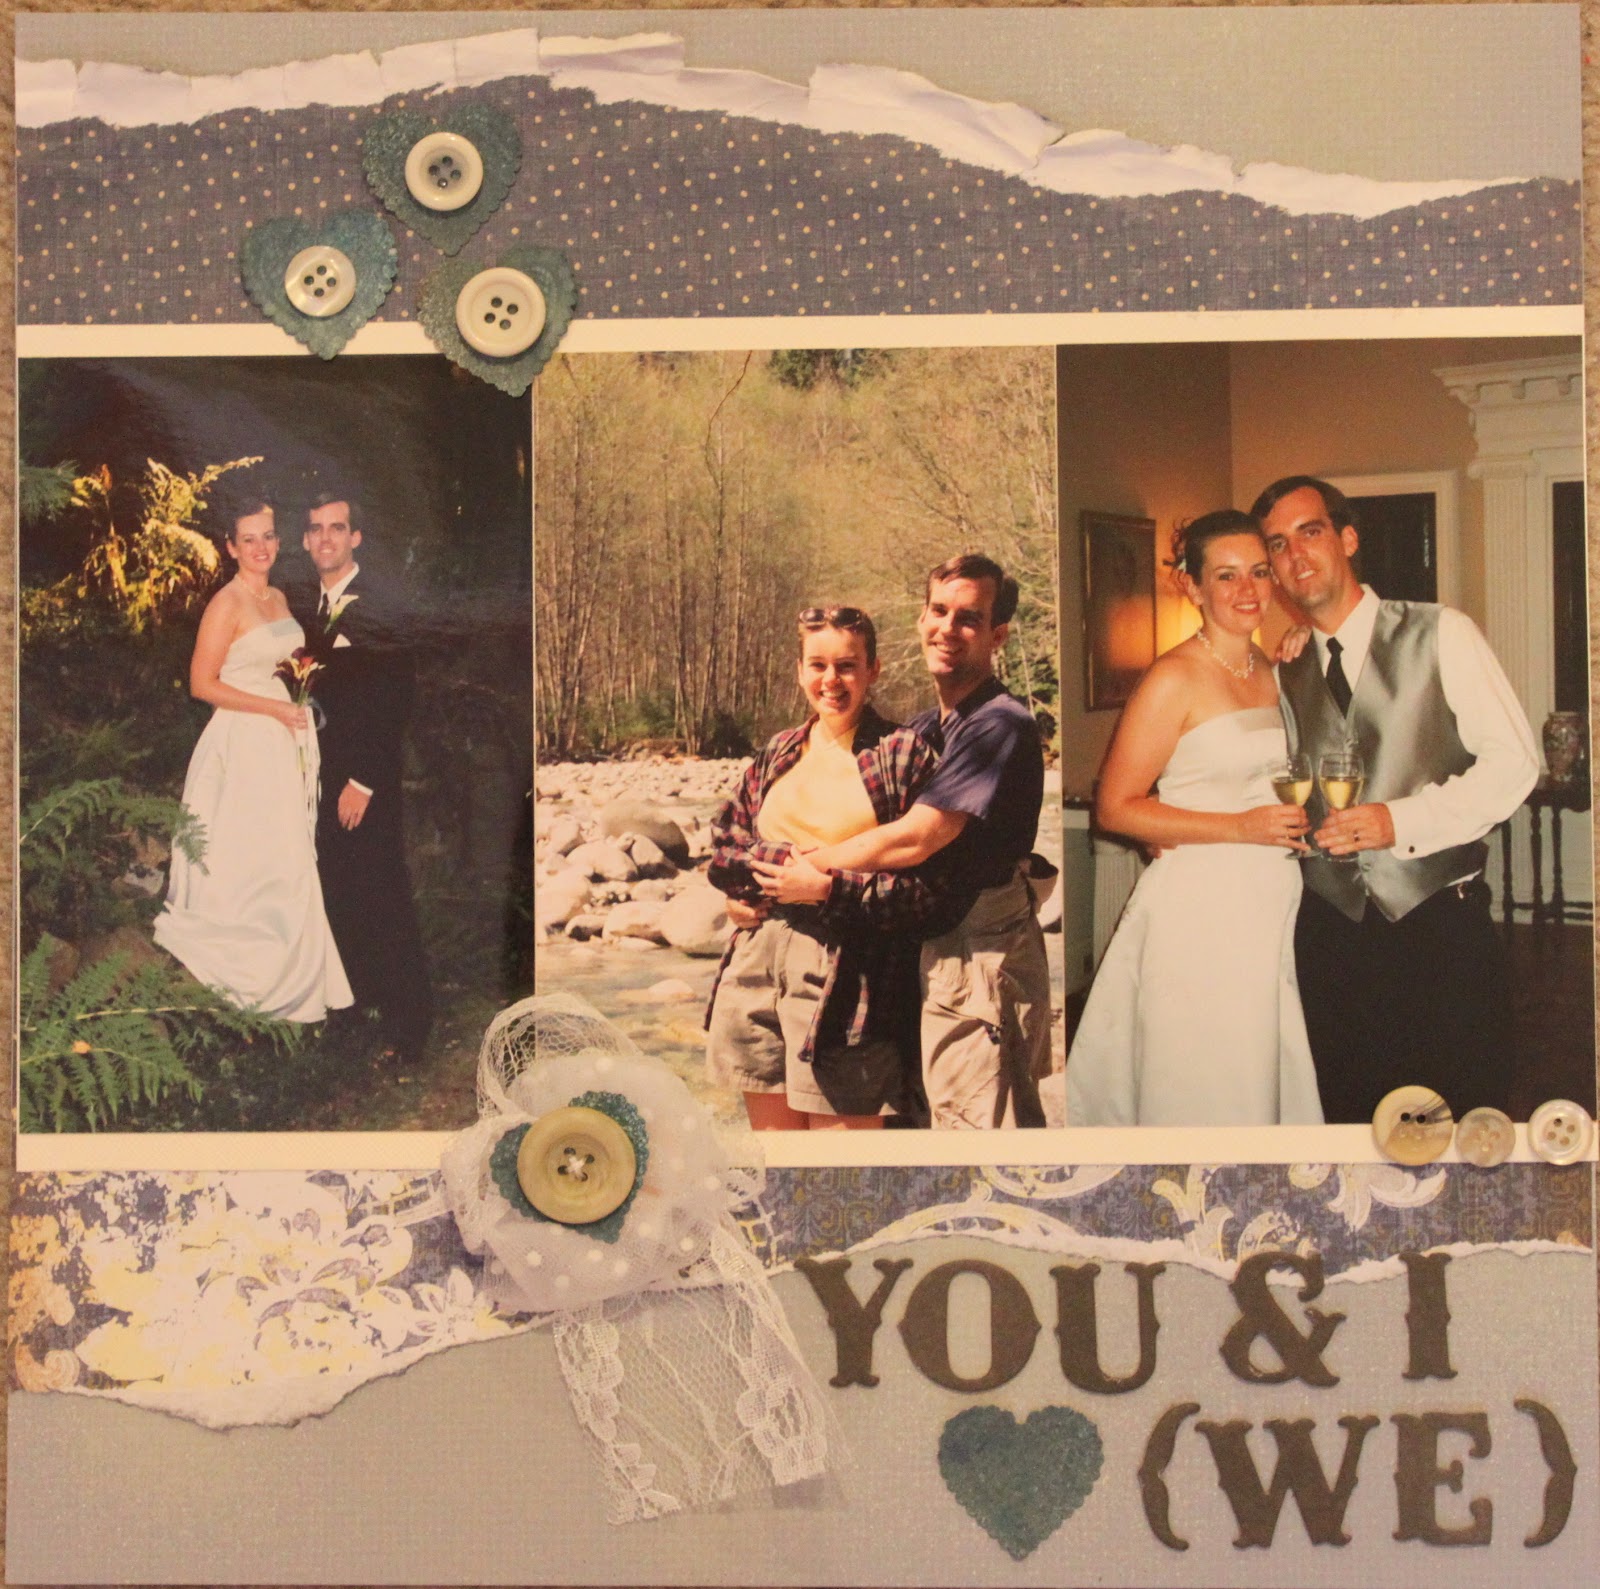
This was a real challenge for me as Shabby Chic is NOT my style at all. But I stretched and yanked and groaned and finally came up with this.

I originally tried to scrap some of Paige’s baby pics but given the romantic feel of Shabby Chic, it wasn’t working. So I went hunting for pictures that would work and found these. Obviously the two on the outside are from our wedding, the one in the middle was taken the following spring – all BK (before kids). See how young and happy we look! LOL!!

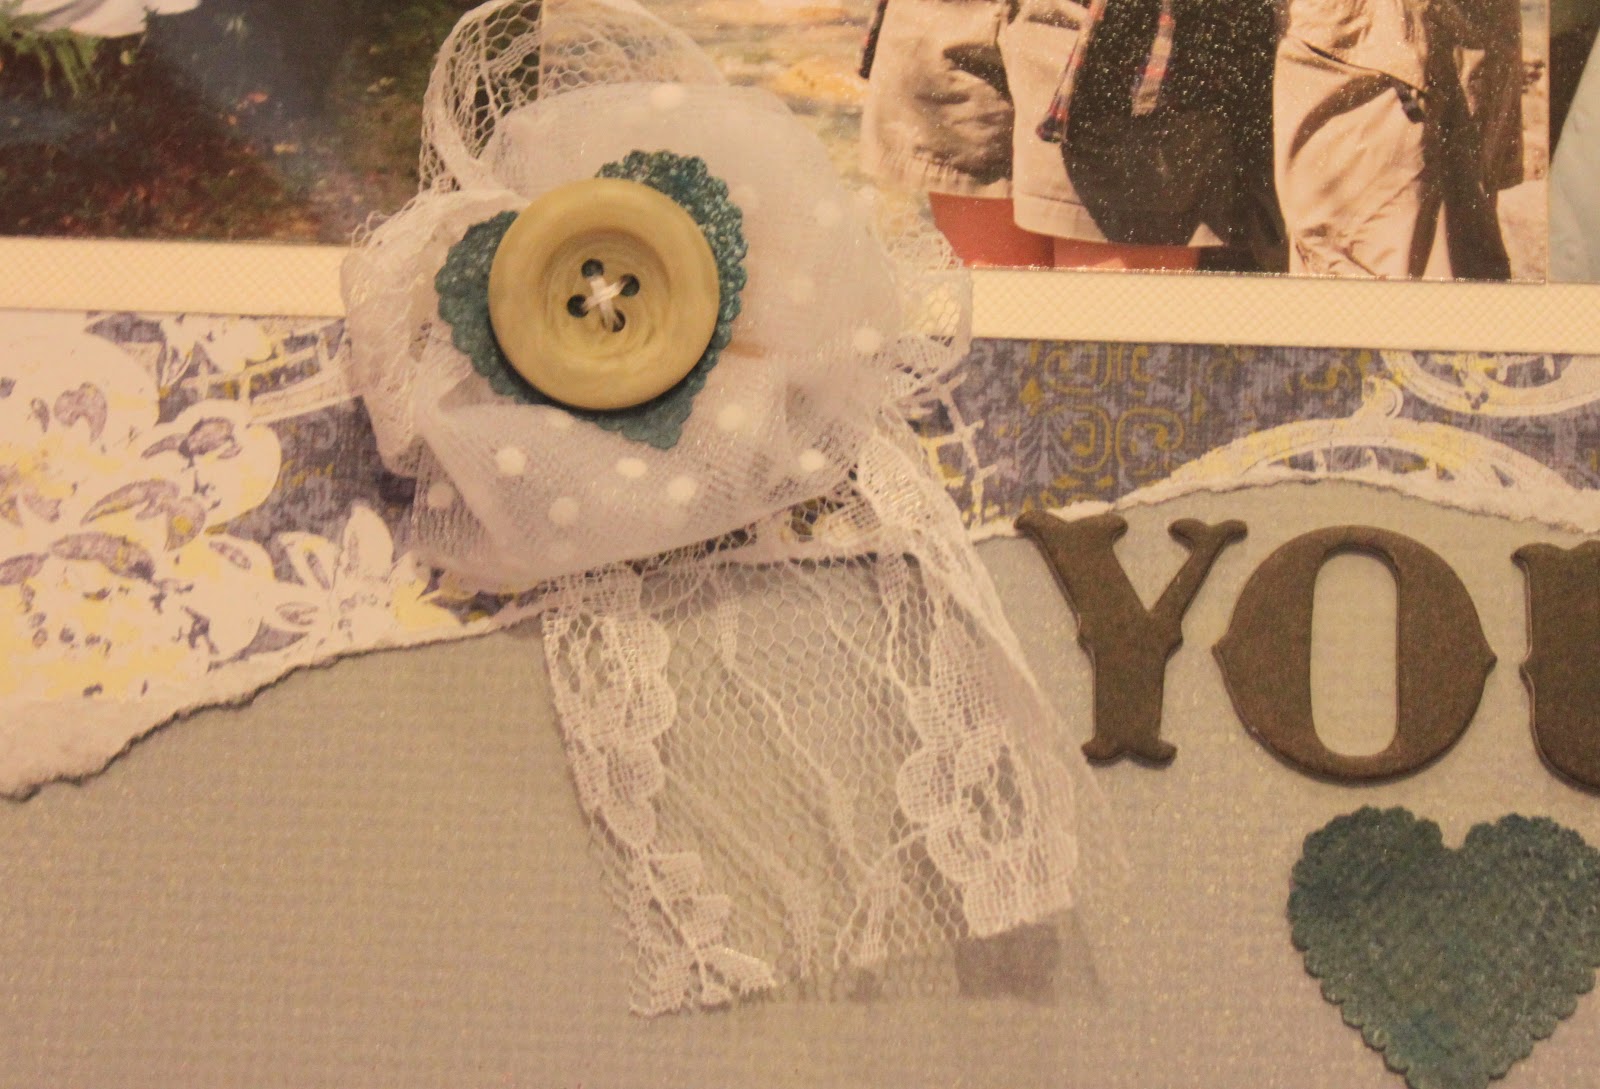
I scrunched and sewed and glued and finally got something resembling a flower.

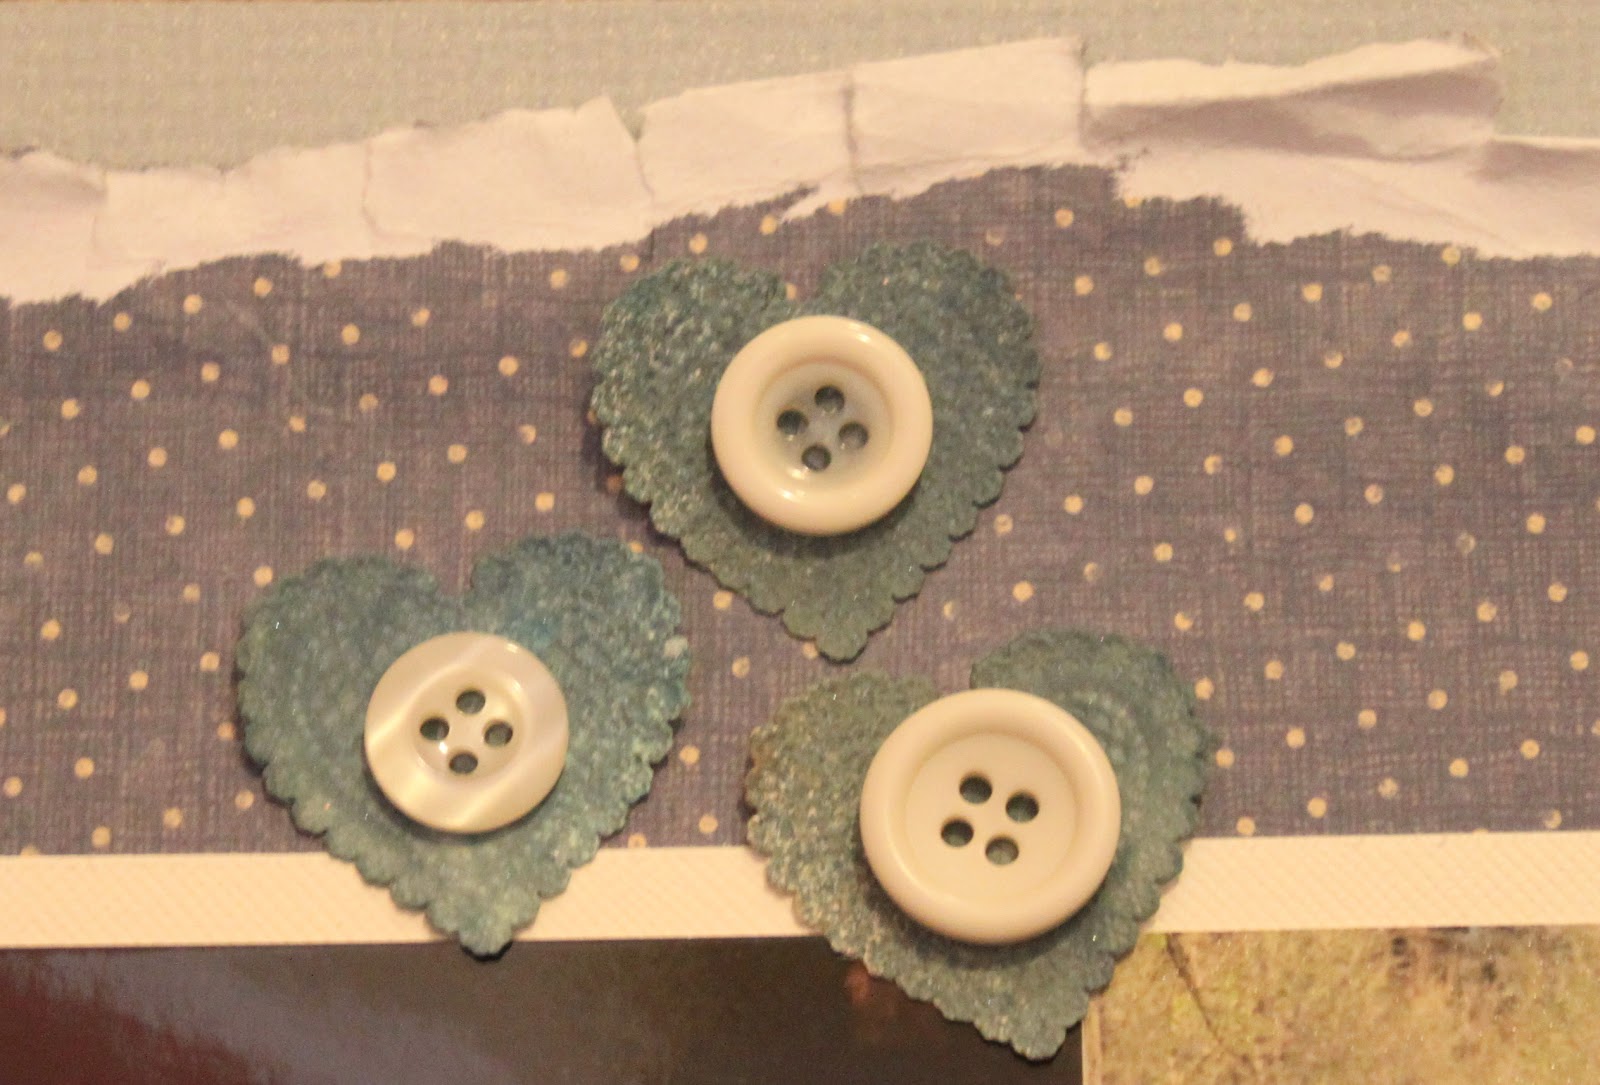
These hearts were originally white but I sprayed them with 3 different colours and now they’re lovely and distressed.
Products used: papers are from my stash and I really can’t remember the manufacturer any more – sorry; MS white dimensional heart stickers; Mists – Tattered Angels Arctiv Blue, Tsukineko Walnut Ink, and Studio Calico’s Mister Huey in Calico Cream; Lush chipboard alpha stickers in black; Making Memories buttons; fabric – K&Company.
Posted in challenges, layout, Scrapbook | 1 Comment

5 on Friday – July 15th

I was talking to Greg last night about turning my 5 on Friday into a Week In Review type post as I’m finding it hard to always come up with 5 things to talk about. I also said something about trying to keep it family content only so my family overseas and out of town (with zero interest in my scrapbooking) can know to check in once a week for an update on our lives and not be bombarded with layouts and paper talk.

But …

Today I have very little to talk about besides scrapbooking!!

I fully admit to holing away in my scrap room whenever I can and for as long as the girls will play nicely together. The laundry isn’t folded yet. The dishes get done when I’m preparing dinner (and just get stacked on the counter all day up to then!) The girls are having a ball developing Pixie Hollow to their hearts content and, in Marley’s case, reading about owls and eagles as much as they like. Meals are offered. Snacks are prepared. Diapers are changed. But really, it’s summer so there is little structure and lots of free playtime. As an added bonus the weather hasn’t been overly nice so I don’t feel too terrible NOT taking them to the park/beach/playground/etc.

I suppose it can’t last forever though. LC has been having trouble sleeping lately and I’m starting to wonder if it’s not directly related to how much outside time she’s not getting. Does that make sense? 🙂
Ah the Guilt Trips of Motherhood!

So, what have we been doing this week? Well, I will start with my scrappy stuff and go from there.

1. MotherLOAD Week 2

We’re actually in Week 3 now but I got caught up in other stuff and forgot to post/do my Week 2 assignments. Our photo homework was to take a picture of something that makes us smile. Well, that was easy! LC tortured me for the entire 9 months she lived inside me but since being born she has made us smile every day. Last Saturday we went over to Andrew and Jonina’s for my nephew Matthew’s birthday and she was at it again. Check her out here.

I mean really, how can you help but not smile at that?!
2. Caught on Film!
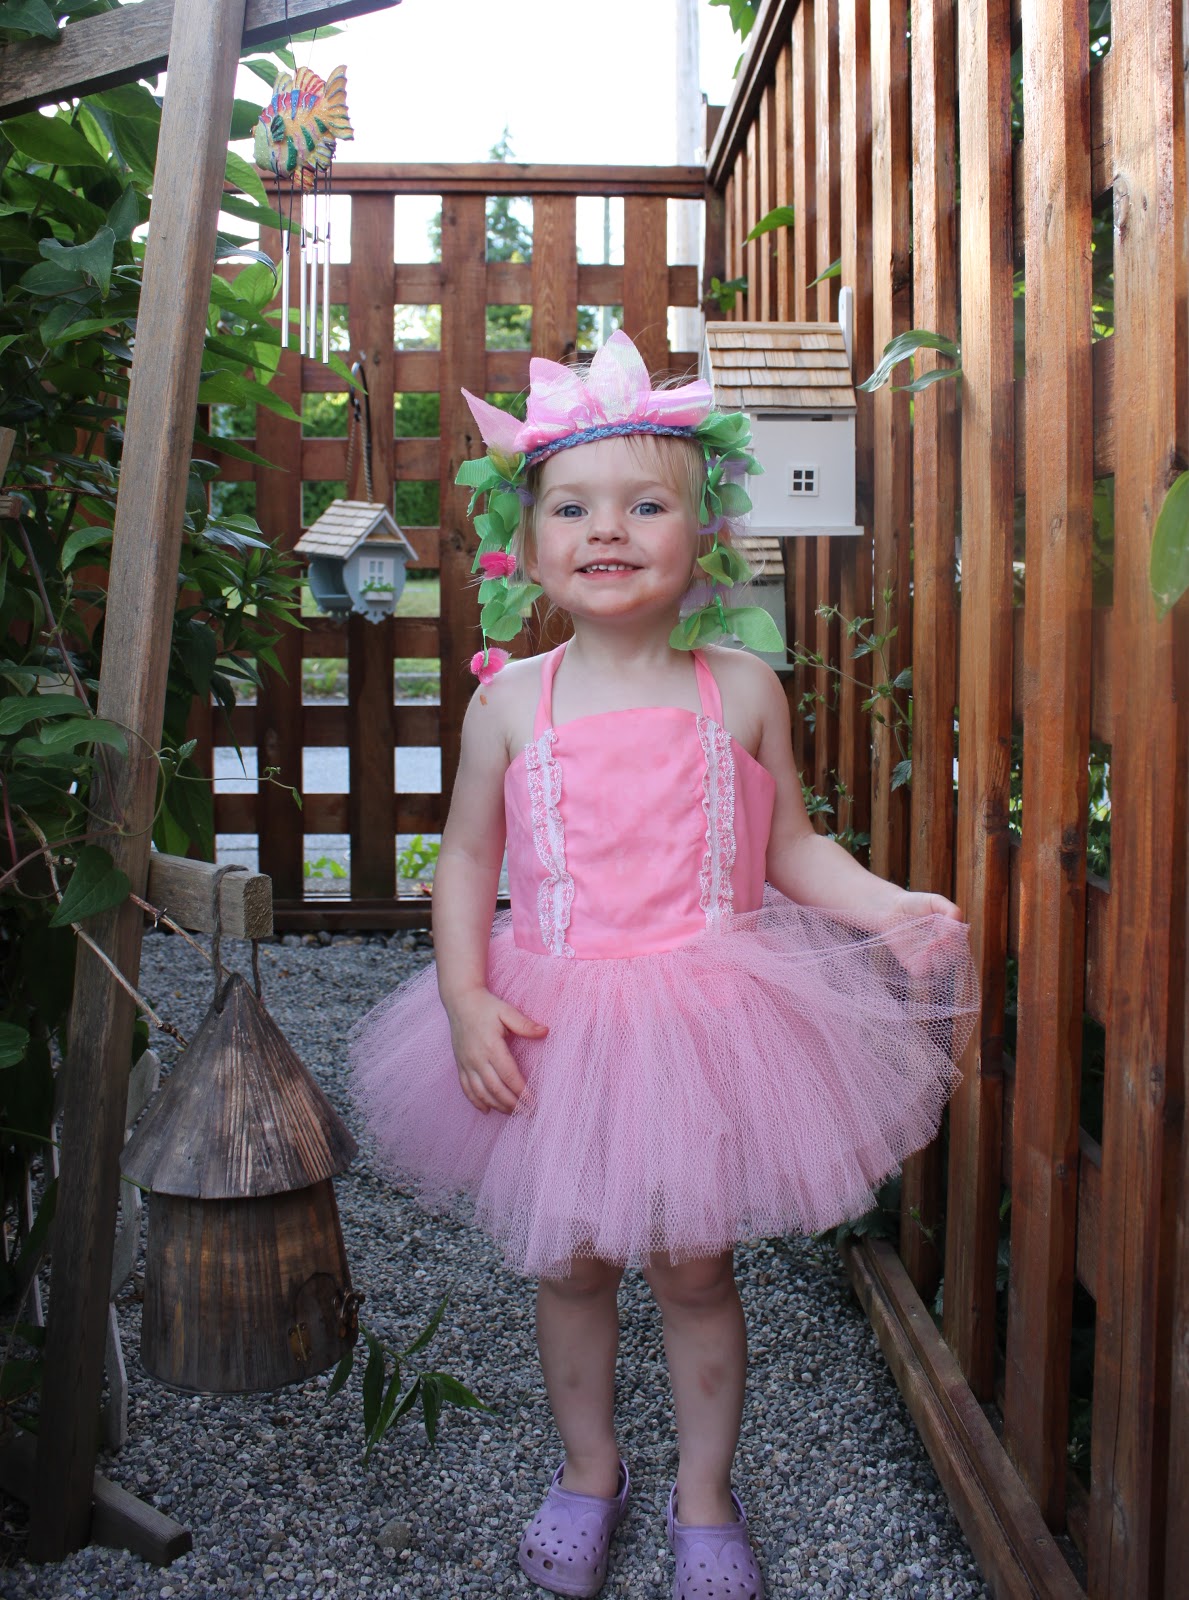
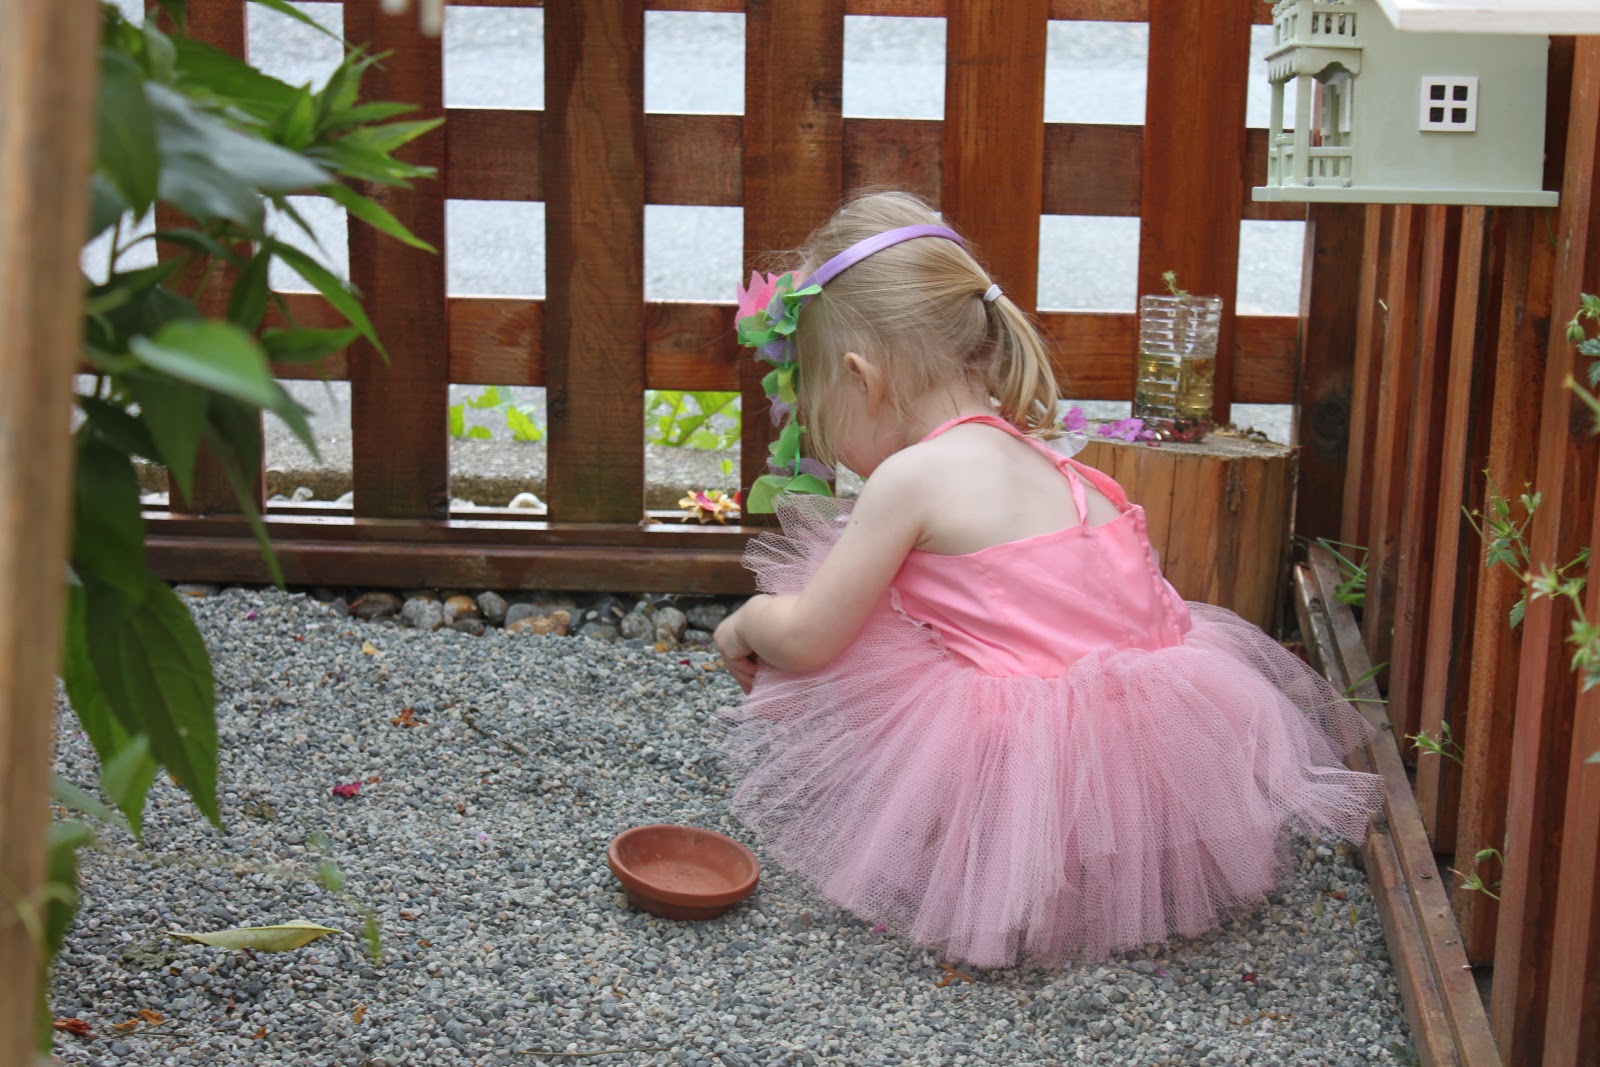
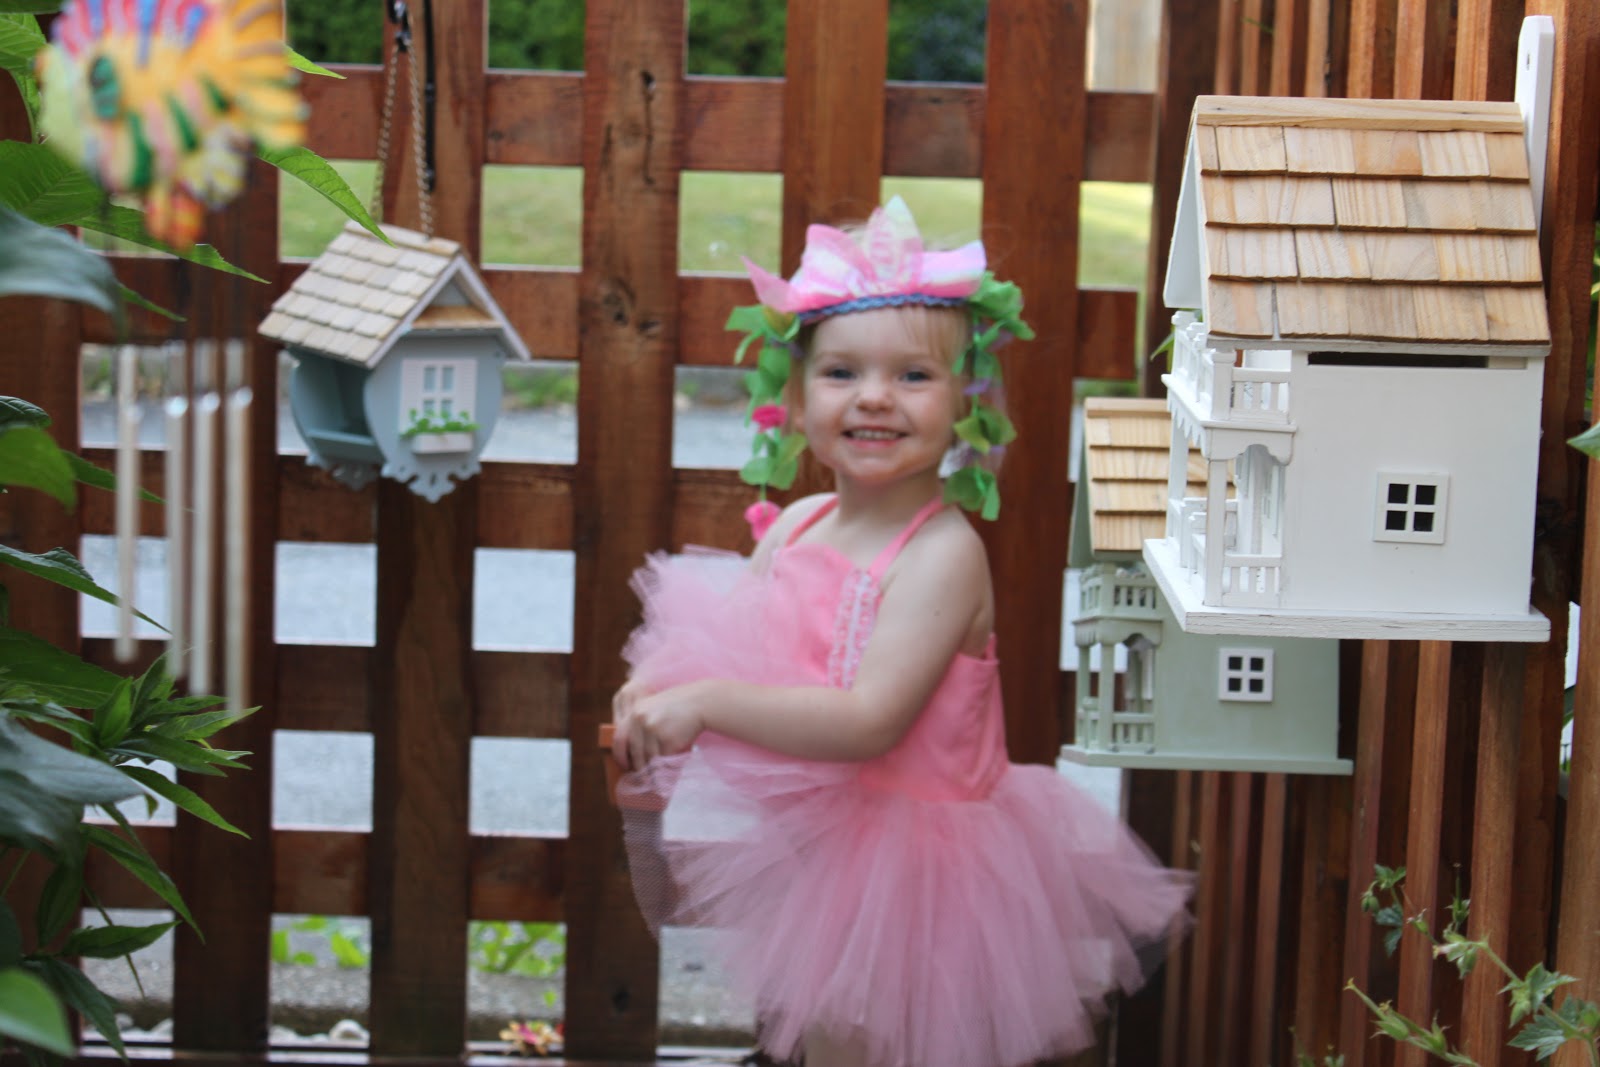
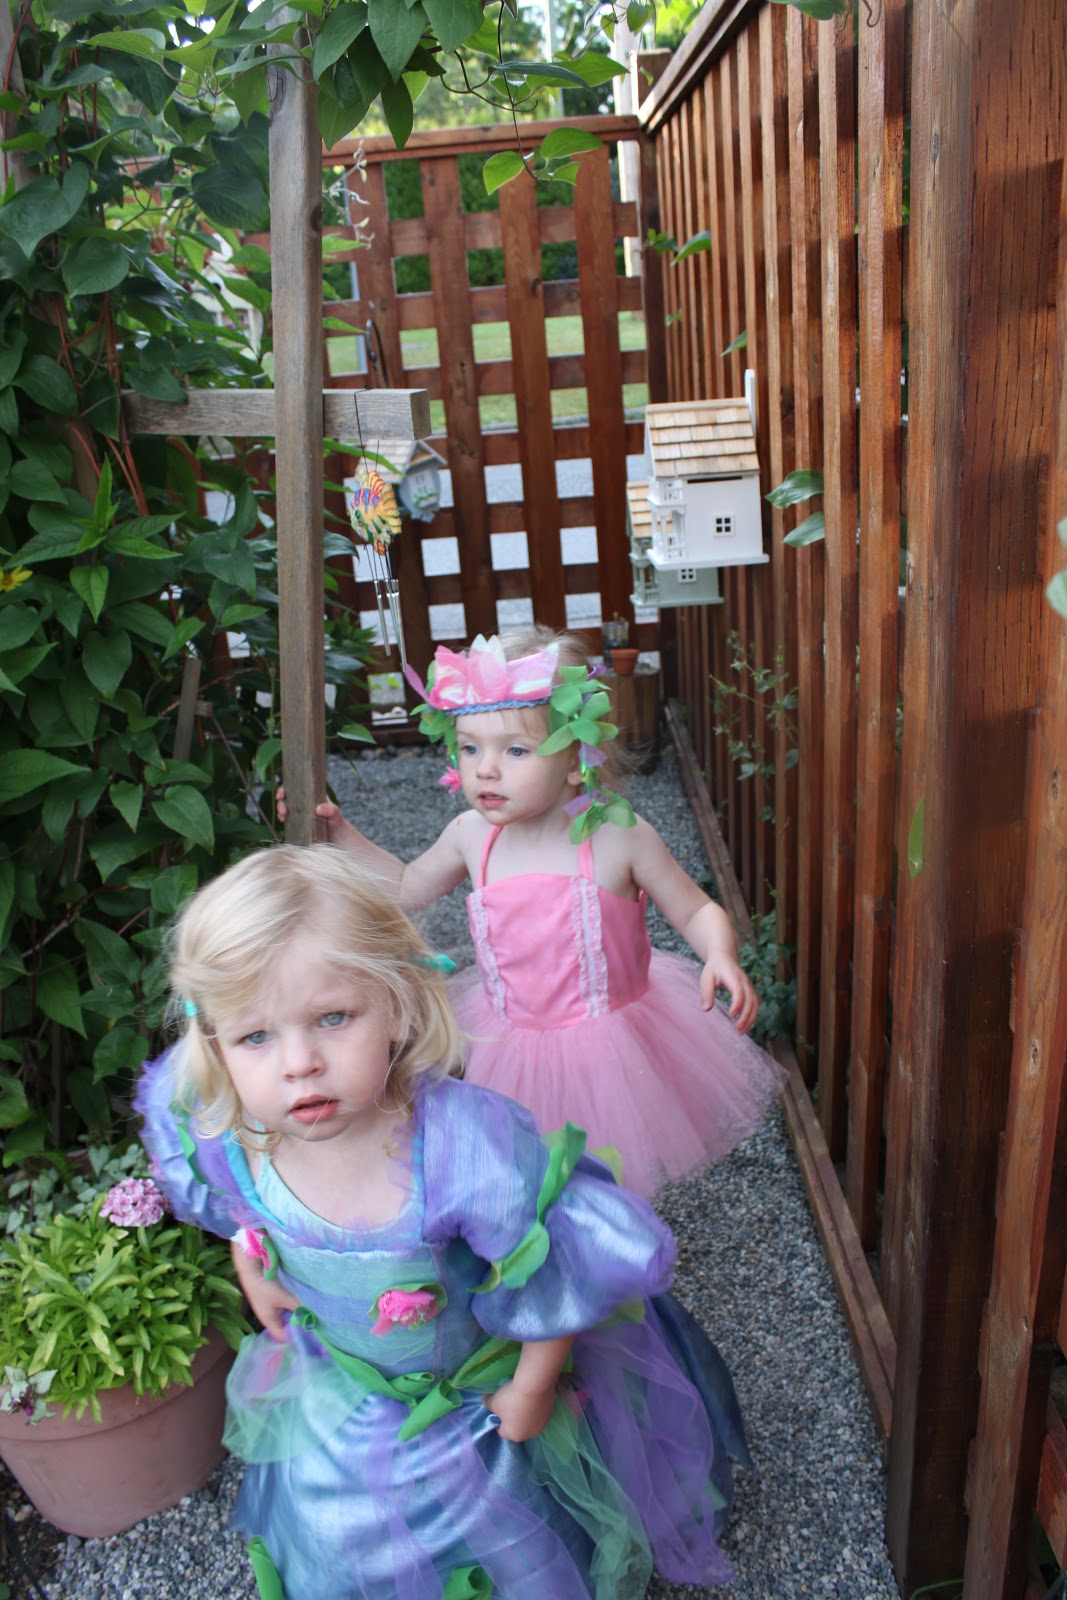
Yup. That’s a real live Fairy in the Fairy Garden! In fact, she wasn’t the only one we spied.
The costume was Jonina’s when she was a child (made by her Mom might I add – wowzers!)

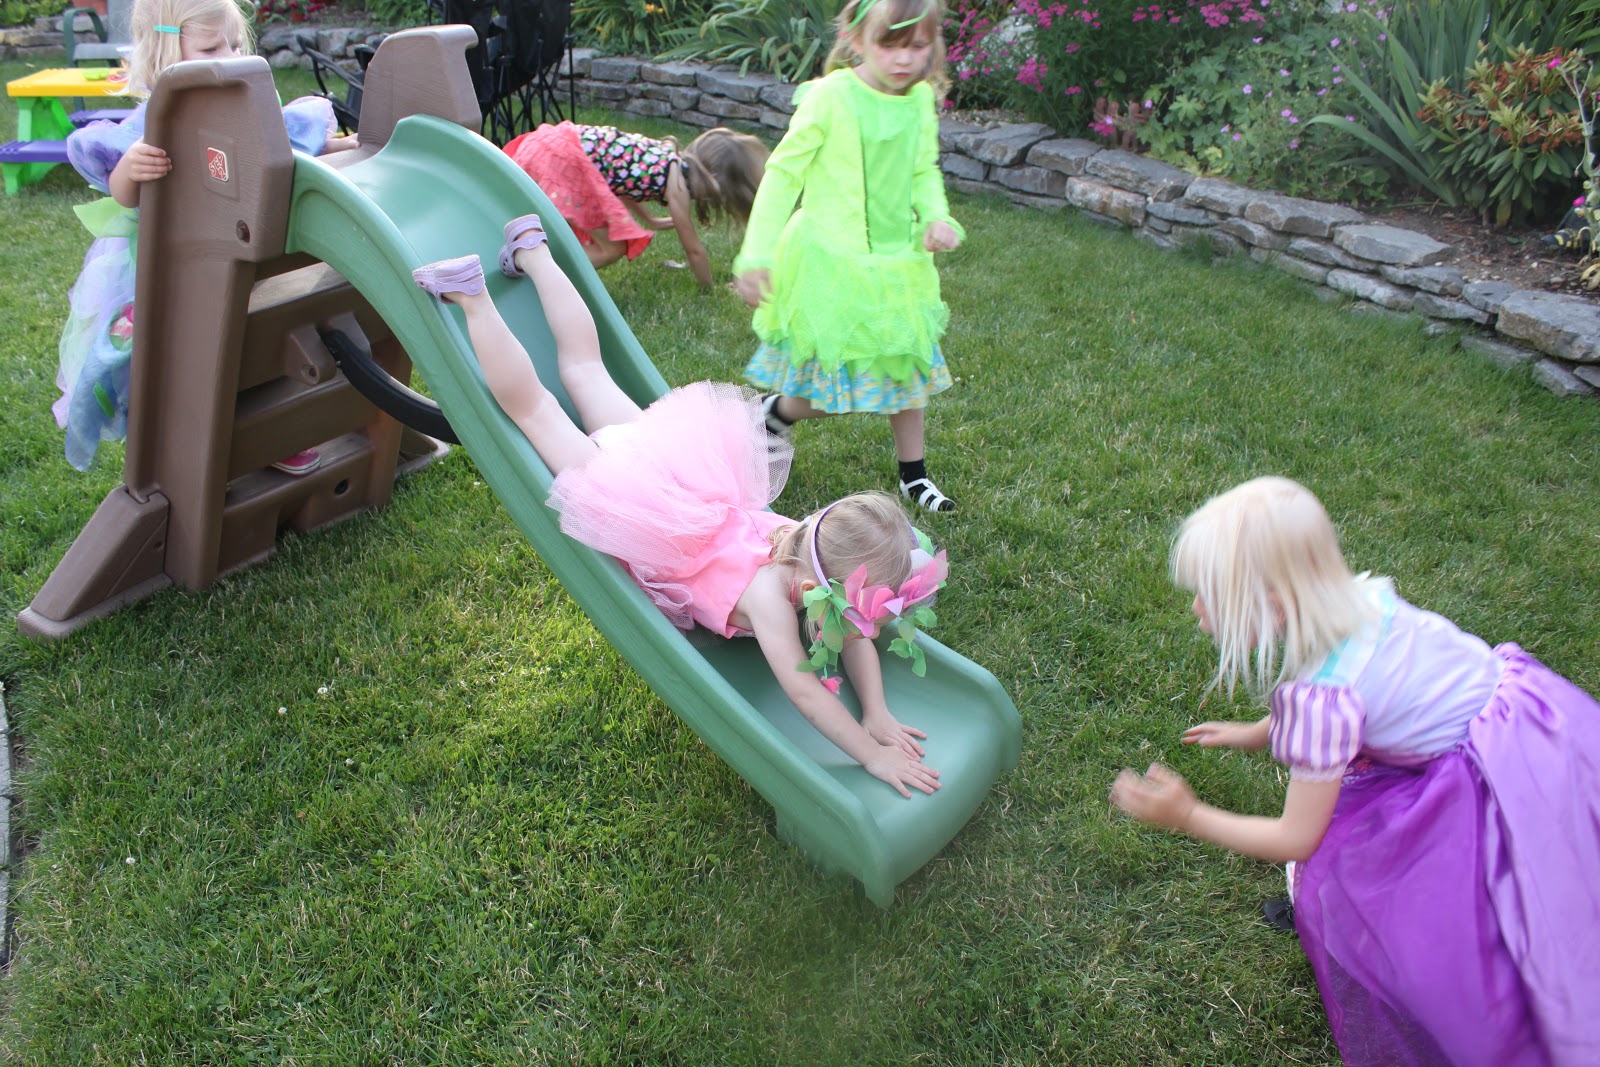
All the girls had costumes on at some point in the evening. It was hilarious!
Princesses Paige and Sophie were “taking care of” the little fairies. Doesn’t look to me like Fearless Fairy Christine needs any taking care of, does it? Headfirst down the slide! I ask you? Where does she get it from? What’s that you say Aunt Jean? Me?! NEVER!!!
🙂

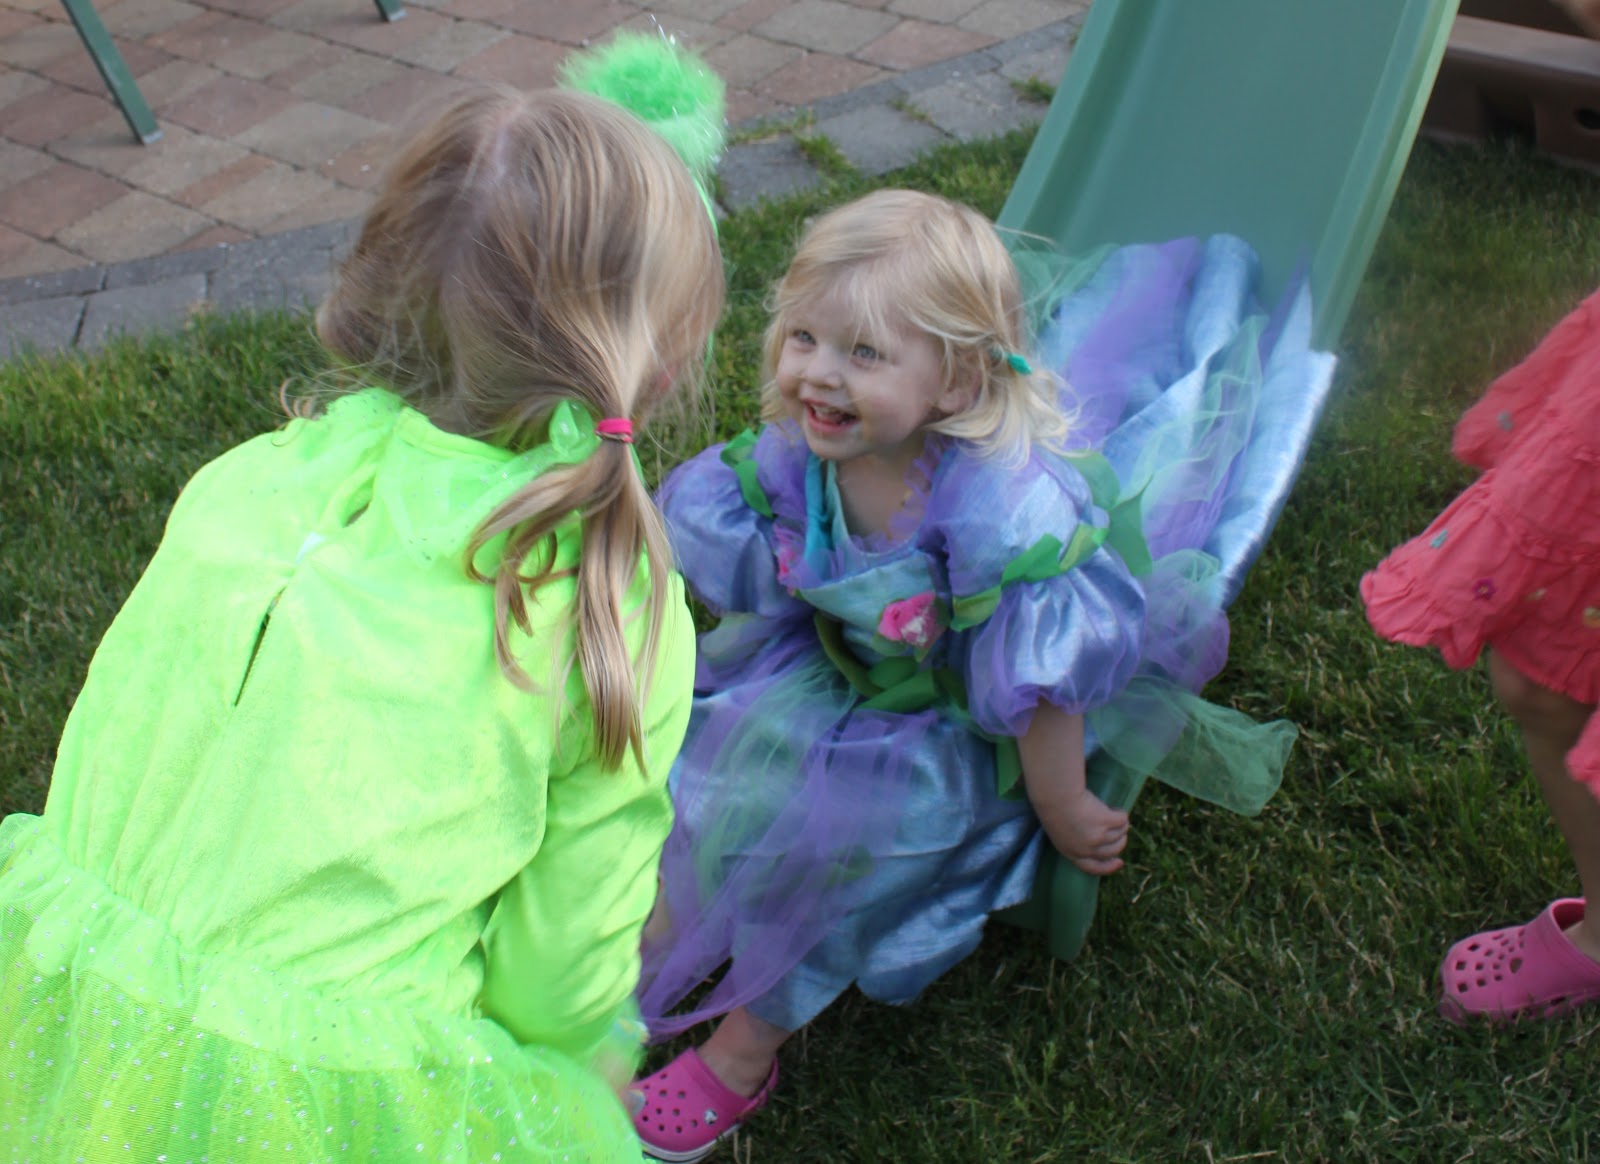
Sadie has such a serious look! She was very serious about holding her dress up while walking too. It was pretty cute! And how she managed to climb the slide with it and not slip, I’ll never know.

Sister Sophie can get big smiles!

The Fairy Garden was getting a little crowded.

Then they were called for cake.
I almost got run over!!

Hard to believe that Matthew is 8. Where have those 8 years gone?!
3 kids apiece for each of us will make the years fly past.
I am so glad they are so close in age and that we live so close to each other. Growing up, Andrew and I missed out on having our cousins around which makes it more meaningful now to see them get along so well together. There really is nothing like family, is there?
3. More MotherLOAD – Organization
Our main homework assignment for Week 2 was to think about how we scrap and how our space is organized and identify any places where these two things get in each others way. I used to scrap in the dining room where my biggest stumbling block was having to clean up everything when people were coming over and we needed to use the dining room to eat in (we have an eating area in our kitchen which is where our family meals are eaten normally.) Stumbling block #2 came along in the form of LC who (as I may have mentioned once or twice – insert unladylike snort here) LOVES to get into everything! It became neccessary to have a door that not only closed but locked.
We are blessed to have a little room tucked off from our entrance that Greg’s computer and my drafting table are in. Since I’d finished my schooling and didn’t see any immediate need for my drafting table to draft on, I turned my half of the room into a scrapbook room. I’ve loved it ever since but it does have some drawbacks. The main one being that everything is so tucked away that it sometimes takes me a half hour or more just to dig out all the papers and product I want to use on a layout. Let’s just say it’s still a work in progress!
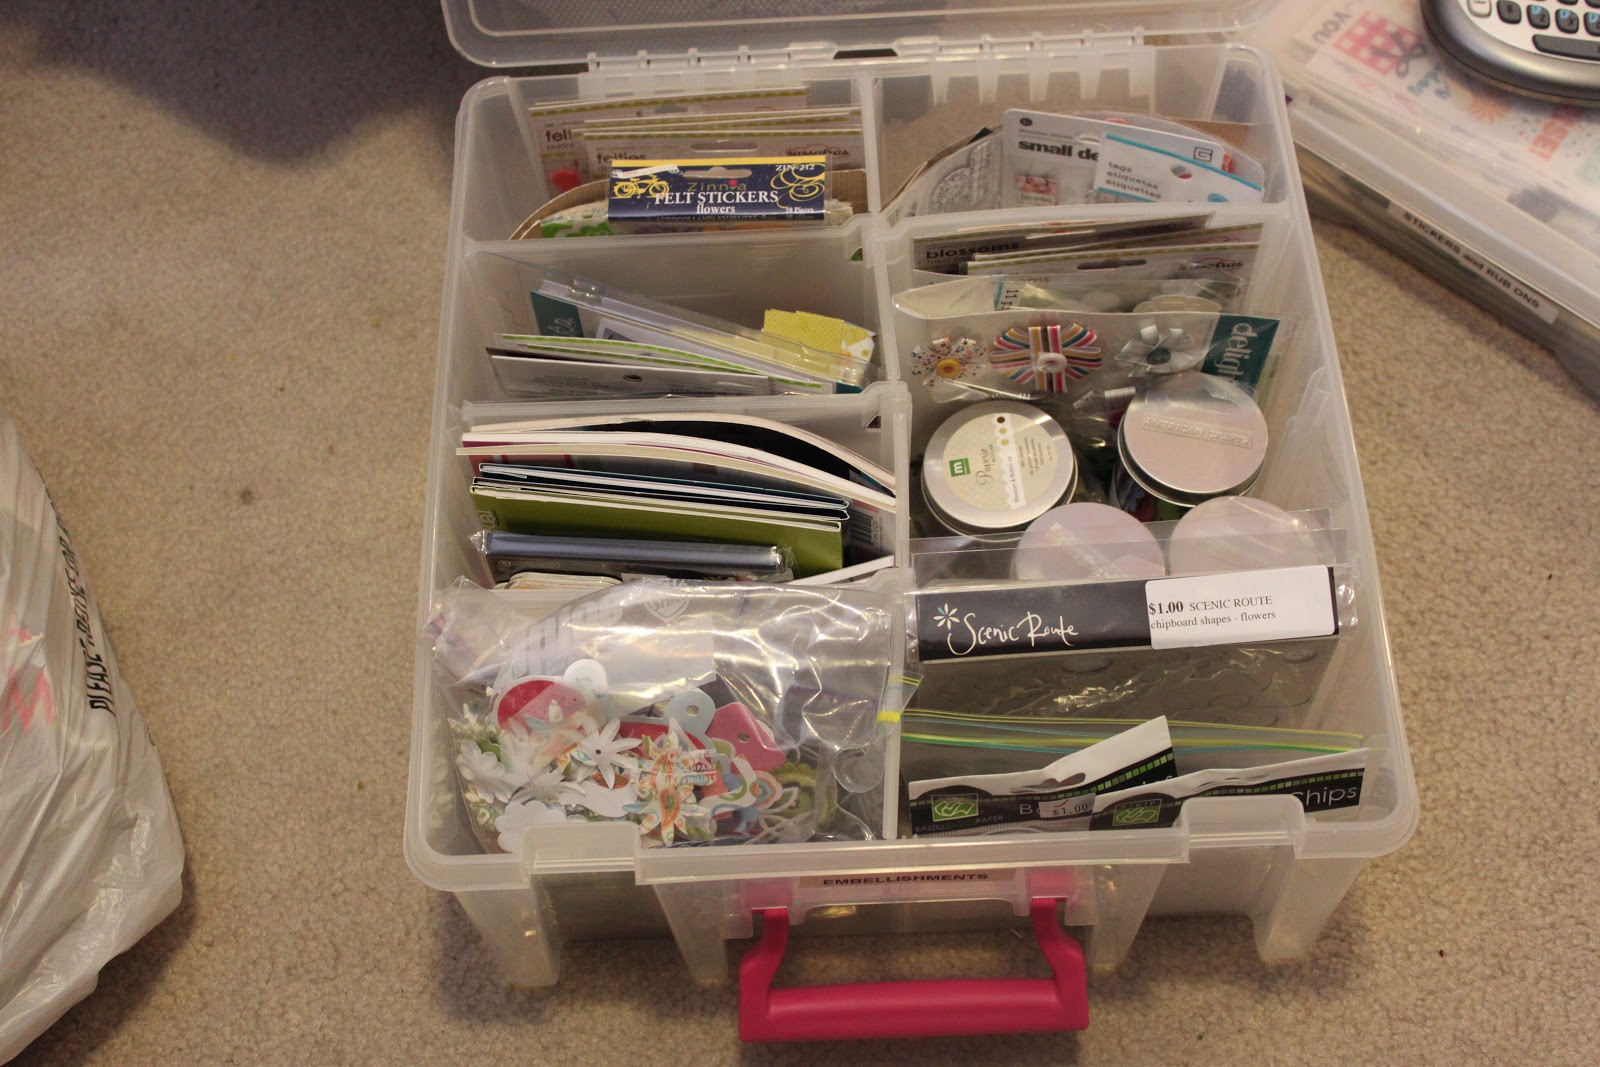
I have WAY too much product (what scrapper doesn’t?) and lately was noticing my embellishment drawer wasn’t closing properly. Partly due to too much stuff in it, partly due to the fact that I’d been delving into it so often this month that it had gotten out of control. So for my 15 minute assignment from Lain, I decided to tackle this drawer. Here are some pictures of my progress.
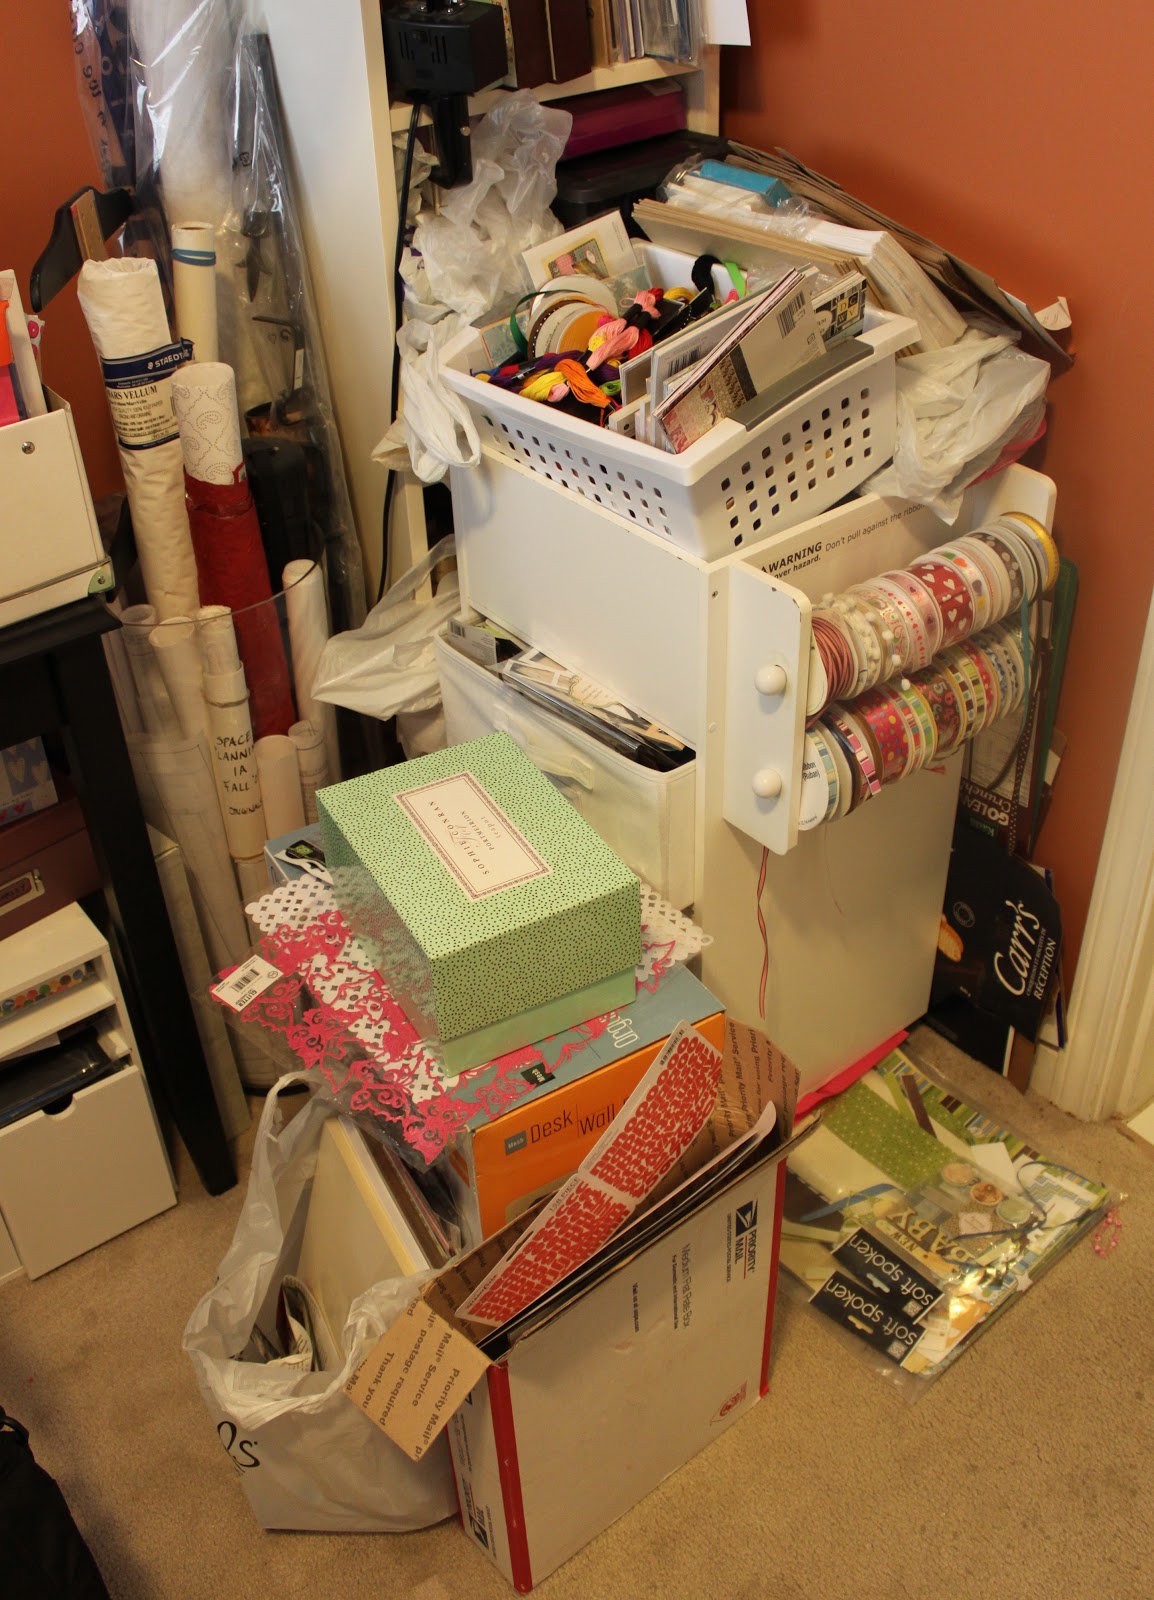
The before shot. This little unit holds about half of my paper (still to be organized/culled), embellishments, ribbon, and so many other little bits and pieces it’s hard to name them all.

This is the offending embellishments drawer!

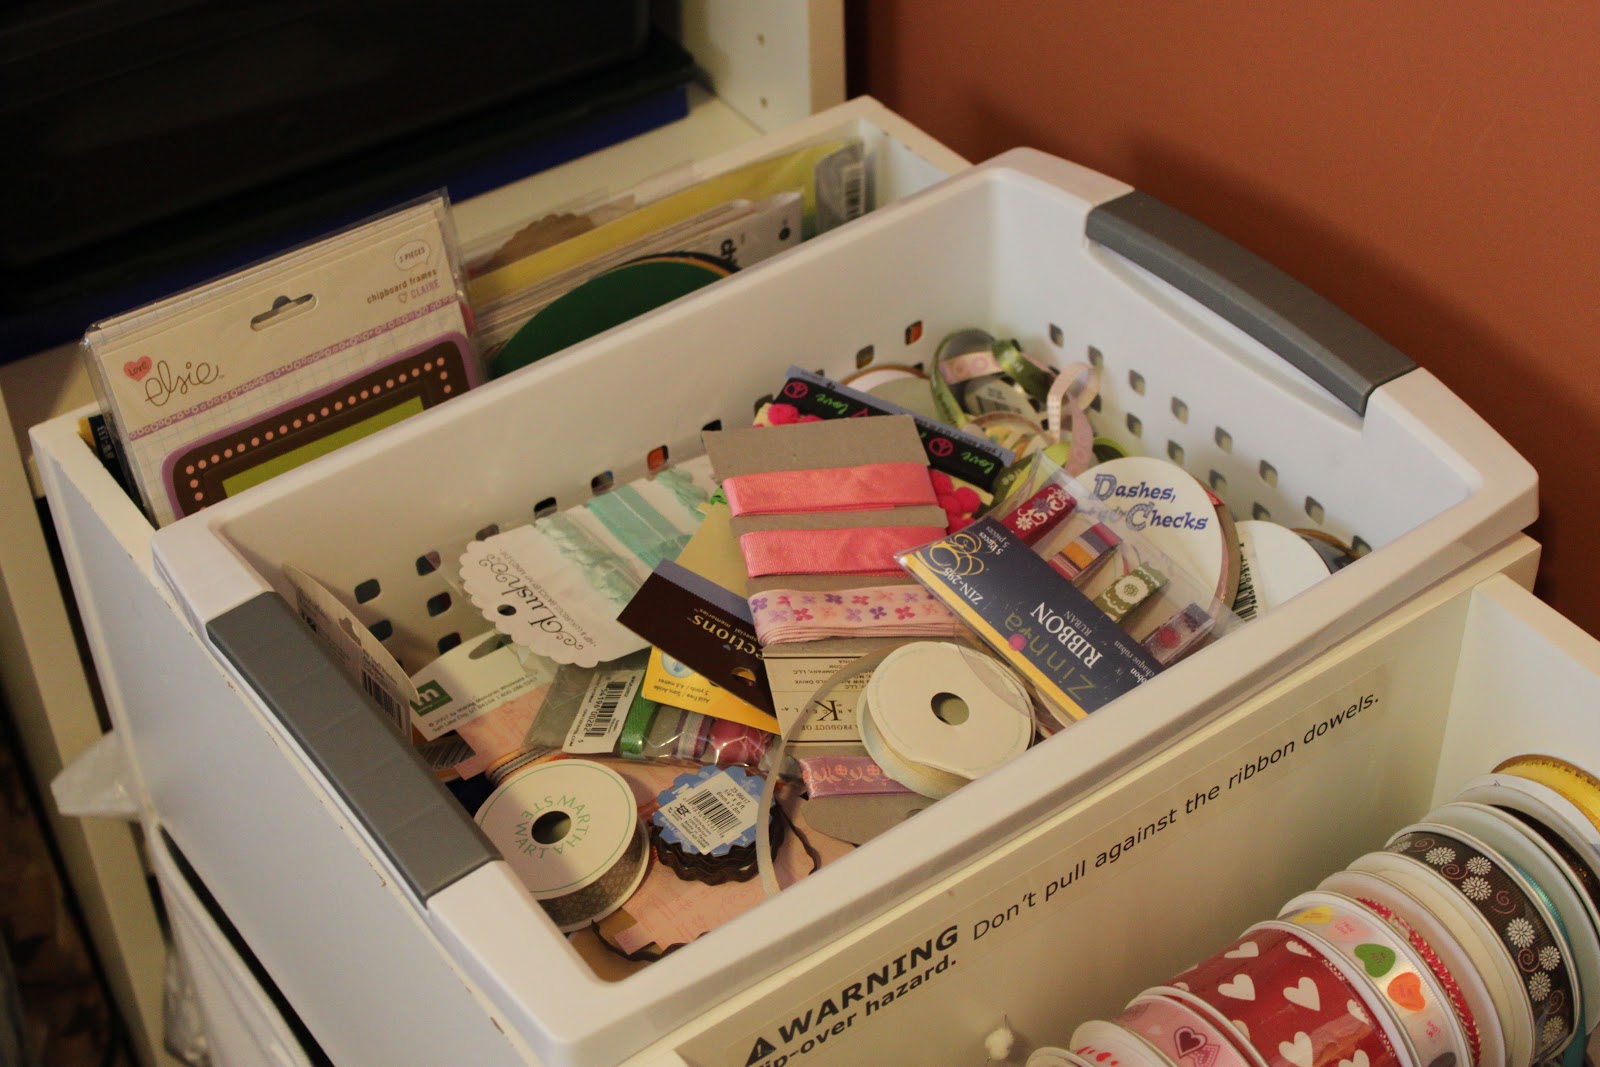
And the after shot. I switched things around and now that top drawer holds all my alphas (and my embellishments are in my old alpha bin). The little basket on top now neatly sits into the top of the unit and holds all my extra ribbon, embroidery thread and twine.
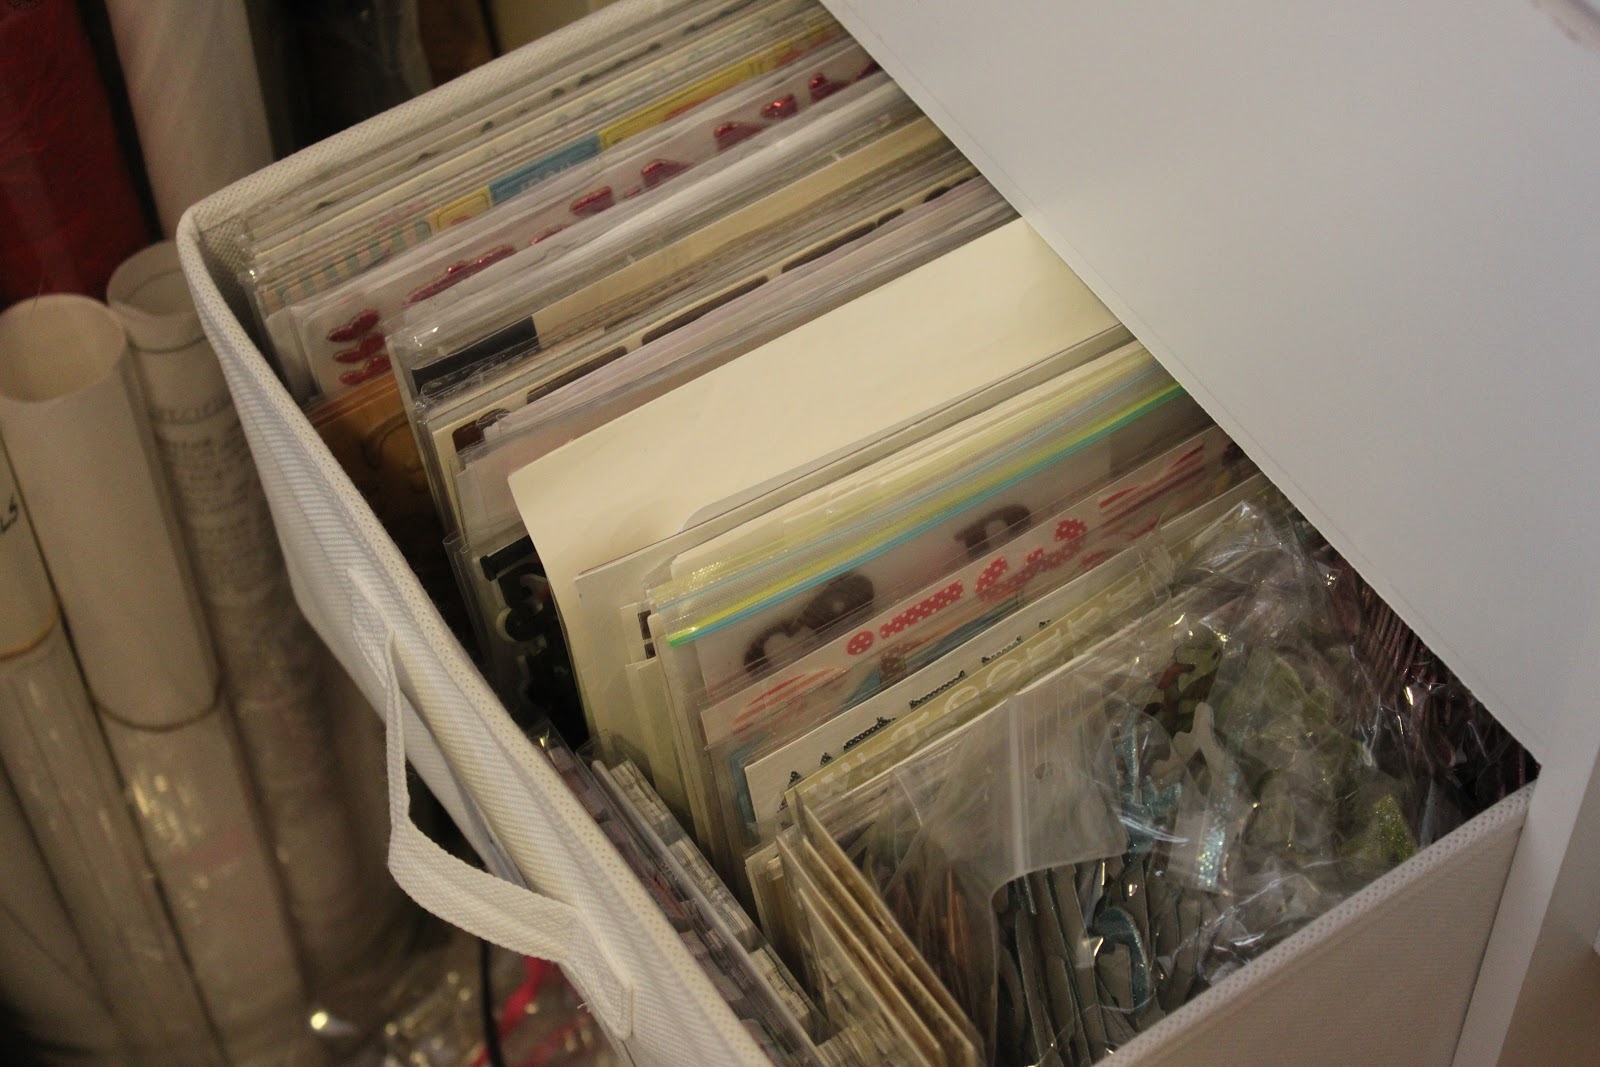
Here’s my new alpha drawer. Wanna take bets on how long it can look this neat?

My ribbon basket.

And what’s underneath it – my stash of paper bags and some oversized chipboard embellishments.
My new embellishment caddy. When it stored my alpha’s I didn’t have all the dividers in it.

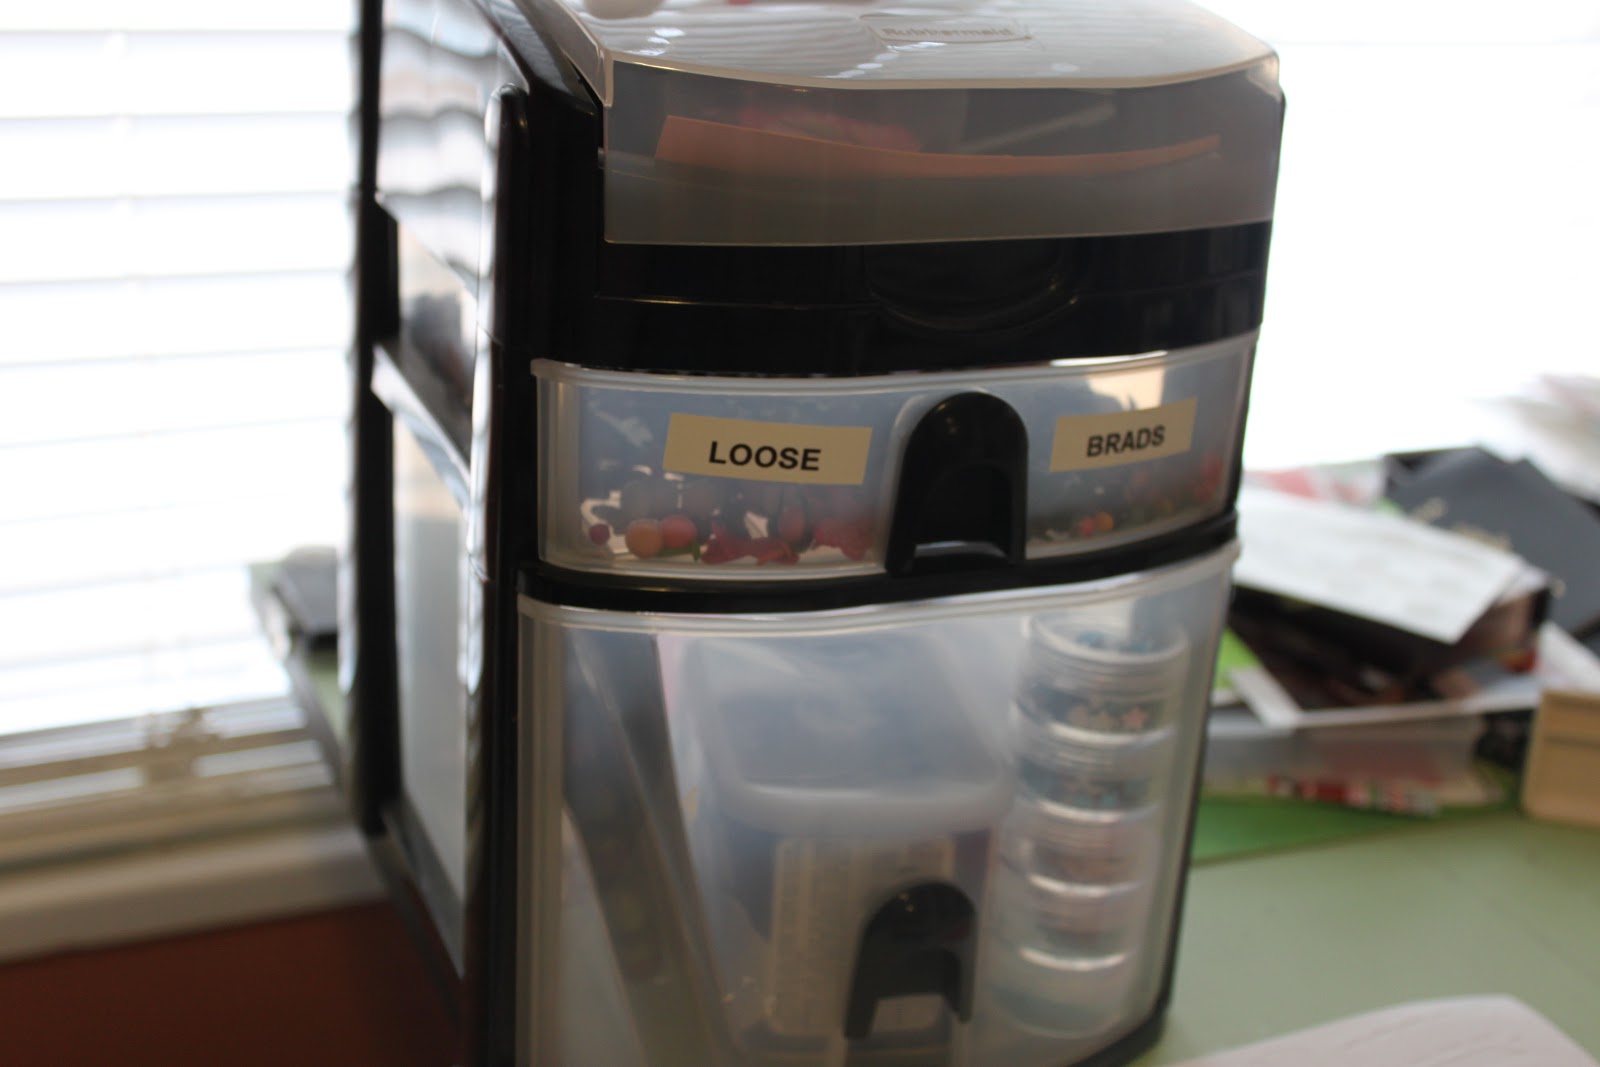
I also took the opportunity to go through my “sticker/rub ons” bin and my “buttons/brads” bin. In the process I found I had a) piles of brads! (really have to start using them on layouts!!) and b) brad packages leaking brads in more than one location of my room. So I opened them all and put them into this little drawer.
May have been a bad idea. Only time will tell!
And last but not least I borrowed an idea from Lain – to have a box by your desk and as you come across something you no longer want/need you pop it into the box. Once the box is full  you send it on to a friend or give it to someone in need who can make good use of it. This is my box o’ goodies which I think I will hang onto until September and give to Paige’s Kindergarten classroom.
Oh, and you may be thinking – wow! She did all that in 15 minutes?! Well, no. What started as “take 15 minutes to clean up the embellishments drawer” turned into “take 3 hours to clean up half your scrapping room”! Time well spent!
The final part of my Week 2 Homework is to do a layout using something found during our cleanup that we’d forgotten about. Haven’t done this yet but … soon.
4. Apron Strings Day 8
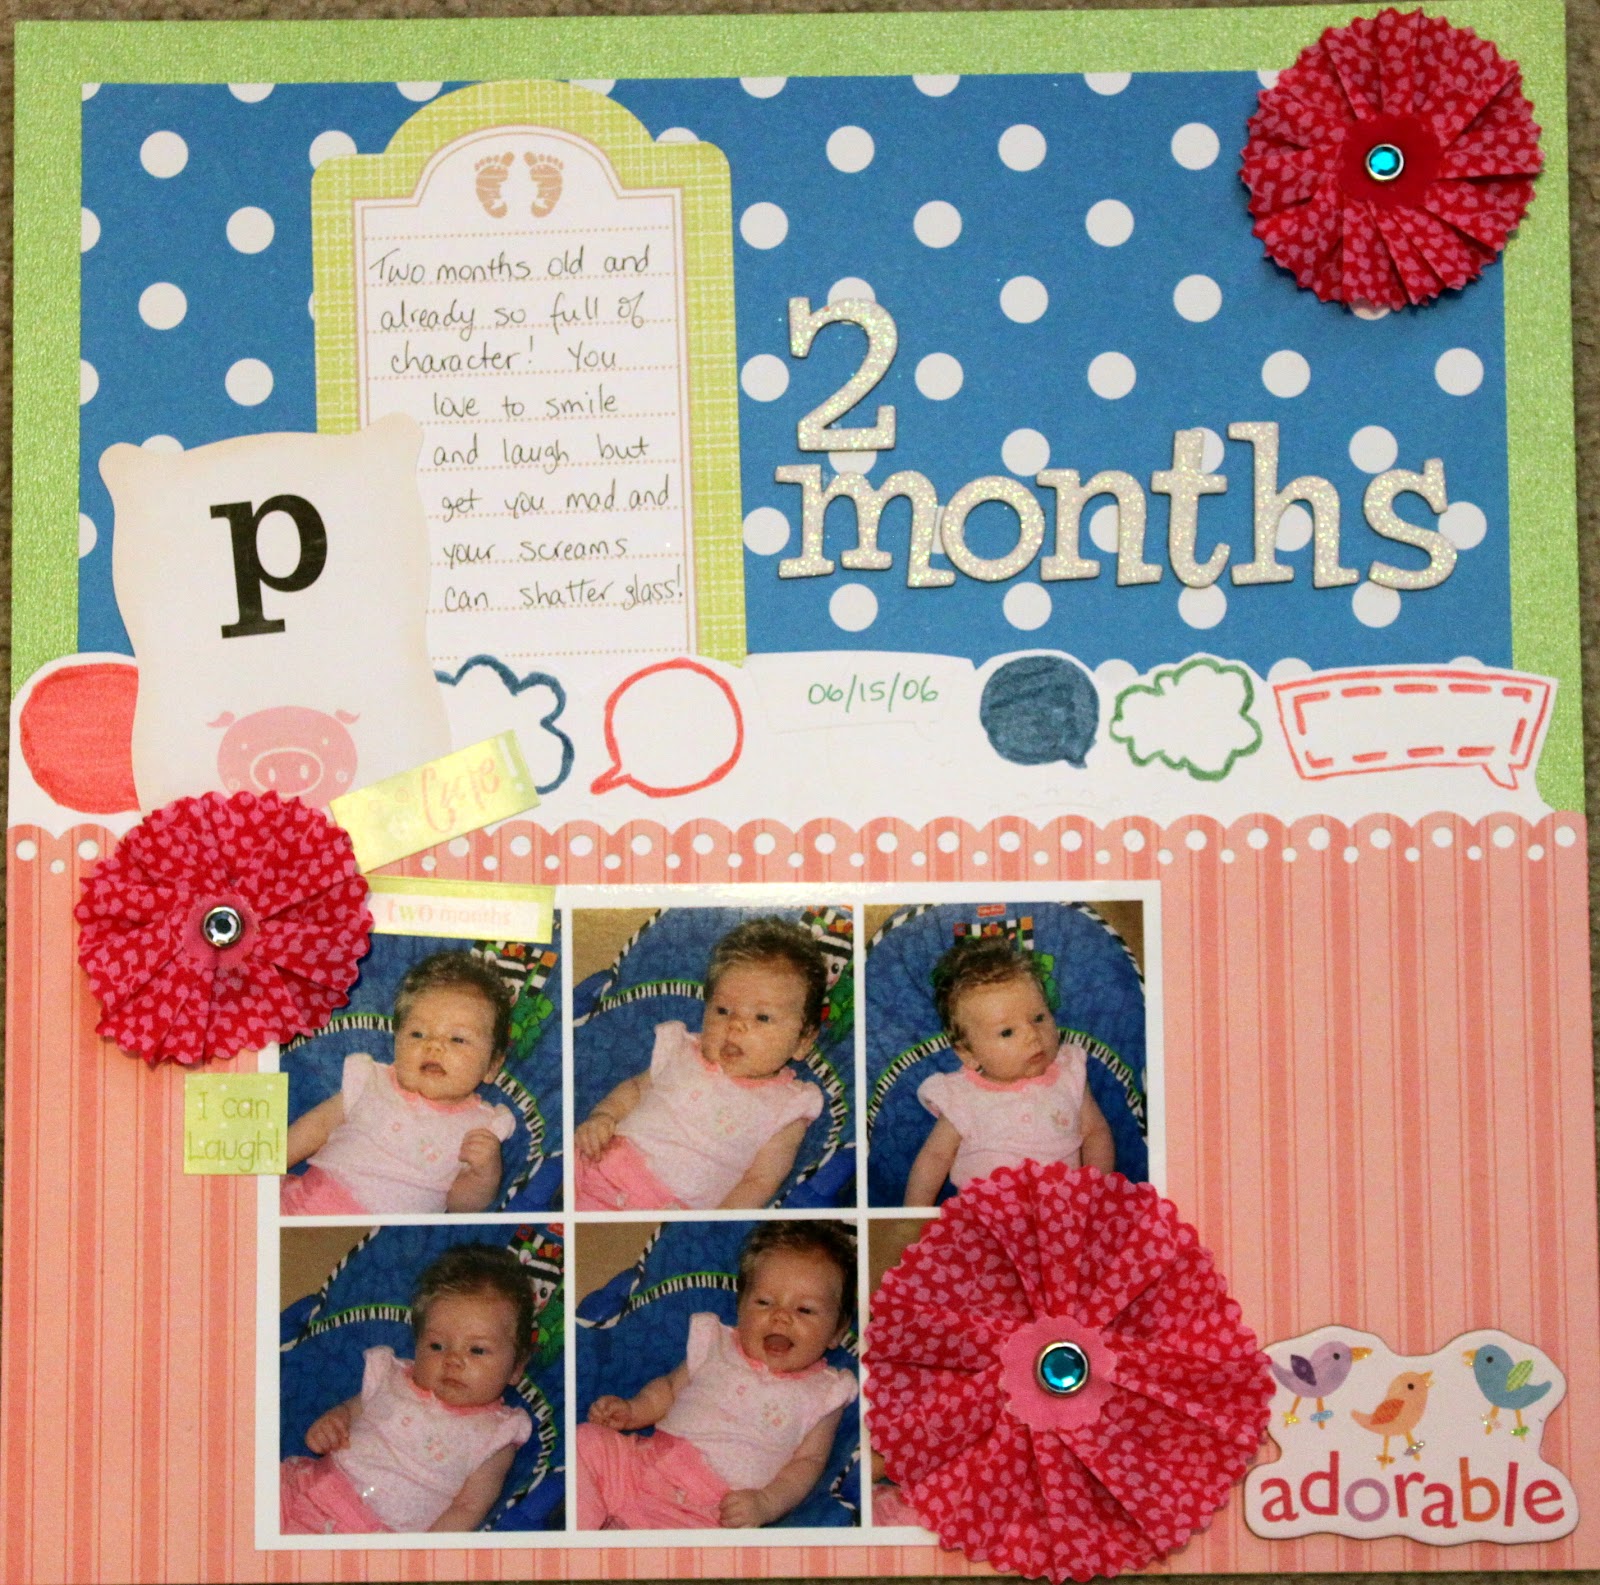
The challenge over at Apron Strings for Say 8 was “to use the older kit of your choice and combine it with one of Kailyn’s techniques. She’s got several on the above layout, which may be new to you: the pleated flower, the glitter, the use of more than one patterned paper, even the layering she’s done. ” I mentioned in an earlier post that I was going to attempt to make her pleated flower but was having trouble. Well, I finally got something resembling her flowers done and scrapped. Check it out.
On the left was the first attempt which I hated from the get-go. The ones on the left are the ones I used in the layout below. They are admittedly made with more of a rosette technique than a pleated flower but I smushed them to give them more of a flower look. I just realized that I forgot to add glitter to them like Kailyn did …. oh well, a bit late now!

And here is the finished layout.

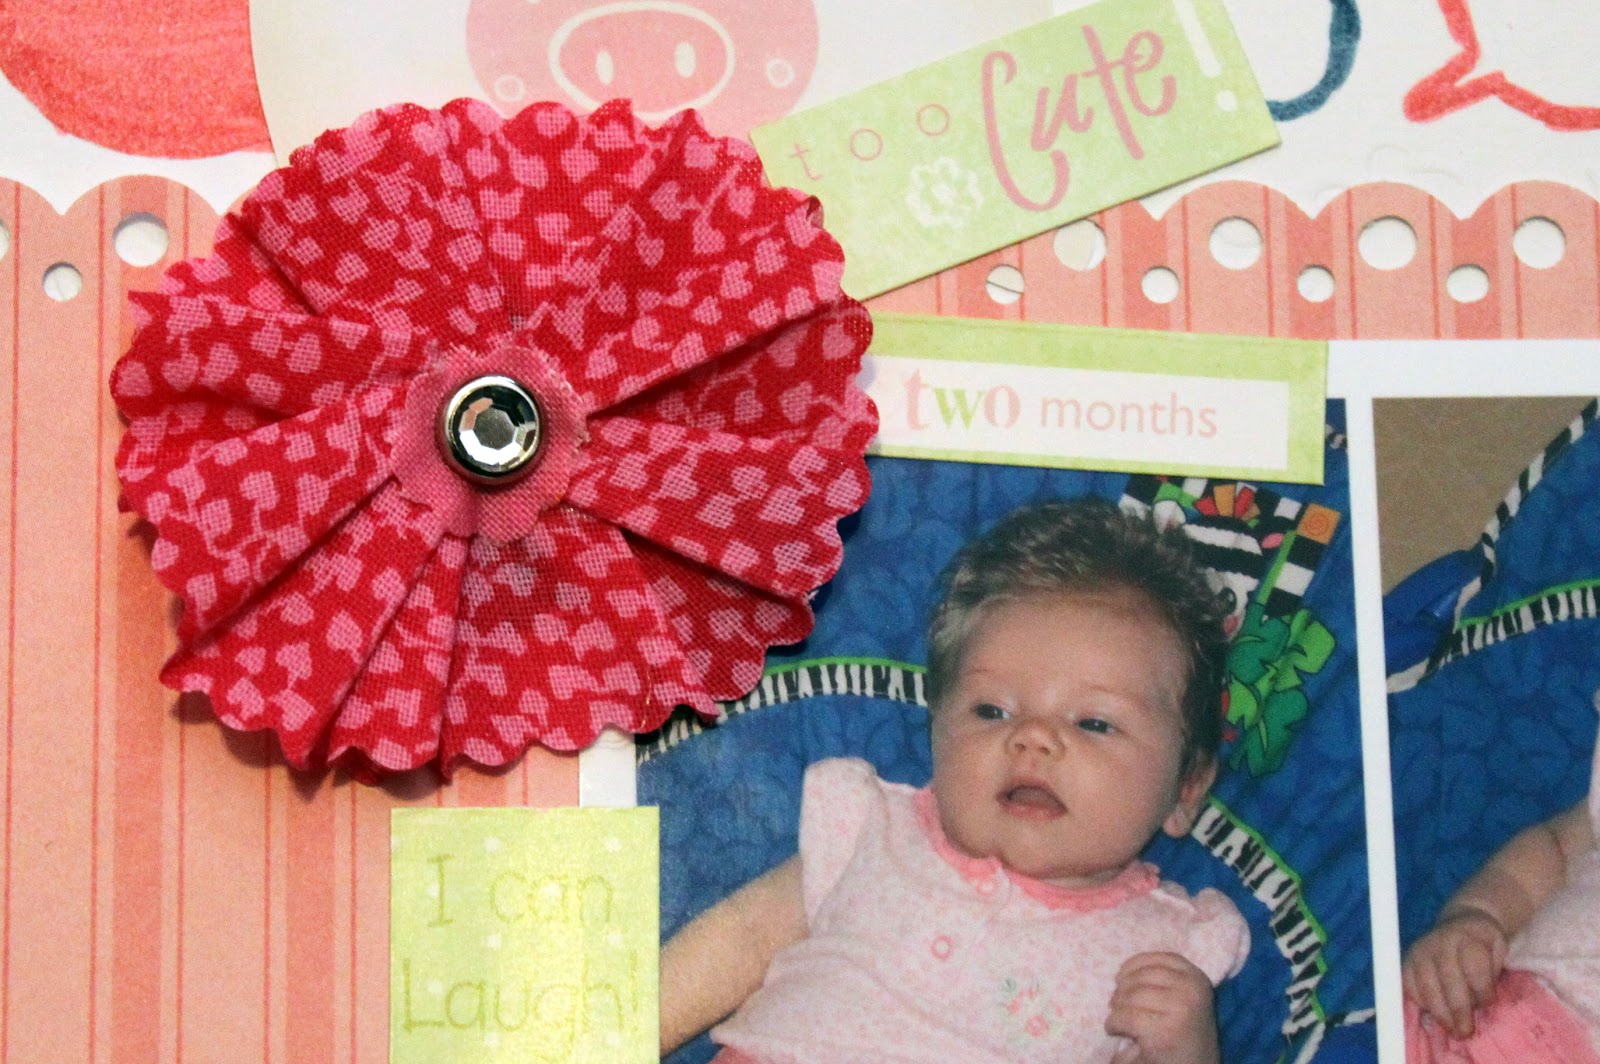
A close up of one of the flowers complete with brad.
Products used: Green cardstock from my friend Kara; Patterned paper – DCWV Nana’s Nursery Baby Girl, AC Tea Party and Elsie Zoe’s Brainstorm; Fabric paper was acquired at the Clipper Street garage sale last year and I can’t remember the manufacturer anymore, sorry; Journalling card – Colorbok Sticky Journal Stax in Pastel Baby; Phrase stickers – Deja Views Baby Girl Sticker Tablet; Flash card – K&Company Alphabet Cards; Brads – Lush; Chipboard sticker is unknown; Alphas – Thickers Sprinkles Glitter Letter Stickers in white.

5. This just happened

Just to prove that the girls don’t stay indoors ALL the time …

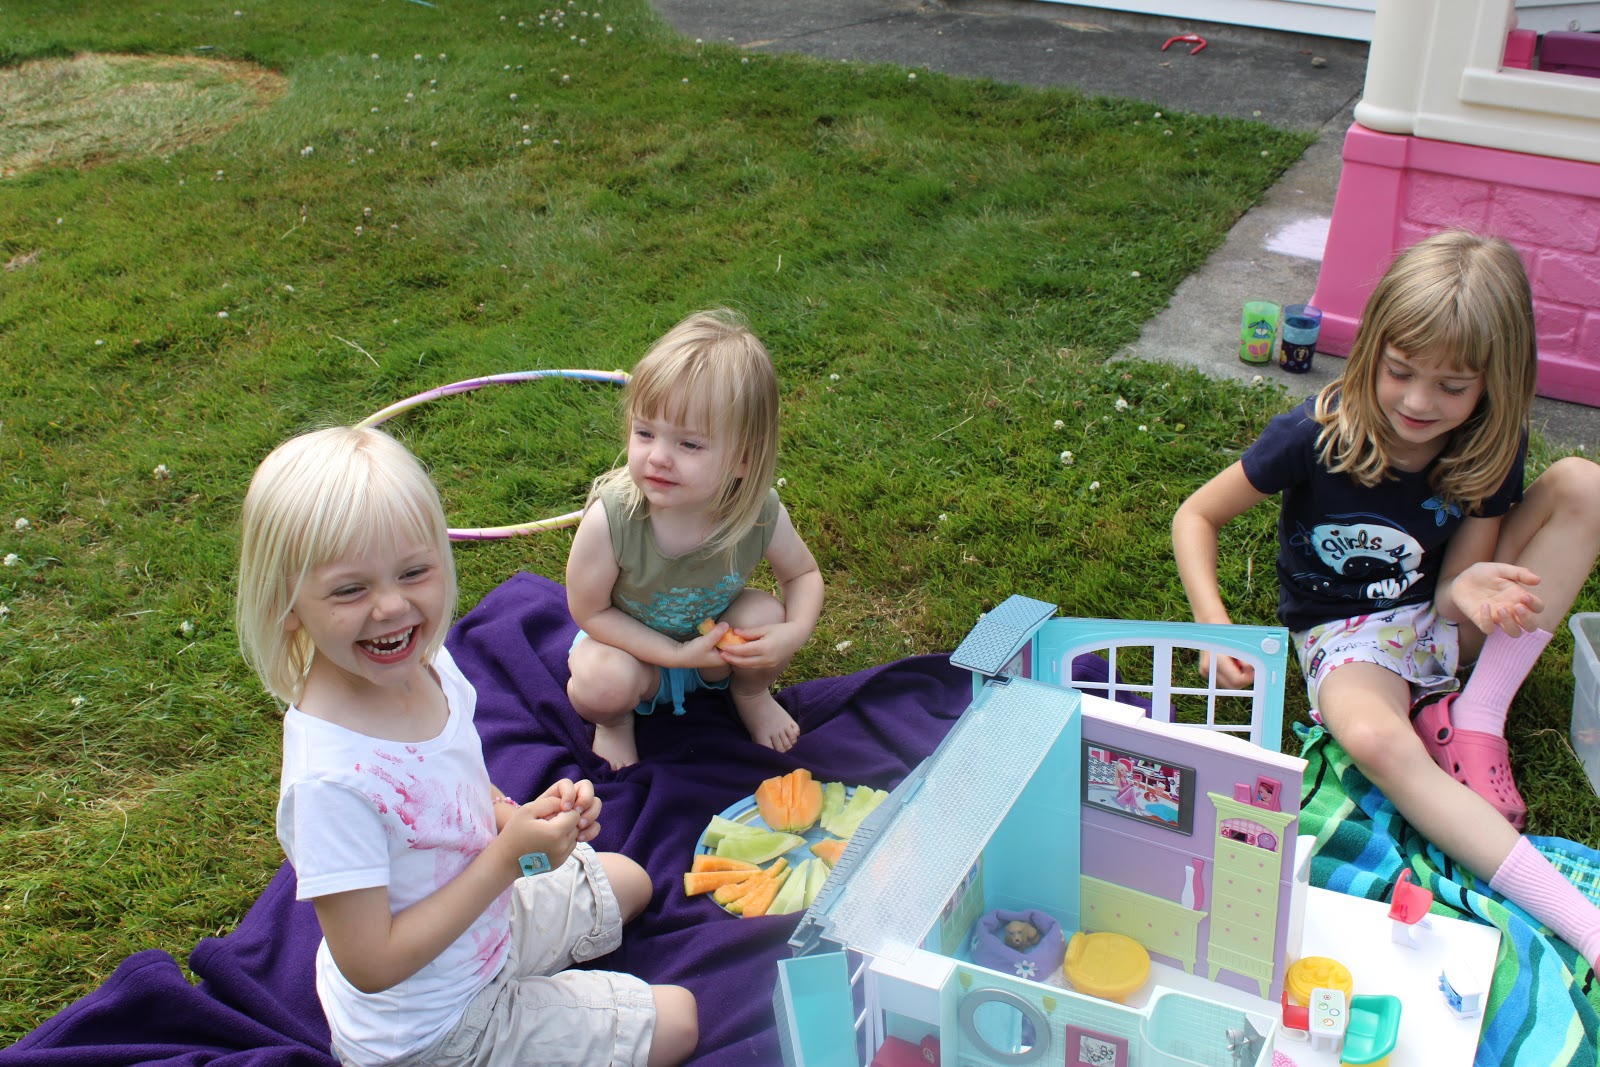
These were taken about a half hour ago. Barbies on the grass and melon for snack.
Ah! Summer!!

That’s all from me today. Have a great weekend everyone. Marley will be participating in the Portraits of Honour ceremony here in Ladner tomorrow and then I hope to visit my sister-in-law’s table at Summerfest in New West’s Grimston Park. Greg will be busy killing himself playing in a soccer tournament this weekend so I think it’s going to be just me and the girls again.
What are you up to this weekend?
Posted in Five on Friday, MotherLOAD | 1 Comment

Apron Strings Day #7

As per usual I am running a few days behind (I just saw that Lori has posted Day #9’s challenge!) But … where was I? Day #7 was a colour scheme challenge using older papers. Check out the colours …

Pretty bright, huh?
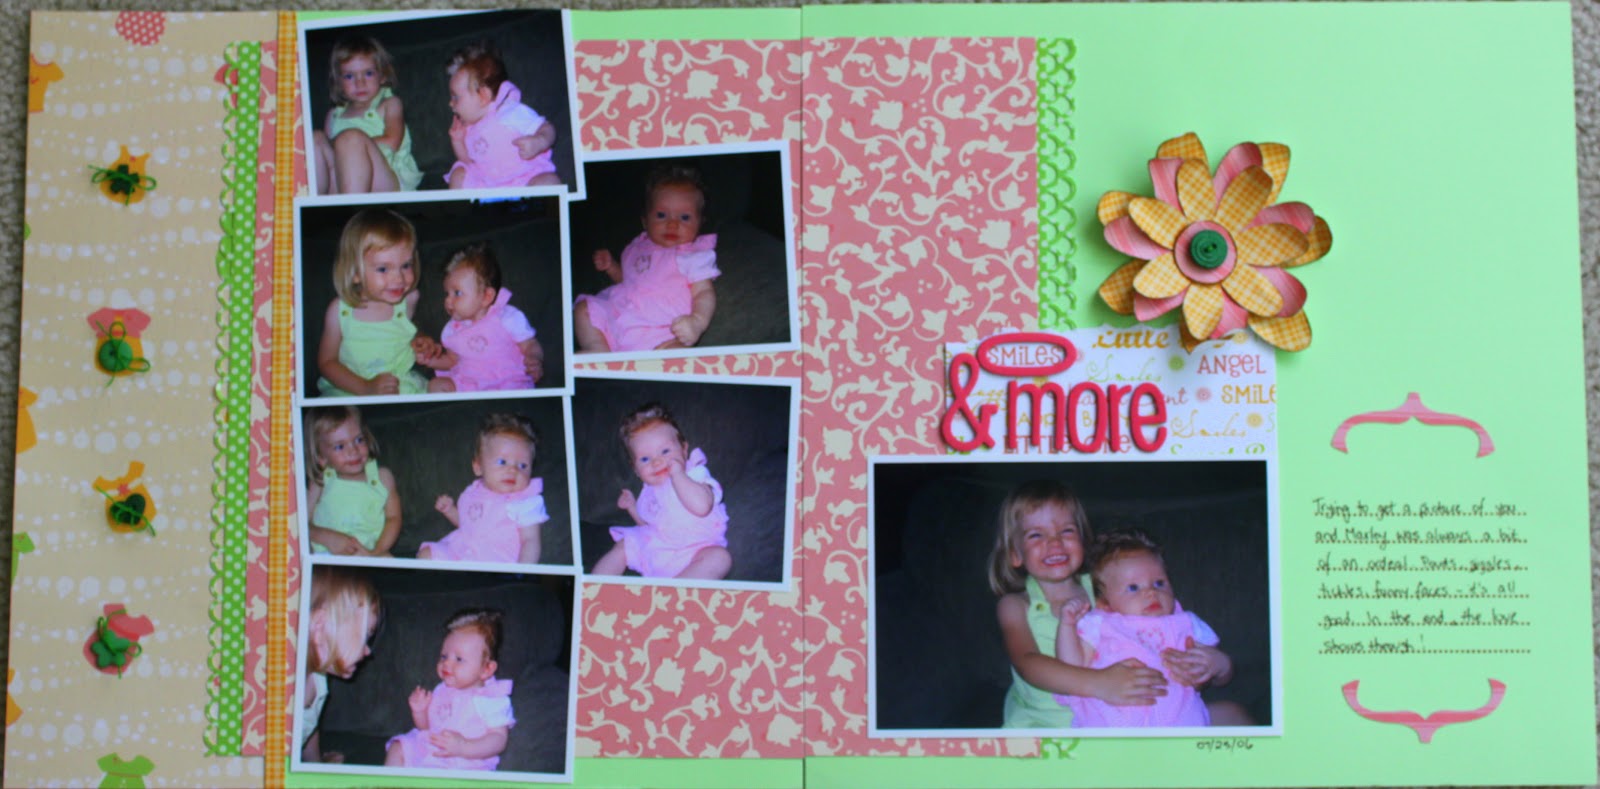
But I wasn’t worried for a second because I knew that the papers I have been using all along for Paige’s baby album (and Marley’s before) has this exact colour scheme. Awesome, right? Talk about fate! I grabbed some pictures I’d printed a couple weeks ago, which also happened to have the pink and green in them, used the sketch Lori had given us on Day 6 and came up with this.

Smiles & More
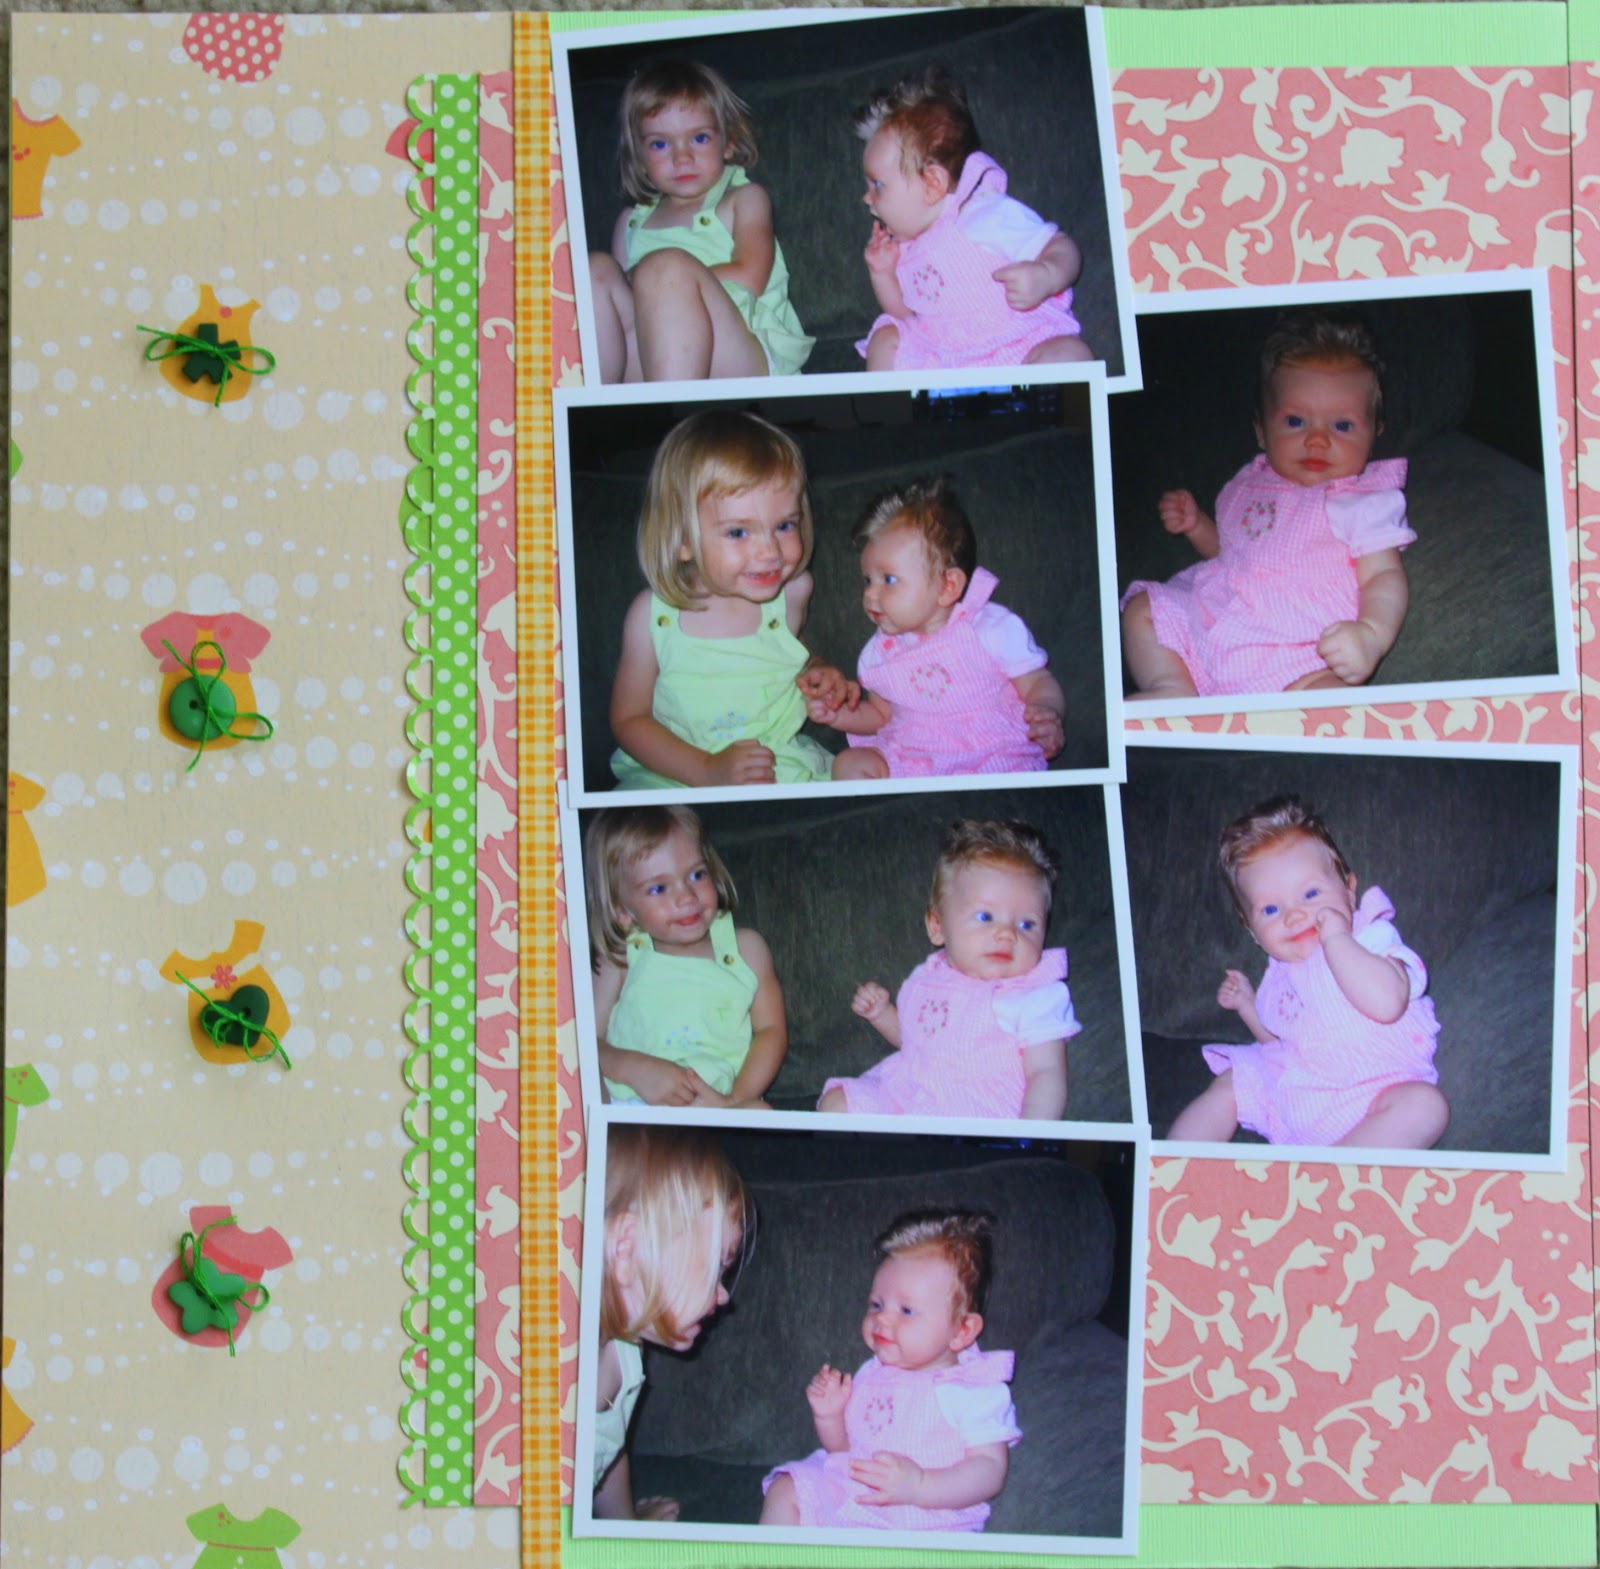
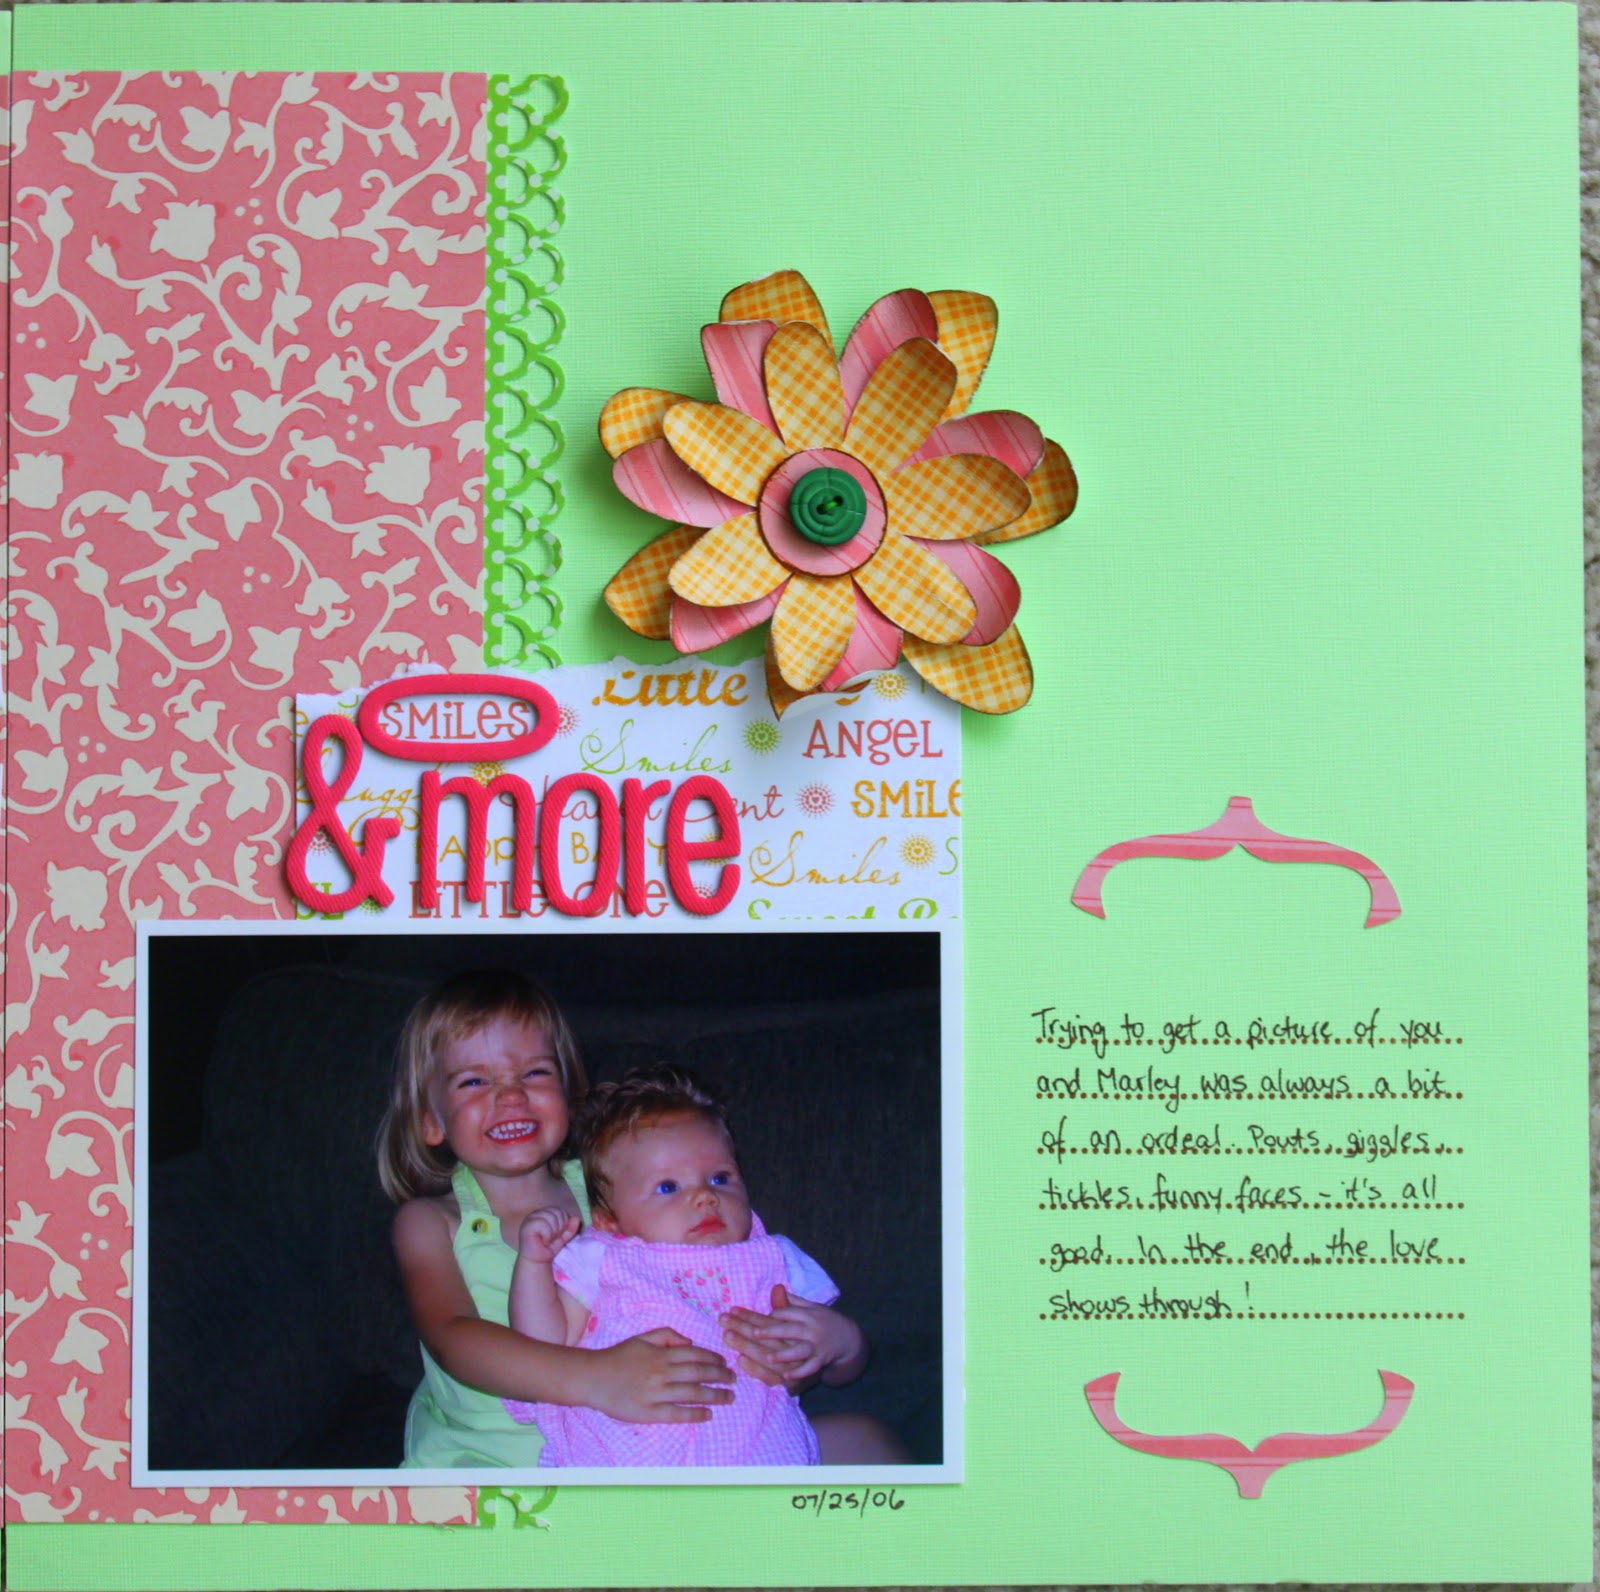
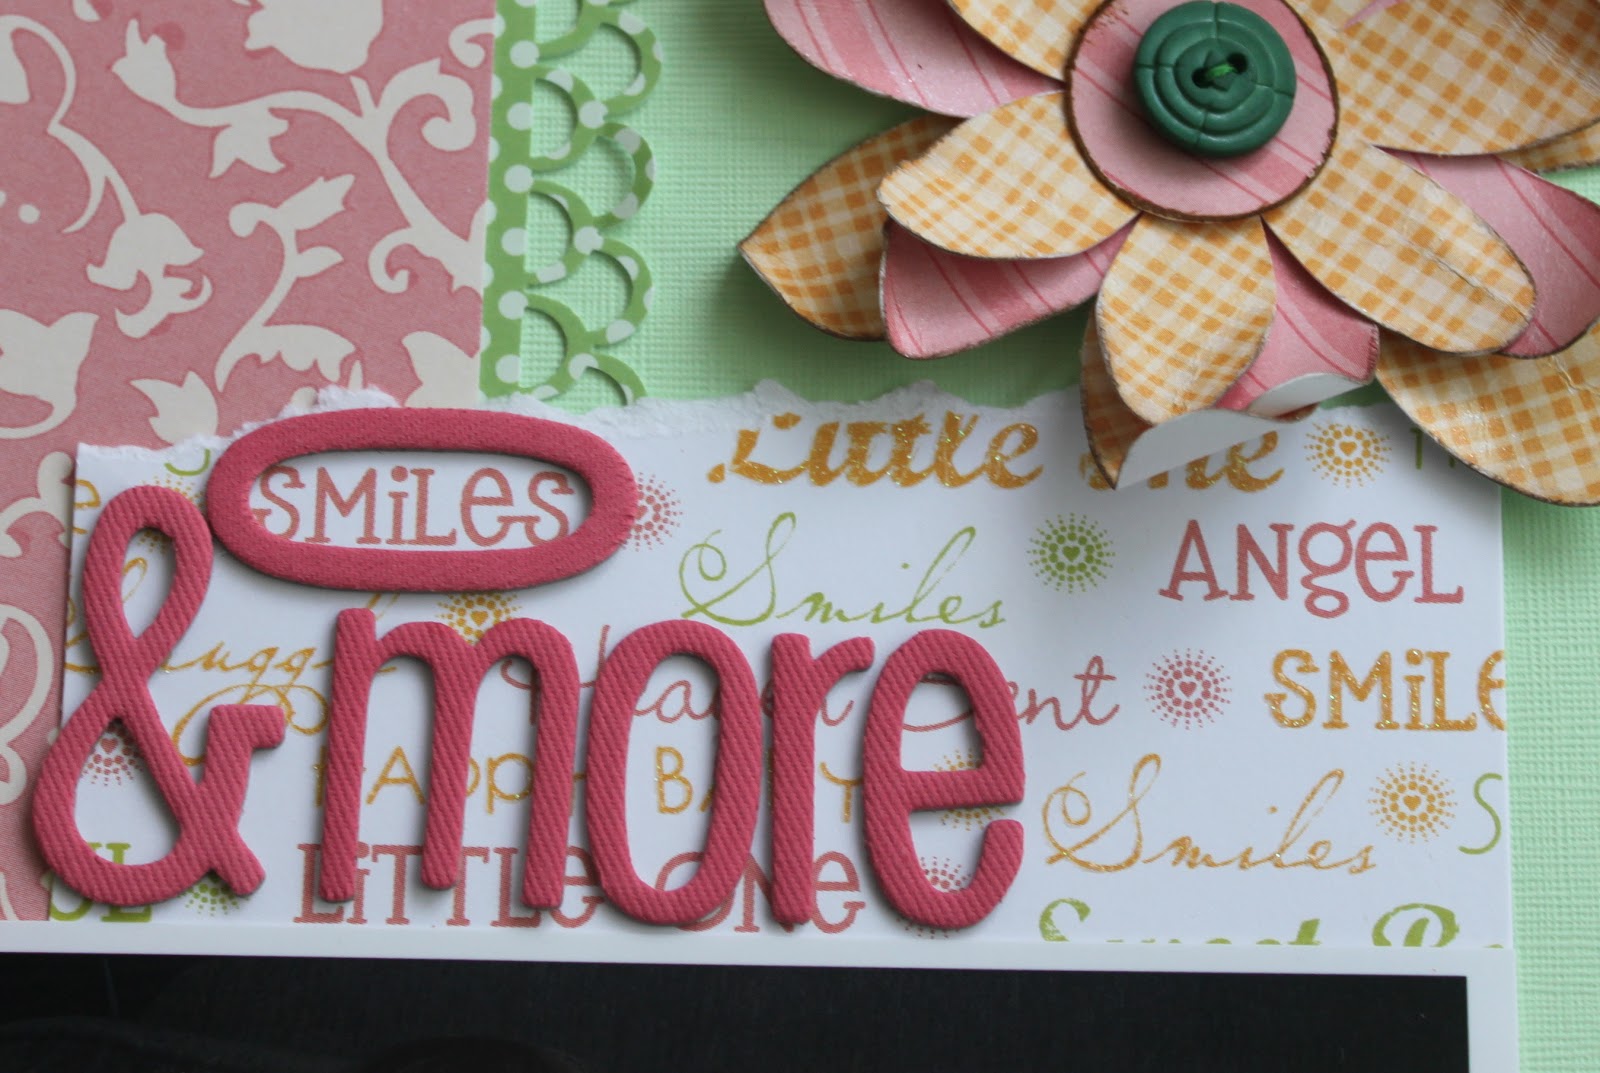
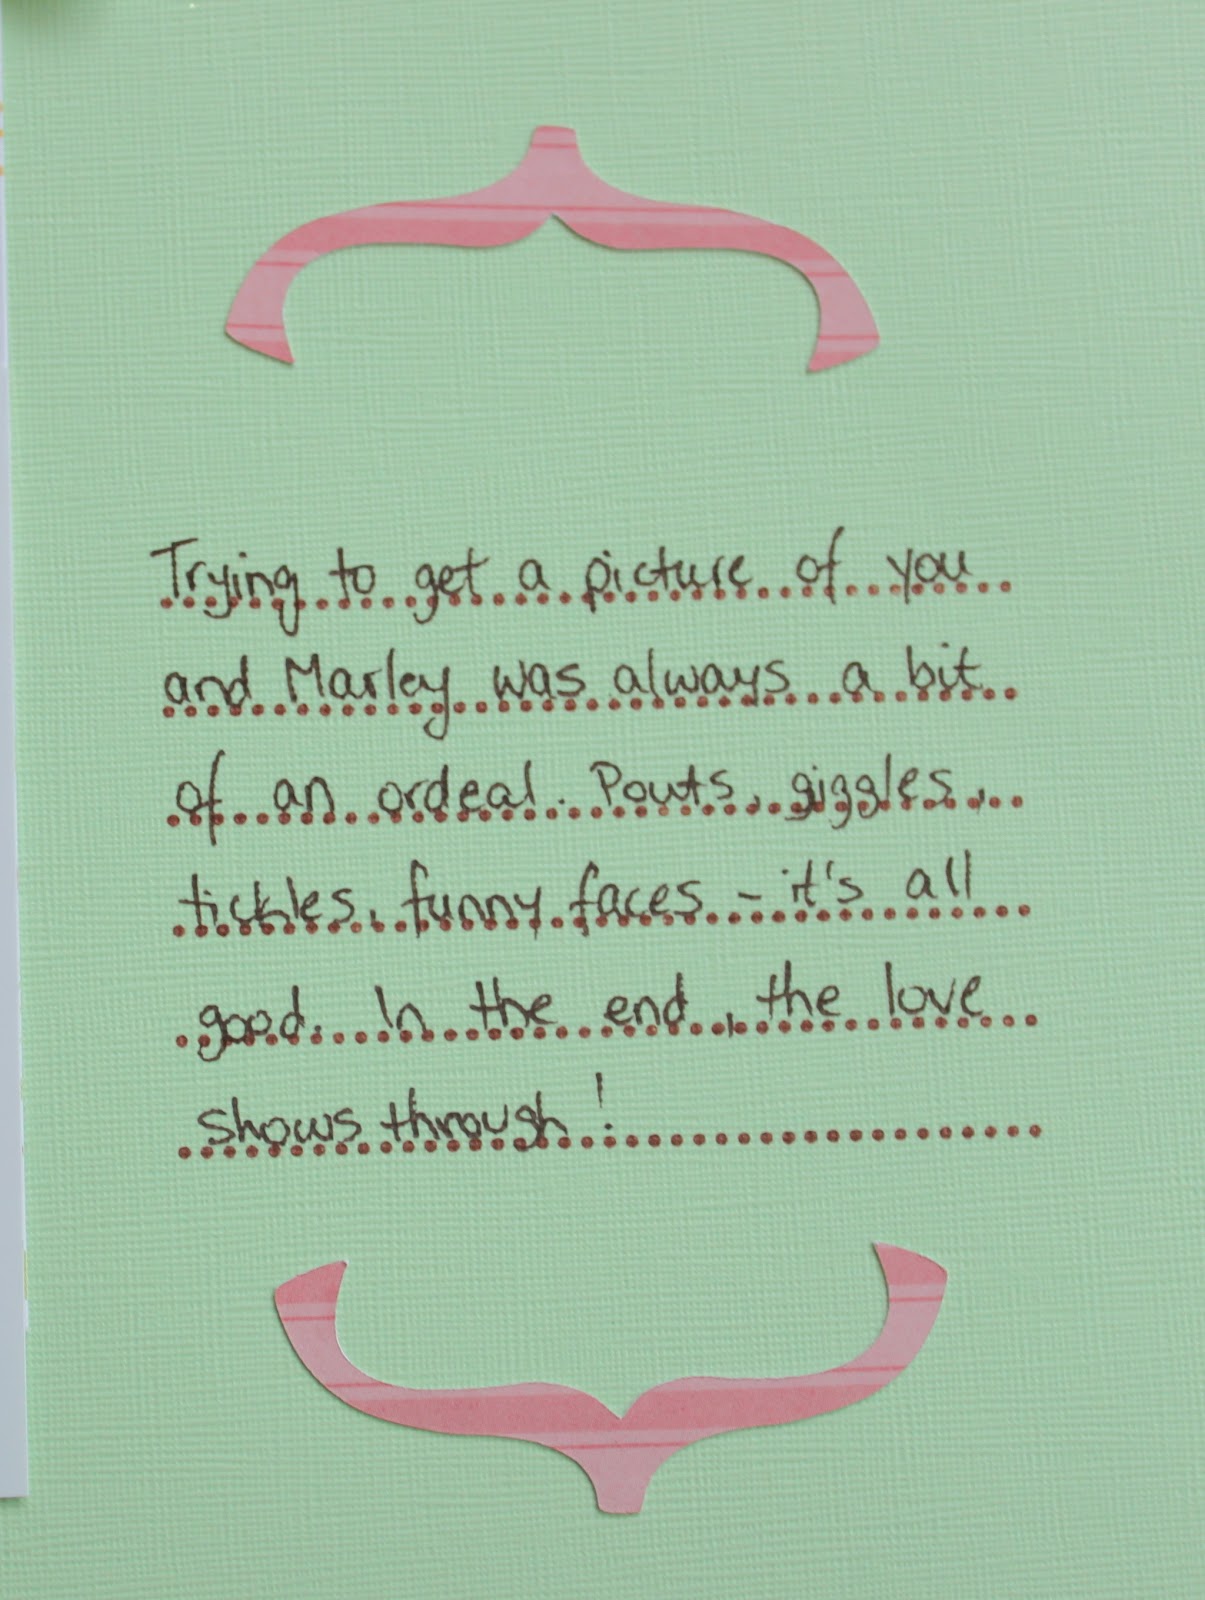
Some close ups. 
Weren’t they cute? Marley at 2 1/2 and Paige at 3 months old. Awww!!!

For the title (something I laboured over – do you ever do that?) I eventually used a 0 to circle one of the words on my paper and added the rest of the title beneath it. This particular pattern from the stack is my all time favourite!
To make the flower I cut out some flower shapes in my Cricut in a couple of different patterned papers then roughed up the edges before inking them. I wanted a real 3-dimensional look to the flower so I sprayed each layer with unshaken Pearl Glimmer Mist (so it was really mostly water) then immediately scrunched the paper while it was still wet and pliable. Once it dried it stayed all curled up. I added the button and then decided to add them to the other side of the layout too (see below).

The brackets were also cut out with my Cricut.

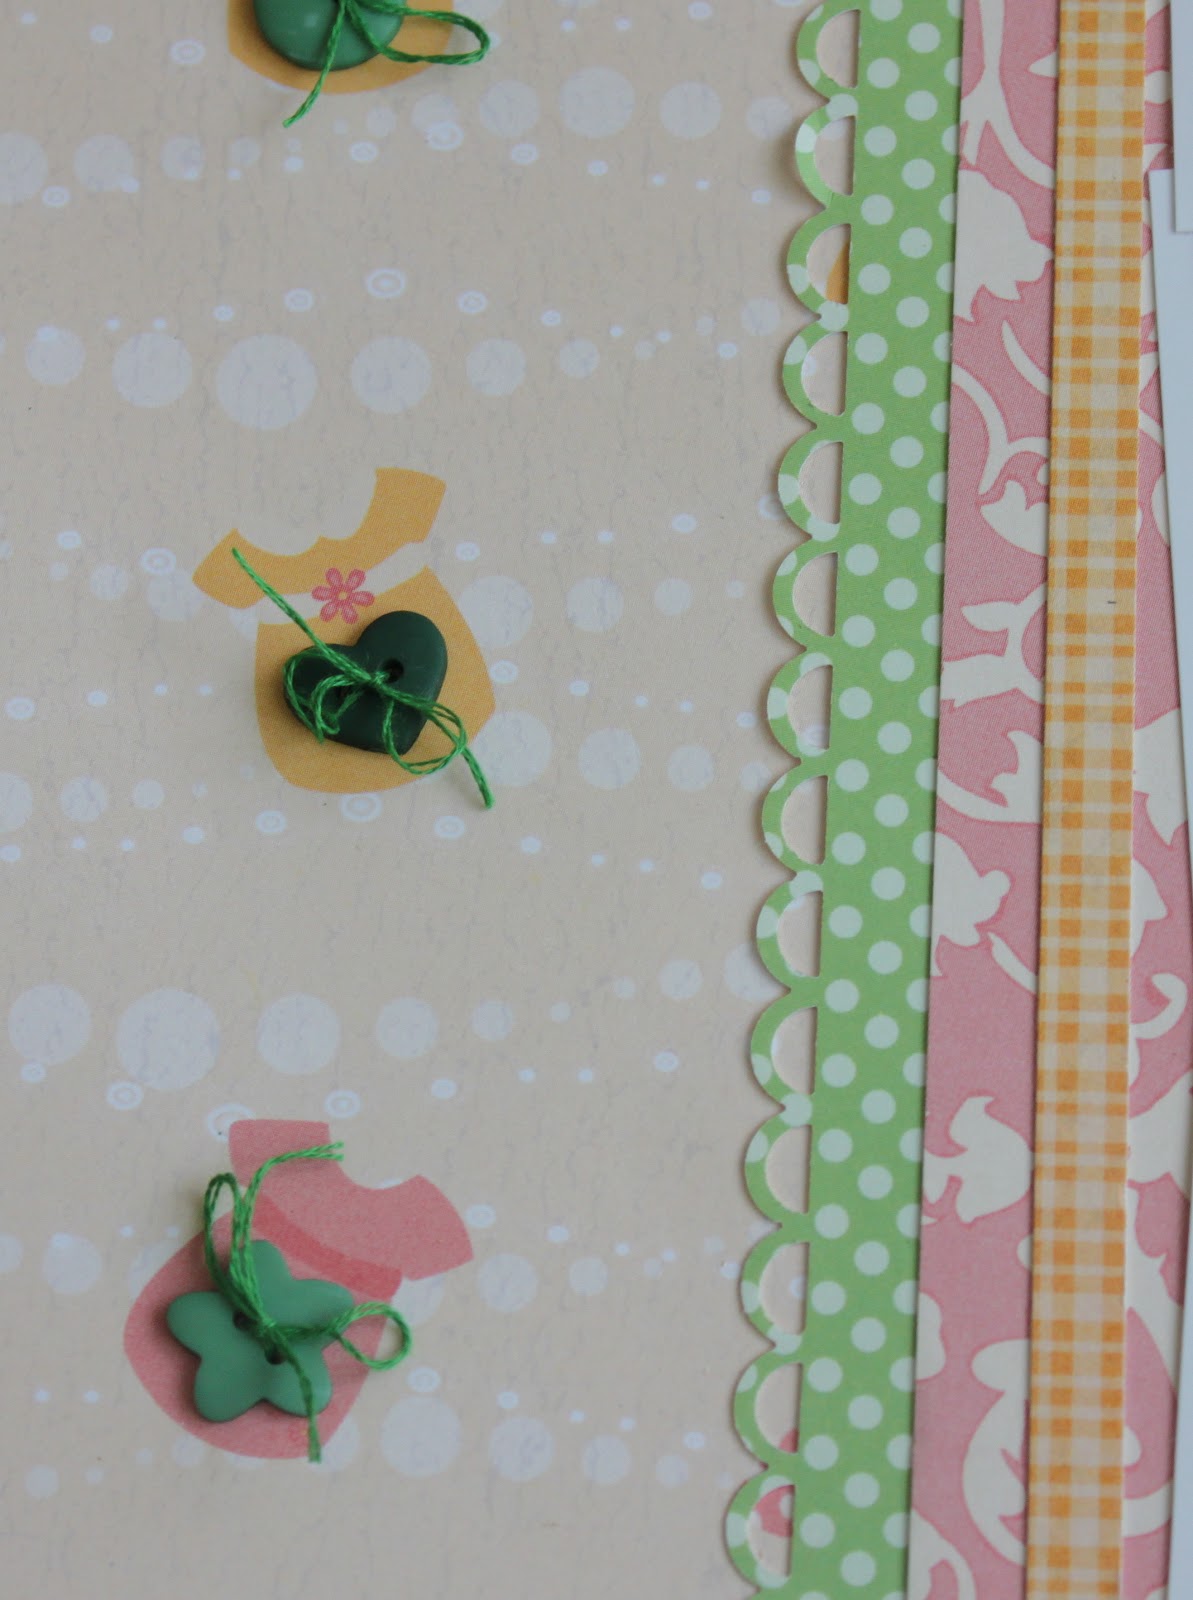
And here are those other buttons I was talking about. I sewed one onto each little dress.
All right, one more down.
For Day 8 were are to try a new technique so I’m going to attempt to make a flower like this one by Kailyn Siebert.
This one is made with crepe paper which I don’t have any of but I do have some fabric paper stuff which I thought might work. So far it’s not going very well though. Grr! Wish me luck!
Posted in challenges, layout, Paige's Baby scrapbook, Scrapbook | 1 Comment