Practical Scrappers: 10 Things to do With Washi Tape

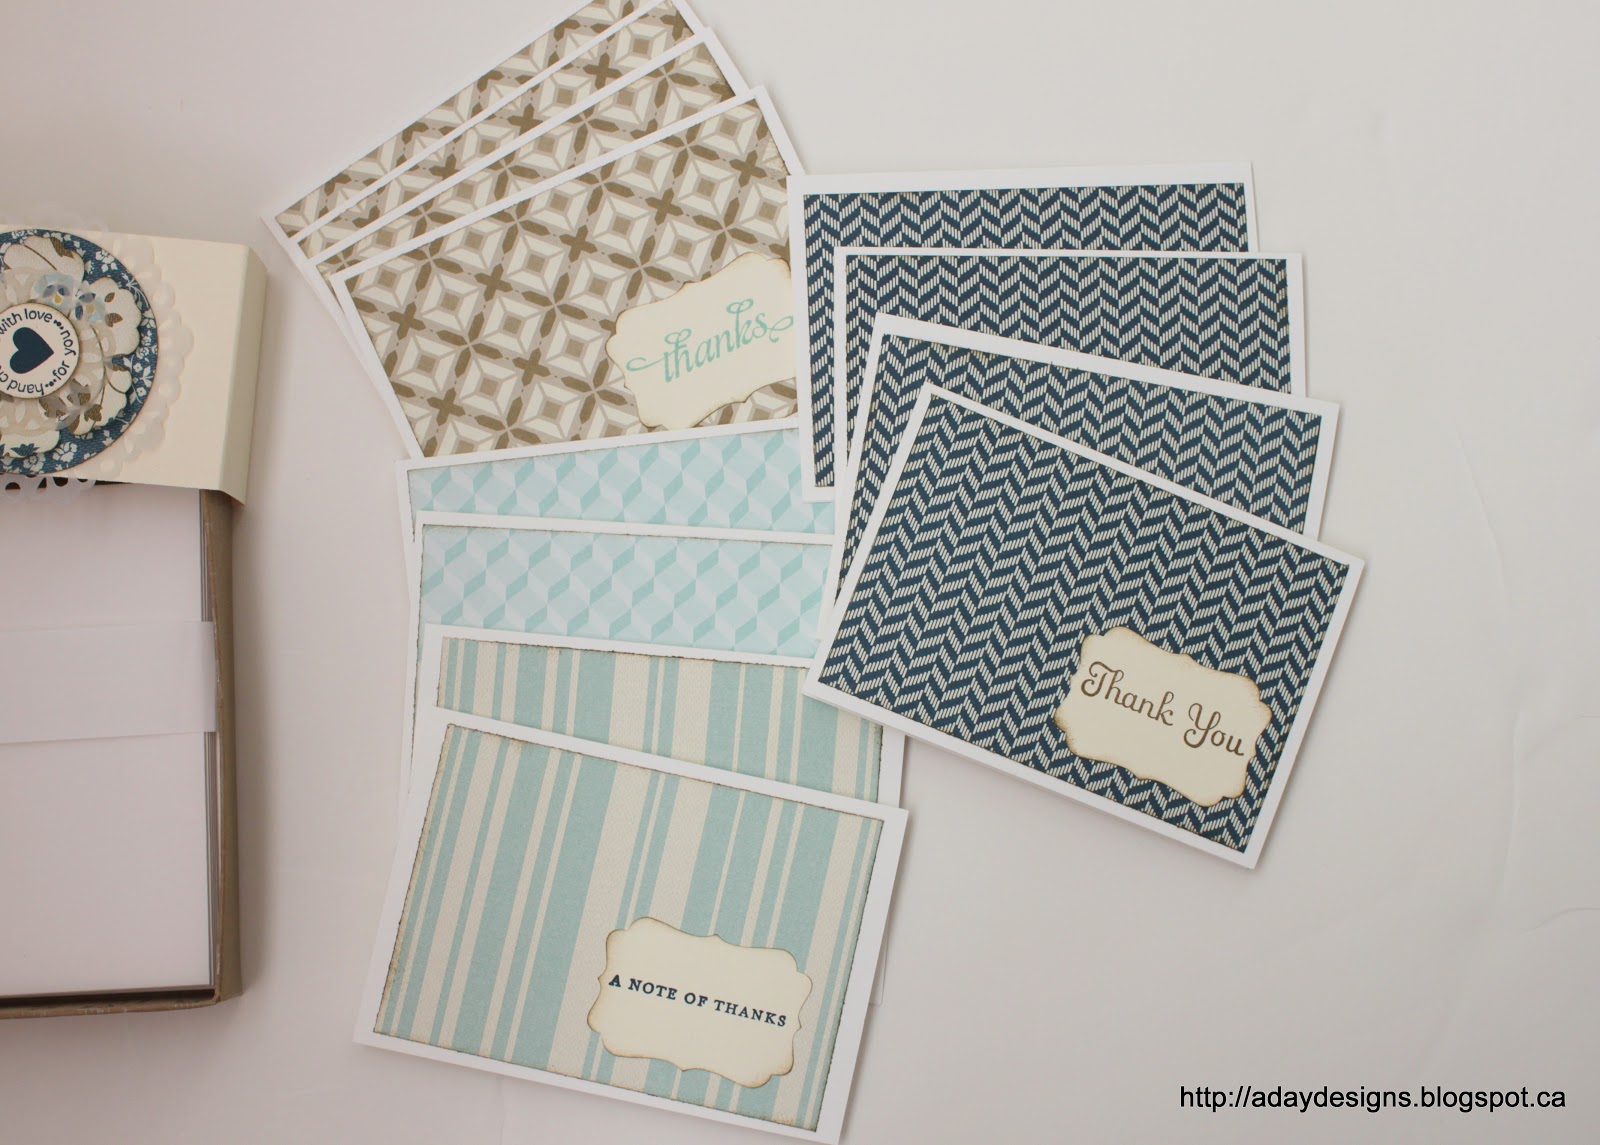
Today over at Practical Scrappers we are showing you a lot of different things you can do with the hottest of hot paper crafting trends – Washi Tape. Here is my contribution.
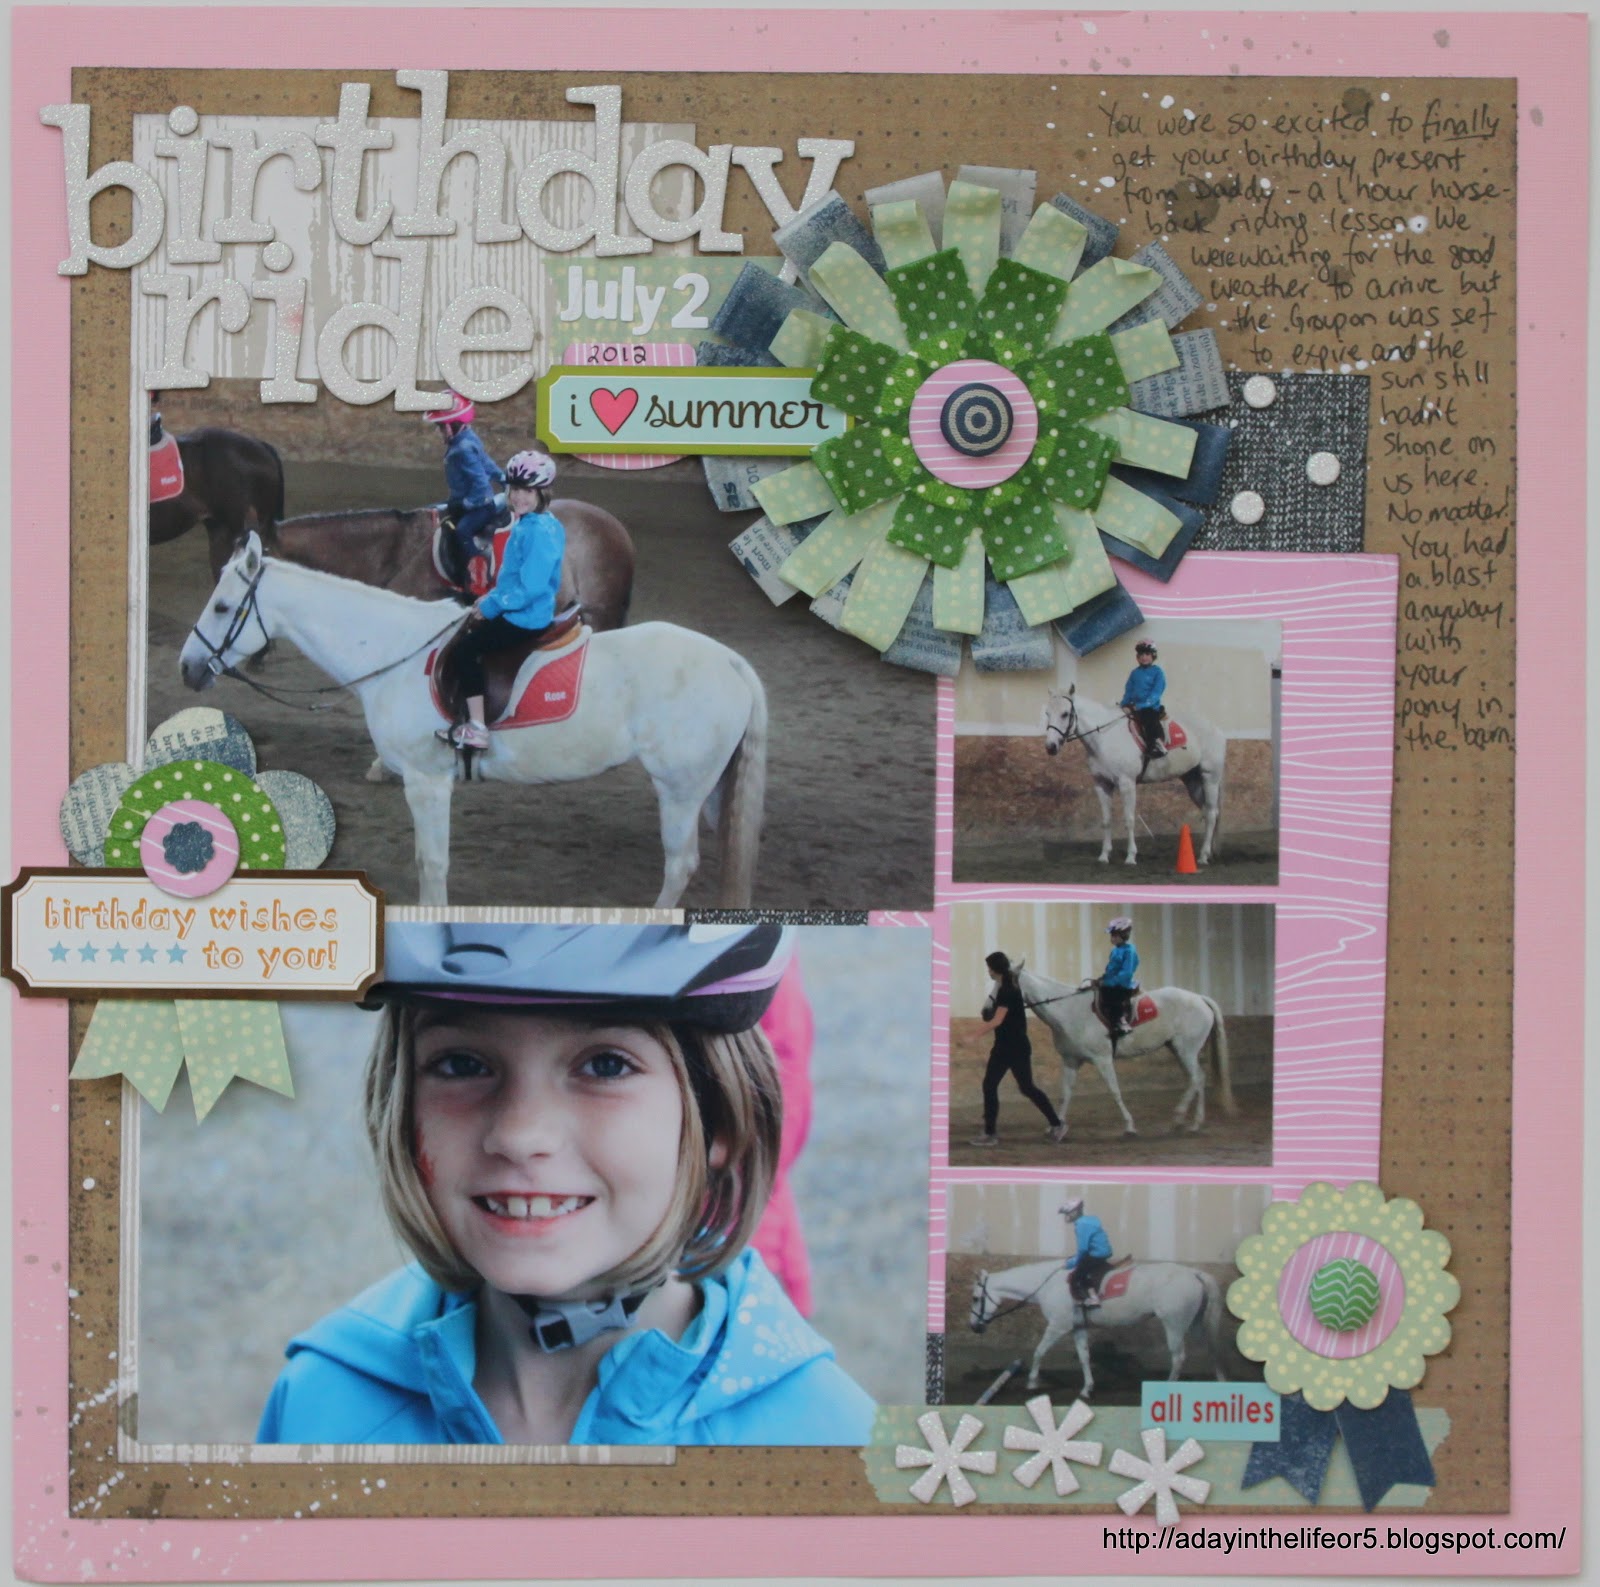
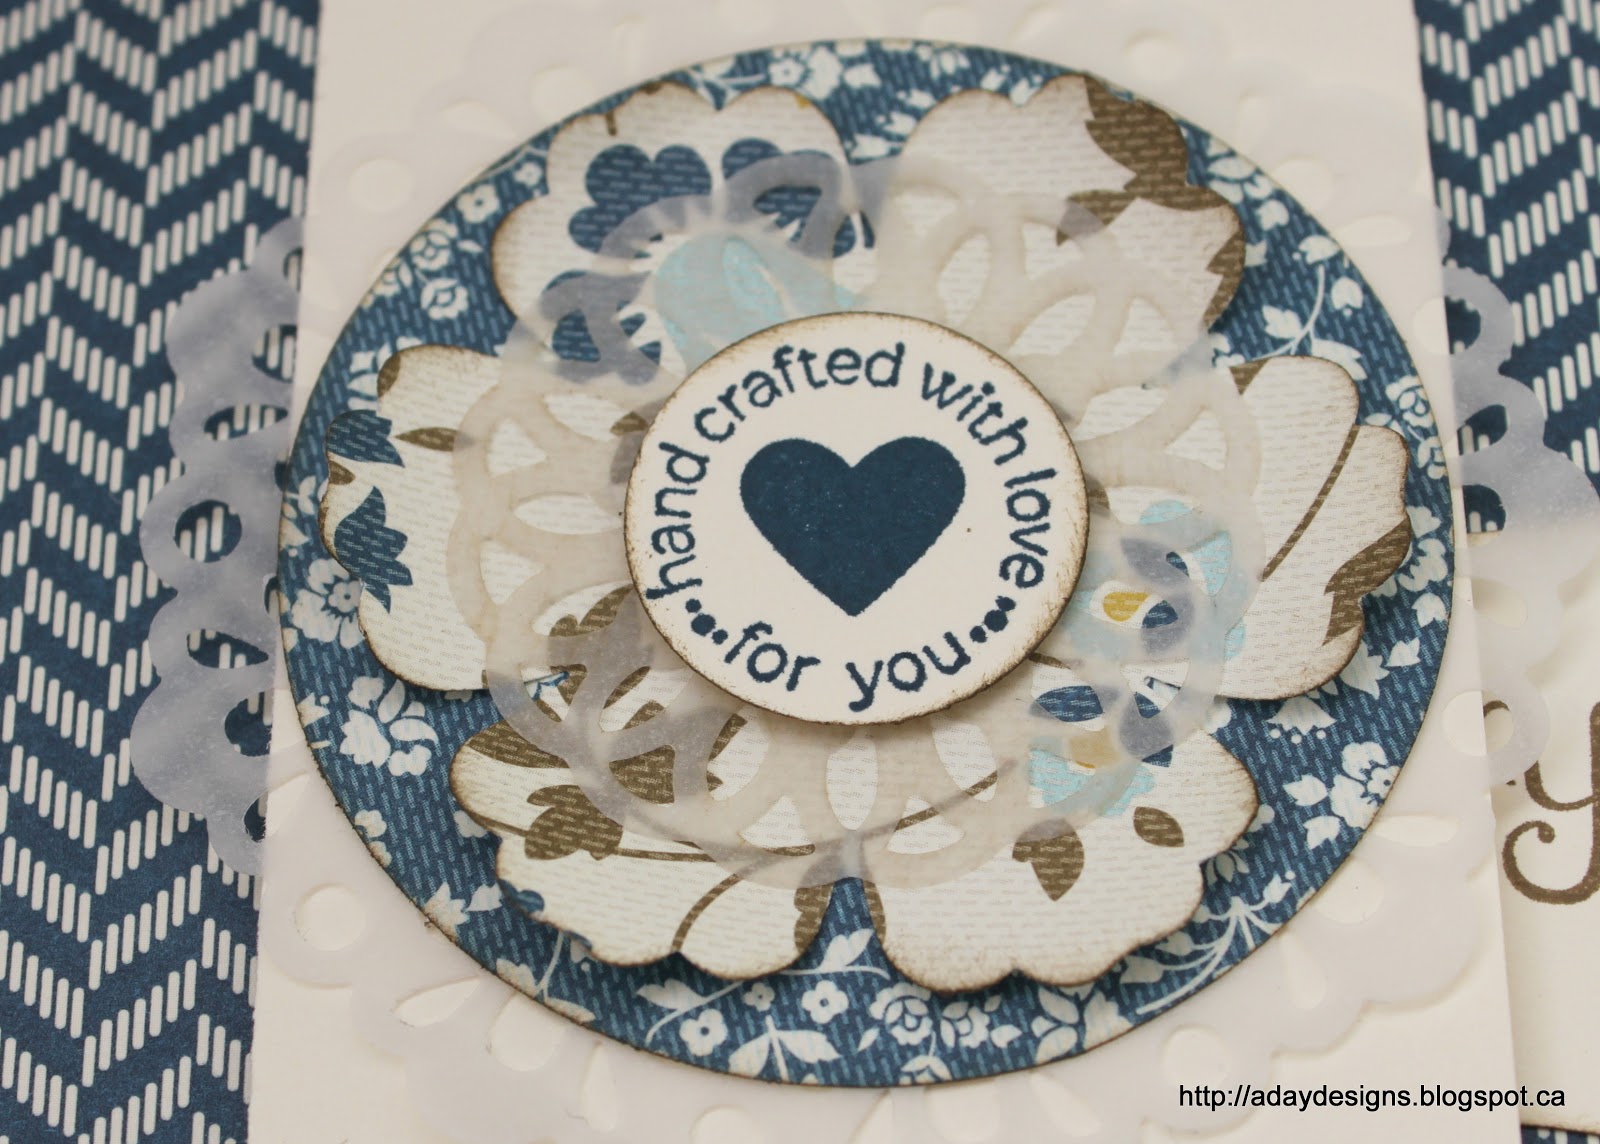
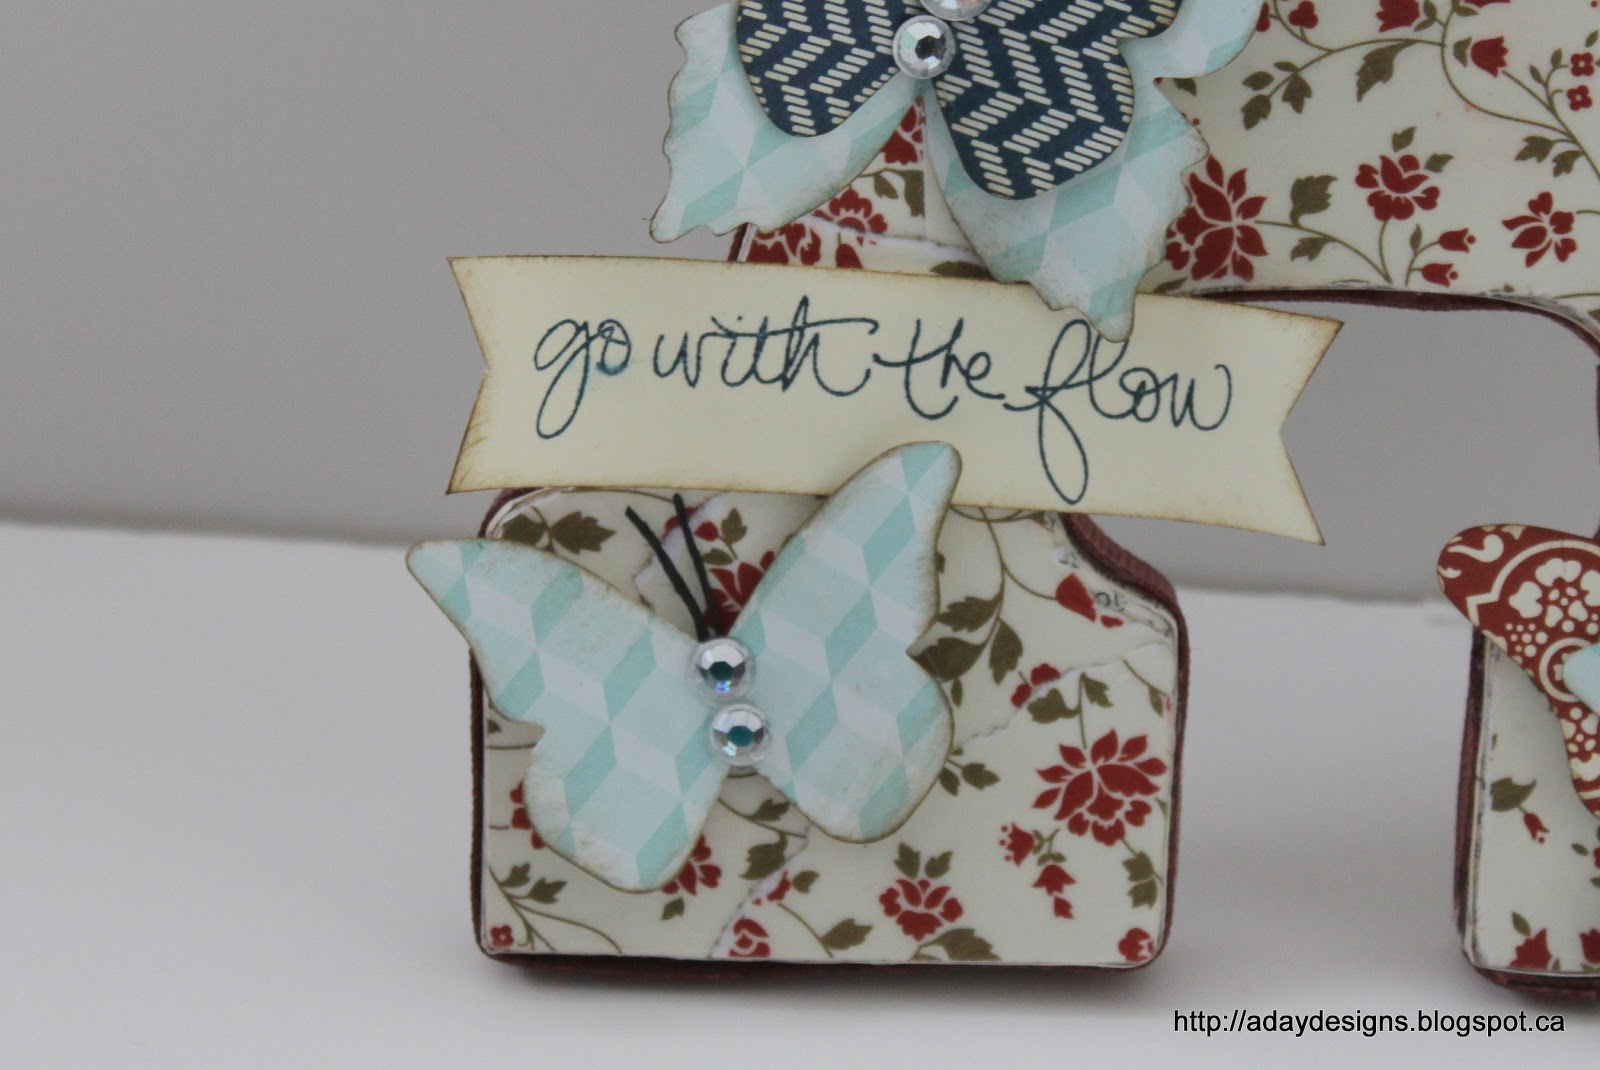
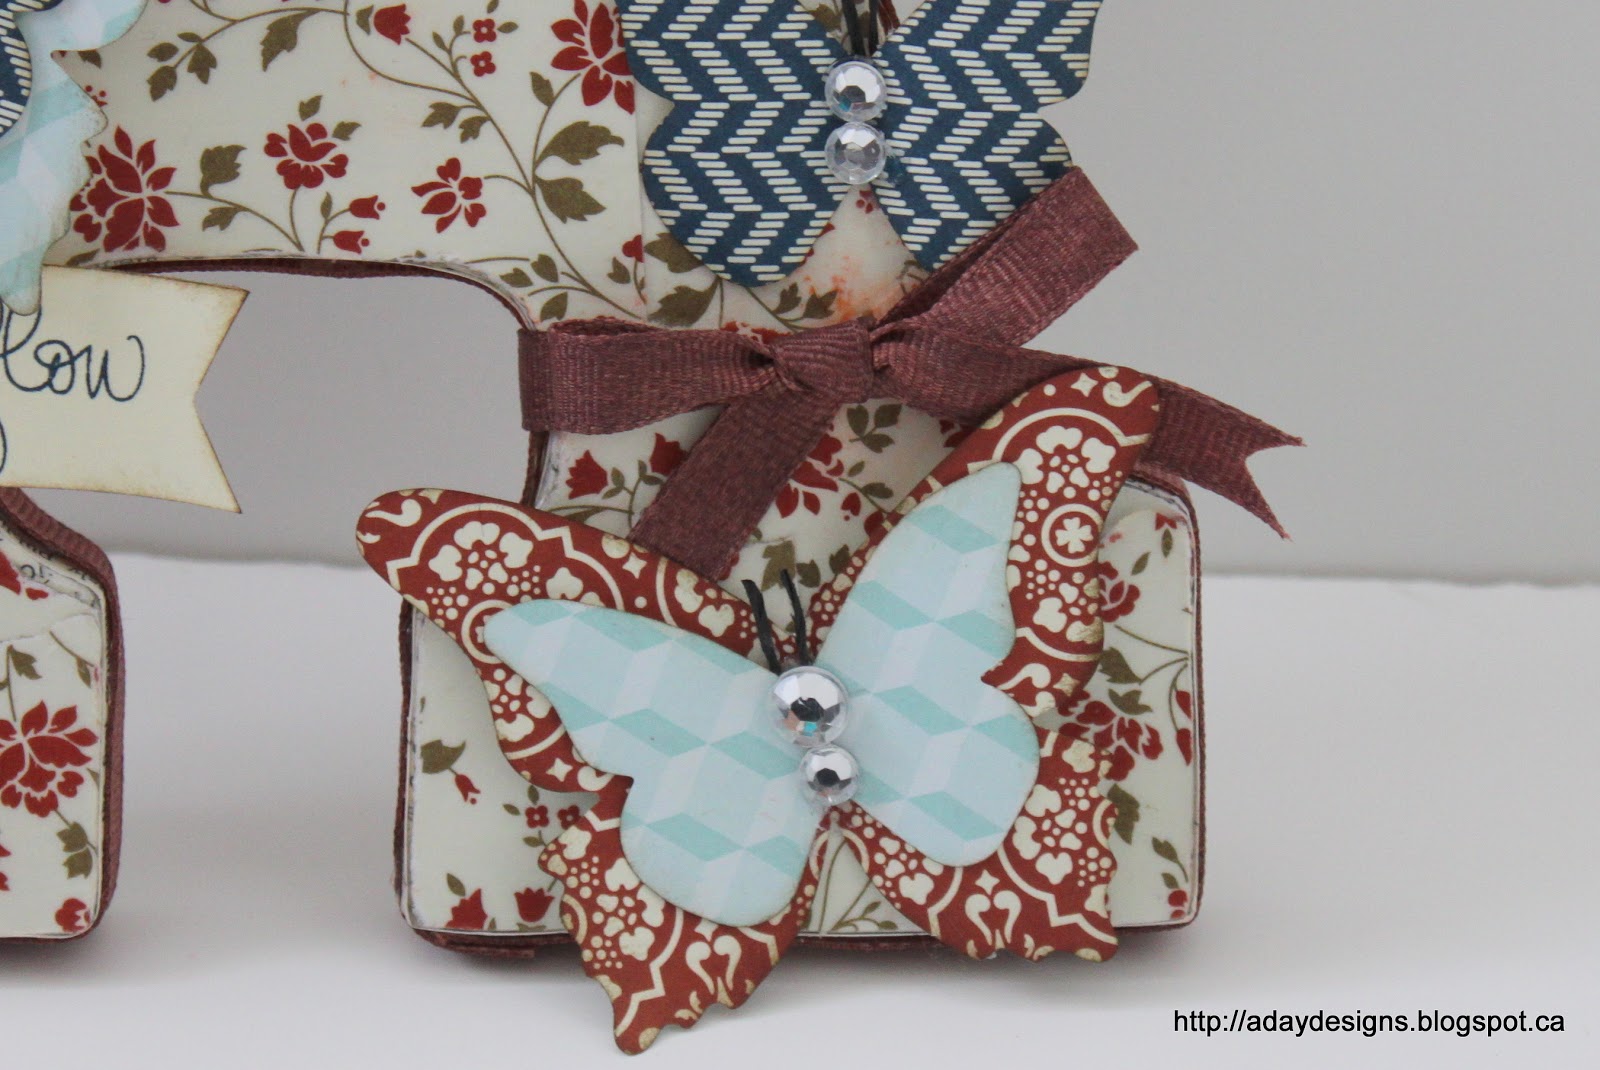
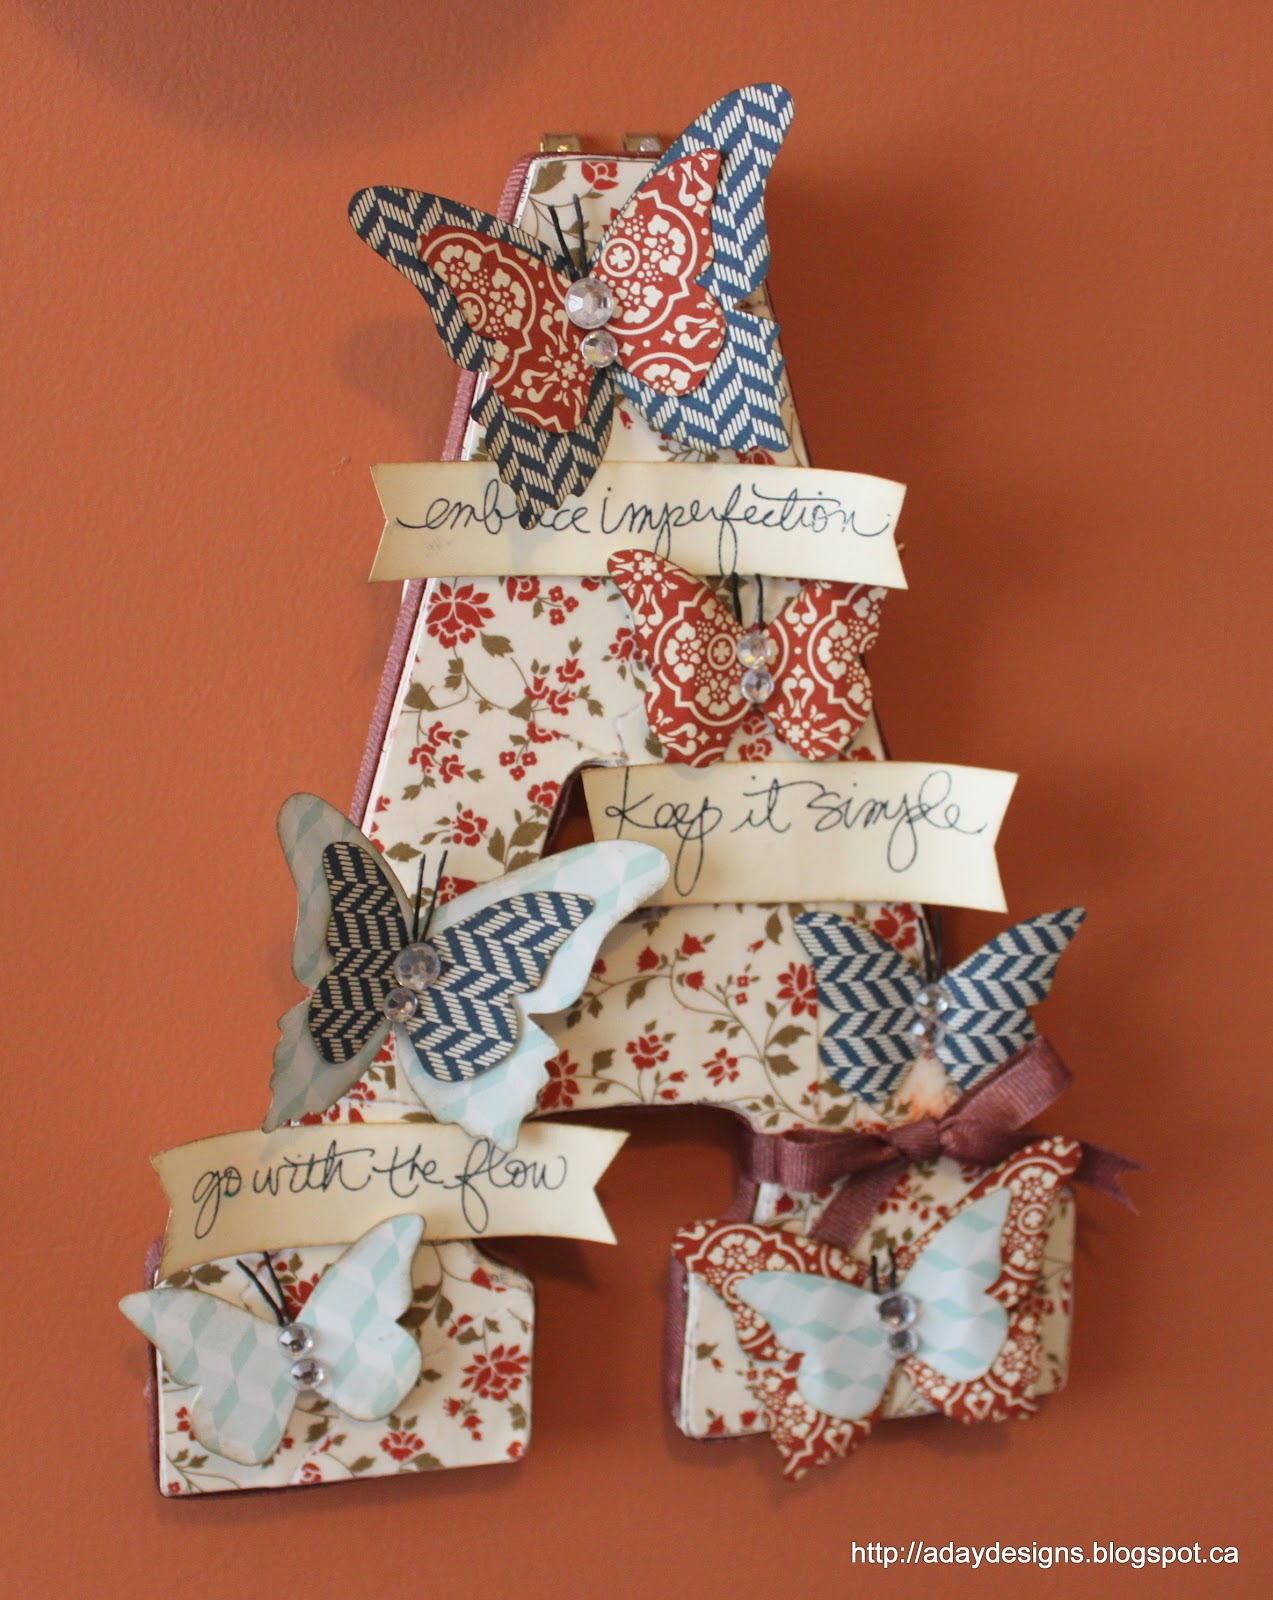
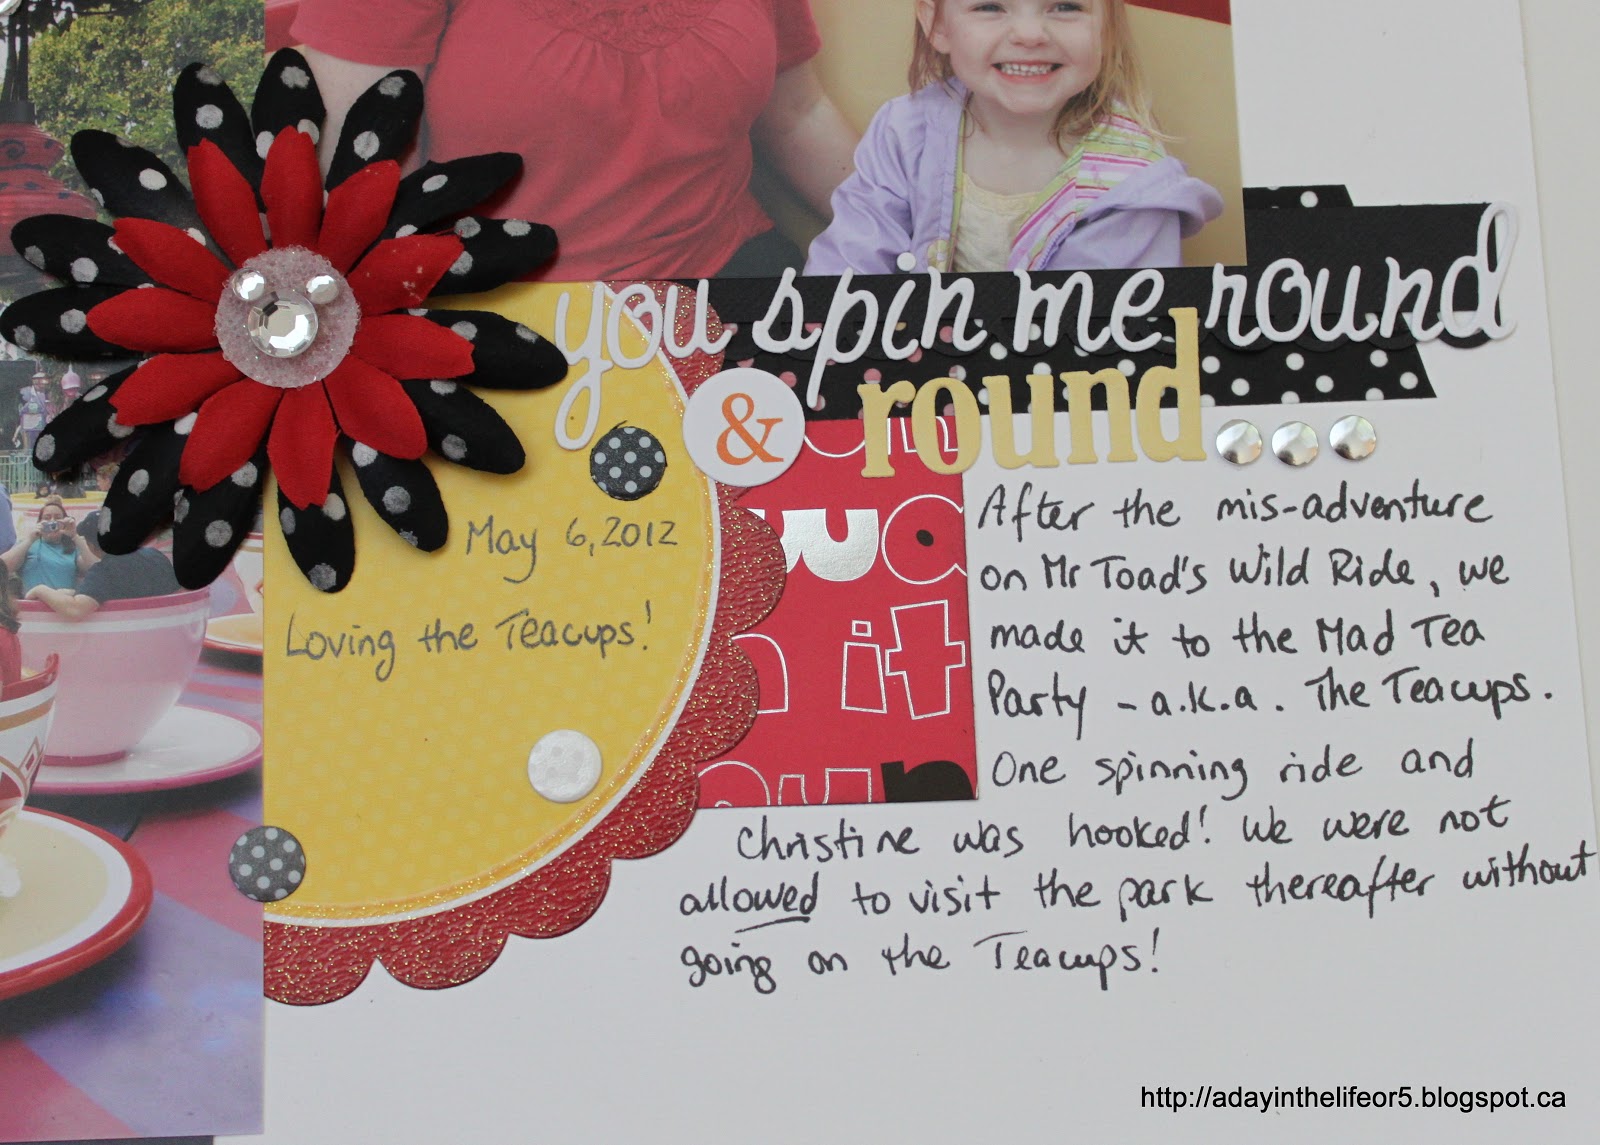
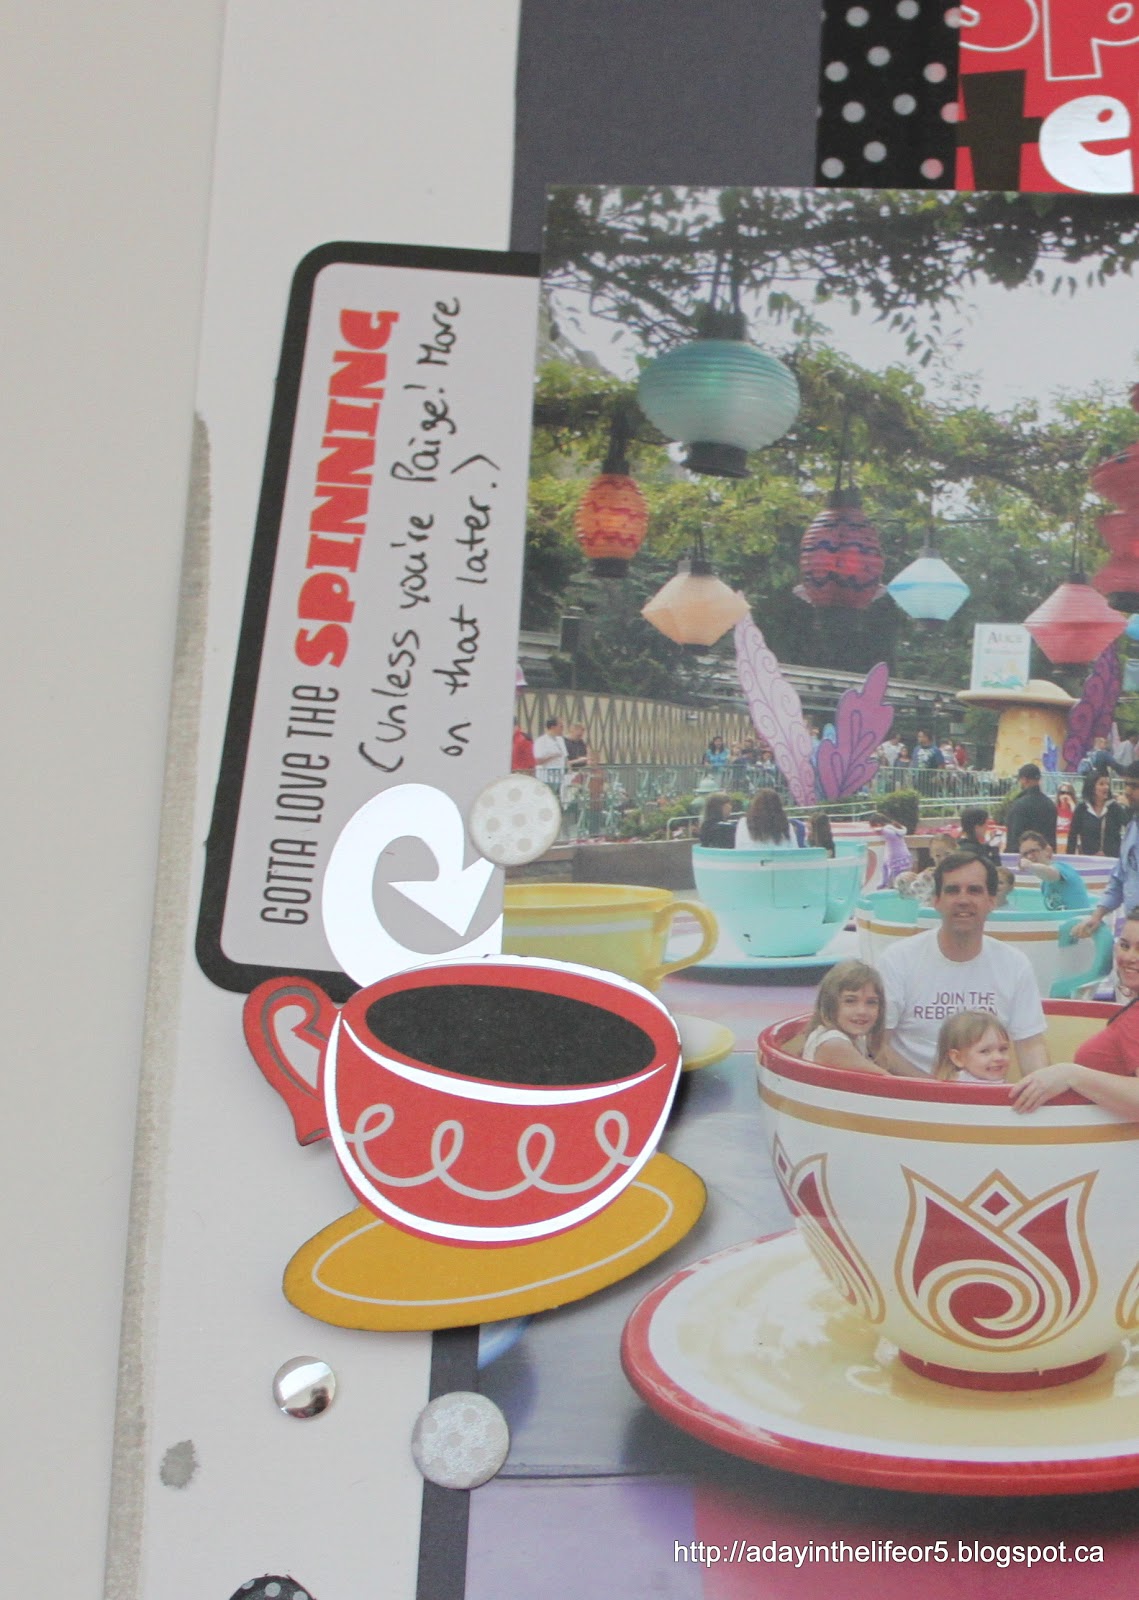
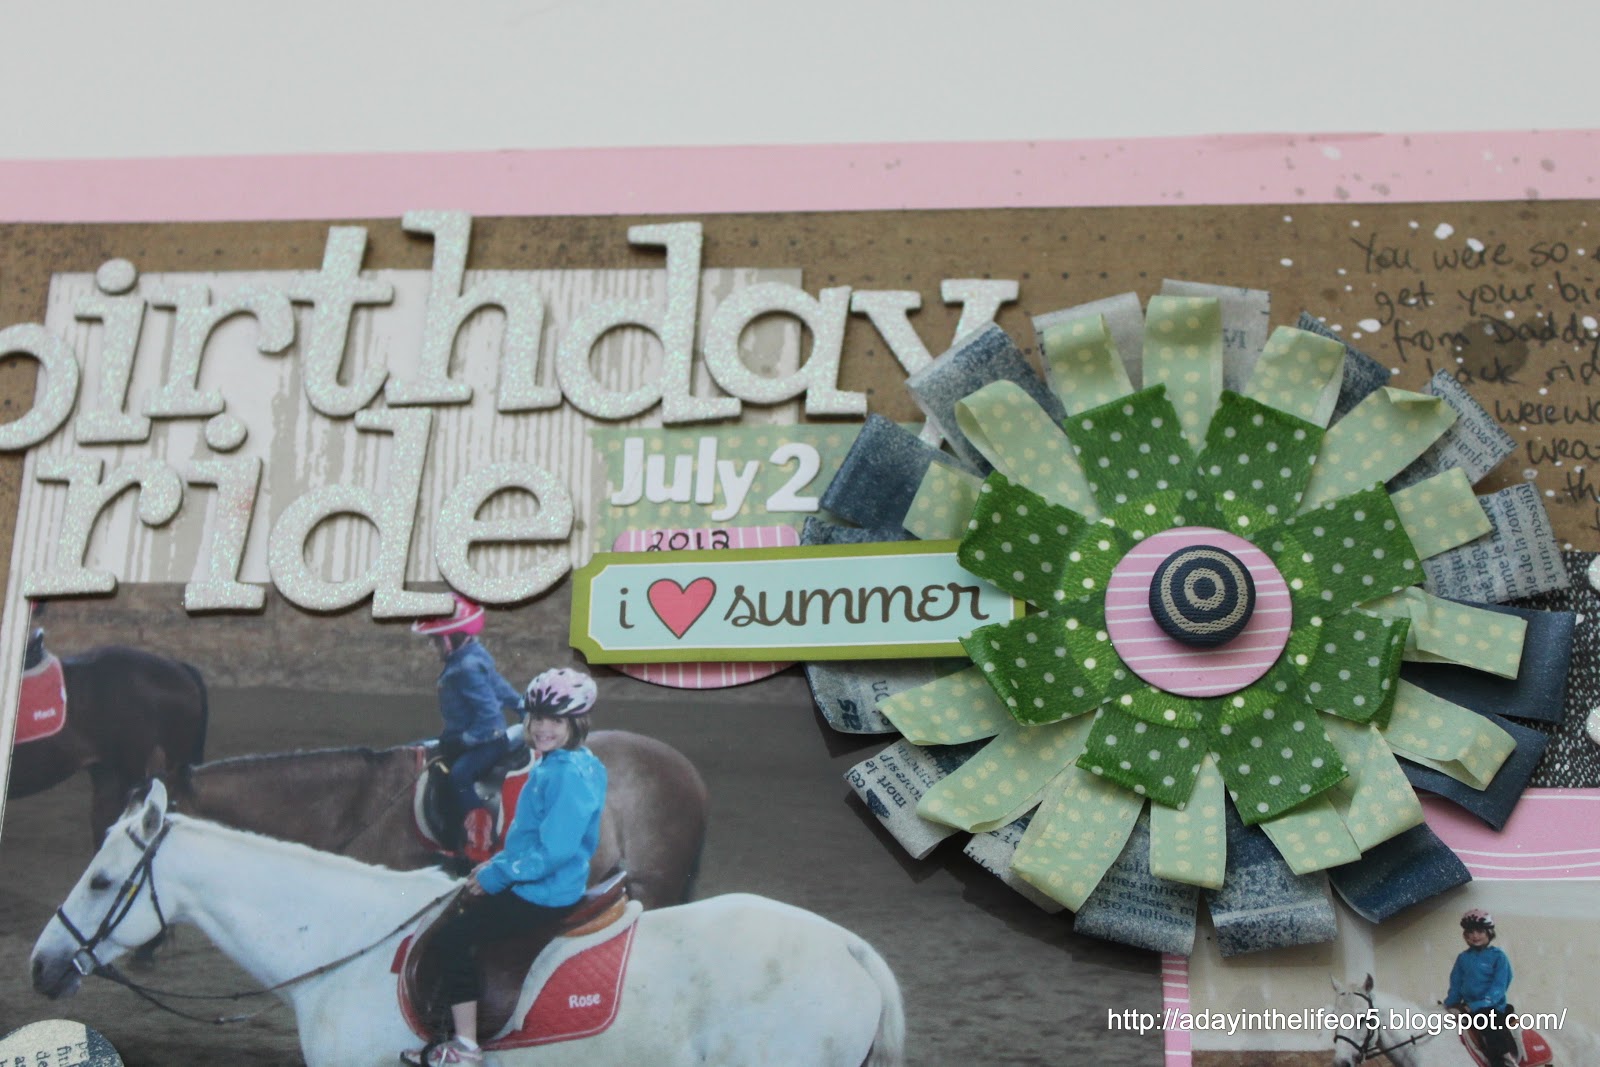
Can you tell what is made with washi tape? On this layout there are 3 embellishments all made with washi tape. The large layered flower by the title and the two smaller flower/ribbon embellishments on the middle left and the lower right. Here are some close ups to help you see the details.

I belong to a scrapping community called ScrapHappy and every month our fearless leader Lain Ehmann holds a webinar to teach us something new. In May the webinar was called “Washi Tape Wahoo!” and it inspired me to start playing with my meager stash. The guest instructor, Monica Bradford, created a similar flower so I gave it a try. Only on a much larger scale!

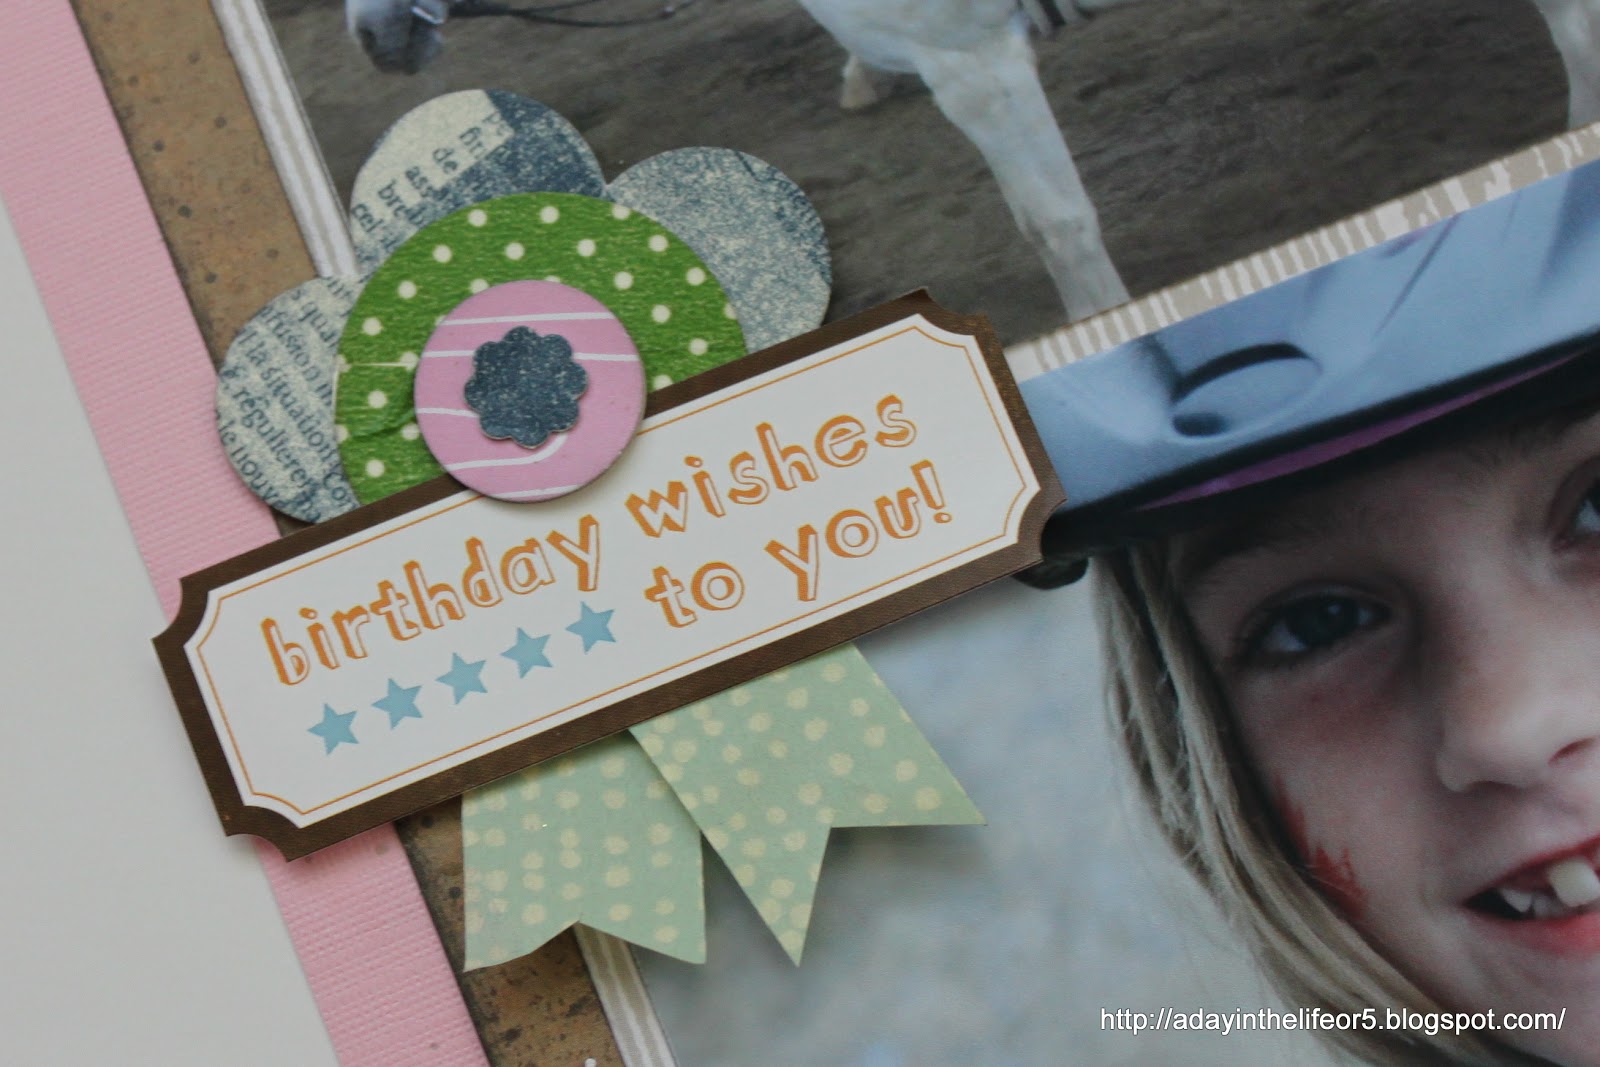
To create these I started by covering a piece of scrap card stock with the washi tape and then I used my punches to cut out flowers and circles of the different colours of tape. Once layered the flowers and circles create these blue ribbon type embellishments.

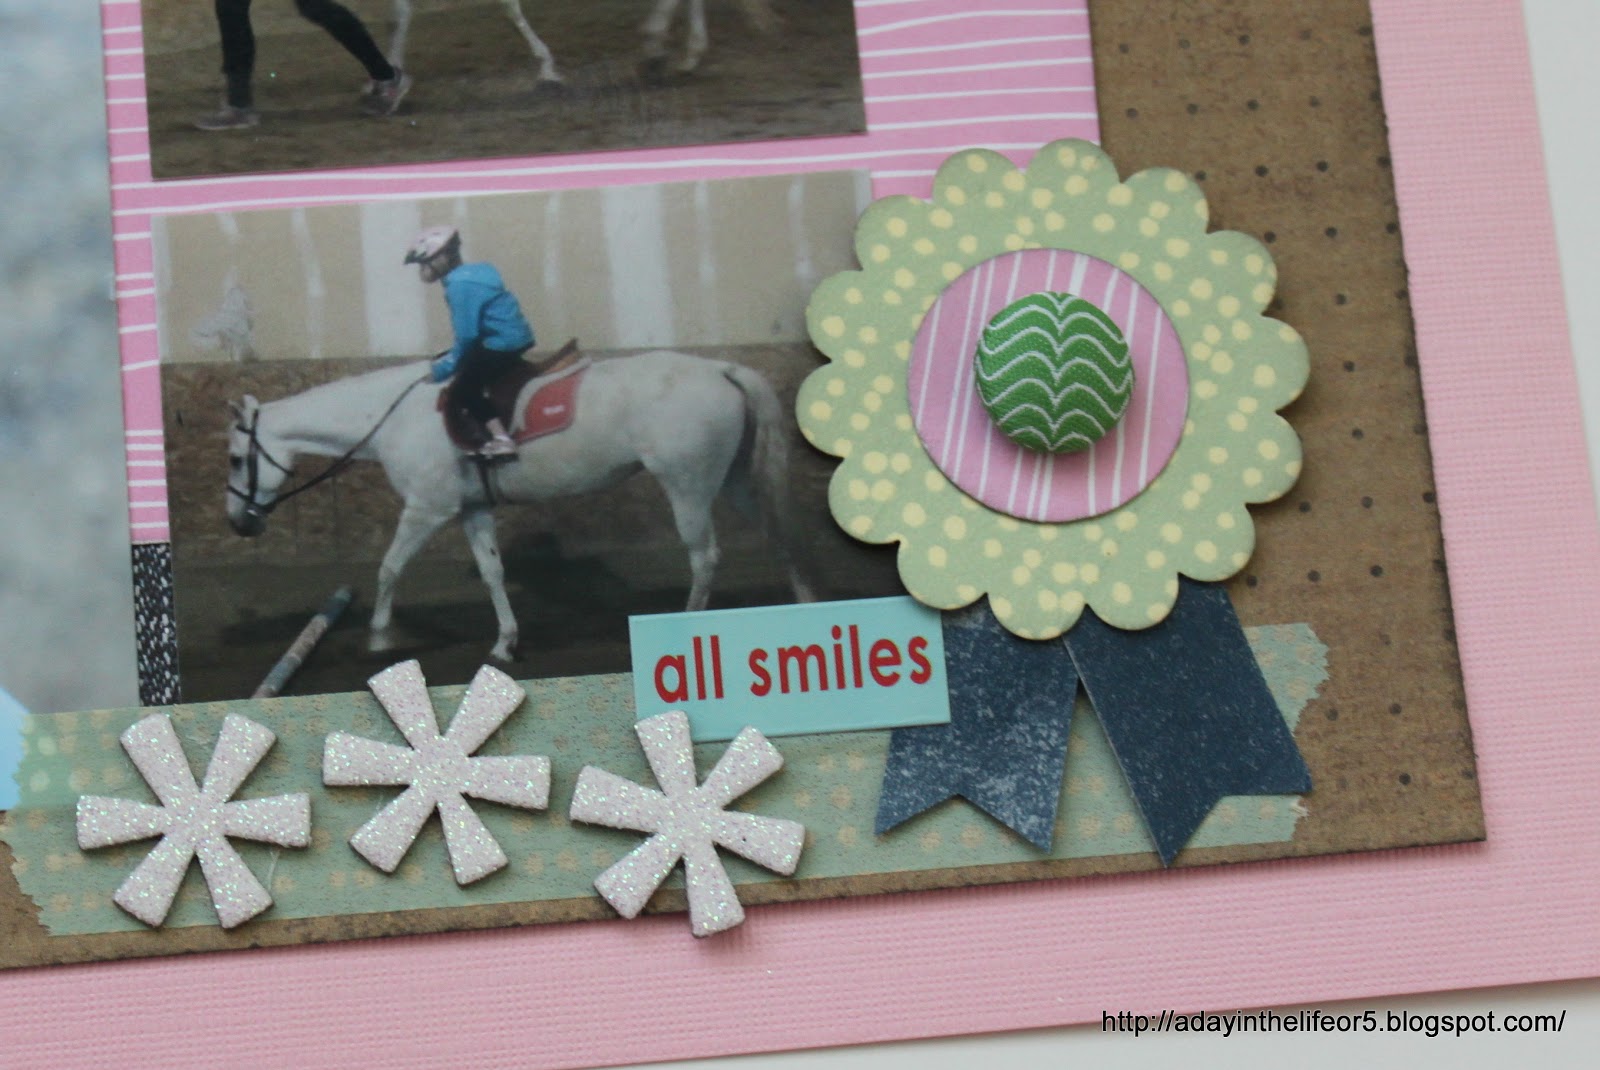
I stuck the washi tape to itself and then cut notches into the ends for the “ribbons”.

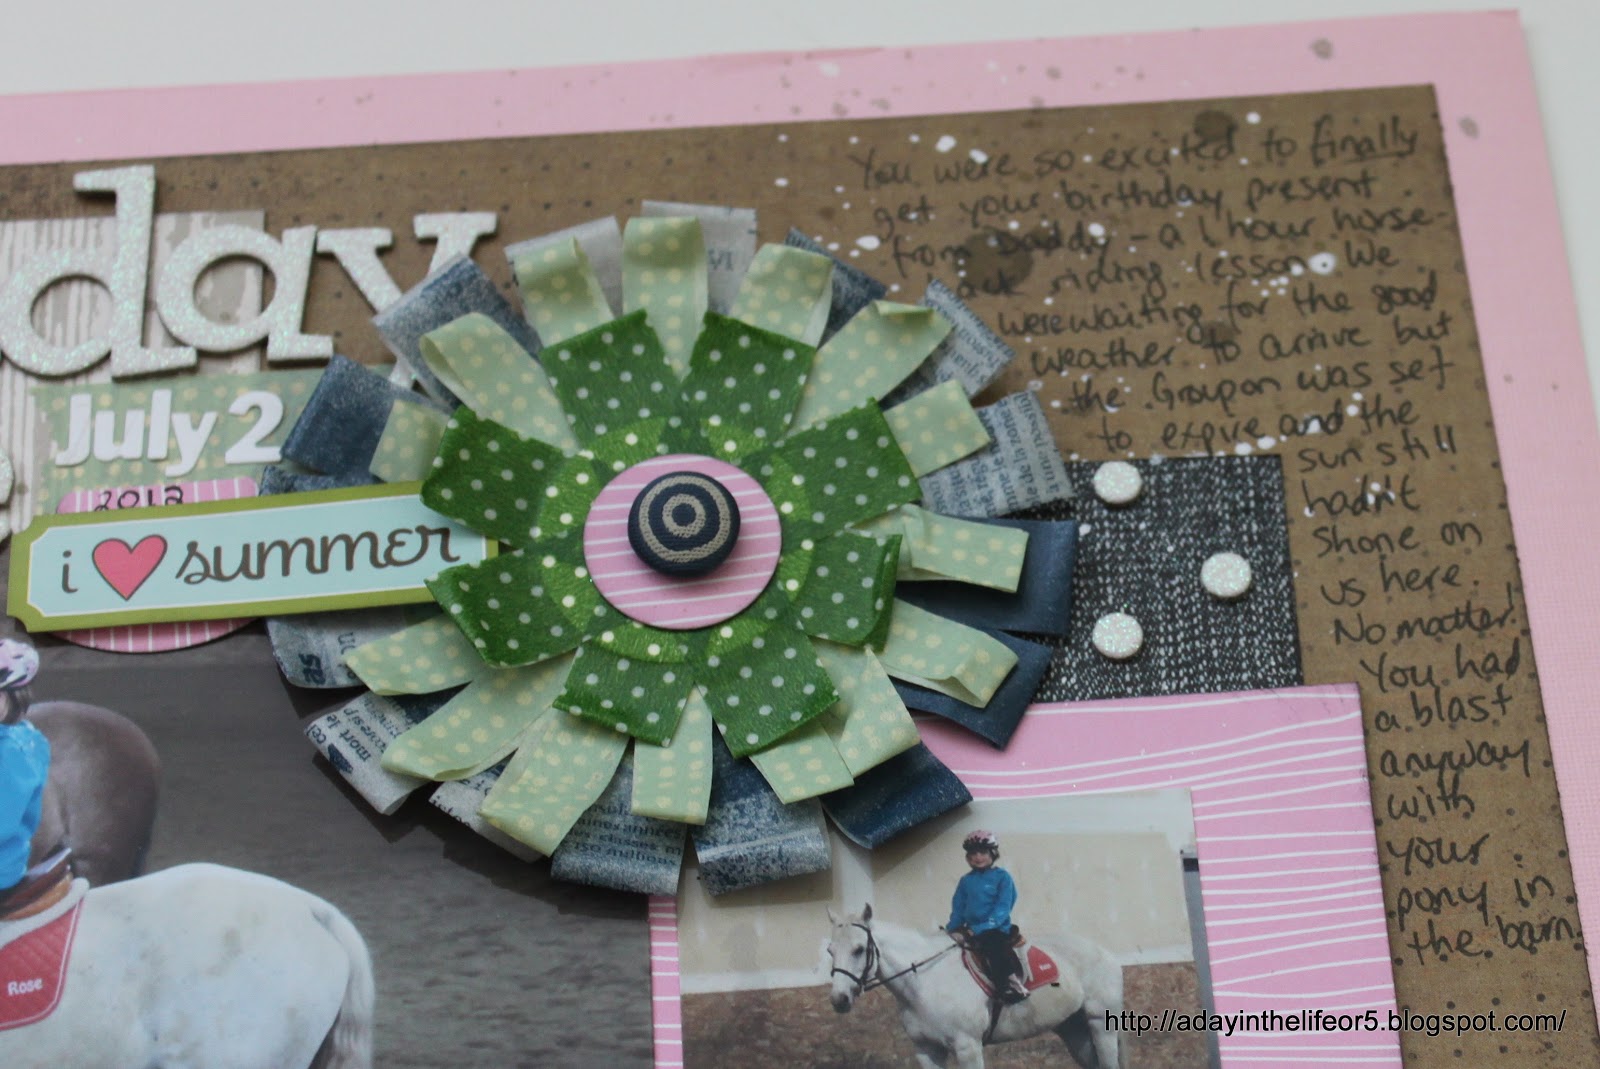
Here’s another look at the large layered flower.
Hope you enjoyed these ideas. Please be sure to pop over to the Practical Scrappers Blog for more unique ways to use up your stash of washi tape (I know you have one, don’t try to hide it!!)

Posted in layout, Practical Scrappers, washi tape | 1 Comment

Thank You Notes in a Box

Inspired by the easy creativity of my Upline Sandra I tried my hand and making a box to contain a set of Thank You notes I had made for a friend. It was surprisingly easy! You know that adage “measure twice, cut once”? REALLY important as it turns out!! LOL! The first box I made was too narrow but … c’est la vie! Next one was perfect.

I used the new Natural Composition Specialty paper (although I forgot to get a picture of it for you!) – this one …
It worked out better than I’d anticipated. This paper is thicker than most of our card stock and is easily sturdy enough for box making.

To keep the cards from falling out of the box I simply wrapped a strip of Very Vanilla card stock around it and embellished it as you see.

The notes themselves are super simple but that’s really all you need, right?
Here are close ups of them all.

Thanks for stopping by. I’m thinking this might make a good class – what do you think? Speaking of classes have you seen my new Christmas class yet? Click on the picture below to be taken to my Eventbrite site for all the details.
Here are your links for products used in today’s project:

Posted in Cards, Quick Cards | 1 Comment

Sympathy Card

A friend of mine recently suffered the loss of BOTH her parents within a few weeks of each other. This is the card I made for her.

Here are your links to the products used today:

Posted in Cards | Comments Off on Sympathy Card

Something Fun for my Scrap Room

One of the projects I did last week allowed me to get my hands messy – more than usual that is! A long time ago I purchased a couple of simple wooded initials from Michael’s with the intention of covering them with paper and hanging them in my scrap room. But they have languished in a plastic bag … until last week!

I forgot to take a picture of what it looked like initially (pun intended!!) but just try to picture it as a plain wooden letter A with a white painted finish.

Got that image in your head?

Great, because NOW it looks like this …

There are two layers of paper on this but you can only see the top layer. When I first started I was kind of just playing so really didn’t know where things would end up. I figured a base of some First Edition Specialty  DSP would be a good base to build on. Then I ended up covering it all up with one of the patterns from Comfort Cafe DSP. The sides still show the First Edition paper – under the ribbon. 

As decoration I cut out lots of butterflies using my Beautiful Butterflies Die for the Bigshot. The antennae are made out of a small piece of black floss (from my stash) hot glued into place. A couple of rhinestones finish them off.
The sentiments are by Ali Edwards for Technique Tuesday.

I used phrases that match my crafting philosophy.

A word about the ribbon. The dark orange colour in the paper is Cajun Craze – a wonderful deep brownish-orange (a close match to my wall colour – see below) but I did not have any ribbon in this colour. What’s a perfectionist girl to do? Take some simple white grosgrain ribbon from her stash and rub it all over with Cajun Craze ink of course! Note to self: wait several hours before tying and gluing it down so the ink has sufficient time to dry!!

Here it is on my wall. A temporary position to be sure but I love how it compliments the paint colour. I have many ideas percolating on how I can change my Scrap room/Office around so once that happens I’ll move it to a more prominent spot and show you pictures.
Here are your links for Stampin’ Up! products used on today’s project:

Posted in Home Decor | 2 Comments

Let’s Get Sketchy

I’m trying to squeak in a submission for the Let’s Get Sketchy Blog Design Team call (click the link to read all about it). We were asked to create a layout based on their sketch. Here’s their sketch …

And here’s my layout.
I’m still working on ALL those Disney pictures I had printed last month. This time I’m telling the story of how Christine fell in love with the Teacups ride and EVERY time we entered the Park and/or Fantasyland we HAD to go on the Teacups. 

A close up of my title and journalling.

Close up of additional embellishment  and a secondary journalling card – notes that Paige is not in the cup with the rest of us but she did come around later and loved the ride as much as Christine!

Last embellishment cluster. Also, I added some ink splatters and painted the top right and bottom left corners with the same ink. 
Thanks for stopping by everyone! Be sure to head over to Let’s Get Sketchy and enter some of their sketch challenges! Wish me luck!!

Posted in challenges, Disneyland 2012, layout, LC | 4 Comments

New Class – Christmas Ornament Keepsake Box and Card Set

I am VERY excited to be able to offer this class to you. My upline Sandra created this gorgeous Christmas ornament shaped box with 12 matching cards and kindly sent me the instructions on how to make it.

Is this not the cutest thing you’ve ever seen? 

Each box holds 12 cards and envelopes. 

12 beautiful Christmas cards – 4 each of 3 designs – with matching envelopes. 
Do you want to learn how to make them?
I will be offering this class once a month starting Saturday September 15th 5:00PM – 10:00PM. Please visit my Eventbrite site for additional dates (subject to change) and to register. The cost is $20.00 which includes the Instruction Sheet, all materials needed, access to my stamps, inks and cutting tools plus snacks and beverages. This would make a wonderful gift (teachers, hostesses, Secret Santas, etc) or an equally lovely home decor item if you prefer to use and send the cards yourself. 
I hope you’ll join me in! If you’d like a private class at YOUR home rather than mine, please contact me to set that up. I think this would be a great way to spend a few hours with your girl friends getting in the Christmas Spirit!

Posted in Christmas, Classes | 1 Comment

Anniversary Card

I have so many projects I’ve been working on that I need to share with you! Be sure to check in this week as  I post them.

First up is the card I made for my husband. Yesterday was our 10th Wedding Anniversary so this is what I whipped up for him. Not the most masculine card but very personal.

Using Fan Fair DSP I cut a section of the map print that has Europe on it (we went there on our Honeymoon) to use as my base on a Riding Hood Red card blank. Then from the tags and such paper I cut the ‘2 OF A KIND’ tag and adhered it a bit askew. Also from that sheet I cut the numbers 1 and 0 – for our 10th Anniversary. They didn’t stand out enough at first so I carefully traced around them with my Island Indigo Stampin’ Write marker. Finally I used the Eiffel Tower image and AMOUR stamps from Artistic Etchings and the “happy I do day” sentiment from Word Play.

Easy Peasy! Thanks for checking me out. I’d love for you to leave a comment and tell me what you think. Masculine enough? No complaints from my husband but … no comments of any kind actually so … ah well. I like it and that’s what matters, right? LOL!

Here are your links for Stampin’ Up! products used today:

Fan Fair Designer Series Paper
Artistic Etchings stamp set
Word Play stamp set
Riding Hood Red 8-1/2″ x 11″ card stock (a really awesome red!!)
Stampin’ Write markers – 2011 – 2013 In Color Set

Posted in Cards, Quick Cards | 1 Comment