Welcome back everyone! Are you one of those Happy Moms who is sending their little ones off to school today after a long summer? My two eldest are heading off to Grade 4 and 2. With only one left at home, life will get a whole lot quieter!! Looking forward to getting into my scrap room for a bit.
Today I thought I’d share an older post (from last year) where I talk about using fabric on your projects. It’s not something I often remember to do but looking at this post again I’m inspired to pull some out! If you’re inspired after seeing this, then make sure you read all the way to the bottom. There’s a small giveaway today that you may be interested in.
The worlds of paper crafting and sewing have been linked for the past few years – think sewing on layouts. Using fabric in the form of ribbon or lace is a common practice and has been around almost as long as the art of creating scrapbooks. Papers with images of crocheted doilies are among my favourite to use and you can also find papers that look like quilts or papers with images of stitches on them. You can even find fabric paper – either self adhesive or not. Today though I want to show you that you can also use actual fabric on your projects for a unique look.
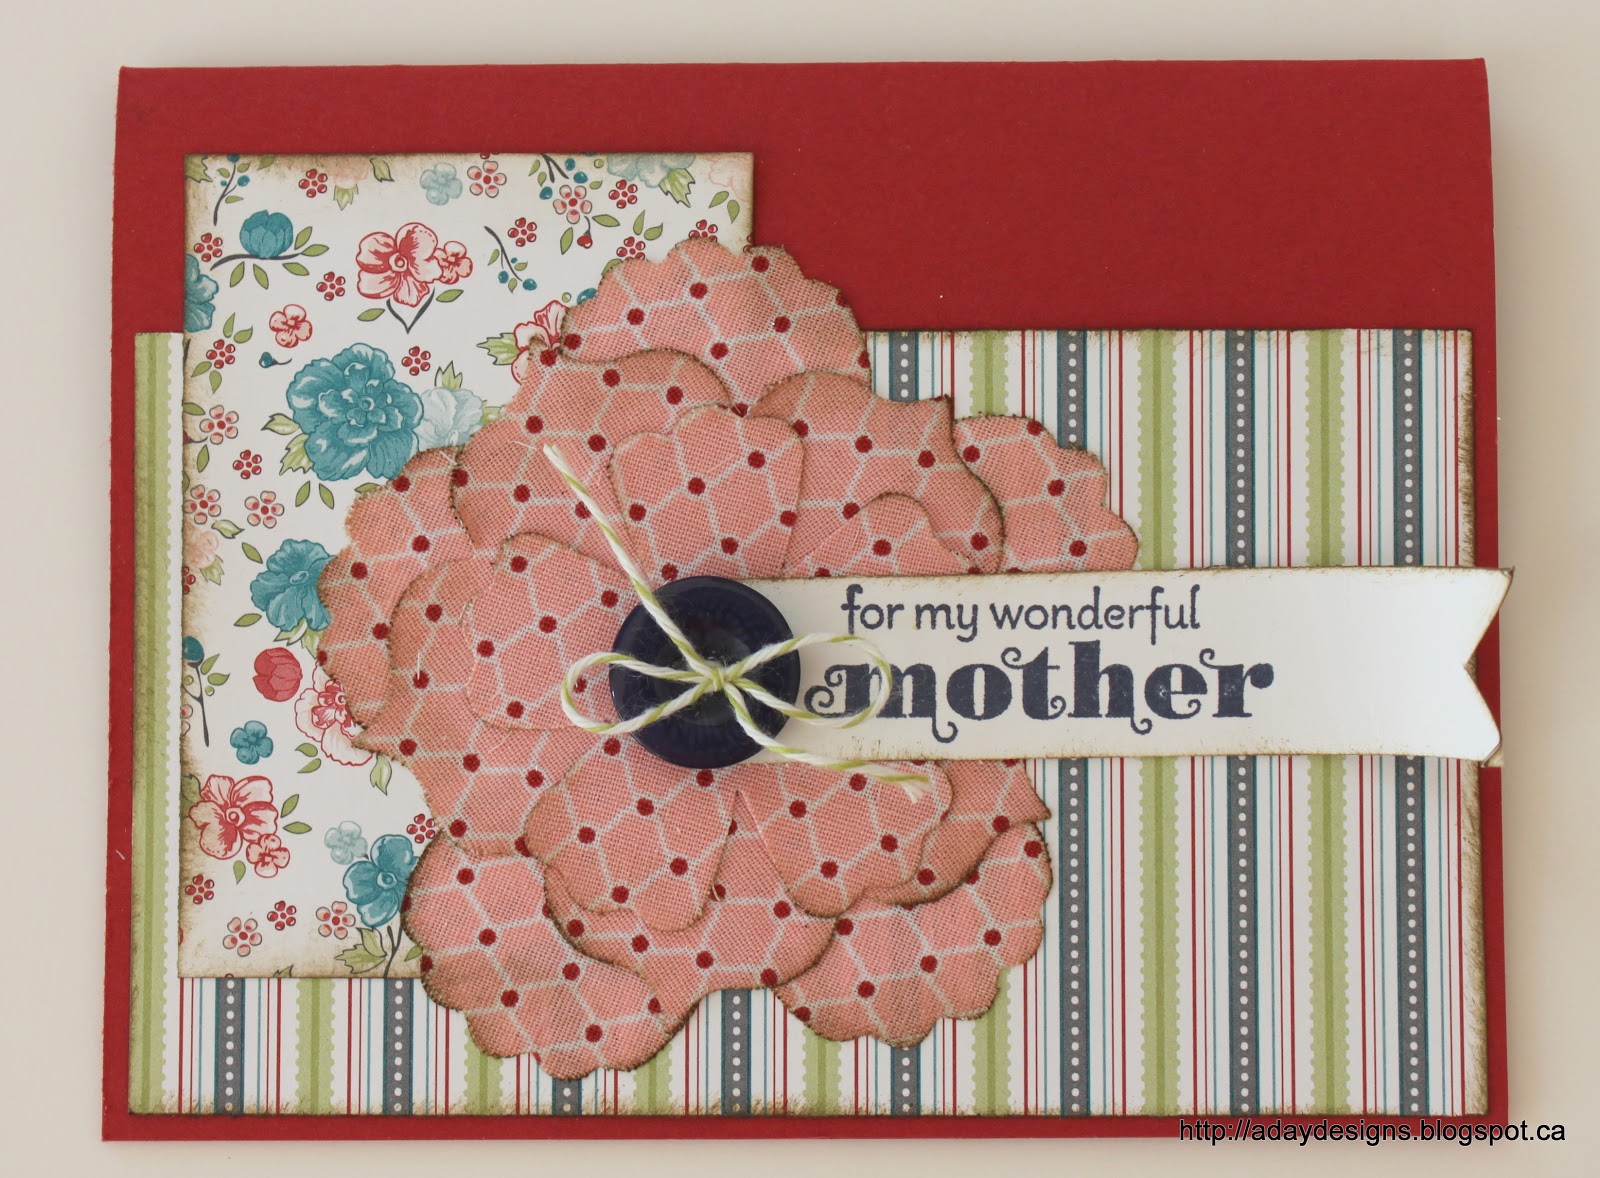
First let’s make some embellishments out of fabric like I did here on these two cards.
Both these flowers were made using a piece of cotton fabric and a sheet of Multipurpose Adhesive, from Stampin’ Up. I’m sure there are other manufacturers of similar products, this just happens to be what I have in my stash. Let me show you how I made them.
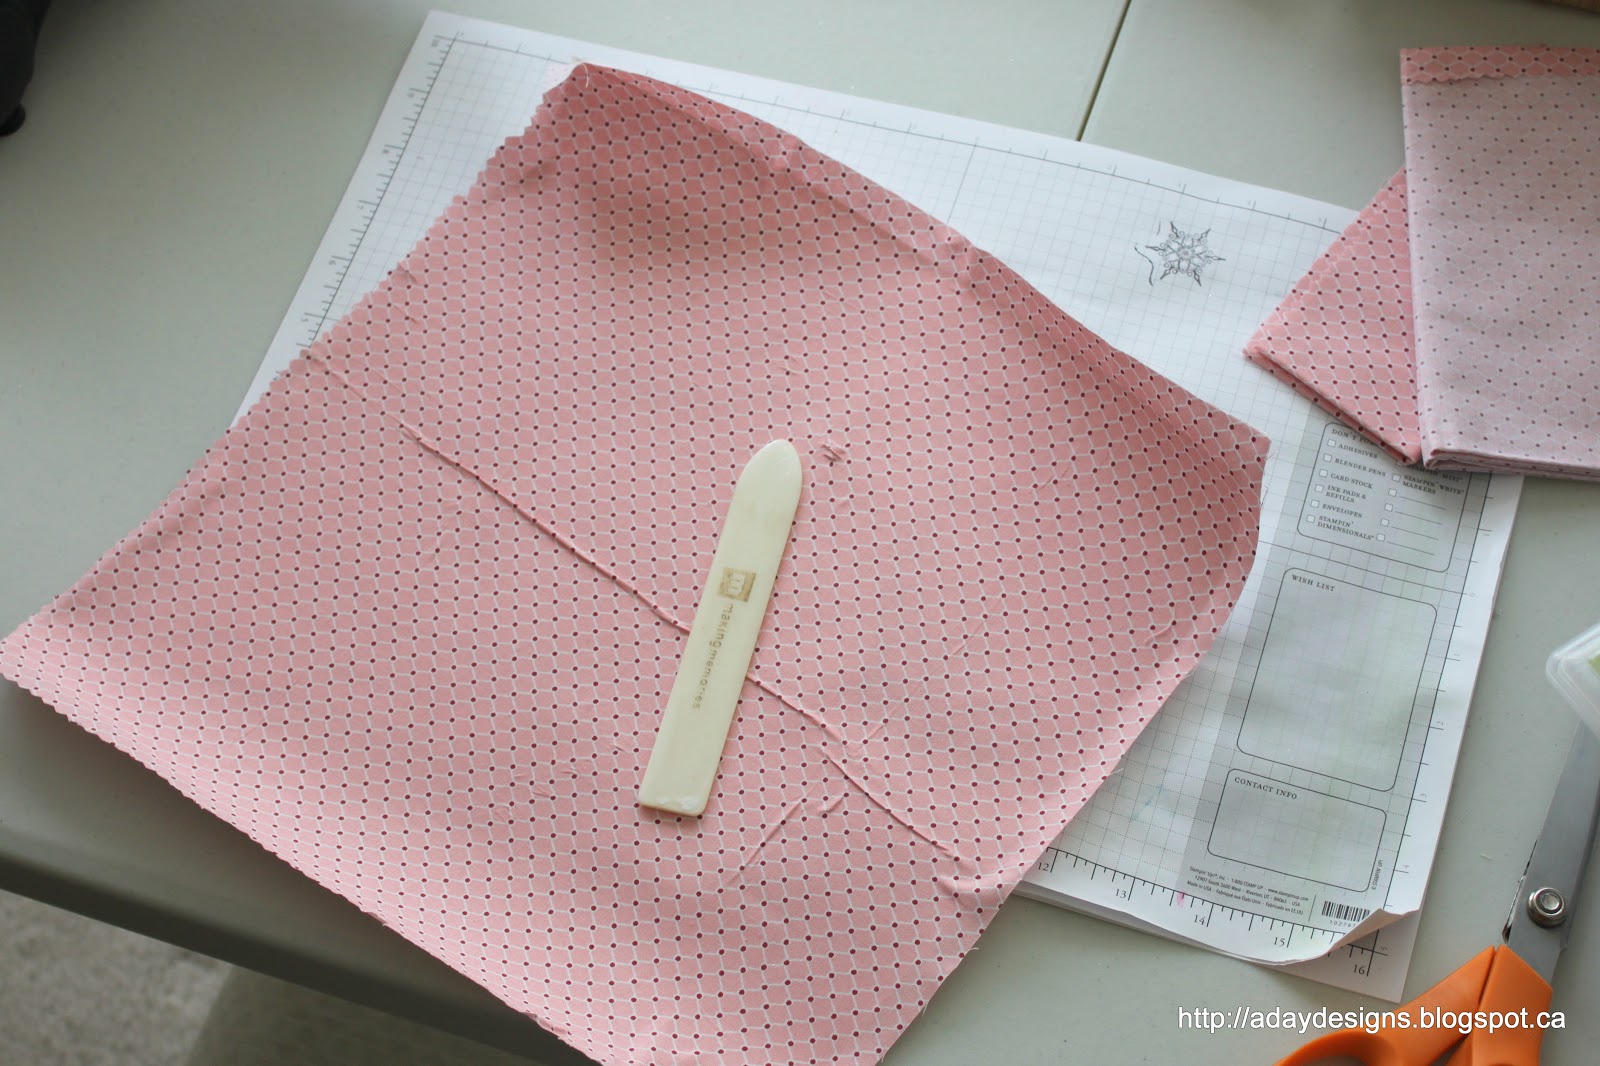
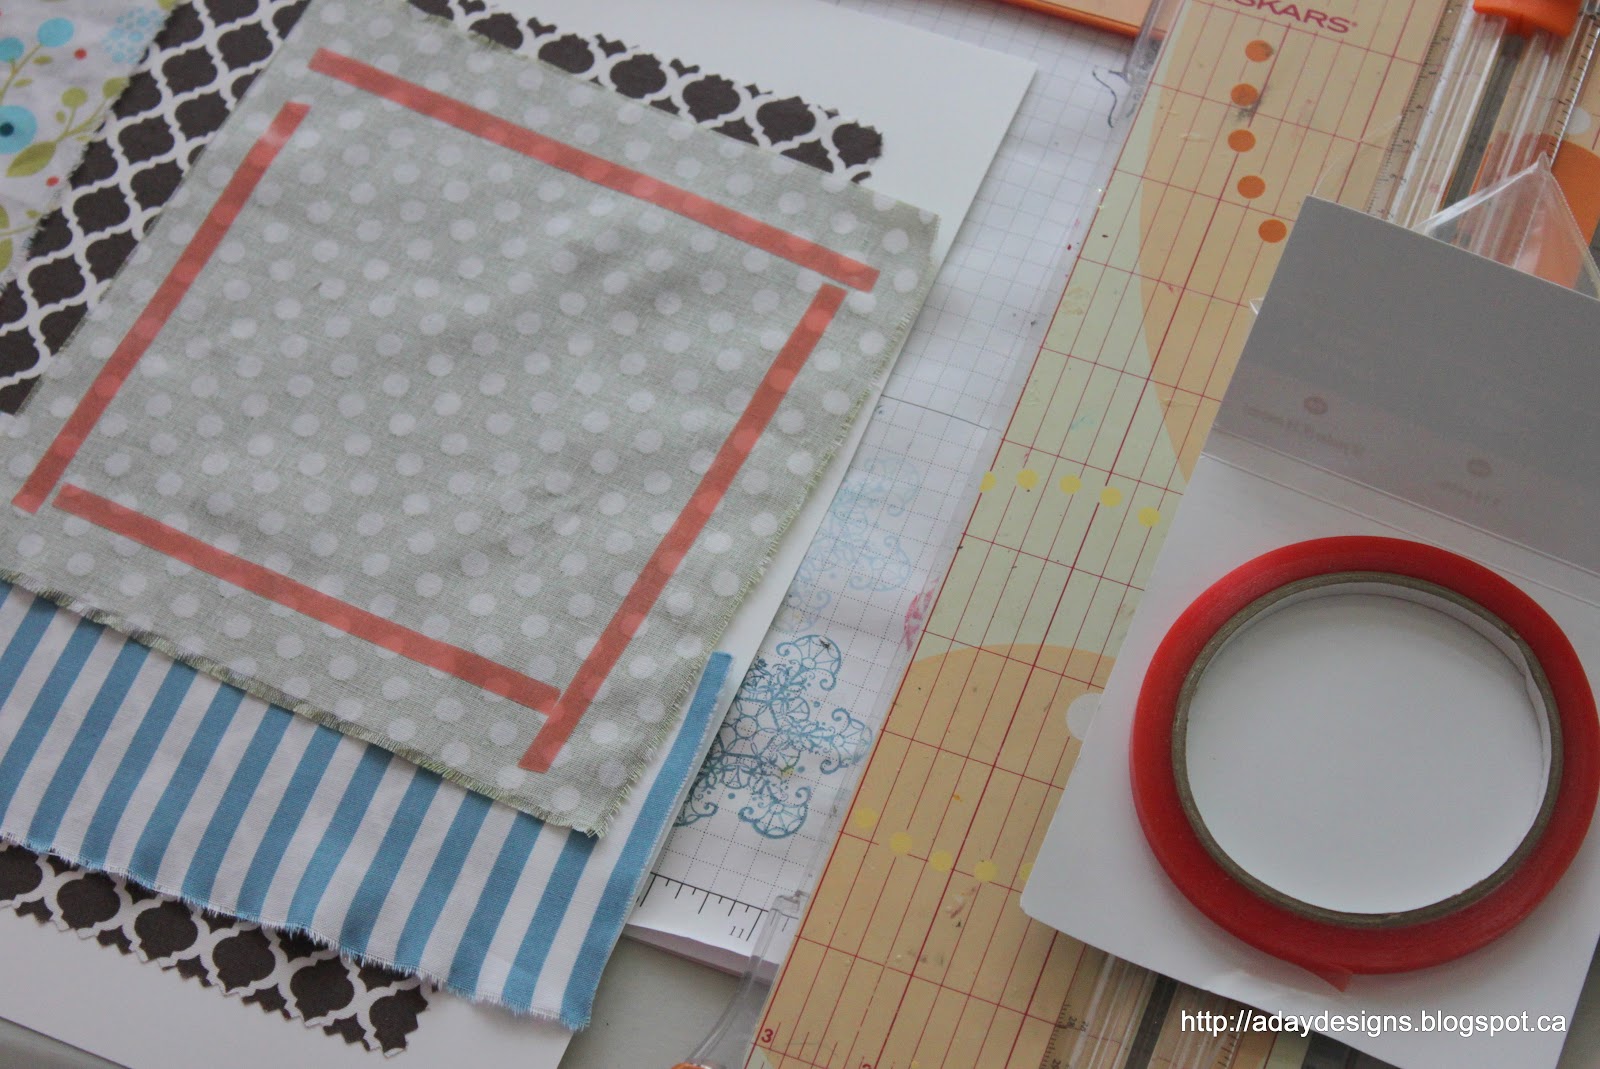
This is what the sheets look like. Start by laying your fabric face down on your work surface (TIP: iron it first!! learned the hard way that those creases don’t magically come out when you lay the adhesive sheet on top of them!) Peel off one corner of the adhesive sheet, turn it over and stick it down onto your fabric.
Slowly pull back the rest of the adhesive backing using a bone folder or old gift card to keep it as straight and crease free as possible. Clearly, my own technique needs some work. 🙂 Since I knew I’d be cutting the sheet in half to fit through my Big Shot I decided not to worry about it. Remember, IRON FIRST!

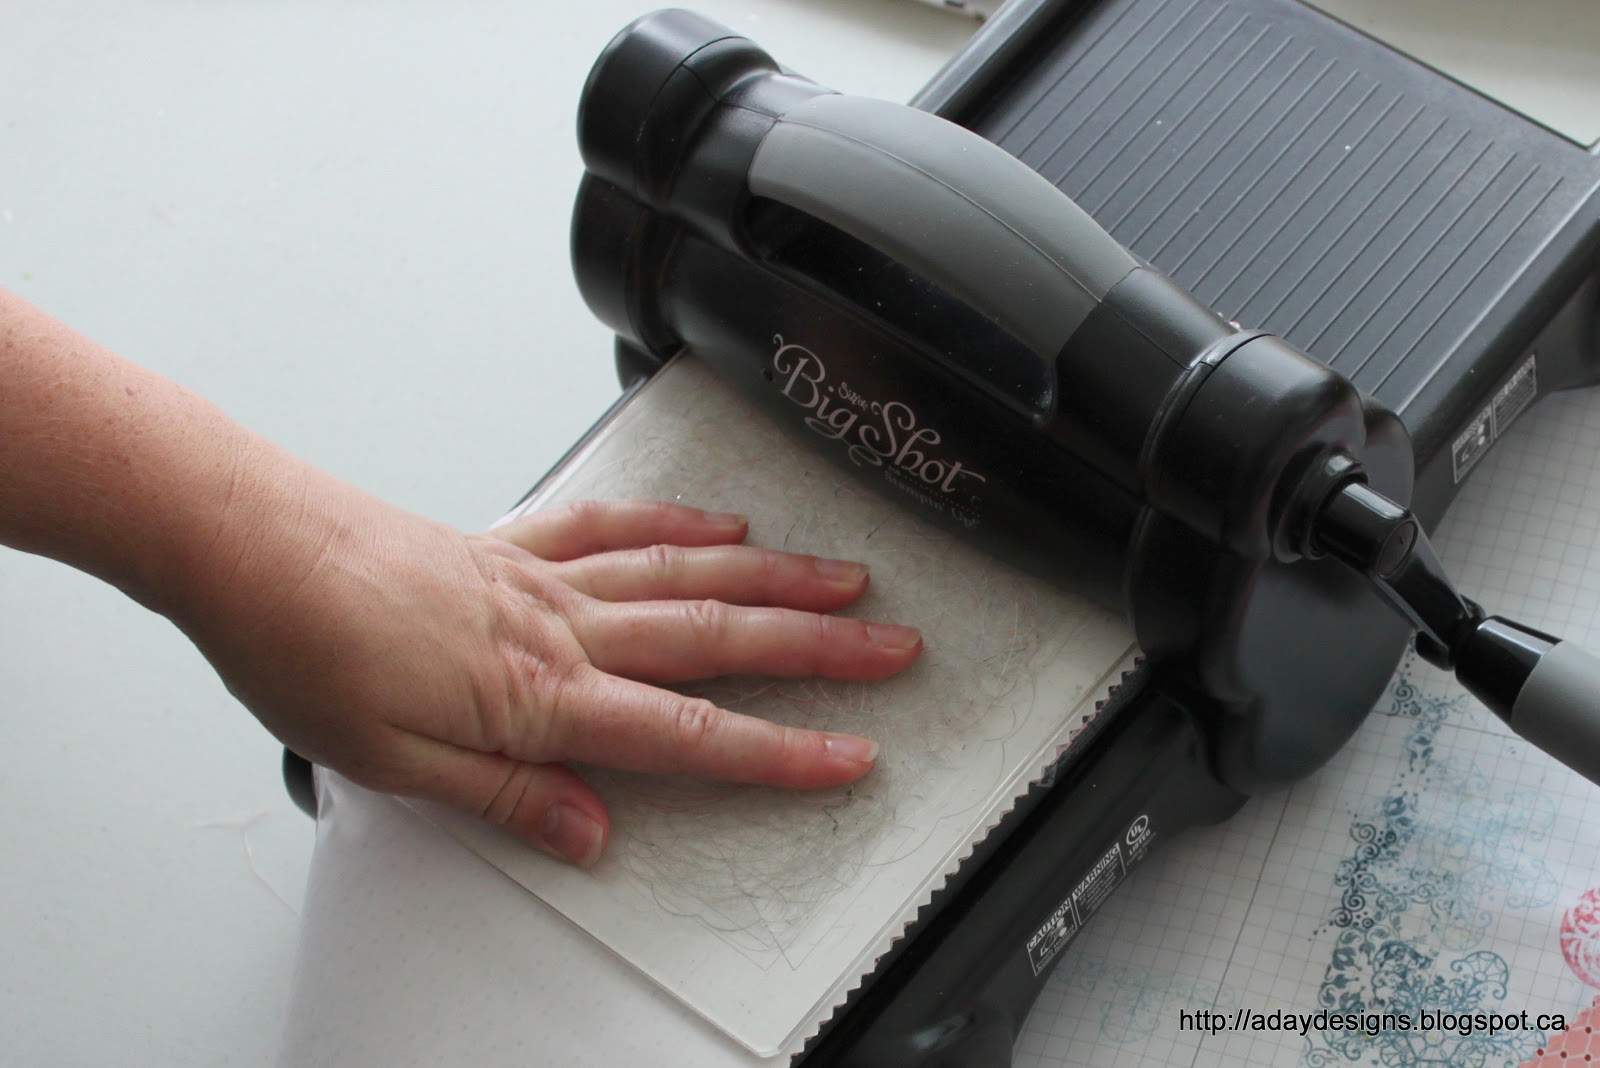
Run everything through your Big Shot or other manual die cutting system.
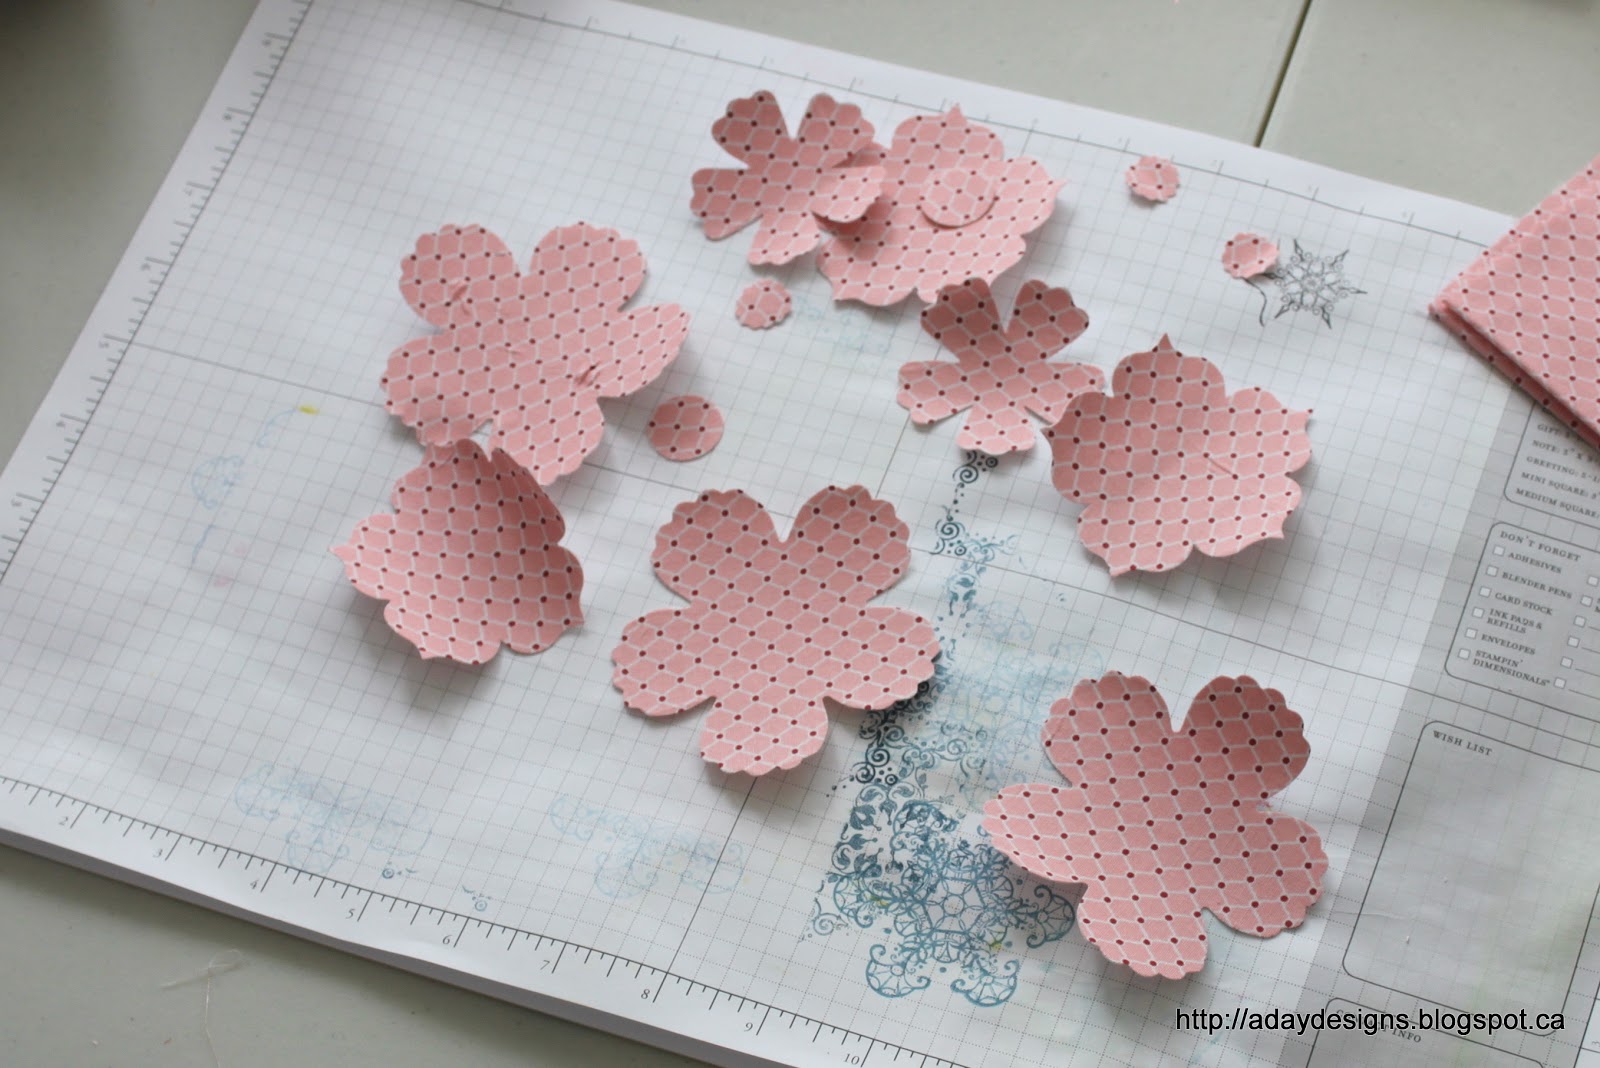
Sit back admire your beautiful fabric flowers! 🙂 I cut out two full sets plus a couple extra of the larger flowers to have on hand.

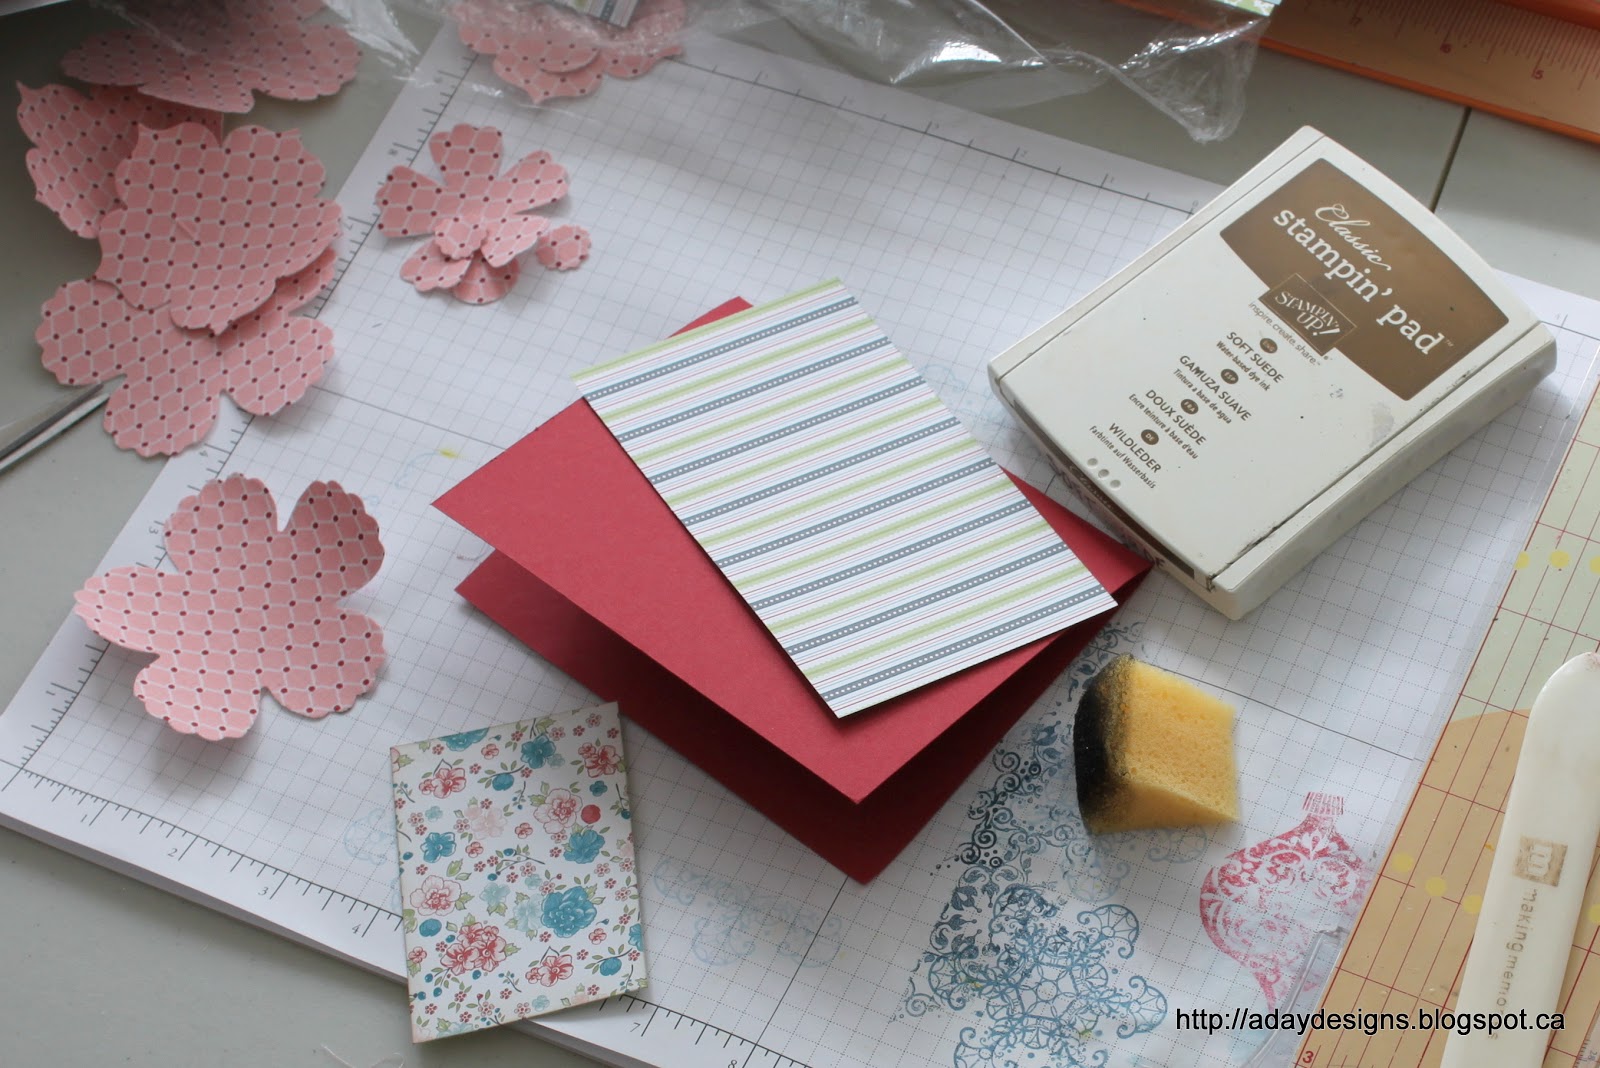
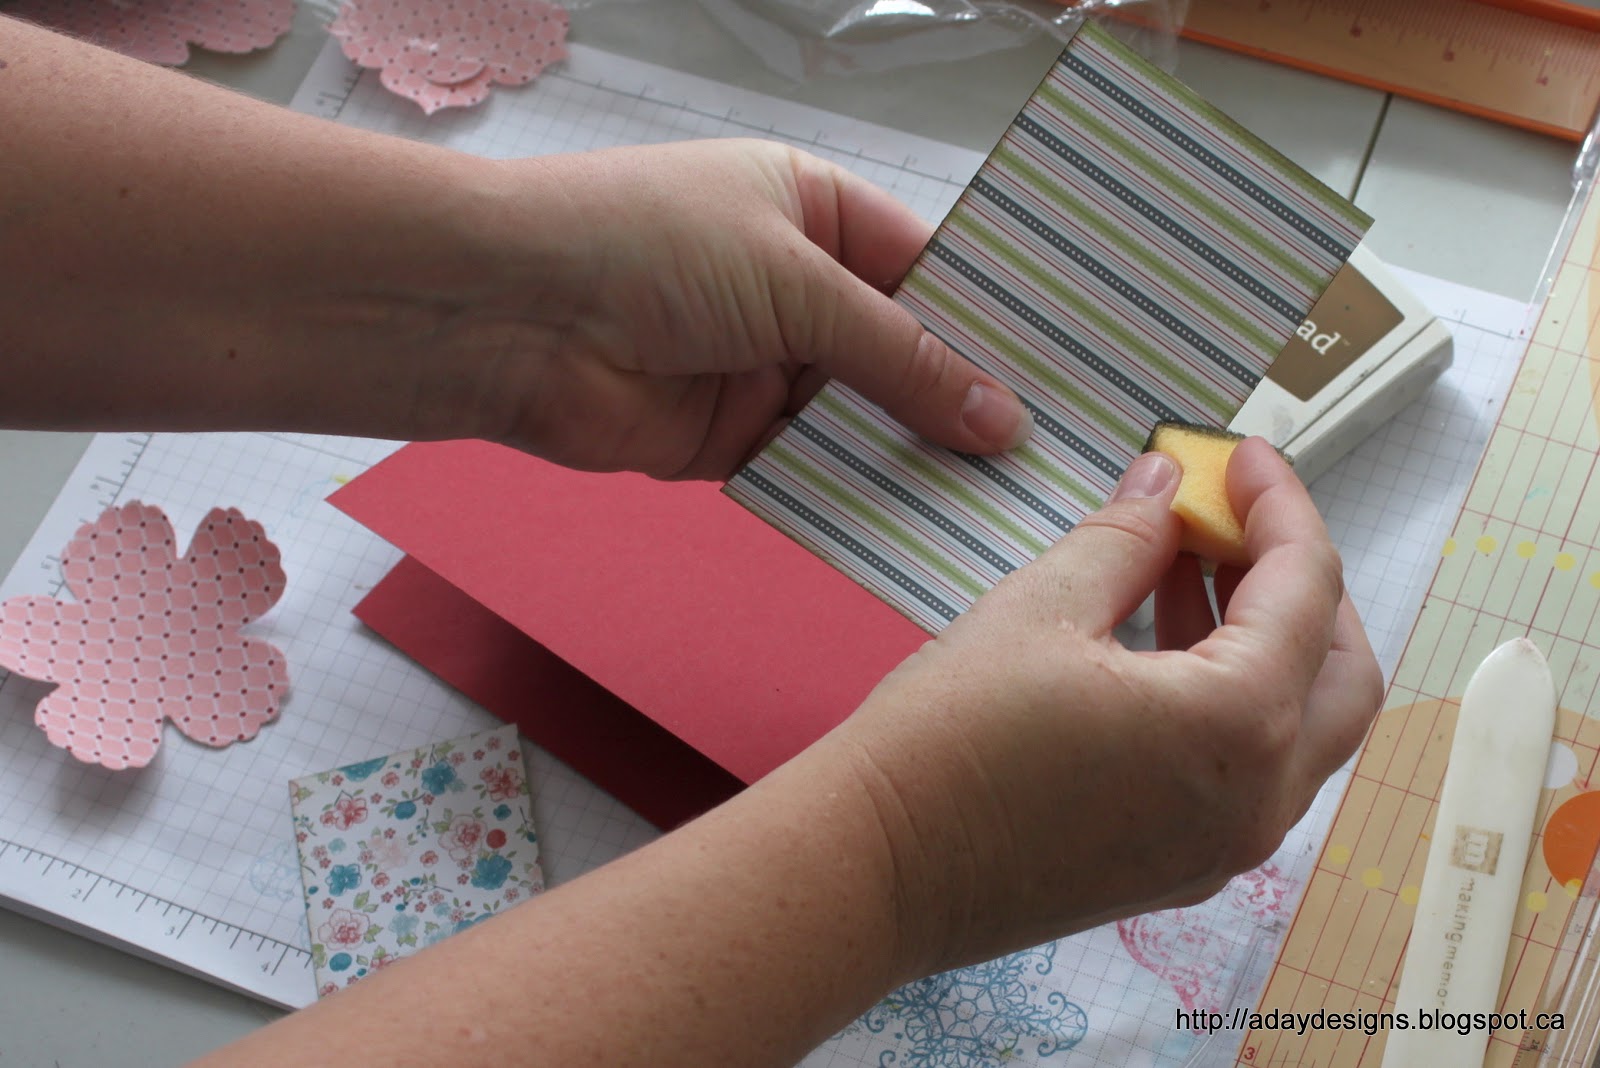
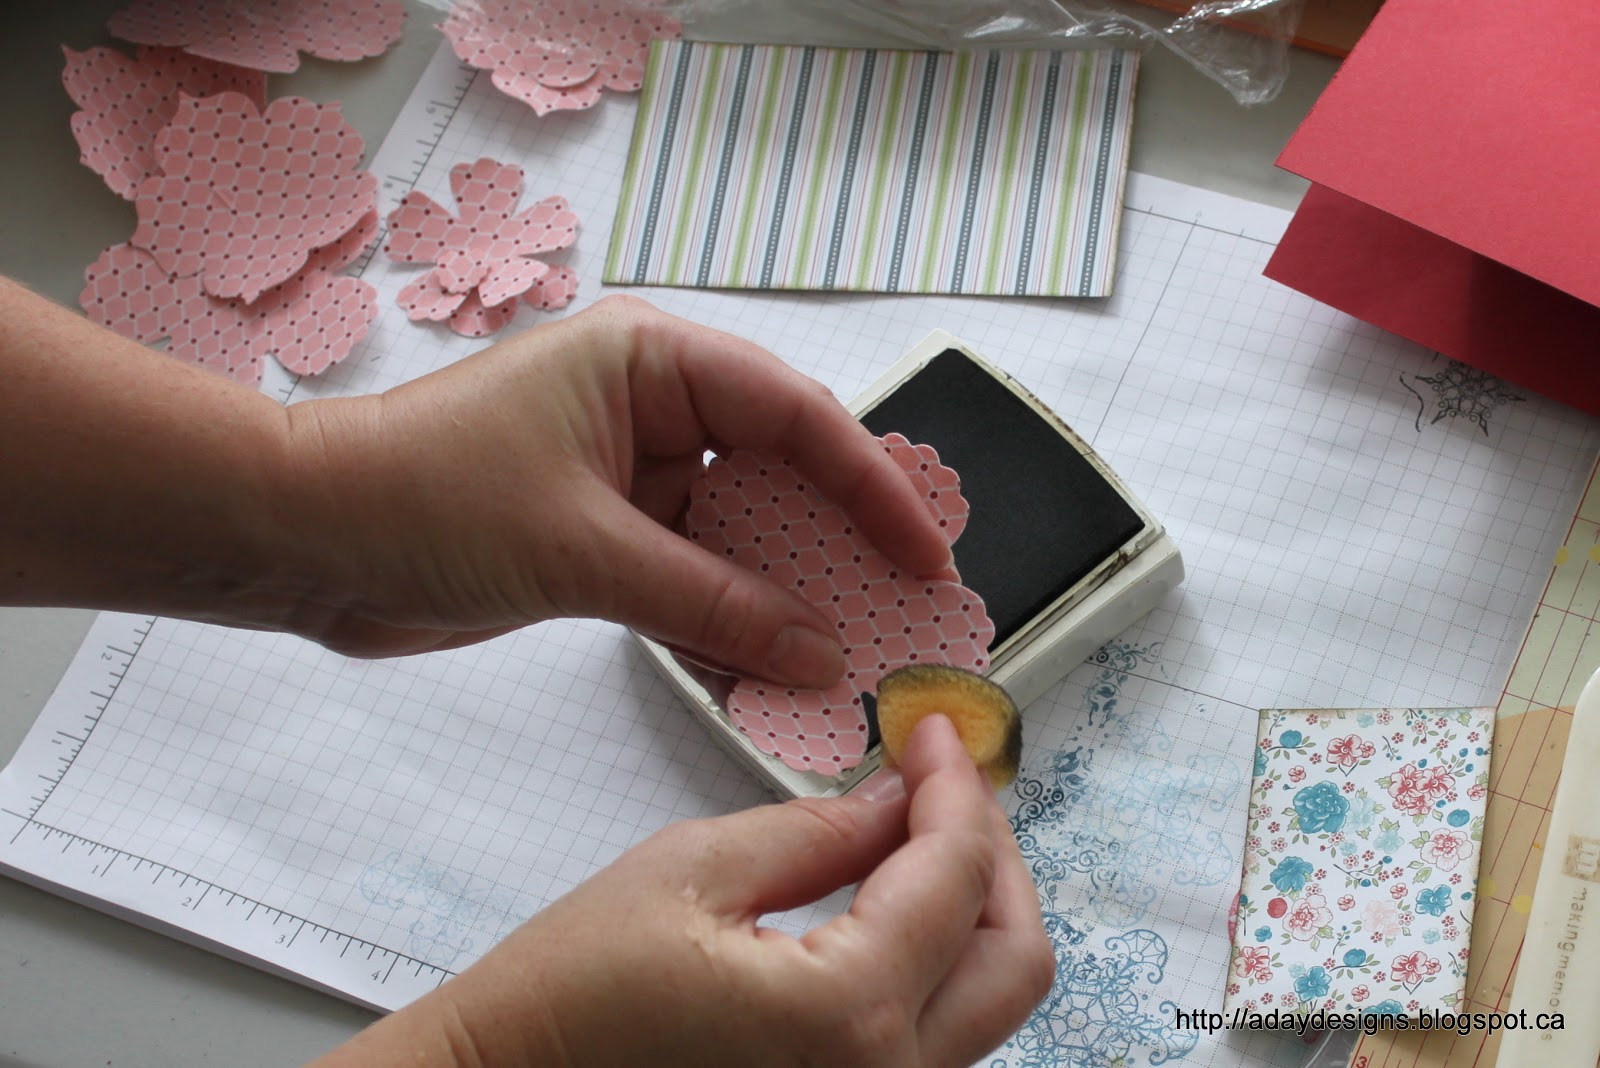
Time to assemble your card project. I like to start by inking all my edges.
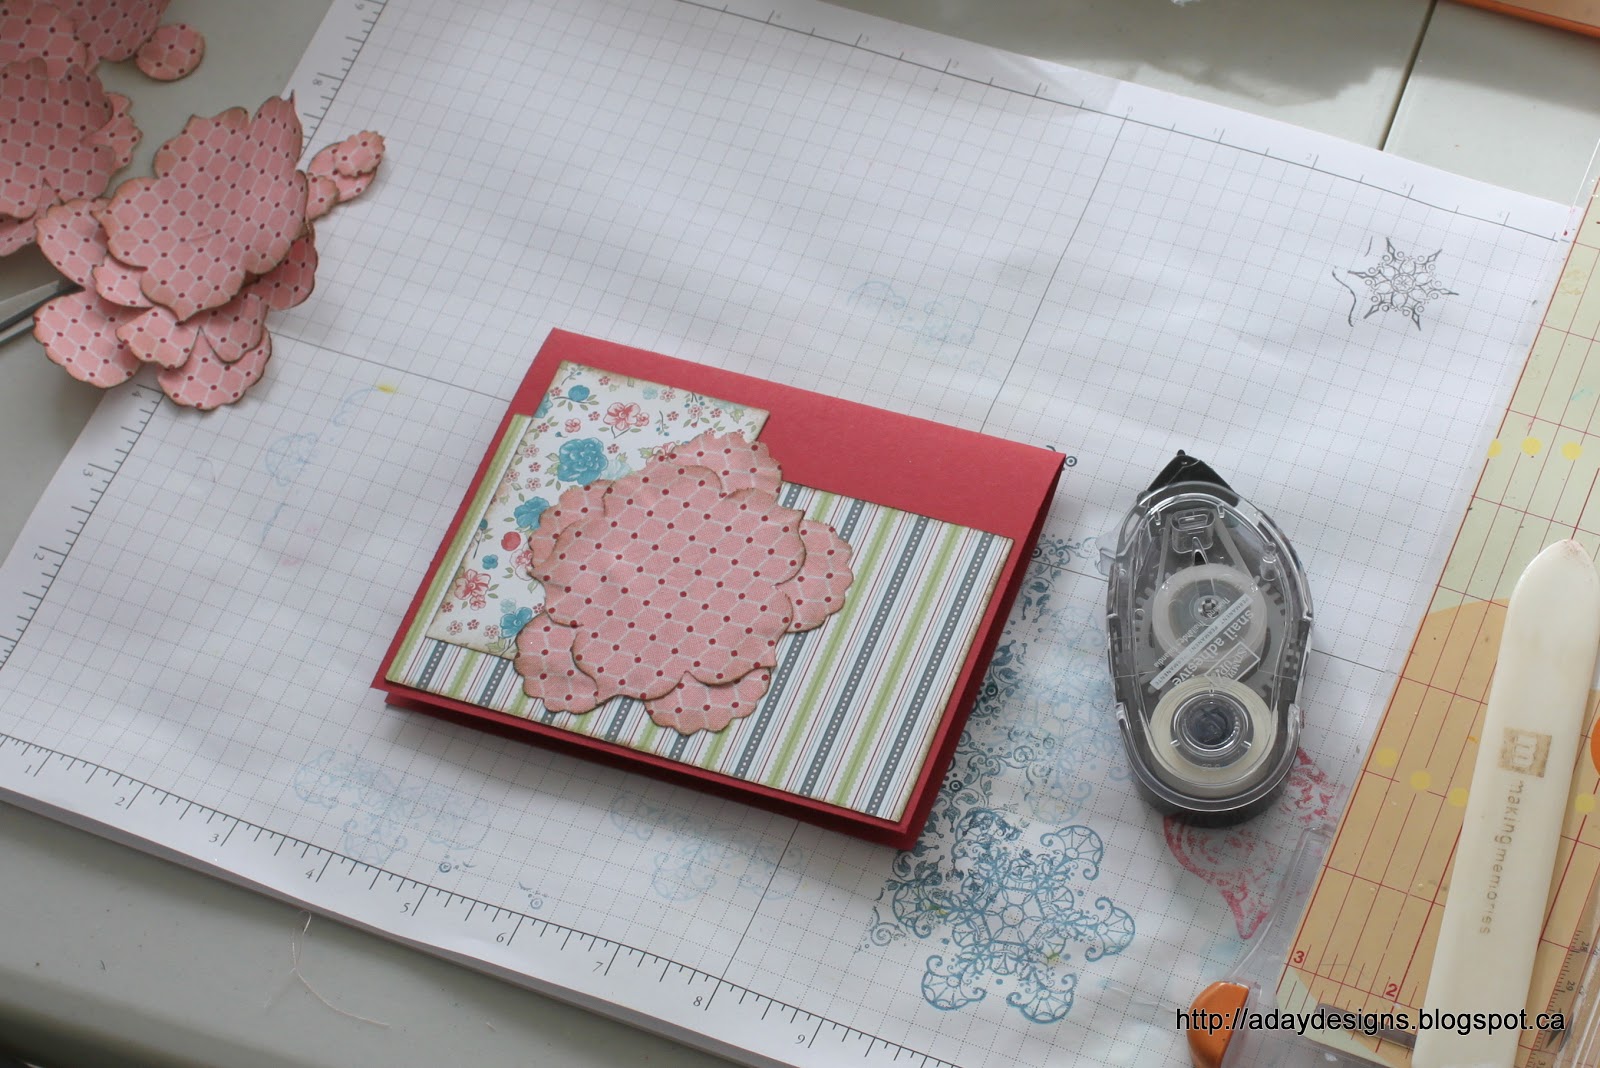
Don’t forget about your fabric flowers. They gain a lot by having their edges inked too! For the first card I simply adhered my paper pieces as shown. An off set ‘L’ shape is a great starting point for cards as it gives you lots of options as far as embellishment and sentiment placement.
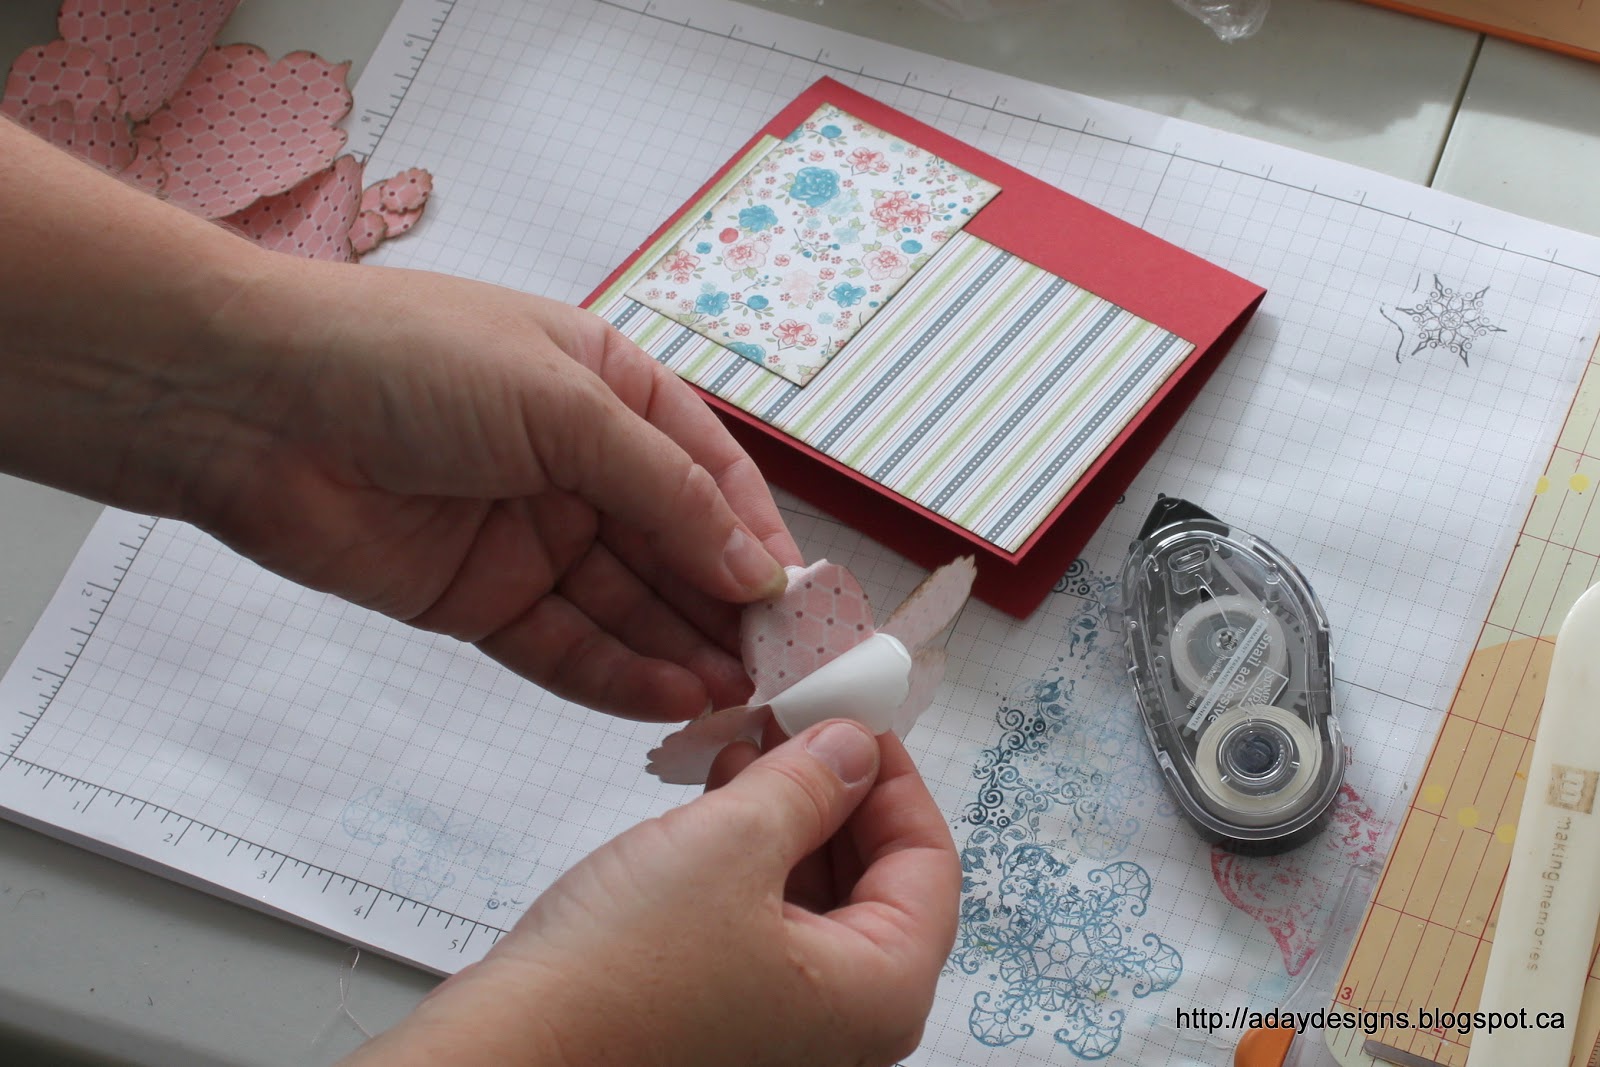
Then it was time to start building my fabric flower embellishment. Carefully peel the backing from the largest die cut flower and adhere it to the card as shown below.
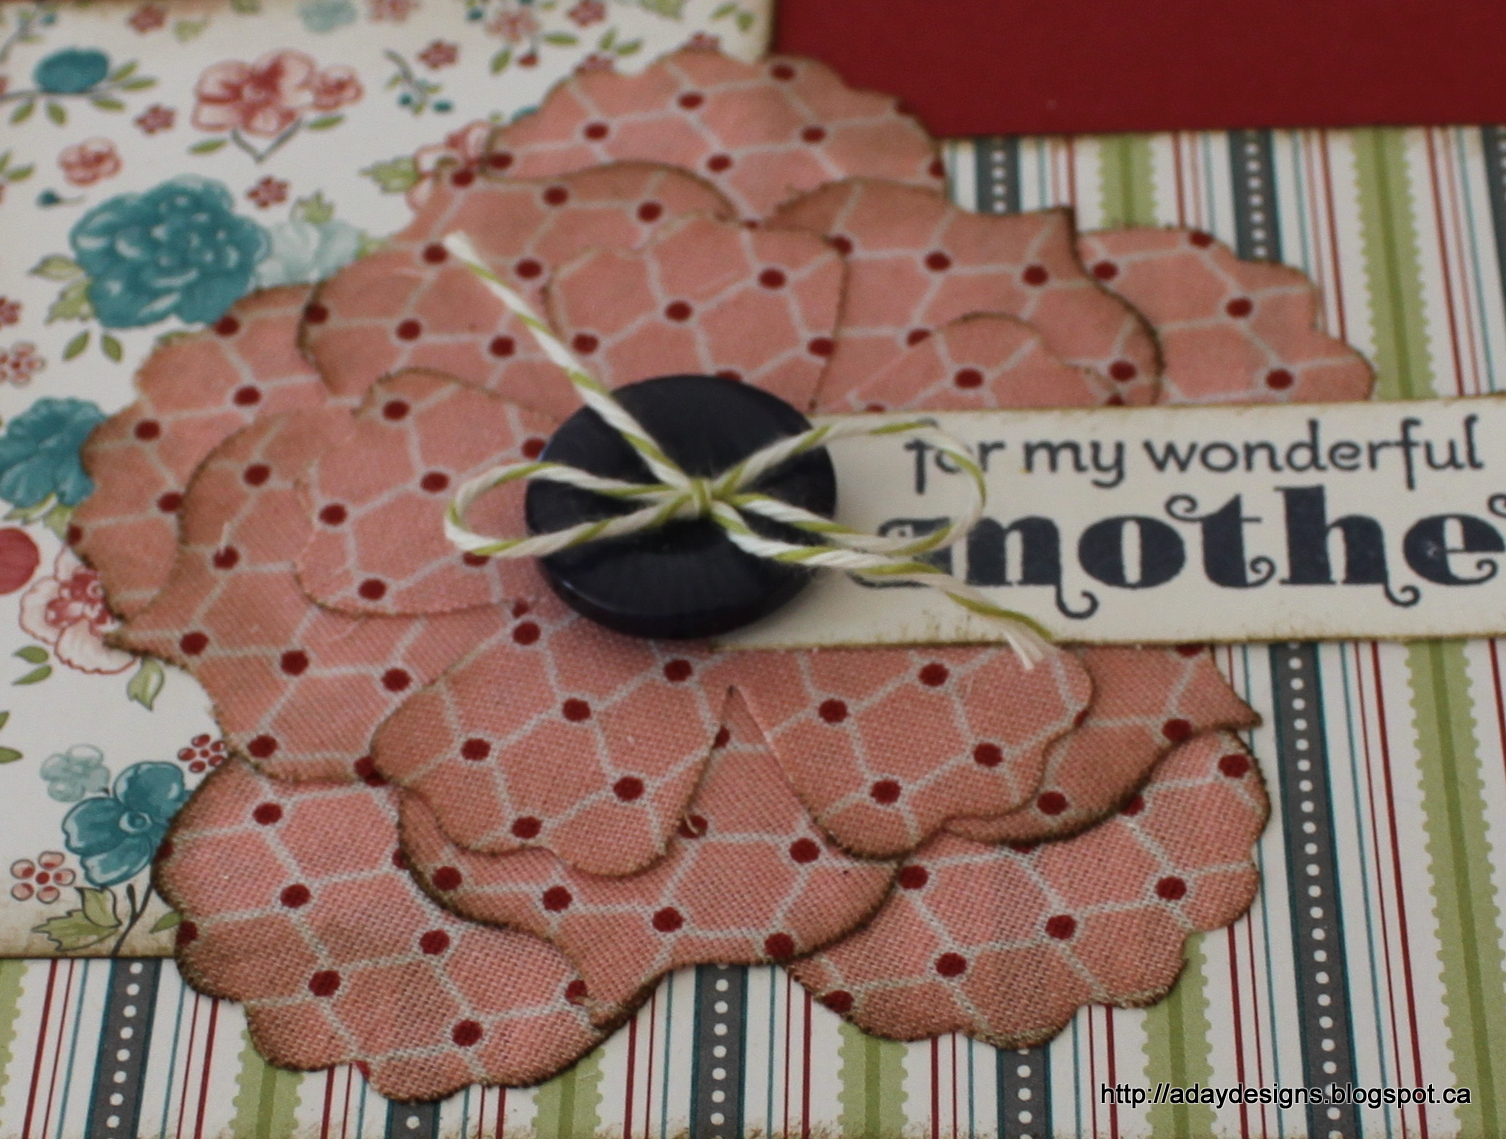
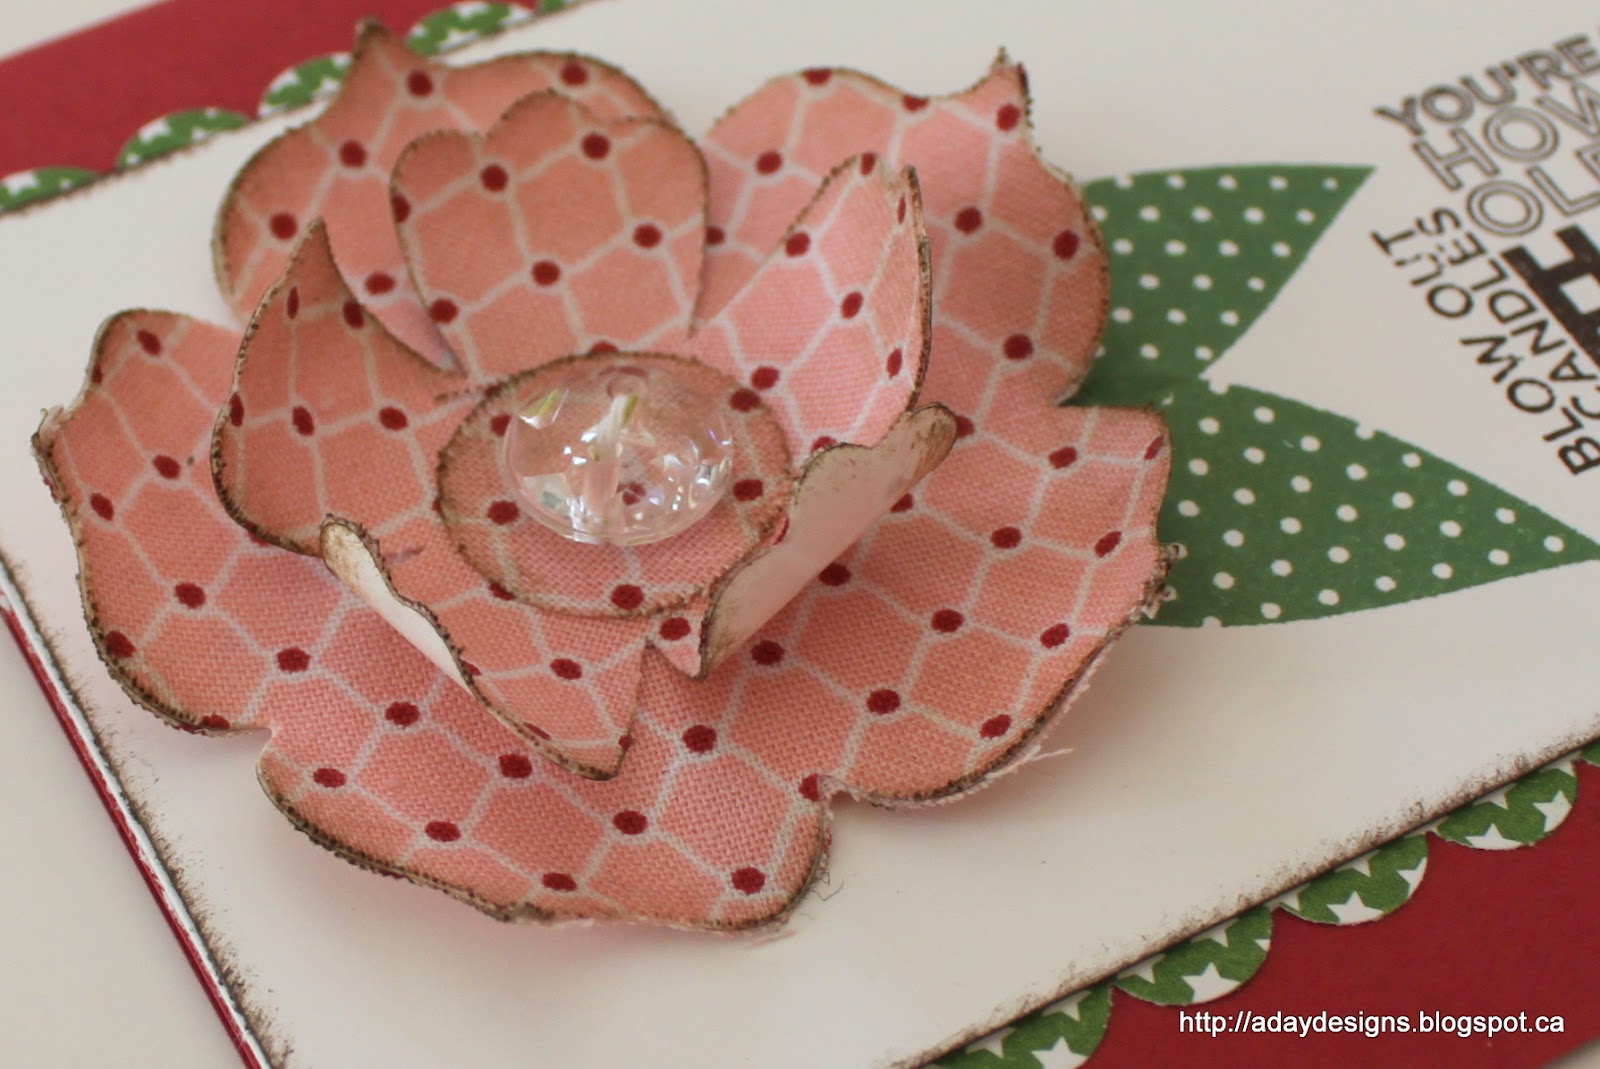
Continue this with the smaller flowers laying them down in a offset pattern being sure to keep each one centred on the one below it. I finished my card off with a button tied with some bakers twine and a sentiment stamped onto a piece of card stock. Here is a close up of the finished flower.
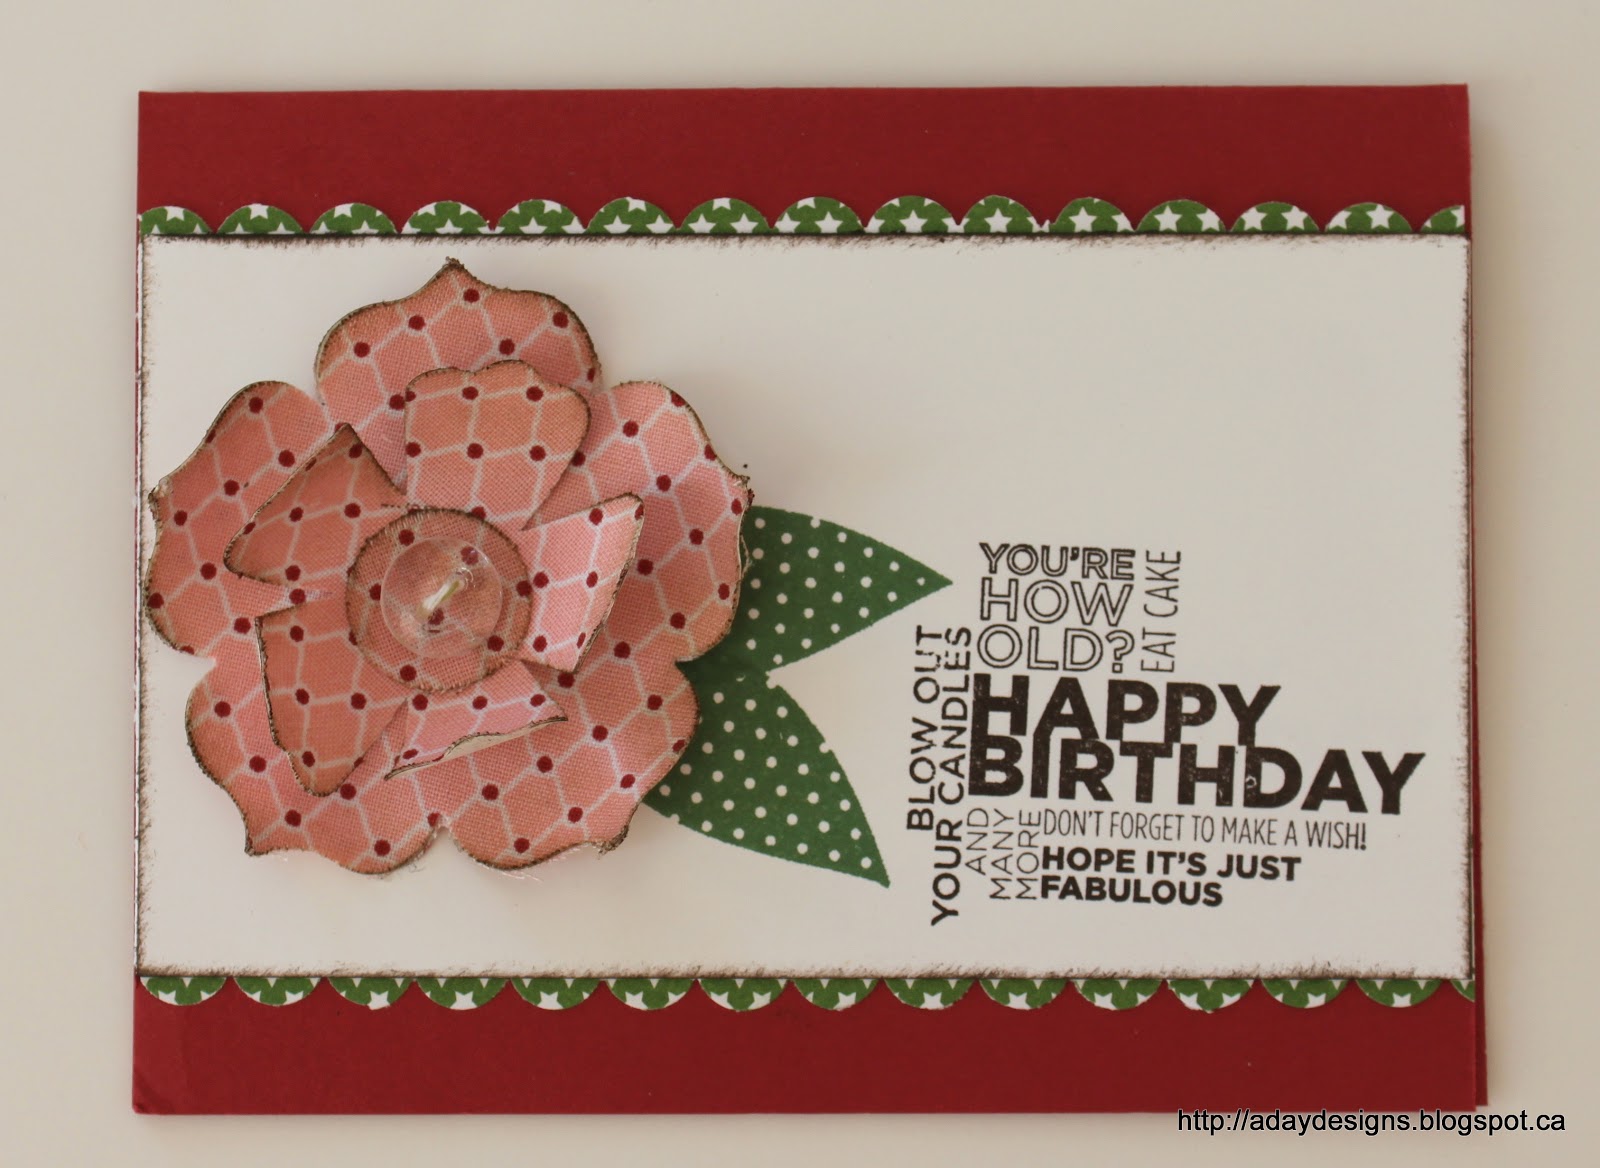
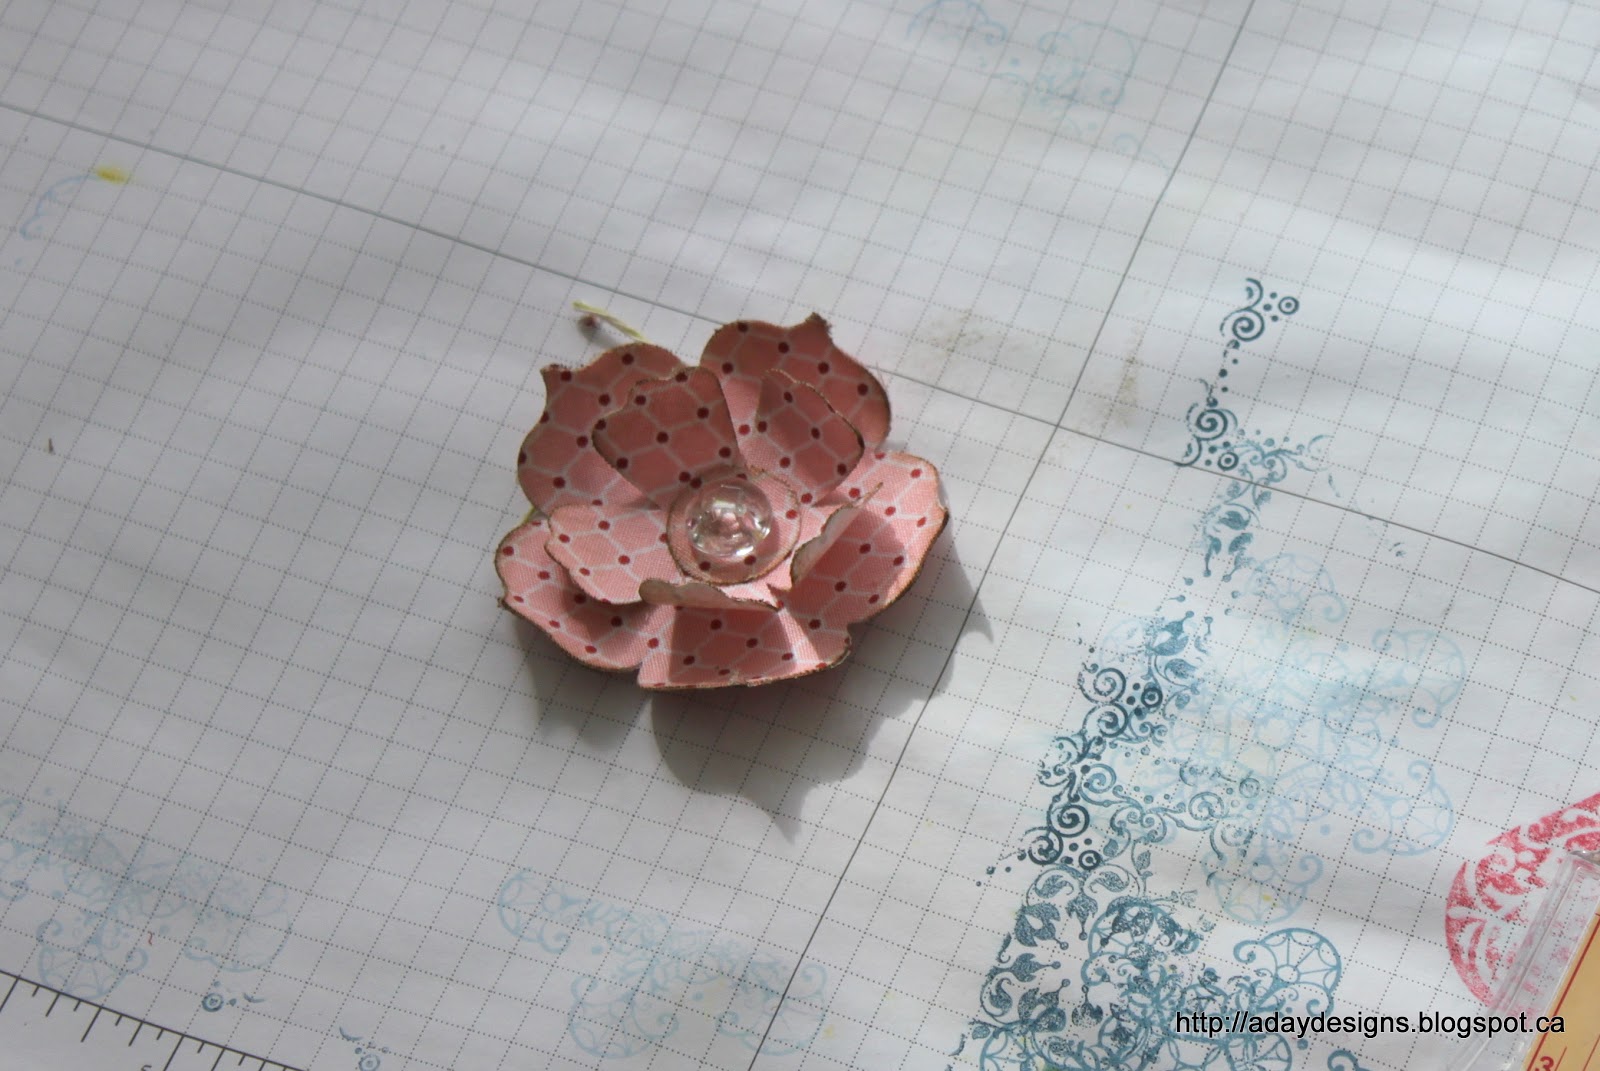
For a more 3-dimensional flower like this one, I simply left the backings on each flower layer and used my bone folder to curl them after they were adhered together. In the future, to make this type of flower, I’d adhere the fabric to a piece of card stock, then run it through the Big Shot. That way each flower would have the extra support and stiffness of the card stock instead of the adhesive backing. Plus it would look a bit more polished on the finished card. Live and learn, right?
Well, that’s one way to use fabric to make embellishments for your cards and layouts … are you still with me? Want another way?
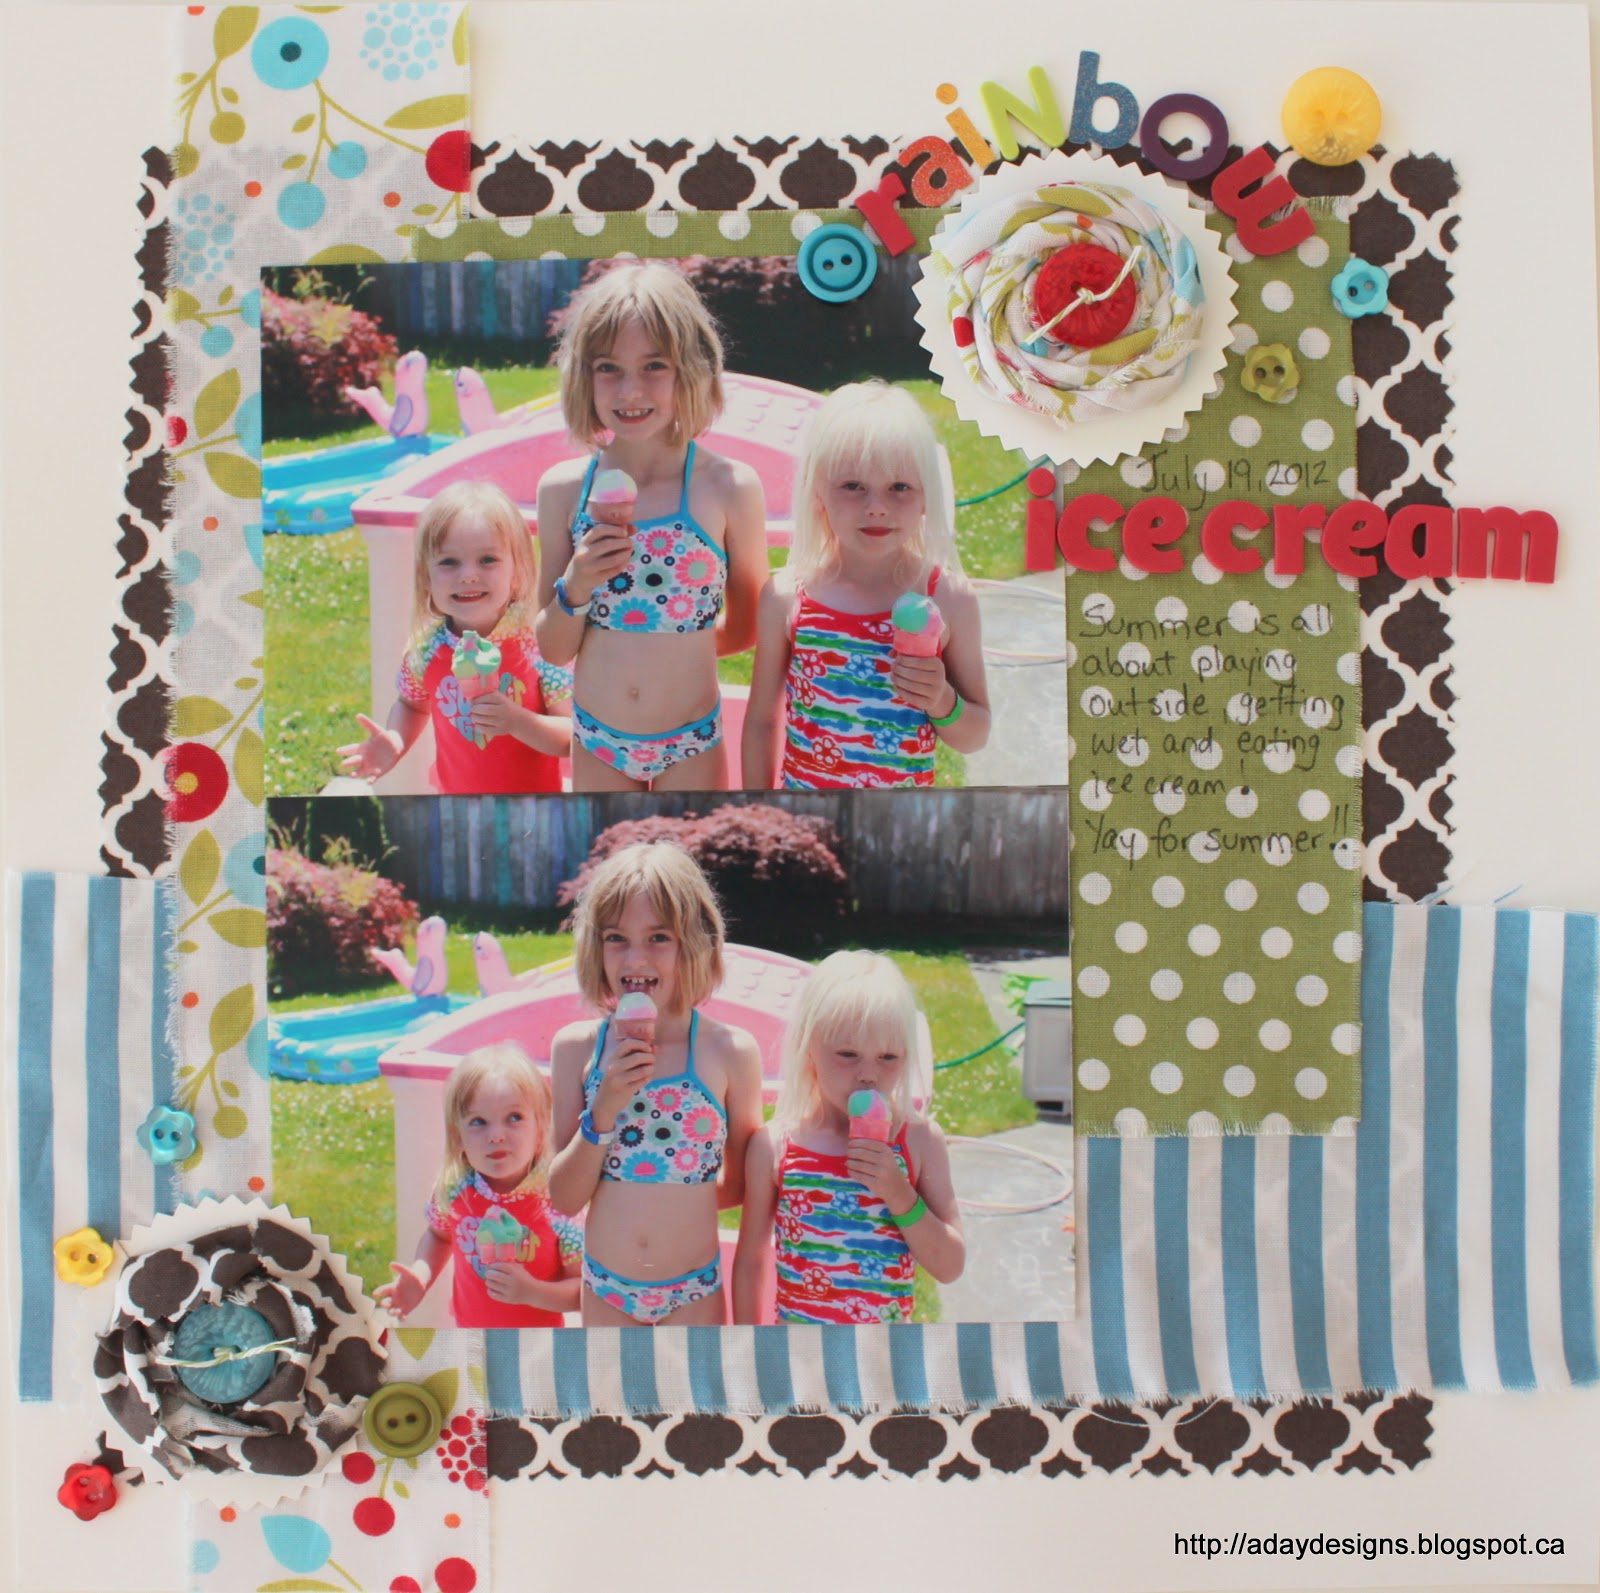
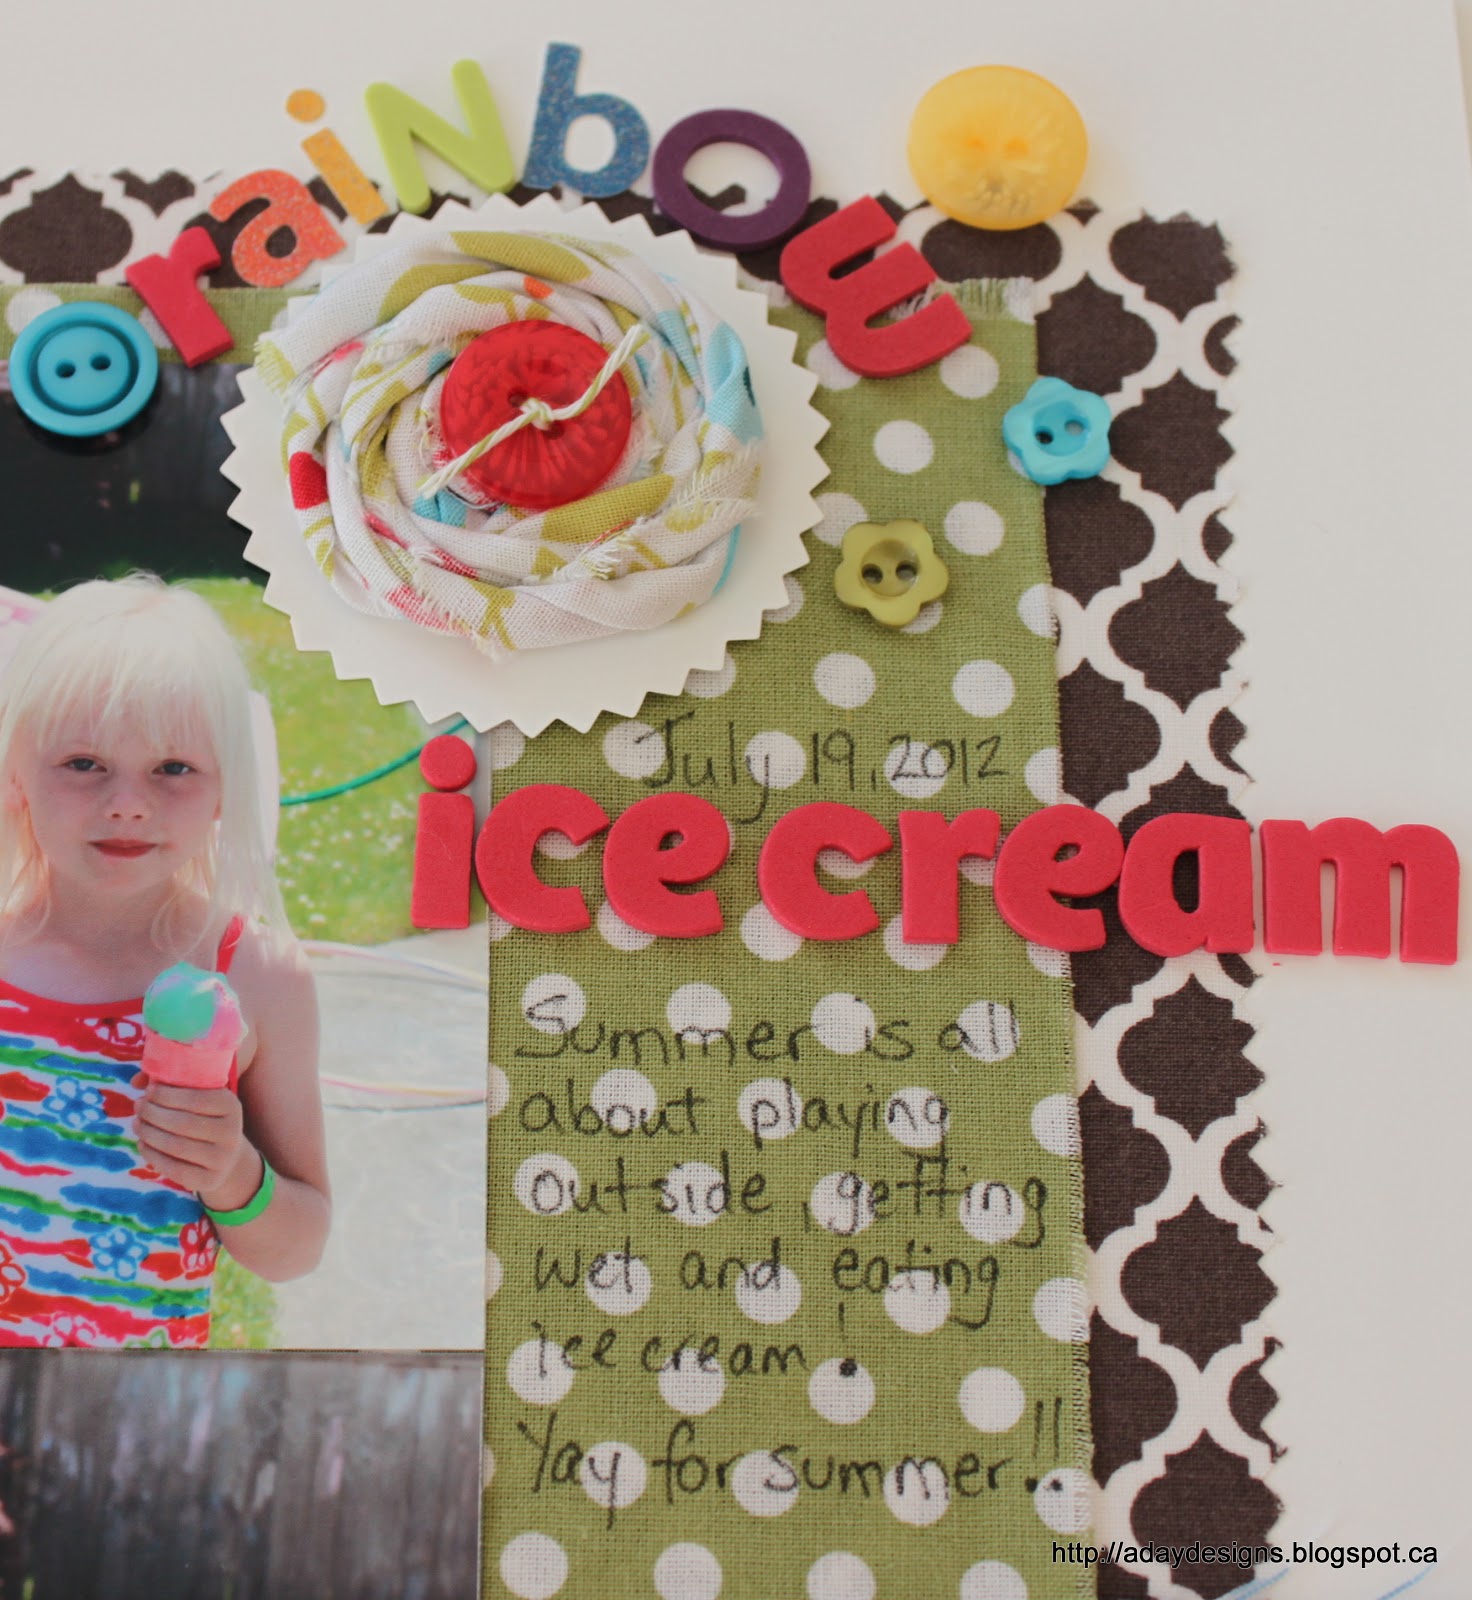
How about using it in place of paper? That’s right, you heard me. Instead of pieces of patterned paper on this layout, I used pieces of fabric.
There are literally 3 pieces of paper on this whole layout (okay, 5 if you count the photos!) – the background card stock and the two pinked circles under the rolled fabric flowers. Everything else is fabric!
The large square of brown fabric was adhered using another Multipurpose Adhesive Sheet and the smaller pieces were adhered using double sided tape. (If I had a functional sewing machine I would have sewn them to the card stock but … I don’t, so tape and glue are my friends!)
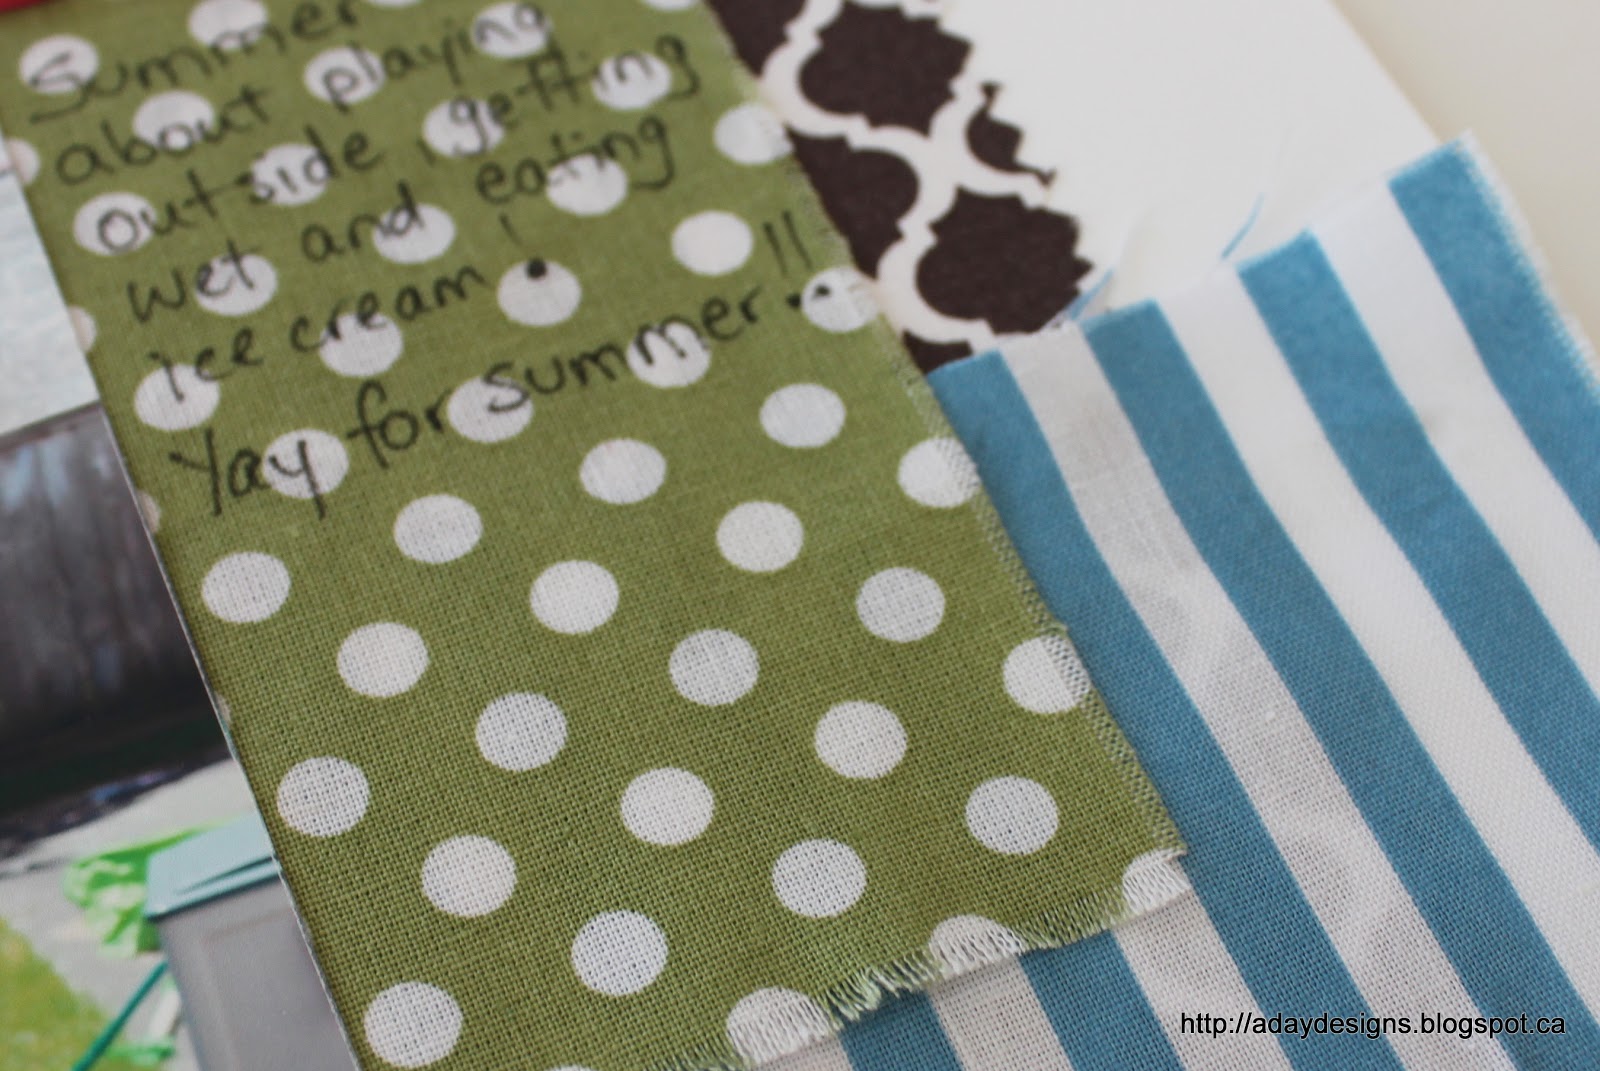
Here a close up of the layers of fabric. I purposefully made the edges raw like that, and I also wrote my journaling right onto the fabric!
And now for my third way to use fabric on a layout or card – make a rolled flower embellishment like this one.
Here’s how I did it.
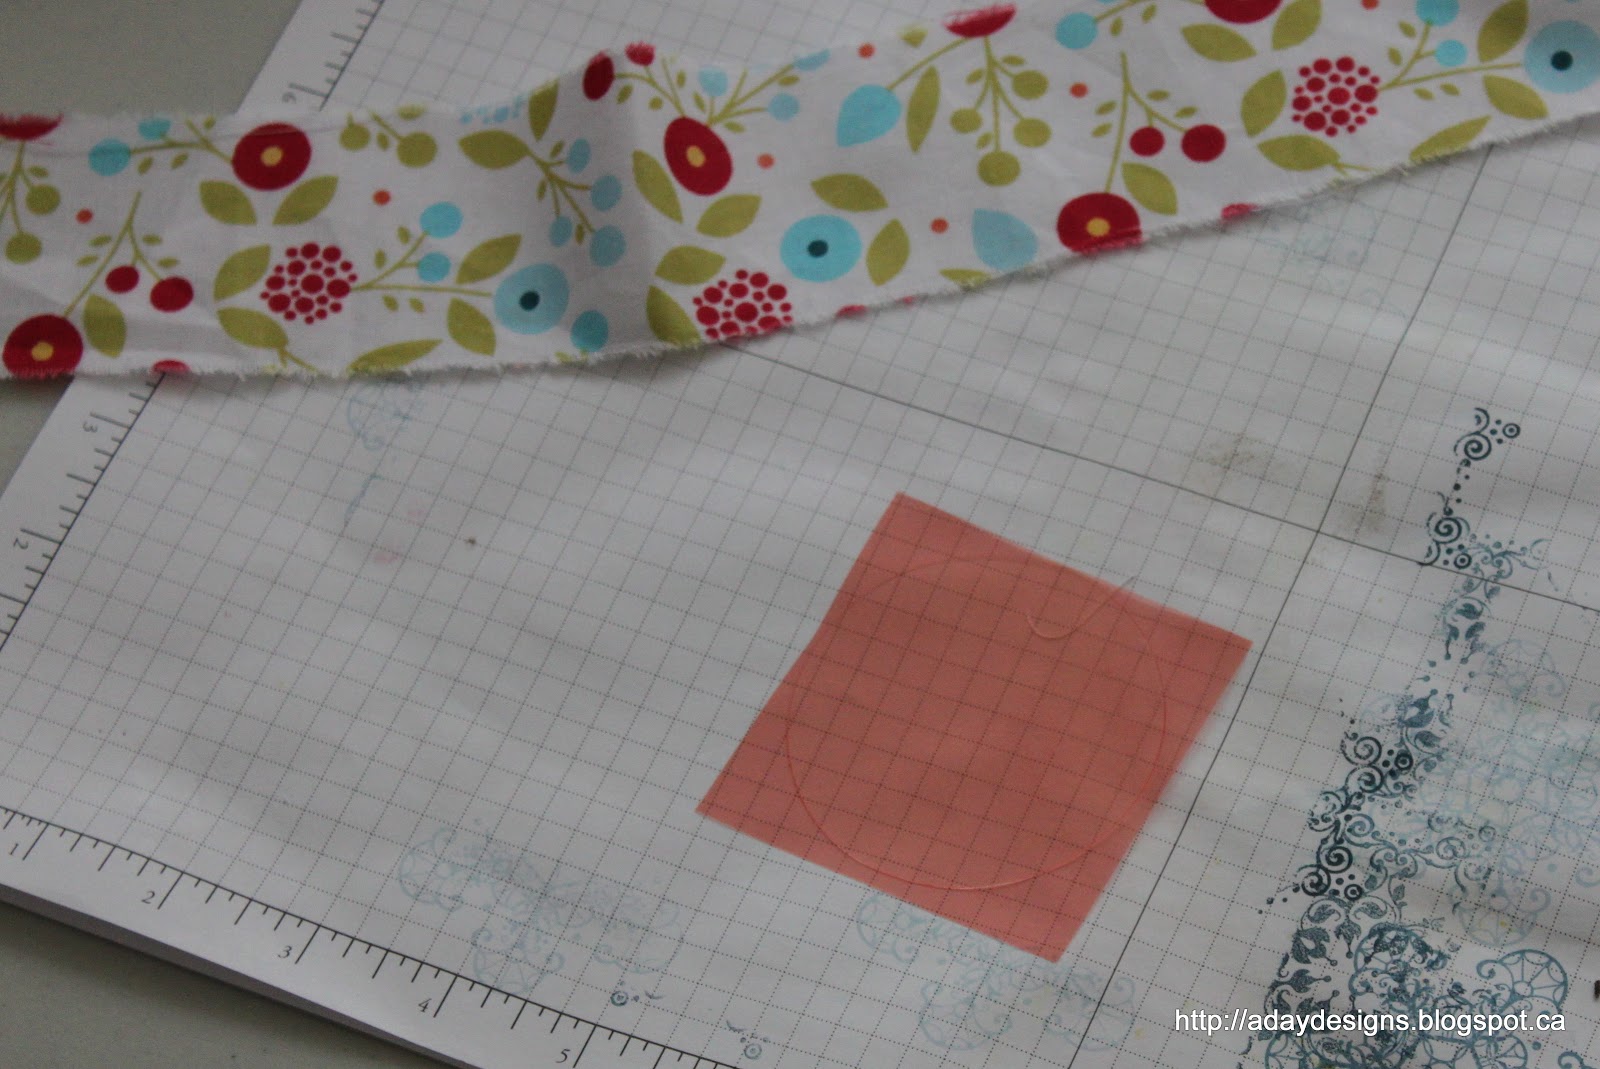
Start with a giant glue dot – take off the top layer of plastic to expose the glue.
Twist your fabric and place one end in the middle of the glue dot.

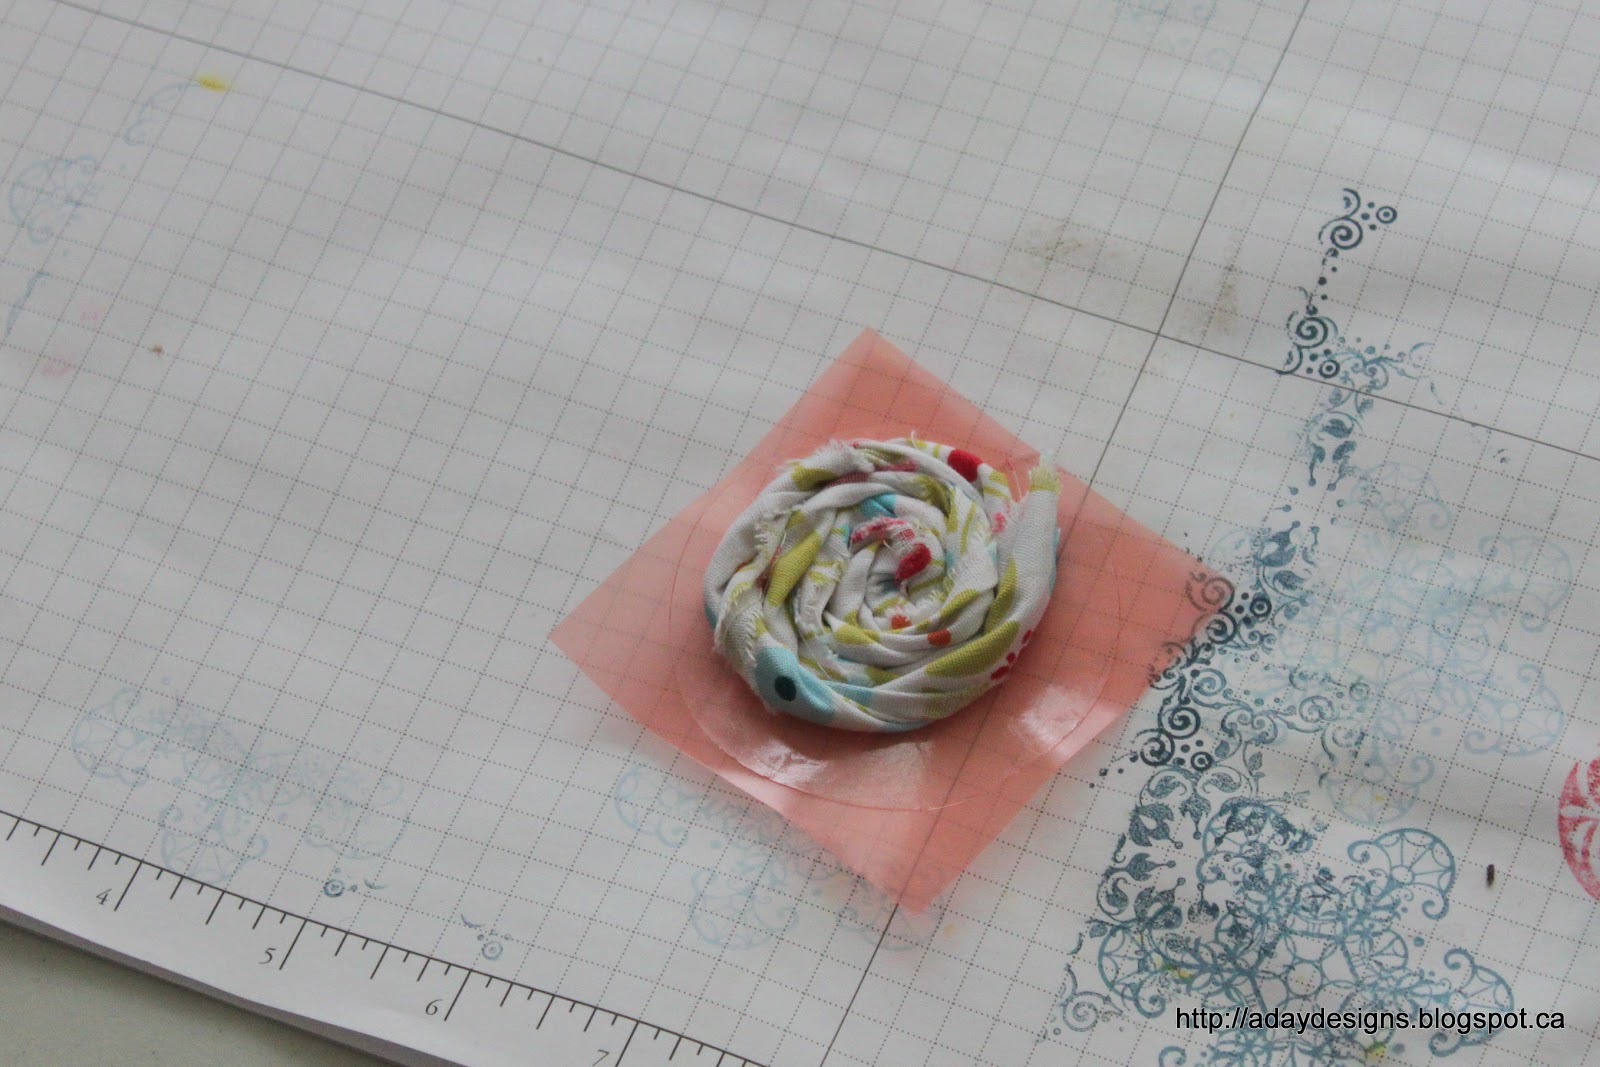
Keep twisting your fabric as you roll it around and around from the centre out until you are left with something that looks like this. The longer and thicker your piece of fabric the bigger and fuller your finished flower. I punched out a 2.5″ circle of white card stock and used my pinking shears to pink the edges. Once it was mounted onto this I added a button and called it done!
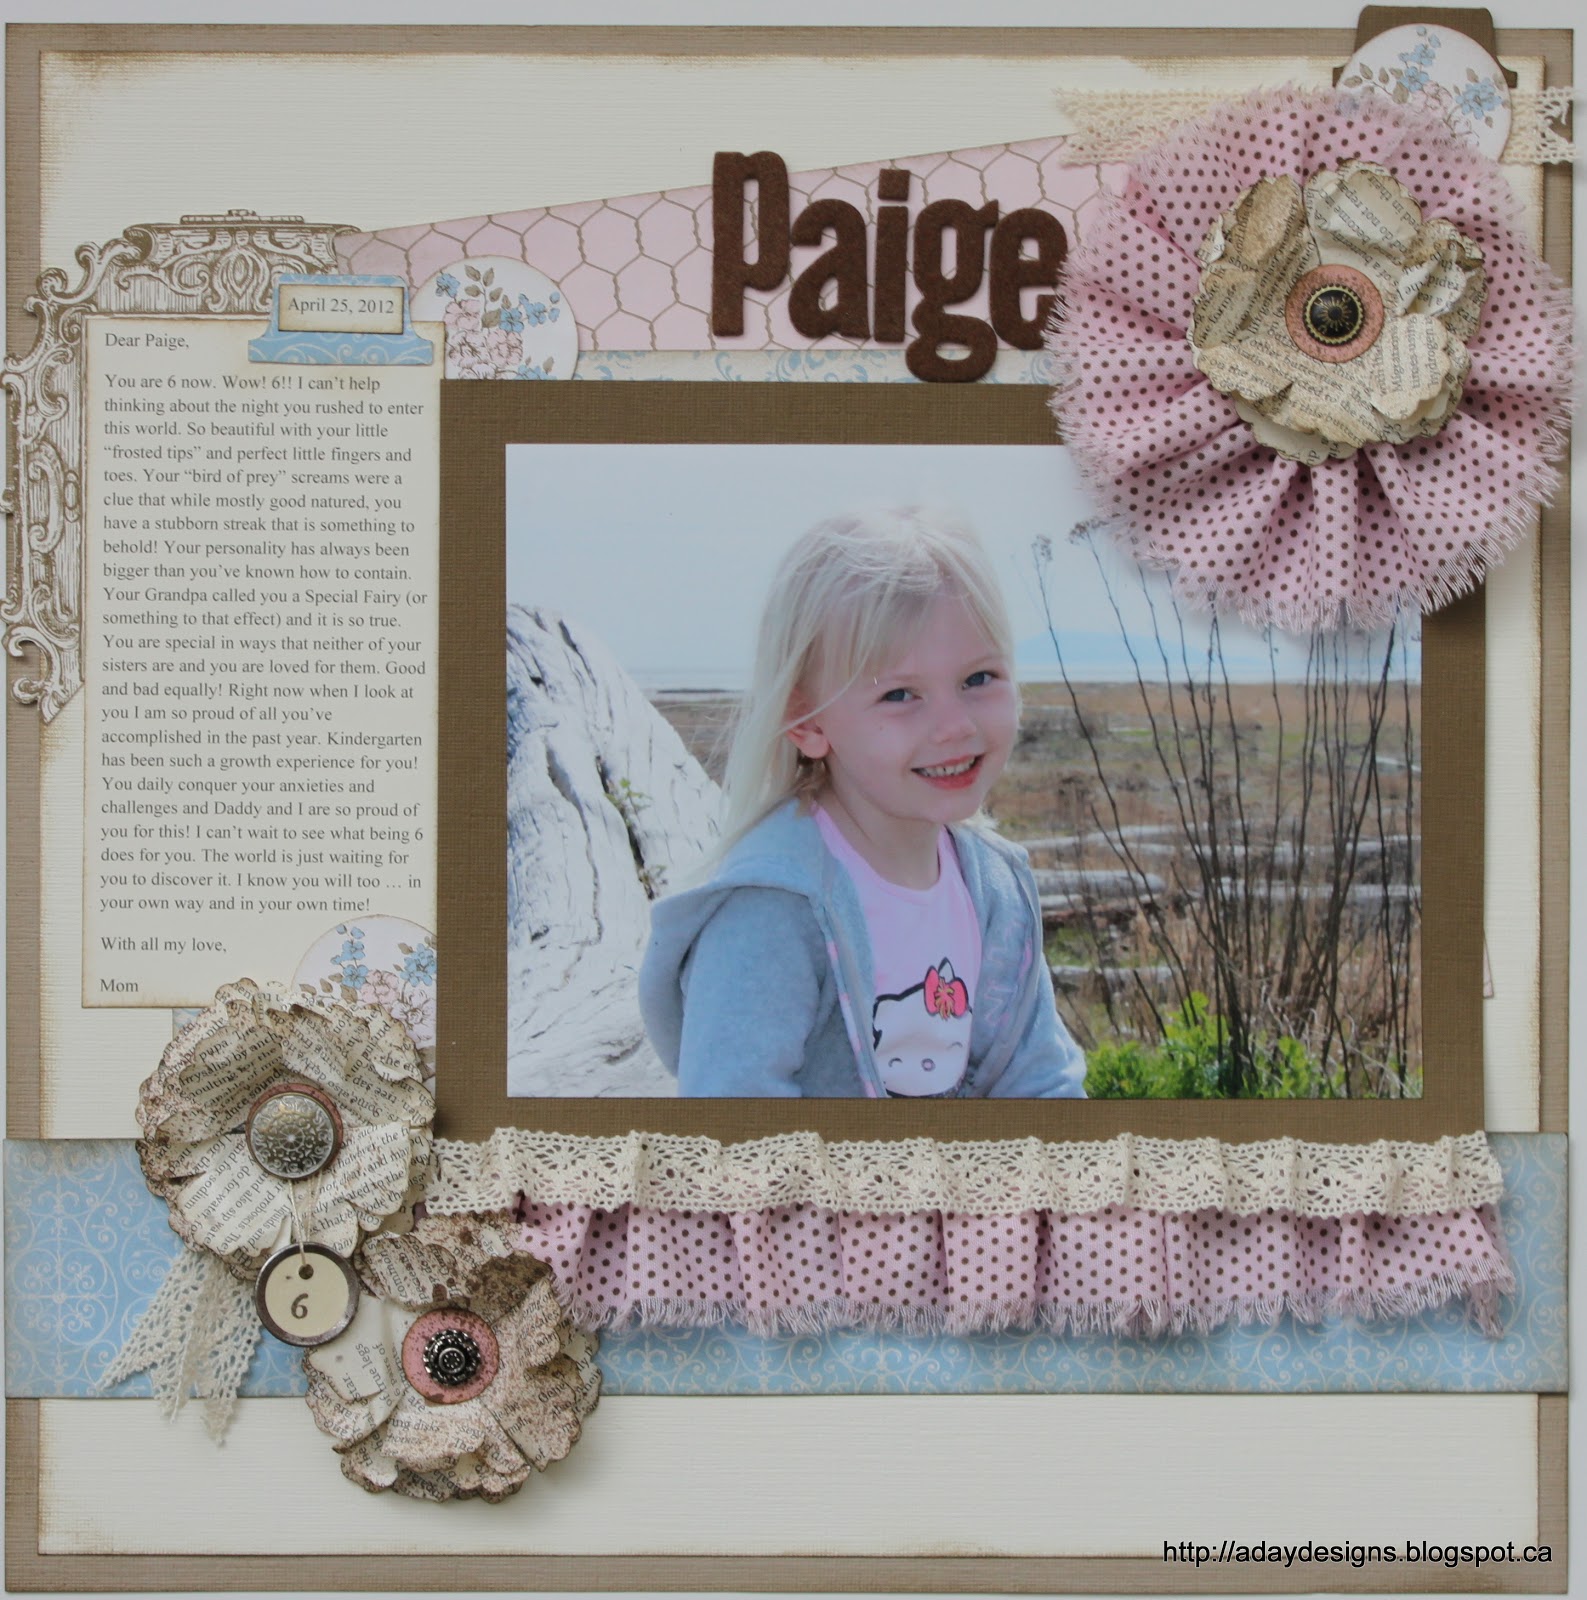
One last way to use fabric on your layouts … as trim like I did to anchor the photo on this layout.
Well, what do you think? Have you ever used fabric on any of your projects? Would you like to? Here’s your chance. I’ve got a TON of fabric left over from my Stampin’ Up days so I will send a small package of fabric and 3 12″ x 12″ sheets of the Multipurpose Adhesive to the author of a randomly selected comment. You’ve got til Thursday September 5th at Midnight PST to get your comment in below. Good luck! Don’t forget to sign up for my mailing list
HERE to receive all the free downloads I’ll be giving away this month. And if you’re interested in a box of scrappy goodness, leave a comment on
THIS POST to be entered for the Grand Prize giveaway. That draw will happen at the end of the month so you’ve got lots of time.
Until tomorrow my crafty friends!!
If you liked this post, say thanks by sharing it with your friends.


 Follow

Love the fabric ideas!! Something I’d like to try. I wonder if the cricut would cut it?
I think it would Jenn. You’d have to check your settings but I know my silhouette can cut fabric … not that I’ve tried yet. 🙂
oh, this is cool! especially love where you used fabric instead of paper! how fun! I never think to use fabric on my pages!
Thank you Martine! Glad I opened your eyes to new possibilities!!
Love the dimension fabric flowers, layer etc gives a page. Thank you
You’re welcome Carol. Thanks for your kind comment. 🙂
I like the idea of fabric and have used it on some layouts. I haven’t done anything too extreme though, pretty simple stuff. I would like to try cutting with my Cricut and see how it works at some point.