

Forgive the delay in continuing my lessons on Design Principles but I wanted to share more of my “homework” with you.
Last week I talked about Scale and gave a homework assignment at the end of the post. I asked you to go through your stash and chose three sheets of 12×12 paper – one with a large scale pattern, one with a small scale pattern, and one with a pattern somewhere in between the two. Then grab items from your paper scrap bin that could be used with these 12×12 sheets to create layouts. Did you attempt this?
I’ve been doing this with my own stash and sharing my results with you. First I chose my papers, and then I created a layout with the small scale patterned background. Today I’d like to share the layout I created from my mid-sized pattern paper.
And here is the layout up close and personal. Again, don’t laugh! It was 1991 people!!
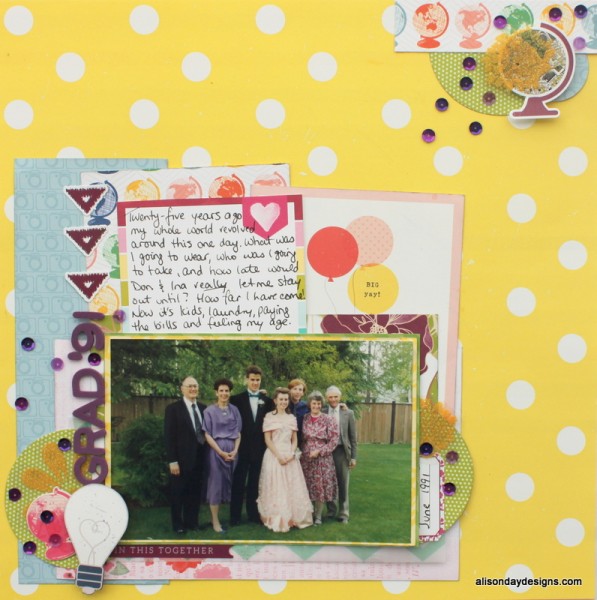
No matter how tightly I intend to keep my photo mat layers, somehow they seem to take on a life of their own, and before I know it I’ve covered more of my background paper than I meant to. Oh well. There’s still enough showing to enjoy that lovely yellow and appreciate the oversized polka dots. With this layout – in contrast to the one I made with the small scale pattern – my goal was to contrast the size of the polka dots in the background by using larger scaled circular objects (and other icons) and smaller scaled circular objects. Having all three scales of circles on the one layout helps define the background paper as the medium scaled pattern.
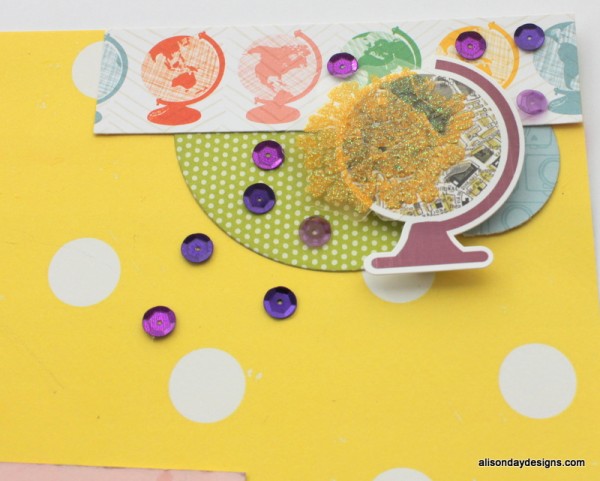
As I said in the video, the globe sticker here was more to bring a pop of purple up to this corner than to add another globe element. Covering it with a glittery yellow die cut helps to bring attention to the purple rather than the map print.

I realize that I’ve covered most of the globes in the centre of the layout with my journaling card, but because I’ve got the pattern repeated in the top right corner, your brain can make the leap it needs to and recognize that the globes are there. The journaling card was a lucky find. It’s taken from my stash of Gossamer Blue print and cut exclusive files kit club member receive each month. I’ve still got stacks and stacks of these! My reason for placing it here rather than writing over to the right side of the layout as I first thought I might, was a response to what I felt was a wide open expanse of pattern. It is hard to articulate a gut reaction like this but suffice it to say I looked at the layout and it felt like there was a whole lot of nothing going on above the photos. As much as I loved that globe pattern, it was falling a bit flat to my eye so breaking it up with another box – similar to the one with the balloons – was a great solution.
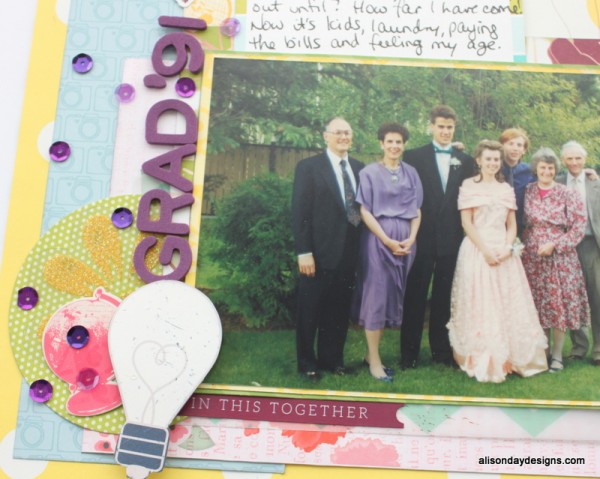
I ended up cutting out the part in the video where I looked through each of my scrap papers again (it felt repetitive) so saying that I “cut out the light bulb from that scrap of Shimelle paper” probably didn’t make much sense to you. If you haven’t seen my first video where I originally showed you all the papers I’d pulled out to potentially pair with the yellow background paper, then please check it out. The paper I was referring to can be found at Scrapbook.com here. As with all my layouts, I try to only add things that make sense to the story. Here, a light bulb signifies knowledge which seems totally appropriate for a graduation story!
Okay, that’s all I have for you today. I hope you are enjoying this look at my process. I really truly DO everything I talk about in my blog posts and videos. I encourage you to try this process. What do you have to lose? A few less pieces of paper in your stash, fewer photos in your “yet to scrapbook” pile, and a couple of hours of your time. Trust me, it will be worth it!
I have one more 12×12 sheet to turn into a layout – this time it’s my large scale patterned paper. I have an idea of what I want to do to emphasize how large the pattern is so stay tuned. I hope it works! Next Saturday I will continue my lessons on Design Principles by talking about Unity and Harmony. If you are enjoying this series then please let me know in the comments.
Have a great rest of your weekend everyone!
 Follow
